Progress MOVEit SAML application setup
Introduction
This manual shows how to setup SSO to Progress MOVEit using the SAML protocol. The configuration takes place in HelloID and in the MOVEit admin center.
Requirements:
HelloID environment
MOVEit online environment
Create or Import a Certificate
If there is no certificate yet, a certificate must be imported or created. This can be done in the HelloID Administrator Portal under Settings > Certificates. For this tutorial, we will use a self-signed certificate. Learn more about certificates here.
Application Setup
Add the IPswitch Application
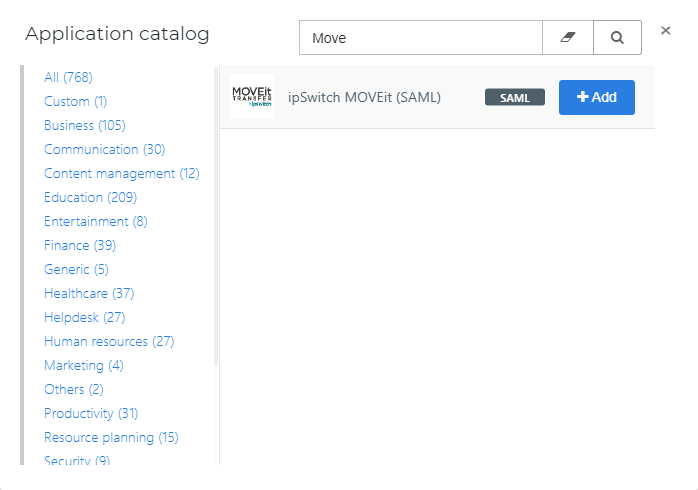
Create a new application in HelloID by navigating to Applications > Applications. Open the Application Catalog and search for "MOVEit". Find the SAML template, and click Add. Learn more about managing applications here.
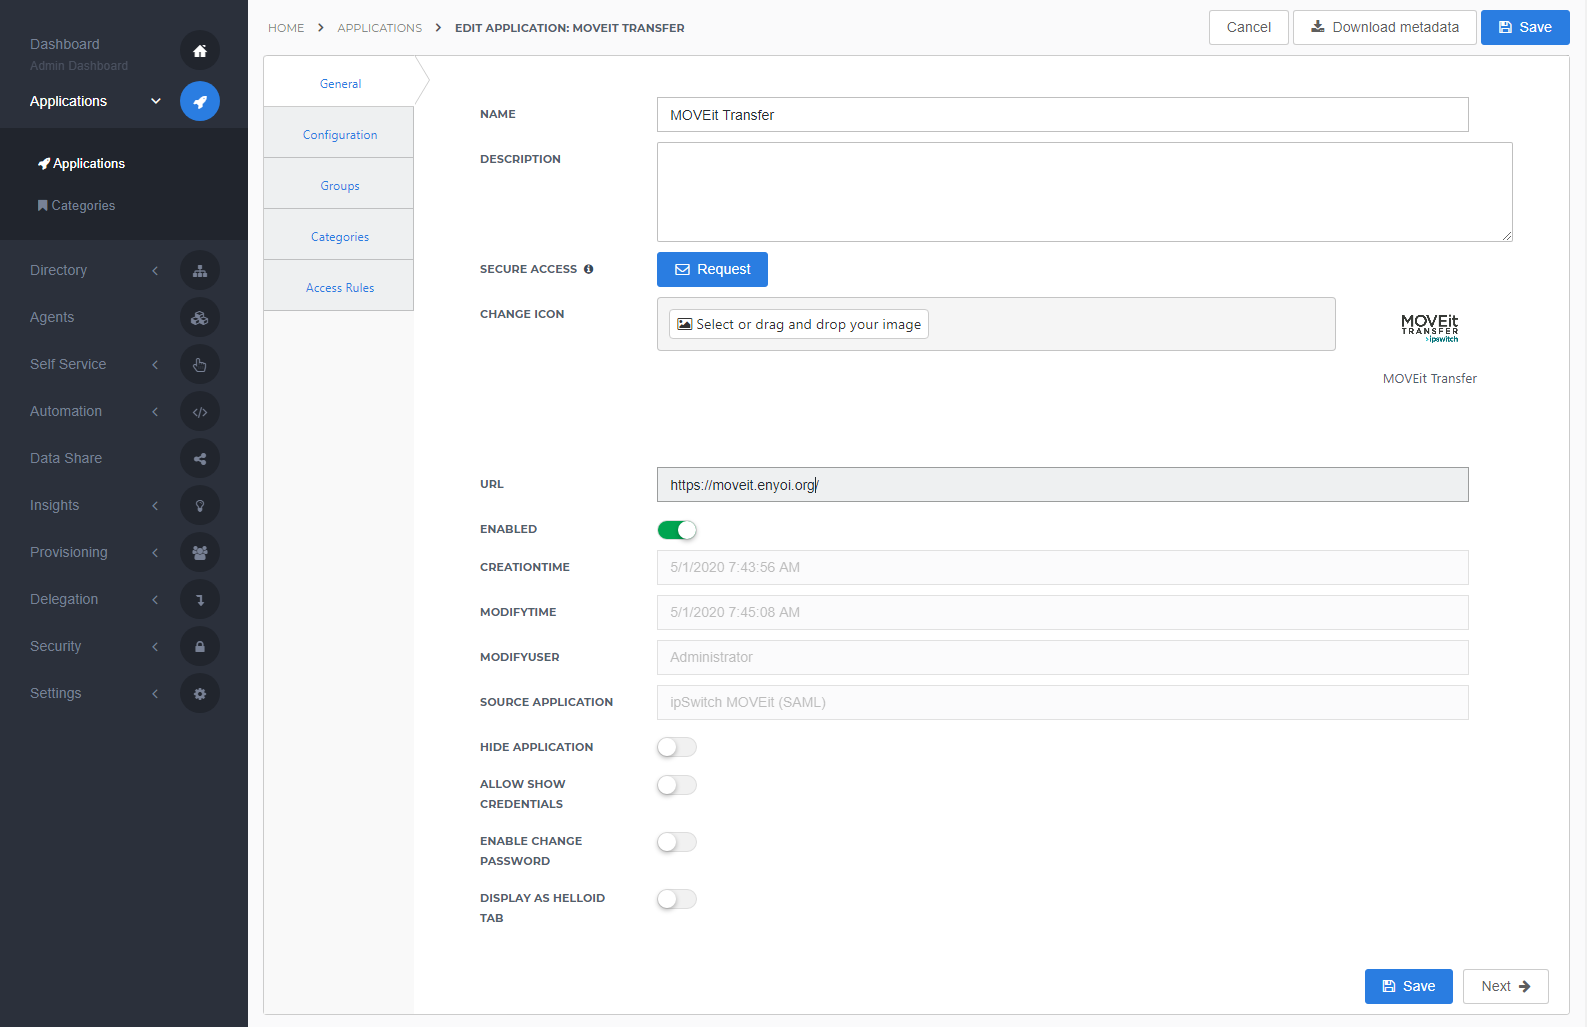
General tab
On the General tab, fill the default login URL with the MOVEit environment URL. Optionally, you may also add a description. Click Next.
Single Sign-on tab
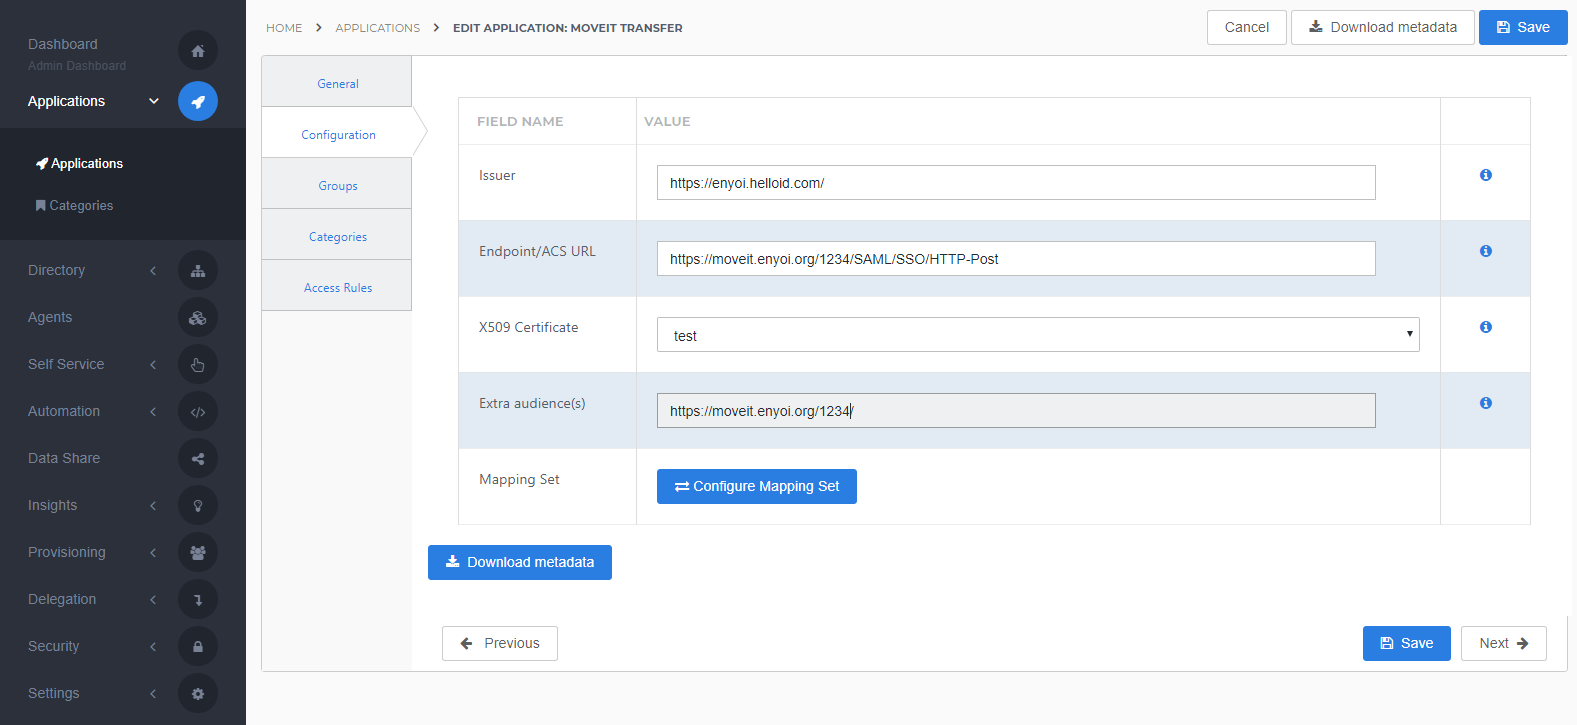
On the Single Sign-On tab, perform the following steps:
For the Issuer field, provide your HelloID environment URL.
Note: https://enyoi.helloid.com will not work! This is just an example.
Make sure to change this from the default to your customer specific HelloID environment.
For the E ndpoint URL fill in the full MOVEit environment URL followed by "/SAML/SSO/HTTP-Post" this URL can also be found in the MOVEit configuration pages.
Use youer MOVEit environment URL as Extra audience
In the X509 Certificate dropdown, select the certificate that you created or imported previously.
Click Next.
Mapping
Self service tab
On the Self Service tab, choose whether to automatically create a Self Service product, which makes the application requestable. This is optional. Click Next.
On the Finish tab, click Save to add the application to HelloID.
Application metadata
After saving the MOVEit application, click its Edit link on the applications overview. This will bring you to its properties page.
You can copy the Metadata link address from the Download Metadata button in the top right corner. Use the 'Copy Link Location' or 'Copy Link address' option. Save this value for later. It should look something along the lines of https://enyoi.helloid.com/metadata/download?ApplicationGUID=e6e741f5-a469-4849-93f7-fe2e259a339f

The configuration of the HelloID application is finished.
MOVEit Configuration
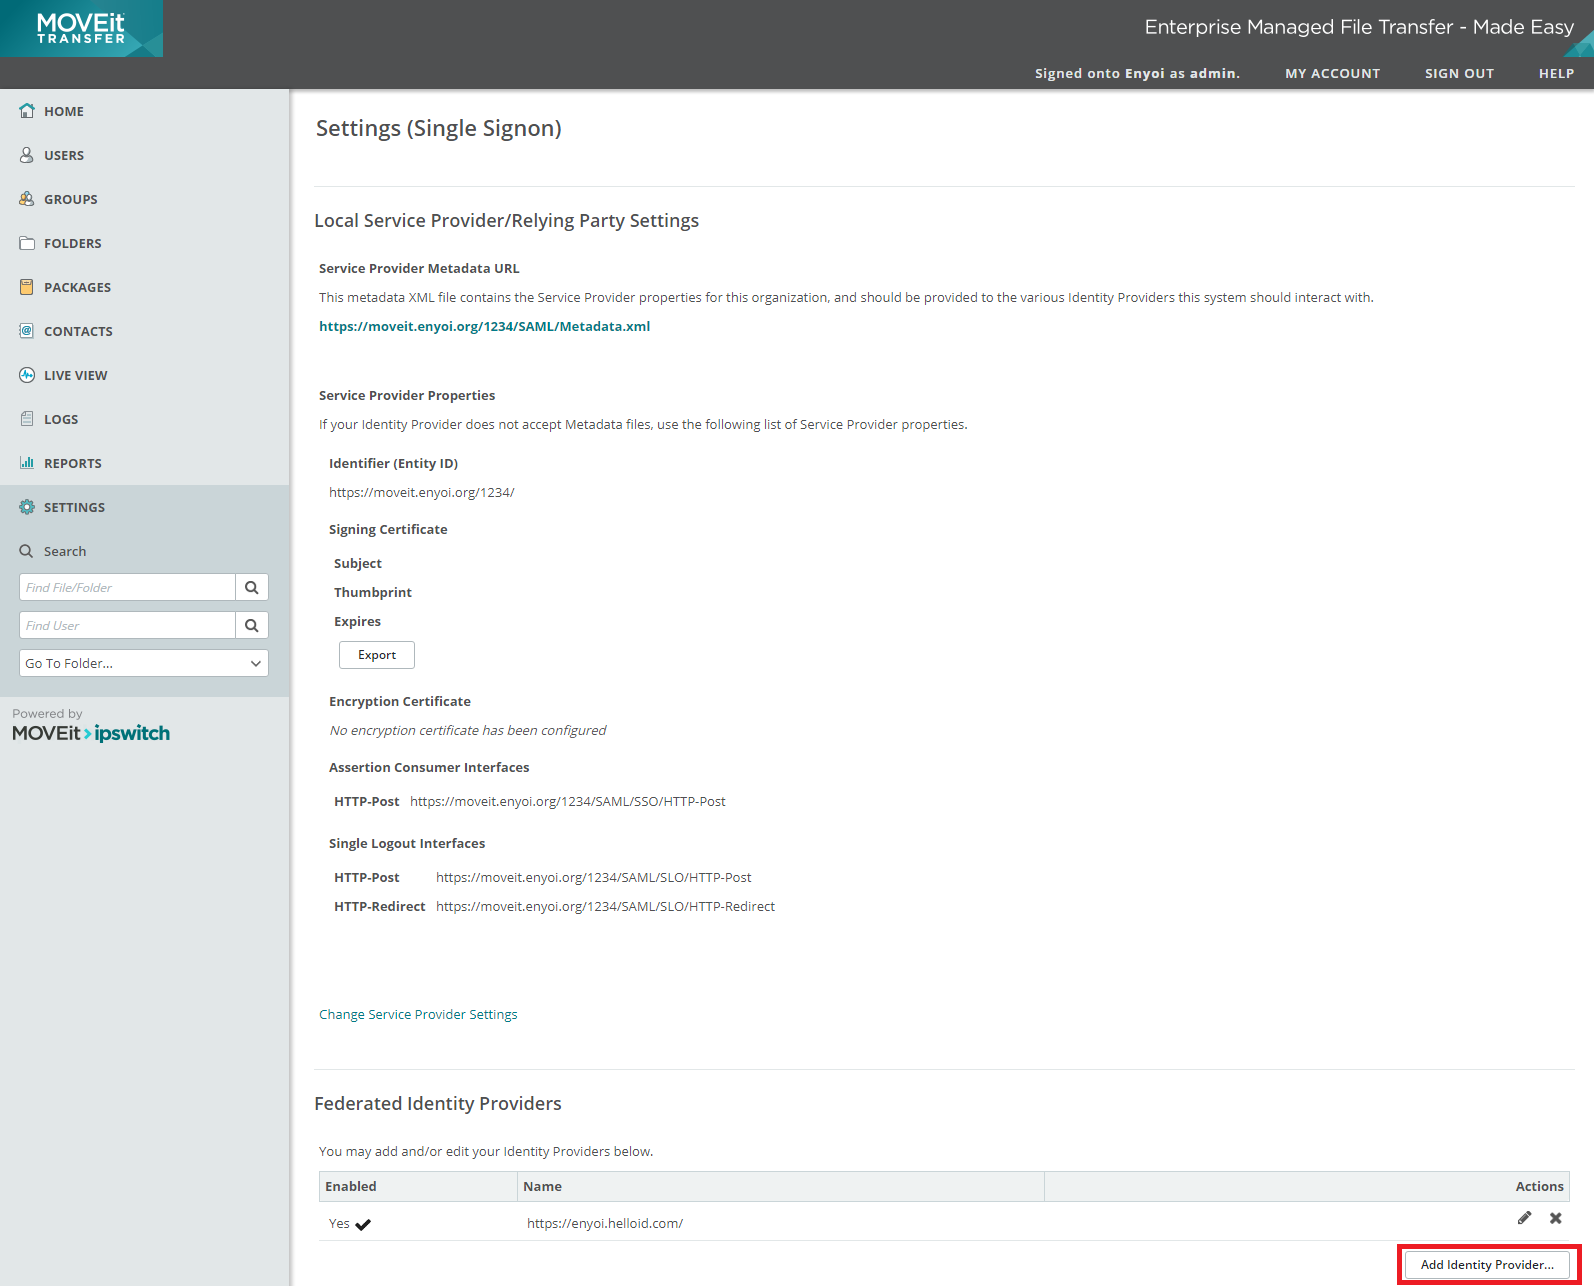
In order to make the connection, we need to set up the configuration in MOVEit aswell. Go to the MOVEit portal as an administrator and go to Settings -> Single Signon.
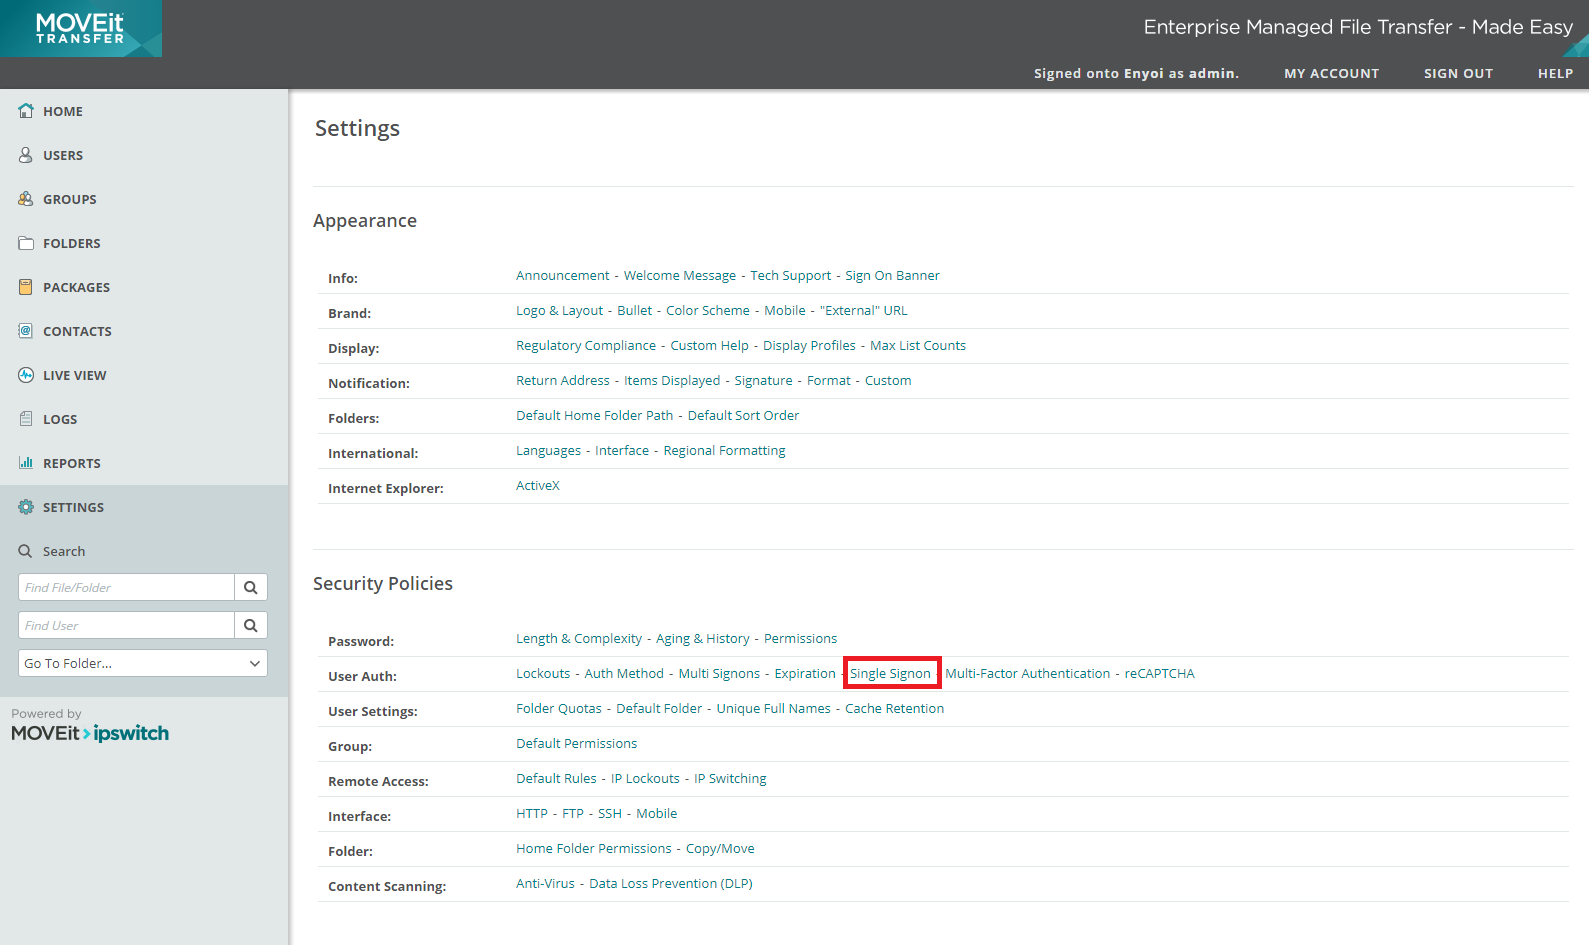
In the next screen you can find the URL that is needed as Audience and the Endpoint URL you configured in HelloID, make sure these are the same. Then click the button Add Identity Provider
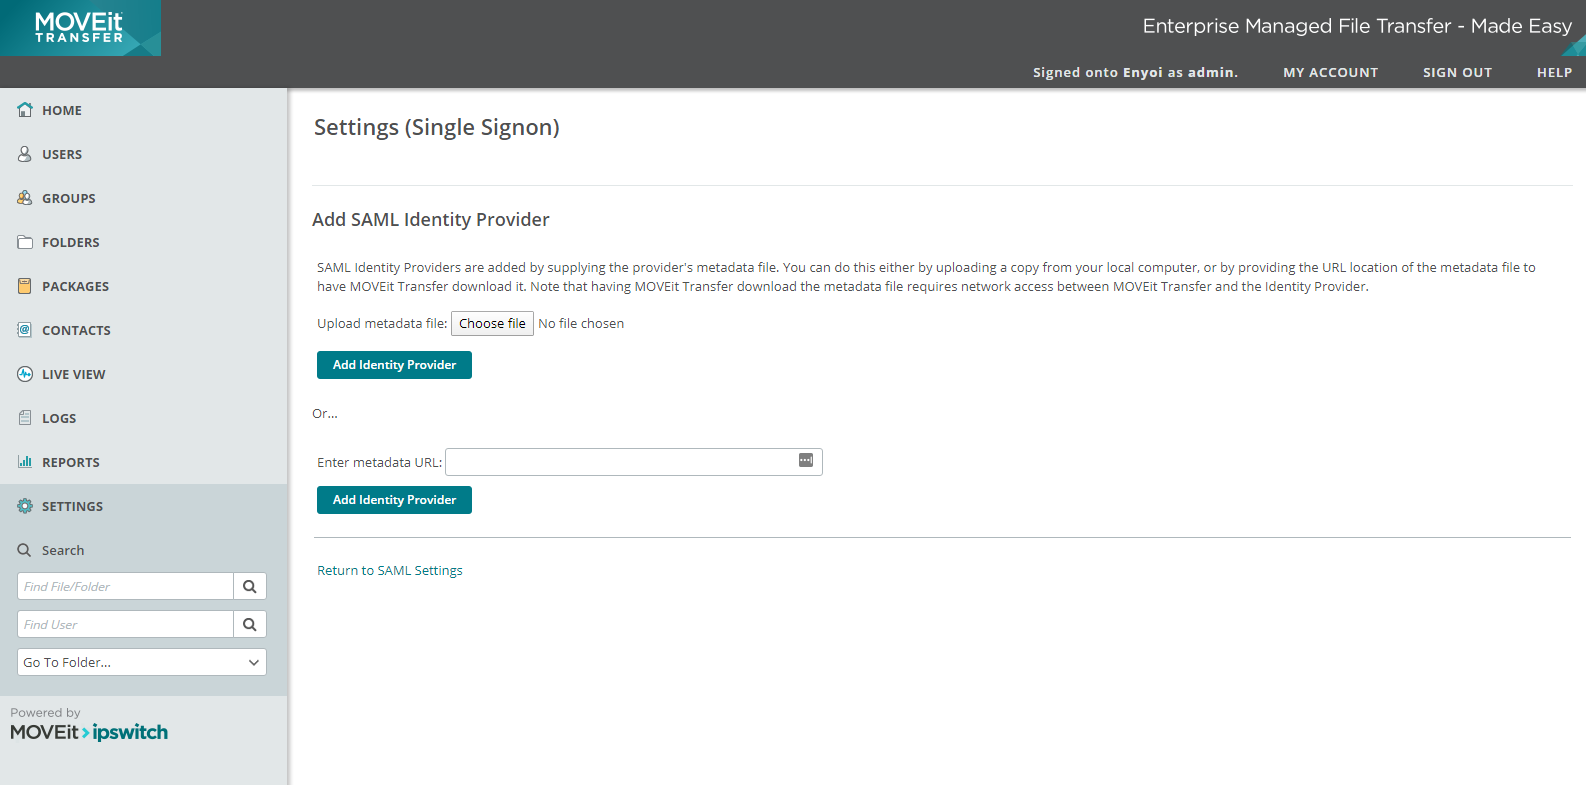
Paste the metadata URL you previously copied from HelloID. In the Enter metadata URL field. Then click Add Identity Provider
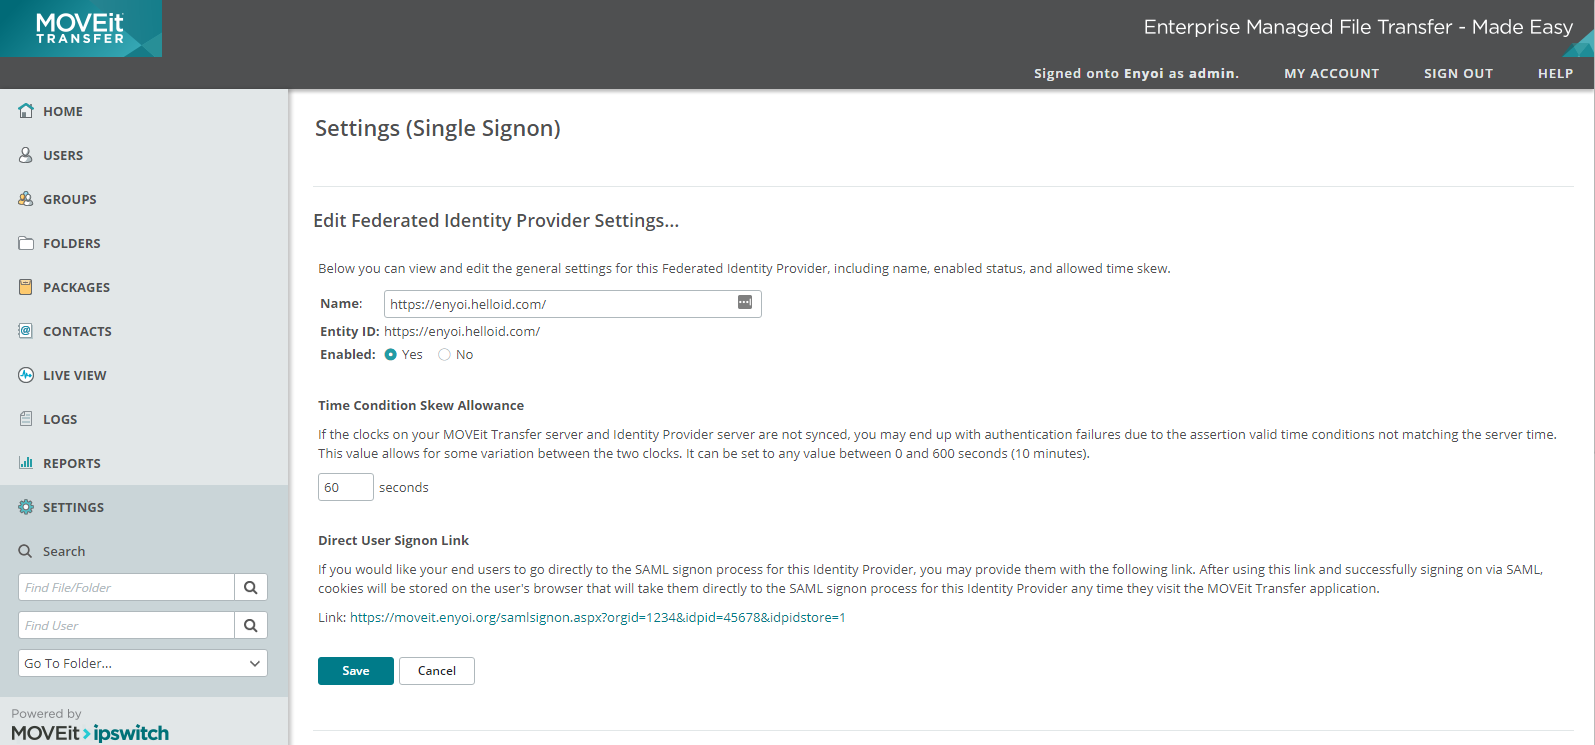
After the Identity Provider is added make sure the name and Entity ID are the name of the HelloID portal
Make sure the Federated Identity Provider is set on Enabled.
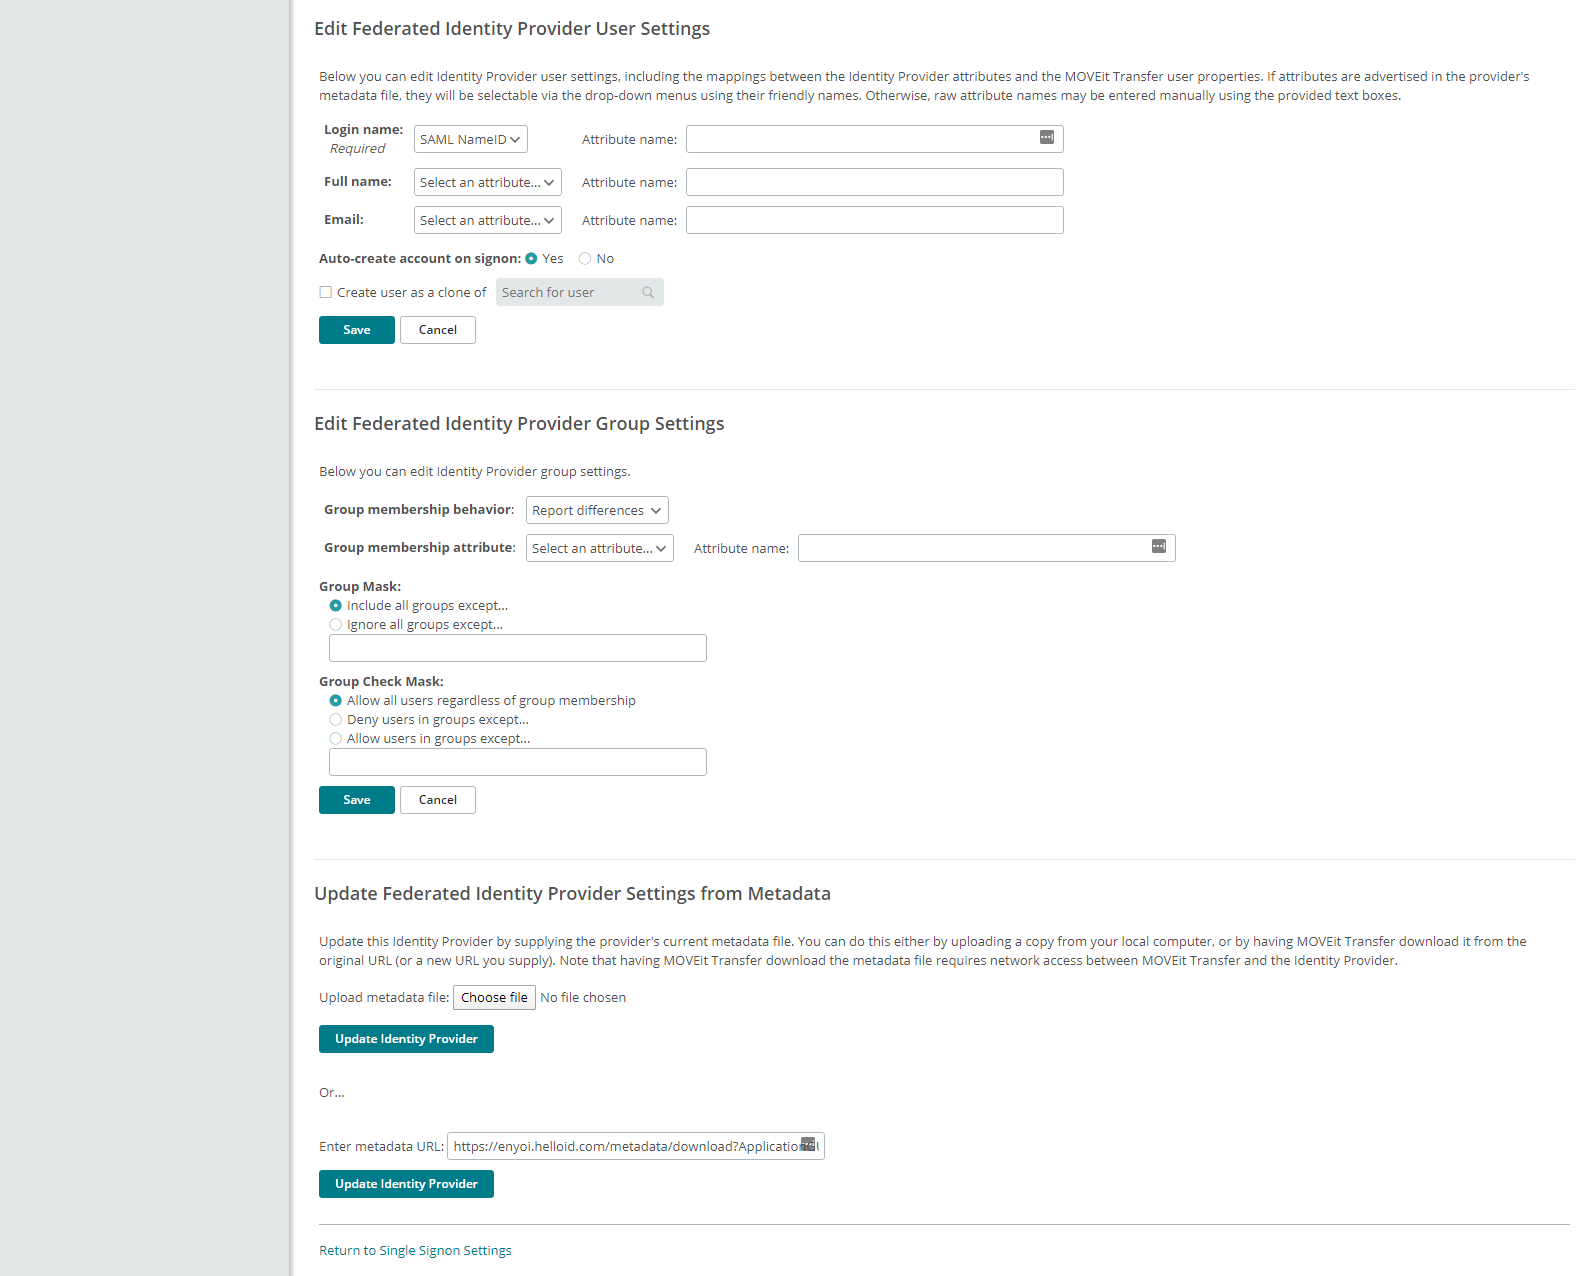
Select the Login name to be SAML NameID, and click Save. You can select Auto-create account on signon depending on your preferences.
The configuration in MOVEit is now complete and can be tested.