Add, edit, or remove a custom variable
For more information, see Custom variables.
Add a custom variable
Go to Automation > Variable Library.
Scroll to the bottom of the page.
Enter a variable name in the Enter Variable Name field, and a variable value in the Enter Variable Value field.
For this example, we'll use
customVariableName1andcustomVariableValue1, respectively.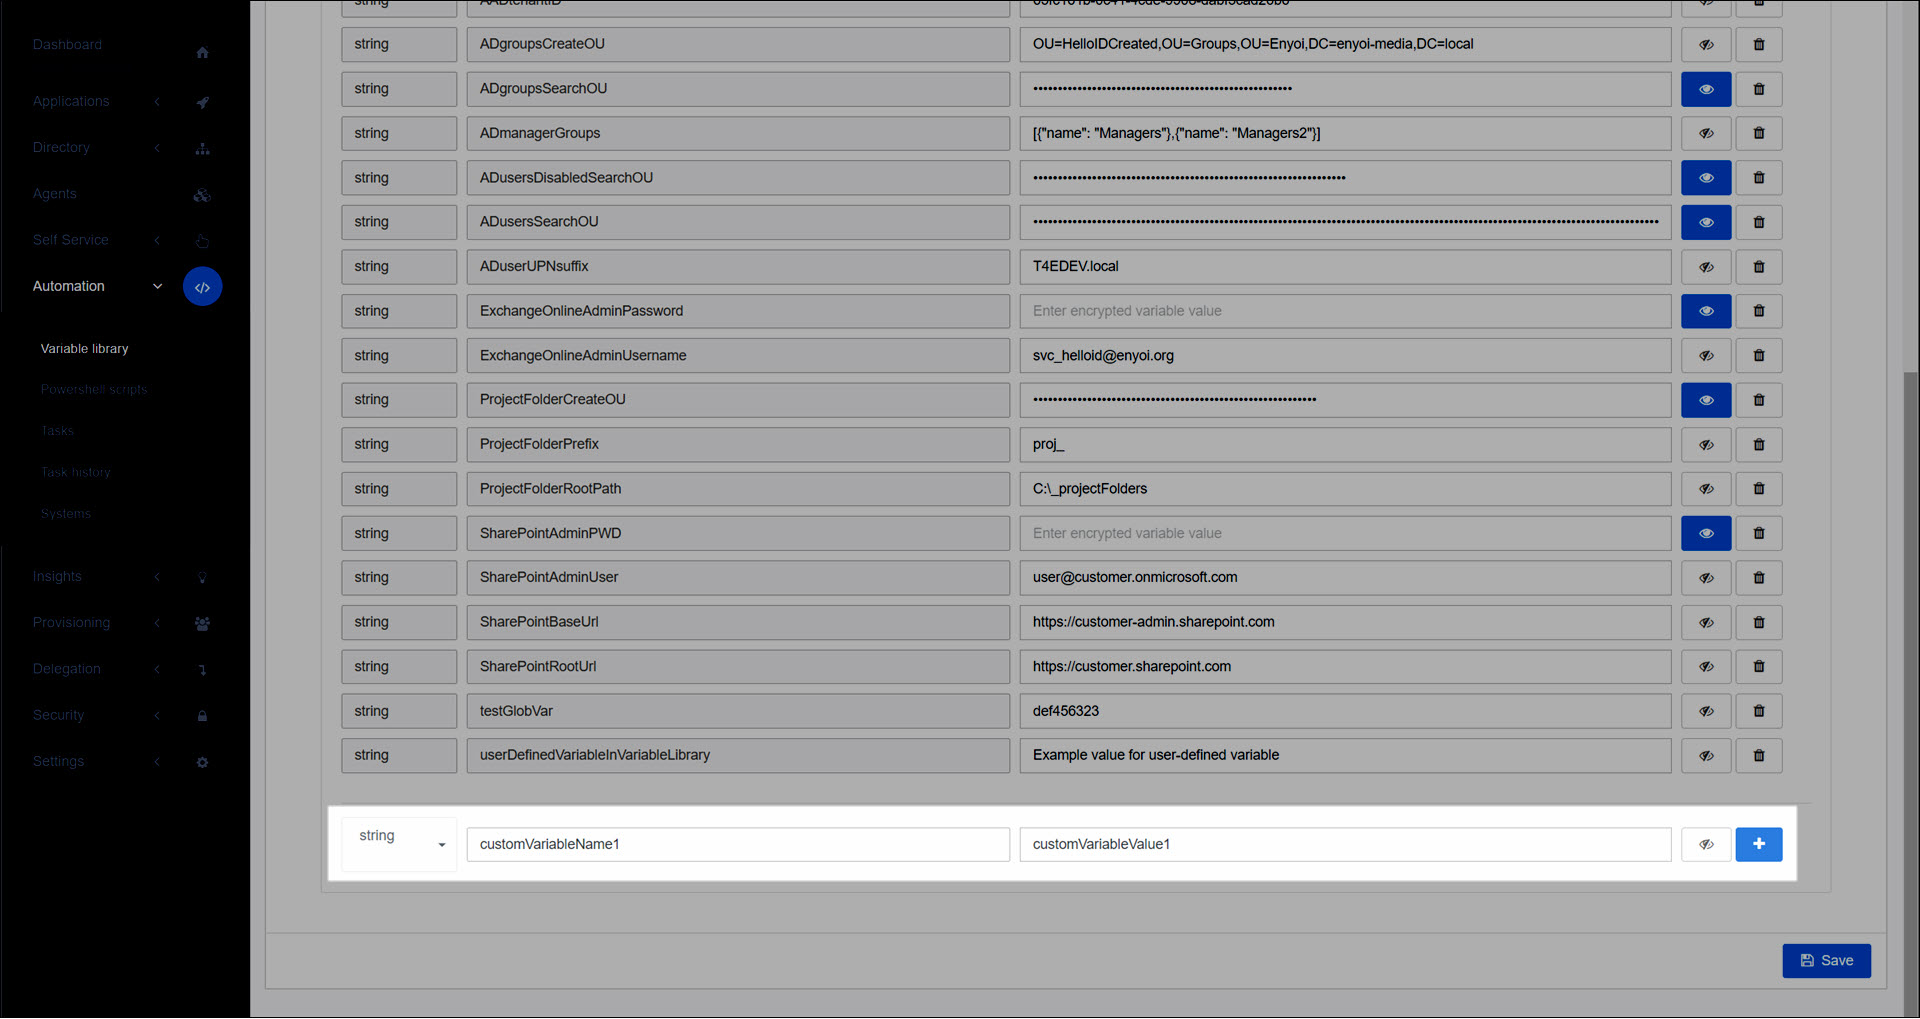
Optional: If the variable's type is other than
string, click the String dropdown and select the relevant type. See Variable types.Note
Tasks and actions (except tasks and actions added via the older Task catalog) interpret custom variables as a
string, even if the custom variable was created with a different type. If the task needs another type, convert the variable in the code.Click
 Add.
Add.

Go to Automation > Variable Library.
Change the relevant custom variable's Name and/or Value.
Click Save.
Go to Automation > Variable Library.
For the relevant custom variable, click
 Remove custom variable.
Click Save.