Totara SAML application setup
Introduction
This articles demonstrates how to set up SSO to Totara using the SAML protocol. The configuration takes place in HelloID and Totara.
Requirements
HelloID environment
Totara environment
Create or import a certificate
If there is no certificate yet, a certificate must be imported or created. This can be done in the HelloID Administrator Portal under Settings > Certificates. For this tutorial, we will use a self-signed certificate. Learn more about certificates here.
Application setup
Add the Totara application
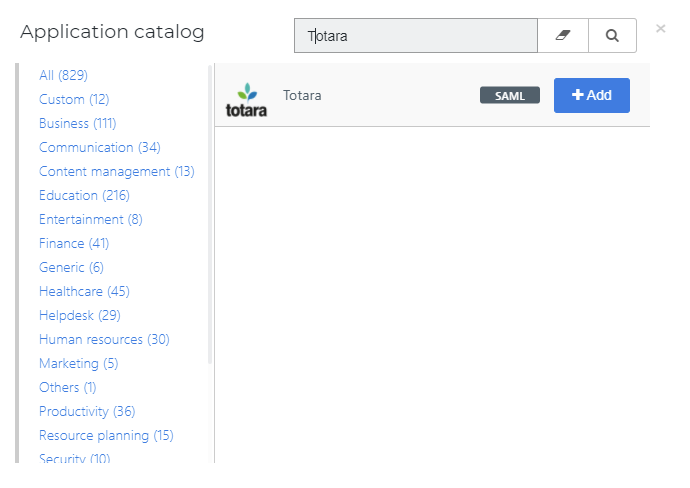
Create a new application in HelloID by navigating to Applications > Applications. Open the Application Catalog and search for "Totara". Find the SAML template, and click Add. Learn more about managing applications here.

General tab
In the Default Login URL field, replace {url} with the base URL of your Totara instance. If your Totara environment is hosted, replace {customer} with your account ID. Or, if your Totara environment is dedicated, remove {customer} entirely.
After you have customized this field, copy its value.
Select the Next button.

Single Sign-On tab
On the Single Sign-On tab, perform the following steps:
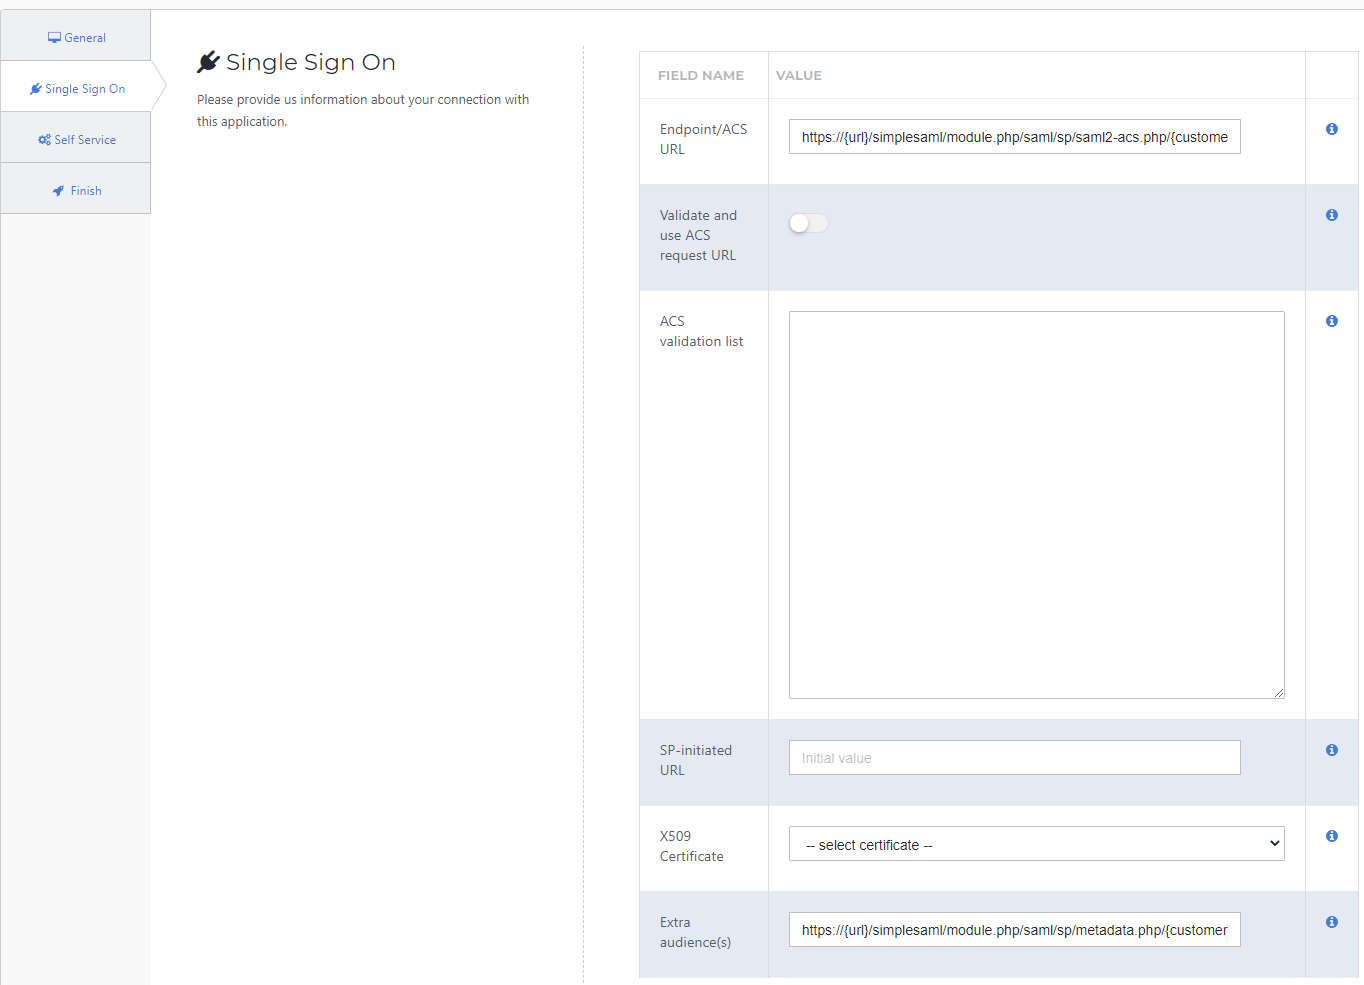
In the Endpoint/ACS URL field, paste the value you copied from the Default Login URL field.
In the X509 Certificate drop down, select the certificate that you previously created or imported.
In the ACS validation list, enter all the URLs where the SAML request could be initiated from, one per line.
In the Extra audience(s) field, enter the metadata URL provided by Totara. This will be in the format of:
https://{url}/simplesaml/module.php/saml/sp/metadata.php/{customer}Select the Next button.

Self Service tab
On the Self Service tab, choose whether to create a Self Service product, which makes the application requestable. This is optional. Select the Next button.
Finish tab
On the Finish tab, select the Savebutton to add the application to HelloID.

Mapping
By default, the nameID and uid attributes are sent to Totara, mapped to the {{user.userguid}} and {{user.contactEmail}}, respectively. If your Totara setup requires different values to be sent, edit the mapping set.
Totara setup
Go to Applications > Applications. Locate your newly-added Totara application and select its Edit link. Right-click the Download metadata button and select Copy link address. This will be in the format of: https://customer.helloid.com/metadata/download?ApplicationGUID={guid}

To complete setup, request a SAML connection from your Totara administrator. Send them the metadata URL you copied.
Validate and use ACS request URL
After you have set up and tested the SSO connection, return to the Single Sign-On tab and turn on the Validate and use ACS request URL toggle. Select the Save button.