Set up rule mining
Before you start
For an Active Directory target system, Configure correlation.
For a PowerShell v2 target system, Configure correlation and Configure import from target system.
On the Provisioning dashboard, go to Business > Rule mining.
Click the
 Settings button.
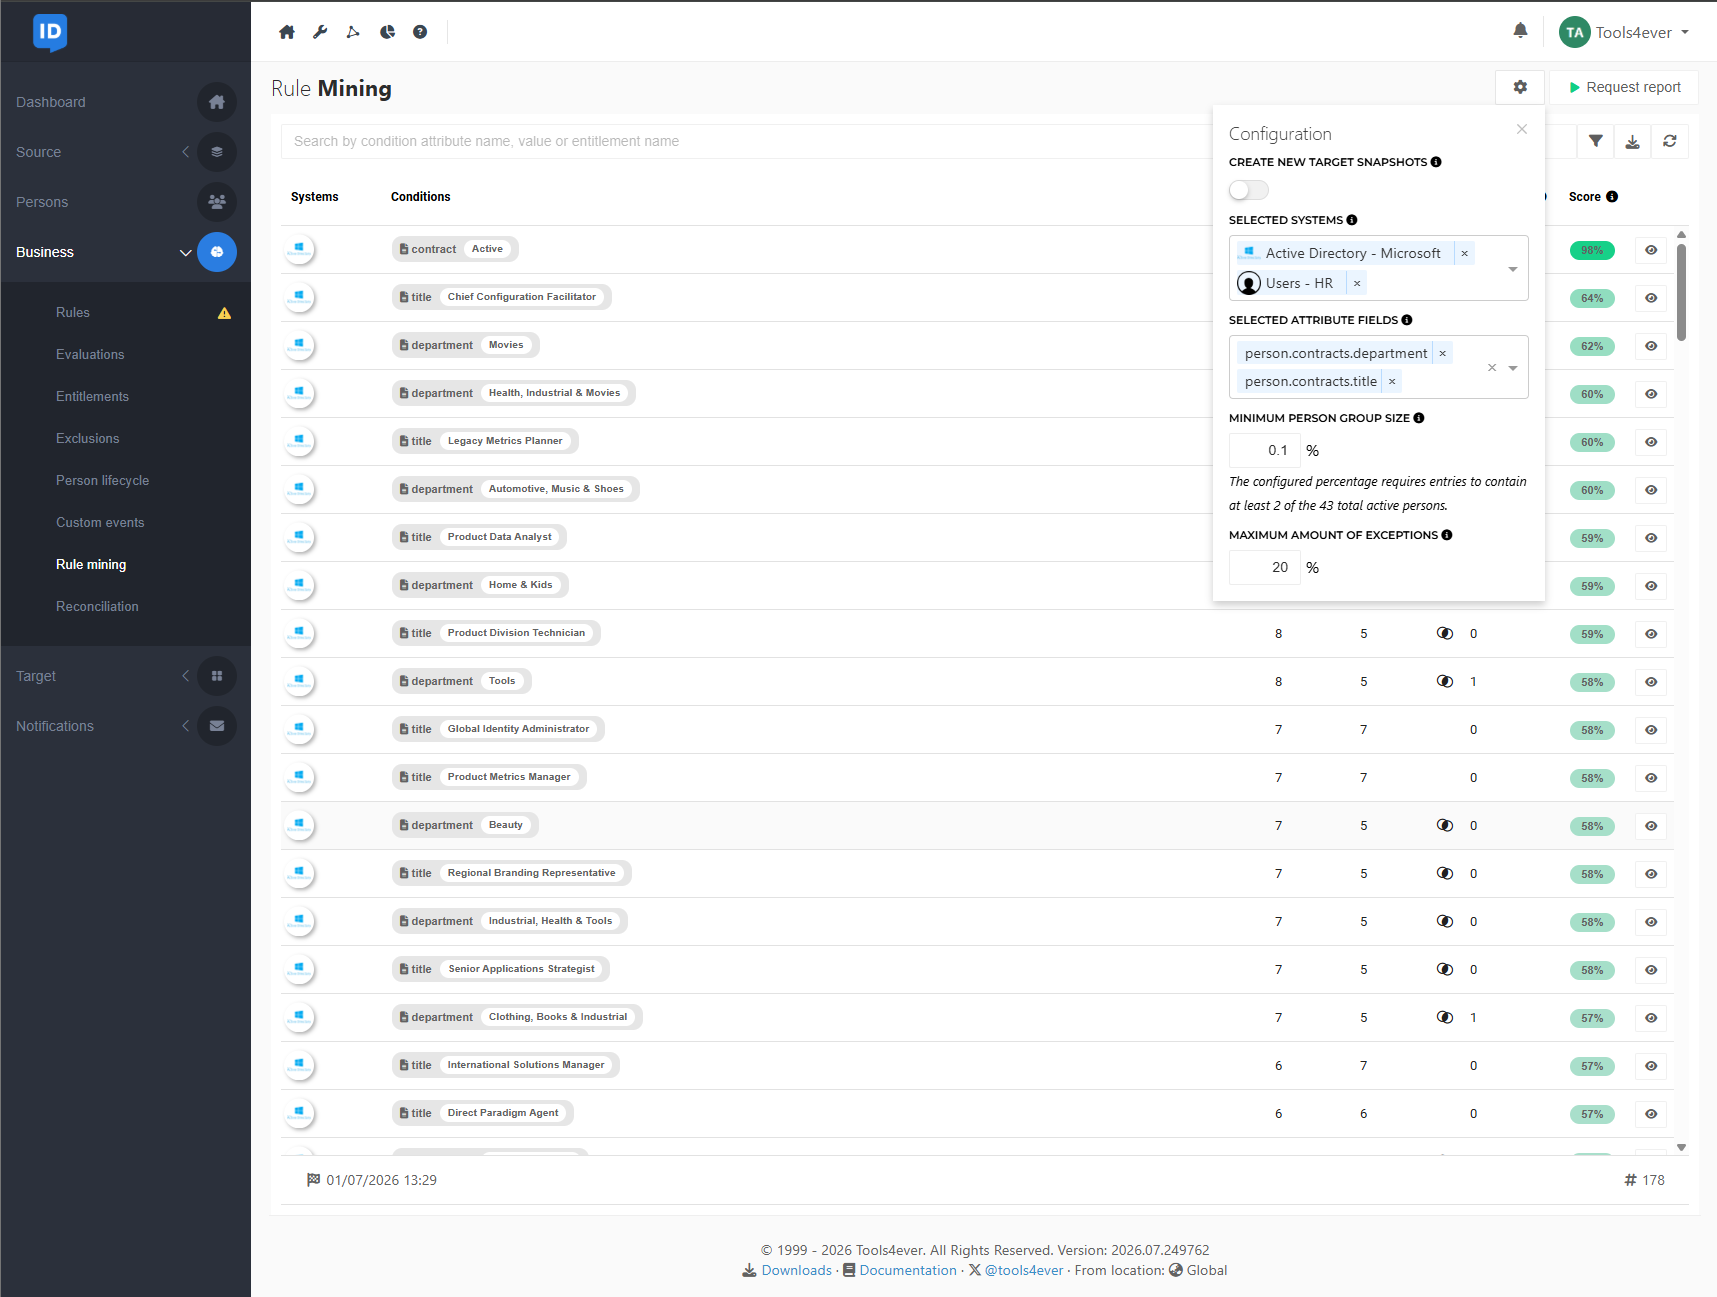
Enable Create new target snapshots if a new rule mining report should always be based on new Target snapshots of the selected target systems.
Use the Selected systems dropdown to select the target systems (maximum: 10) to include in the report.
From the Selected attribute fields dropdown, select at most 5 Person schema and/or Contract schema fields (for example:
person.contracts.departmentandperson.contracts.title). Only selected fields will be used when comparing source data of persons with an active contract.Of the following fields, the ExternalID or Code is used in comparisons, and the Name, DisplayName or Description is displayed in the Rule mining report.
Field
Compared by
Displayed
Person field: Location
Contract fields: Division, CostBearer, Costcenter, Employer, Location, Organization, Team, Title
ExternalID
Name
Contract field: Department
ExternalID
DisplayName
Contract field: Type
Code
Description
A rule mining report lists conditions (or condition sets) that apply to groups in which at least Maximum amount of exceptions setting of persons share common Entitlements in a target system.
A condition is listed only if the corresponding group meets the minimum size requirement. Set Minimum person group size as the percentage of active persons who meet the same condition. You can enter a percentage with one decimal place (for example, 10.5). The calculated minimum number of persons—always at least 2—is rounded up and displayed below the setting. A condition is also listed only if at least one entitlement has an unassigned percentage that is below the Maximum amount of exceptions threshold for the person group. Entitlements with an unassigned percentage that exceeds the Maximum amount of exceptions value will not be included in the condition.If all entitlements are excluded because of this setting, the condition itself will not be included in the report
You can now Create a rule mining report.