Edit or remove a scheduled report
Warning
Scheduled reports are deprecated. It is no longer possible to create new scheduled reports. Please use Audit logs instead.
Edit a scheduled report
Go to Insights > Scheduled Reports.
For the relevant scheduled report, click Edit.
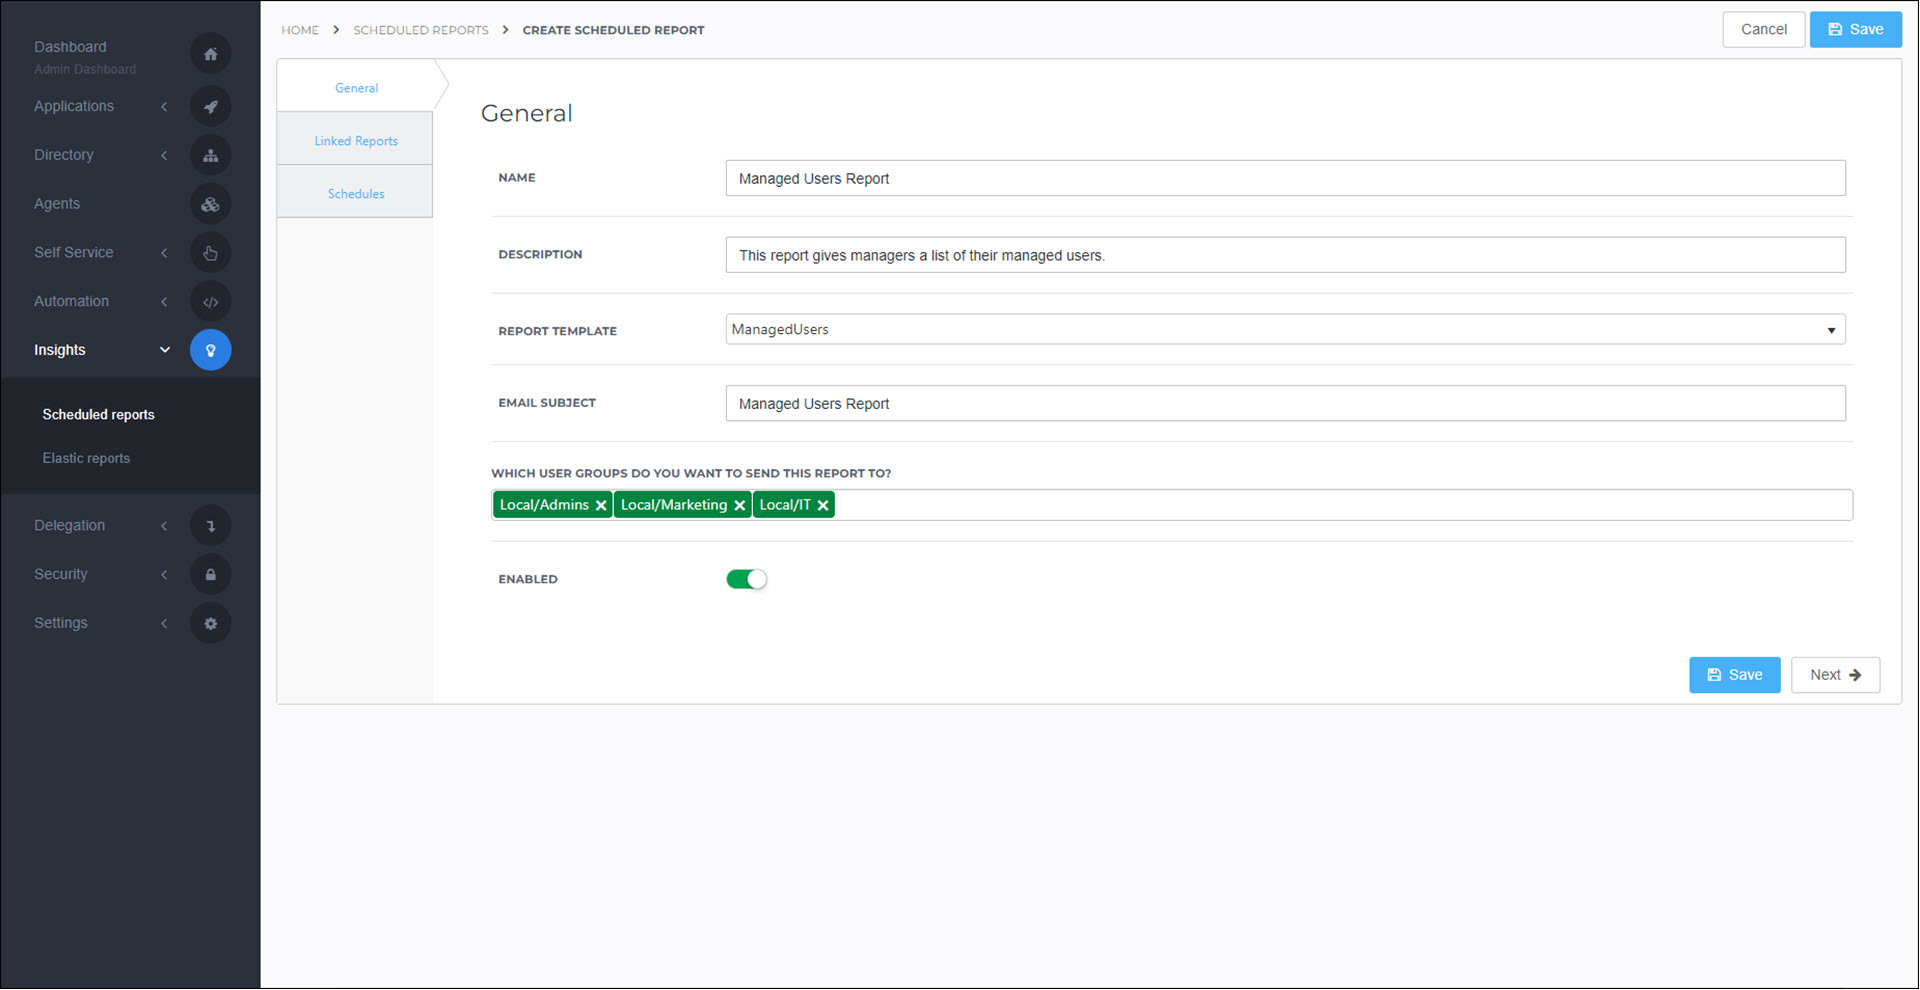
On the General tab, edit the following information:

- Name
The name of the report. Only visible to admins.
- Description
The description of the report. Only visible to admins.
- Report Template
The type of report (see Scheduled report templates).
For this example, we'll use the Managed Users report.
- Email Subject
The subject line of the email sent to each recipient.
- Which user groups do you want to send this report to?
All users in the selected Groups will receive this report.
- Enabled
Turn off this toggle to temporarily stop sending emails for this report.
Warning
The Linked Reports tab is for appending BI reports to the scheduled reports. BI reports are deprecated. It is not recommended to use linked reports.
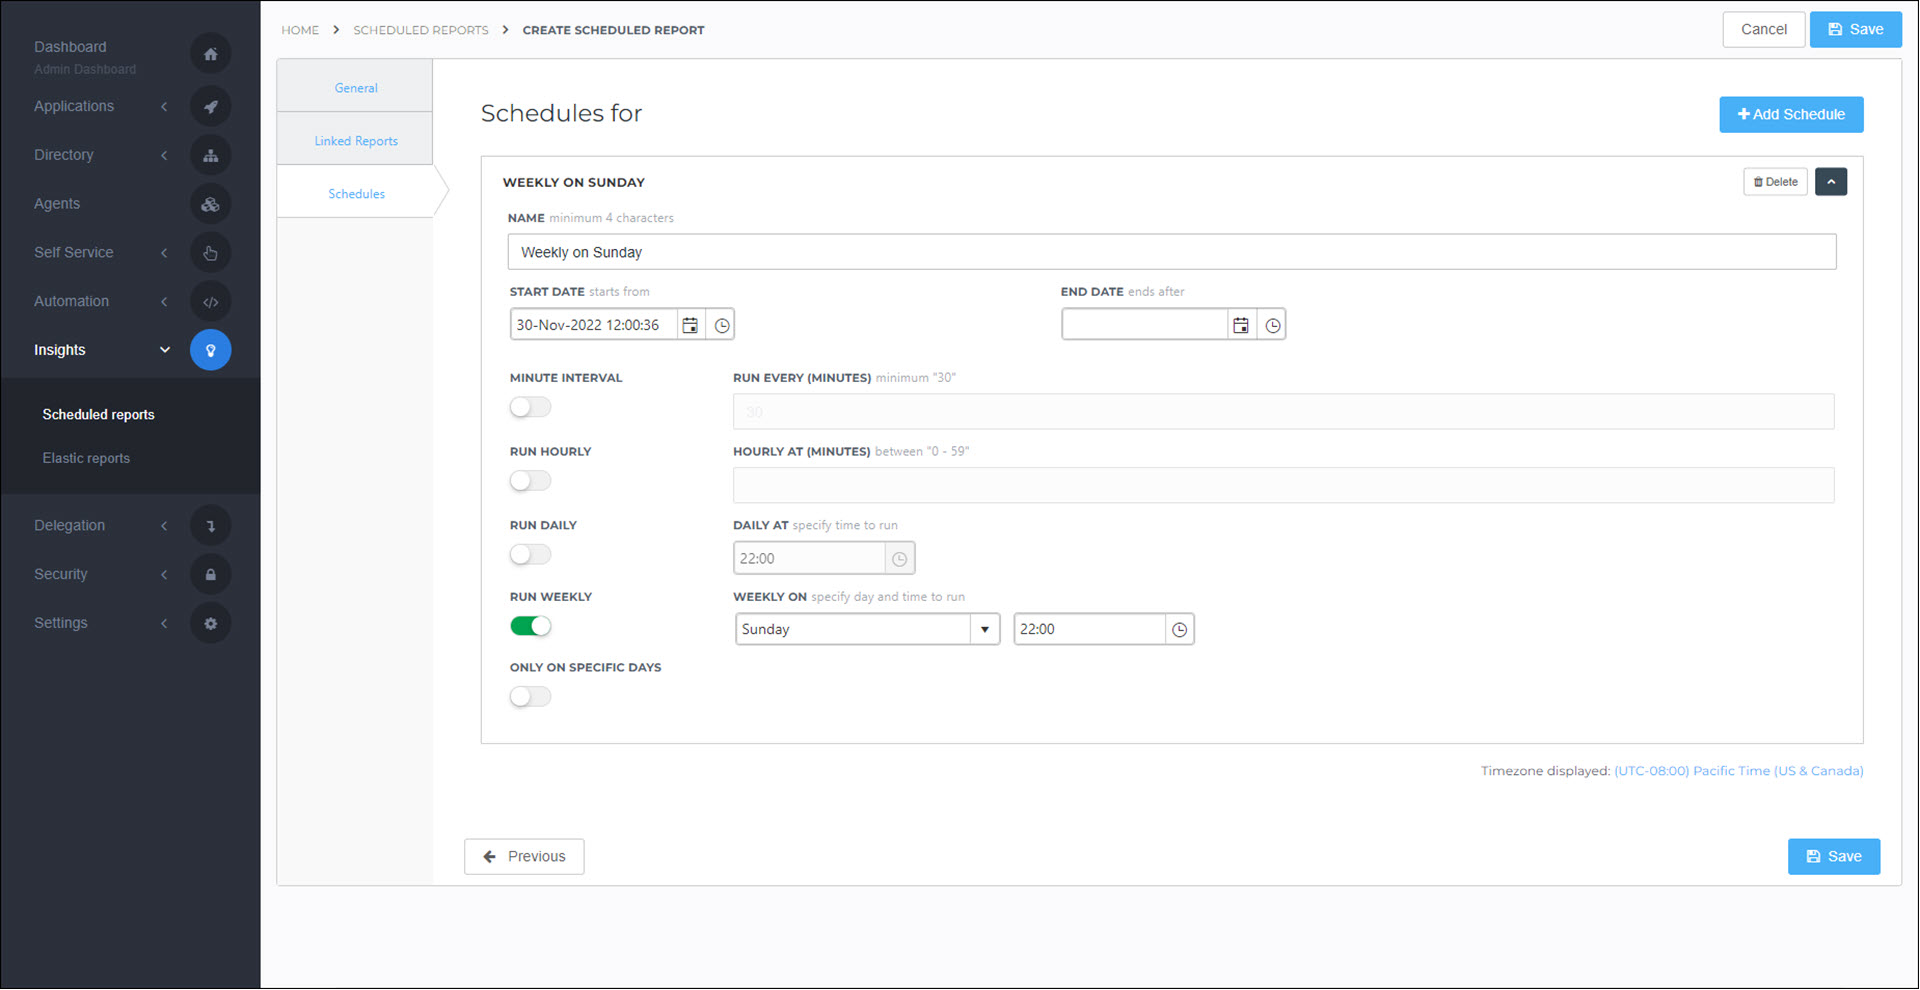
Go to the Schedules tab.
Click the Add Schedule button.
Configure the schedule as desired.
For this example, we'll have this report emailed out every Sunday at 10pm.

Click Save.
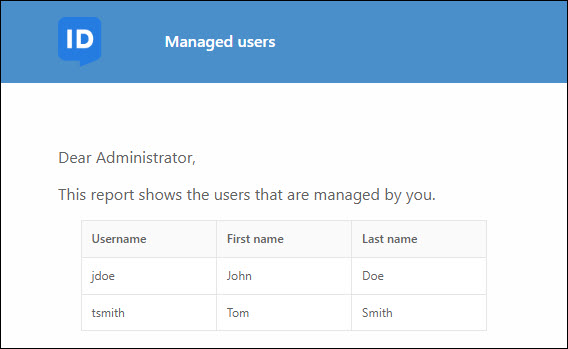
At the scheduled time(s), a copy of the report is generated and emailed to each user in the chosen user groups. Reports are automatically customized for each user as necessary.
For this example, we receive the following report:

Go to Insights > Scheduled Reports.
For the relevant scheduled report, click Delete.
To confirm, click Delete.