Add, edit, or remove a notification
For more information, see Notification settings.
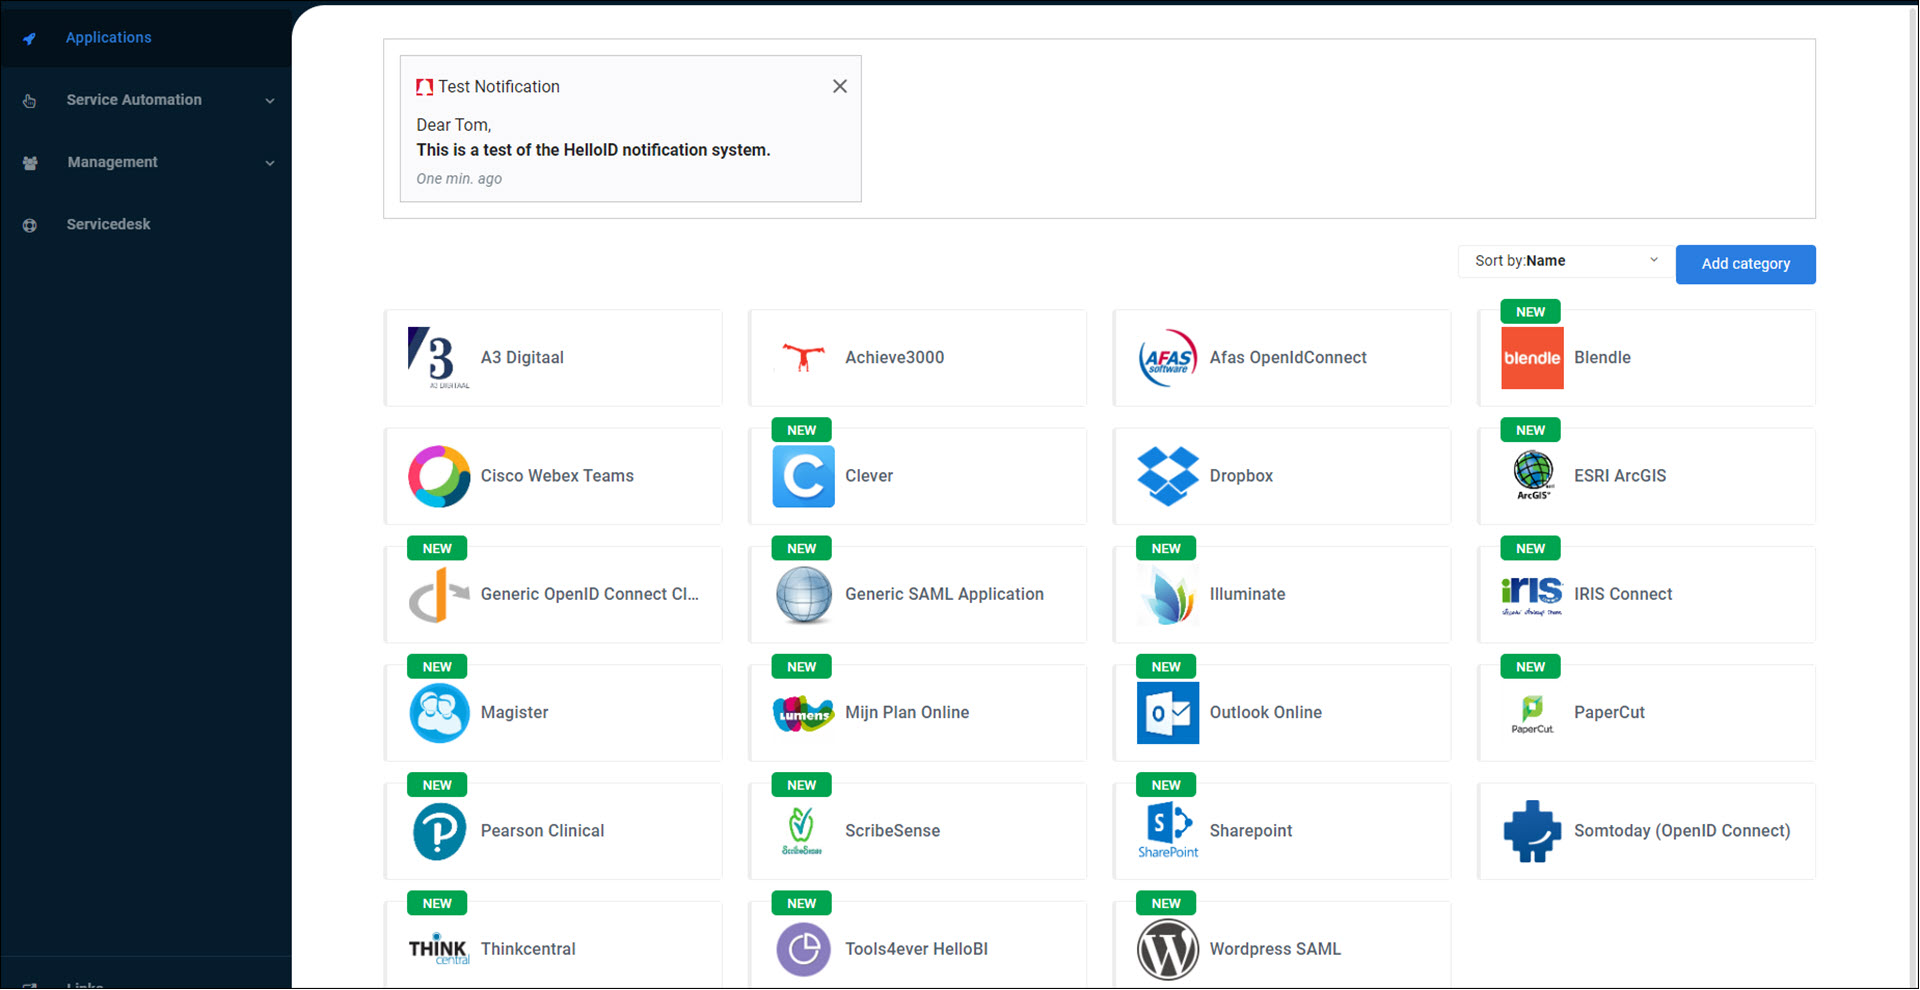
Add a notification
Go to Settings > Notifications.
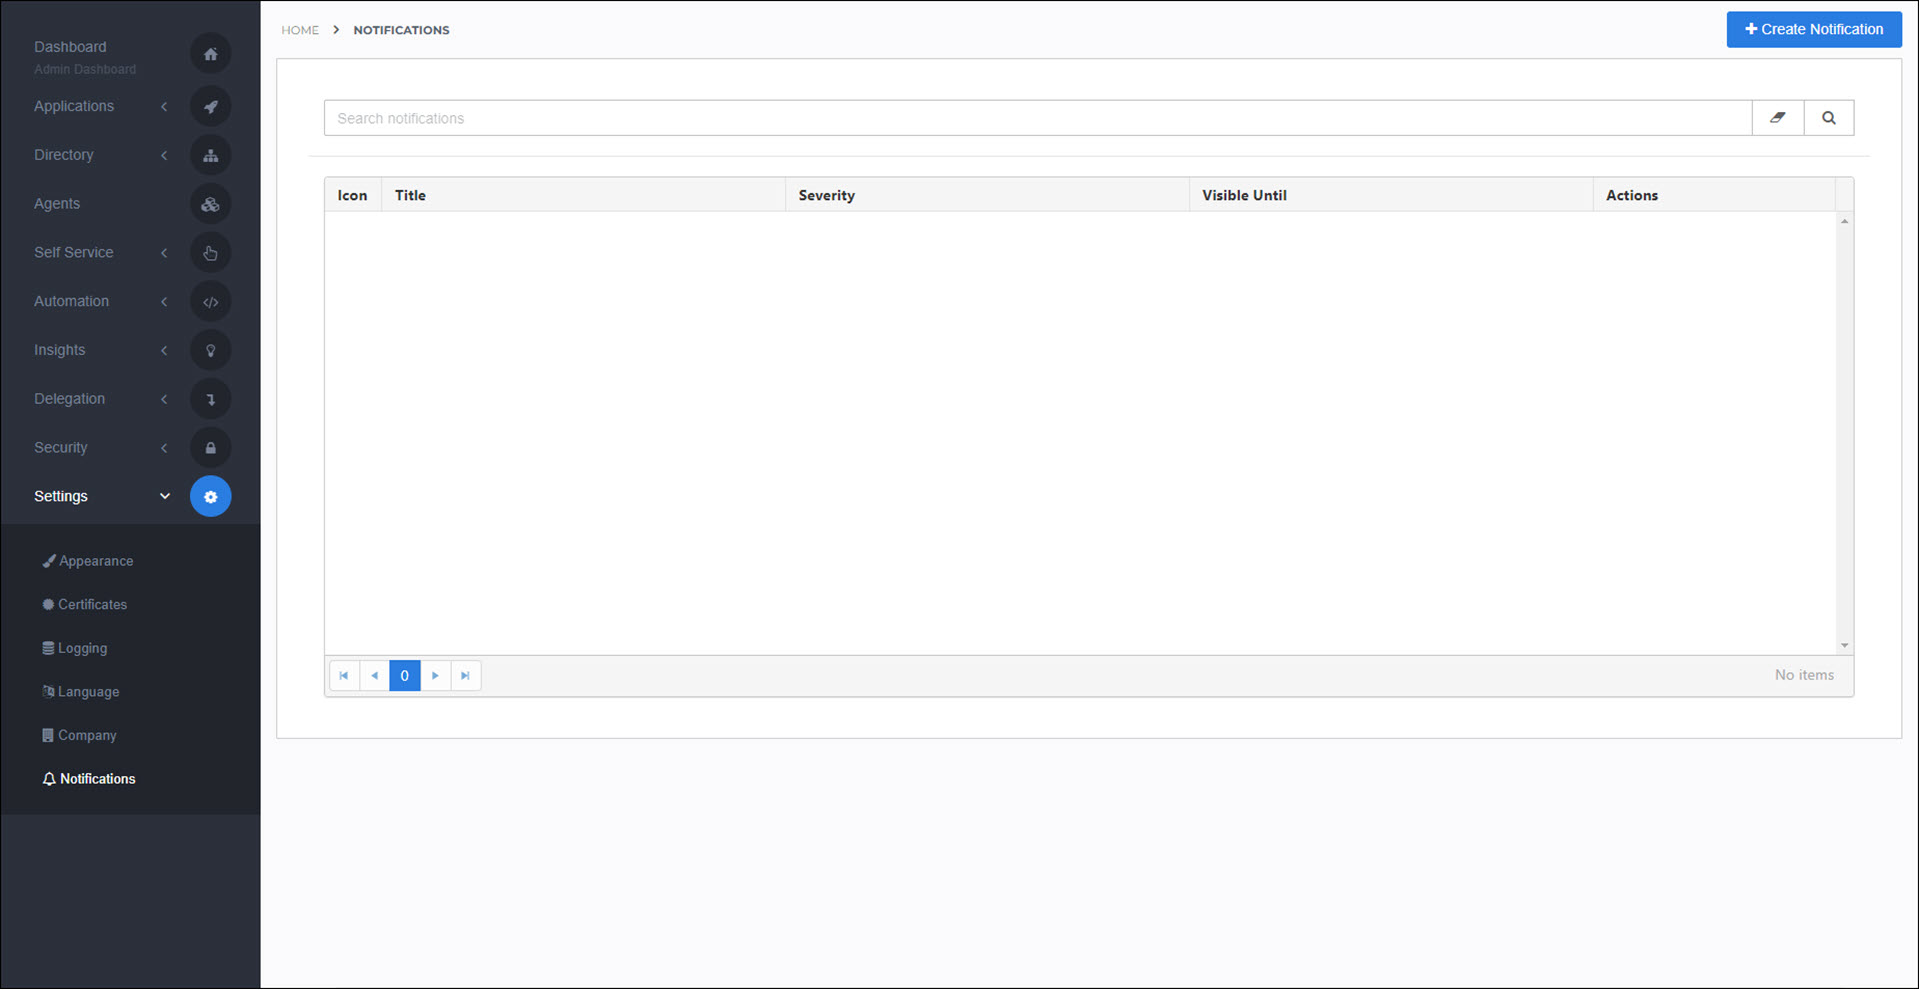
Click Create Notification.
On the General tab, enter the following information:
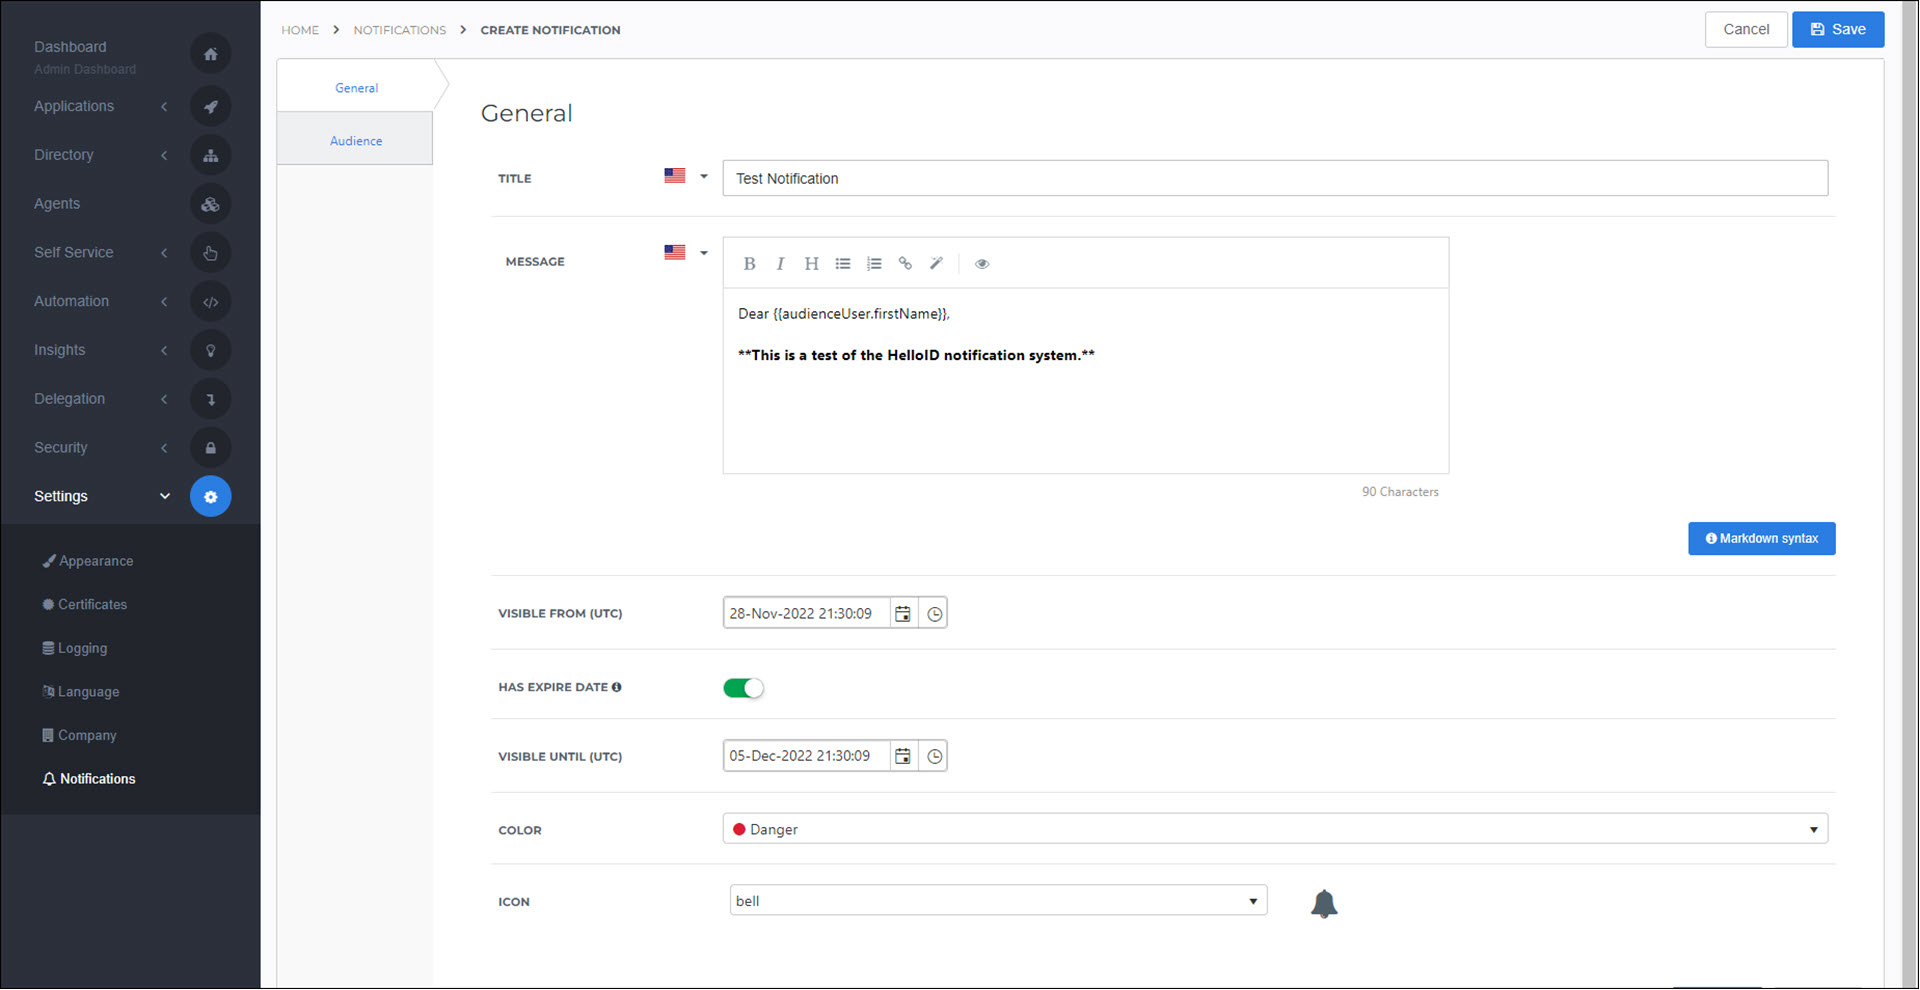
- Title
The name of the notification. Only visible to admins.
- Message
The body text of the notification. Visible to end users. Click the Markdown Syntax button to see available formatting (also see Markdown syntax). You can personalize the message using Access Management variables, System variables, and Custom variables. For example:
{{audienceUser.firstName}}.- Visible From (UTC)
The start date of the notification.
- Has Expire Date
The end date of the notification (optional).
- Color
The background color of the notification box.
- Icon
An icon to display on the notification box.
Go to the Audience tab.
Set the following options:
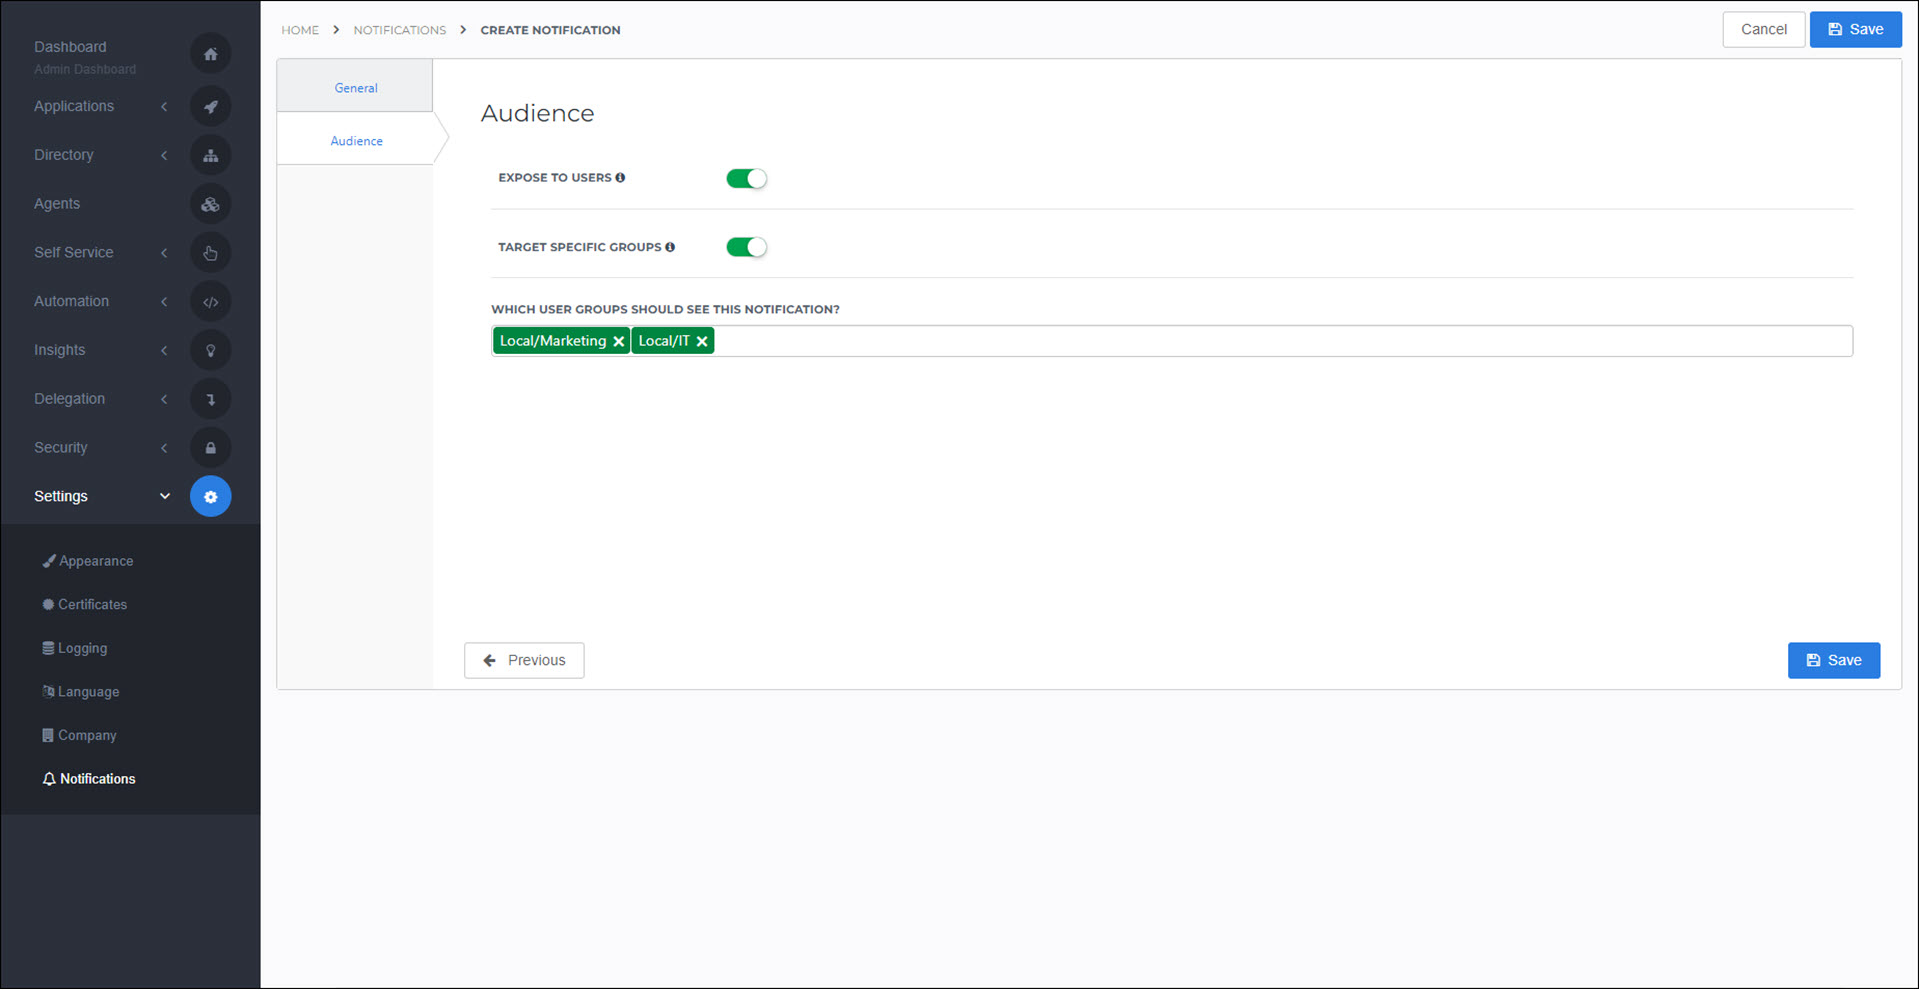
- Expose To Users
Shows or hides the notification on the User dashboard.
- Target Specific Groups
Enable to restrict this notification to users in certain Groups.
Click Save.
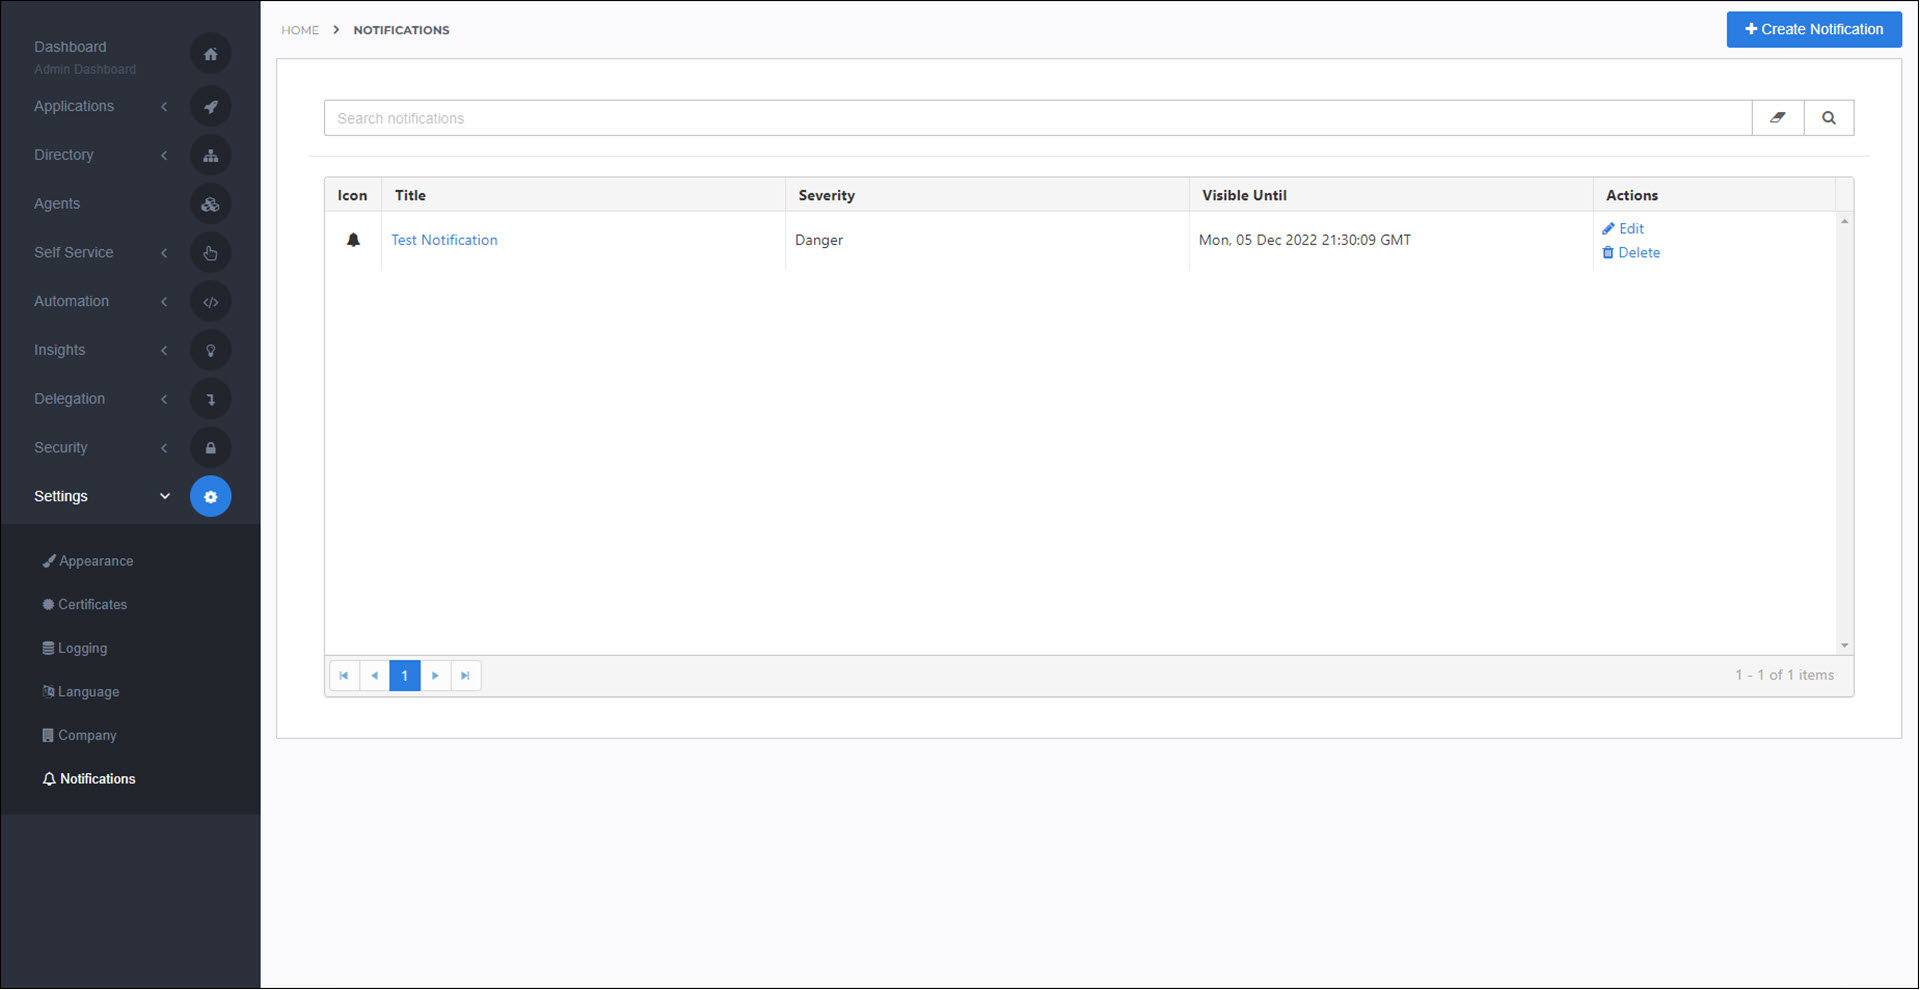
The notification is added to the grid in Settings > Notifications, and displayed to the relevant end users on the user dashboard.
Go to Settings > Notifications.
For the relevant notification, click Edit.
Continue by following the instructions in Add a notification.
Go to Settings > Notifications.
For the relevant notification, click Delete.
To confirm, click Delete.