ControlUp SAML application setup
Follow these instructions to set up the ControlUp SAML application in HelloID. The configuration takes place in HelloID and in the ControlUp admin center.
Requirements
HelloID environment
ControlUp environment
Step 1: Create or import a certificate
If there is no certificate yet, a certificate must be imported or created. This can be done in the HelloID admin portal; see Certificates.
For this tutorial, we will use a self-signed certificate. Learn more about certificates here.
Go to Settings > Certificates.
Click Create Self-Signed Certificate.
Set the following fields:
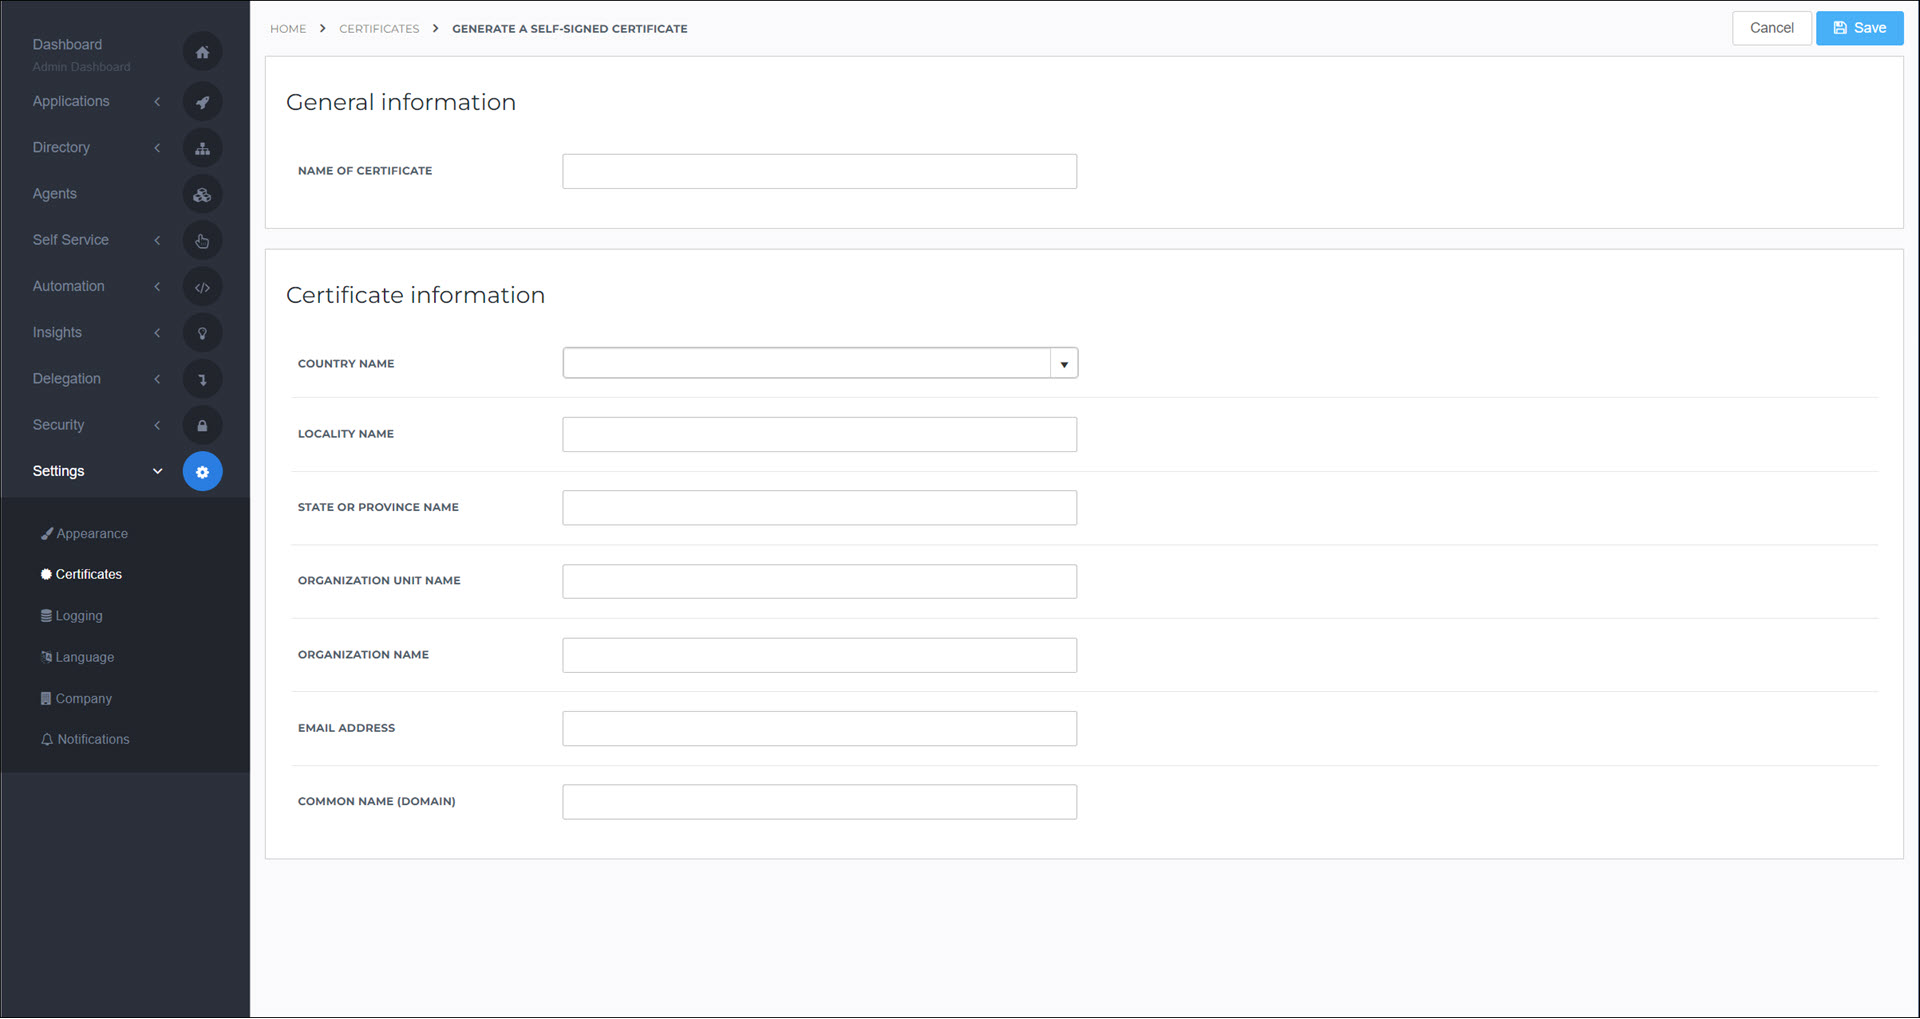
Name Of Certificate:
ControlUpSelfSignedCommon Name (Domain):
<yourcustomerid>.helloid.comAll other fields: set according to your organization's requirements.
Click Save.
Step 2: Add the application
Go to Applications > Applications.
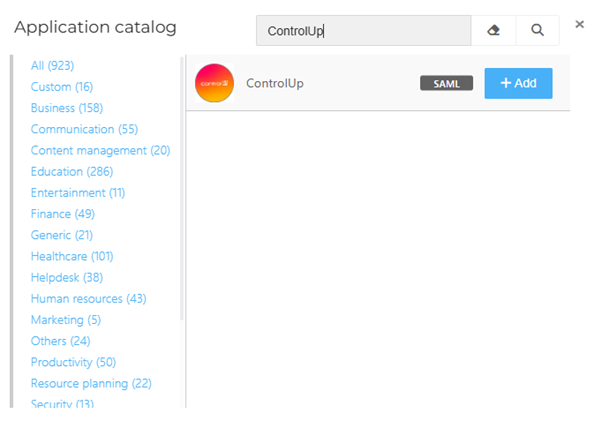
Click Open Application Catalog.
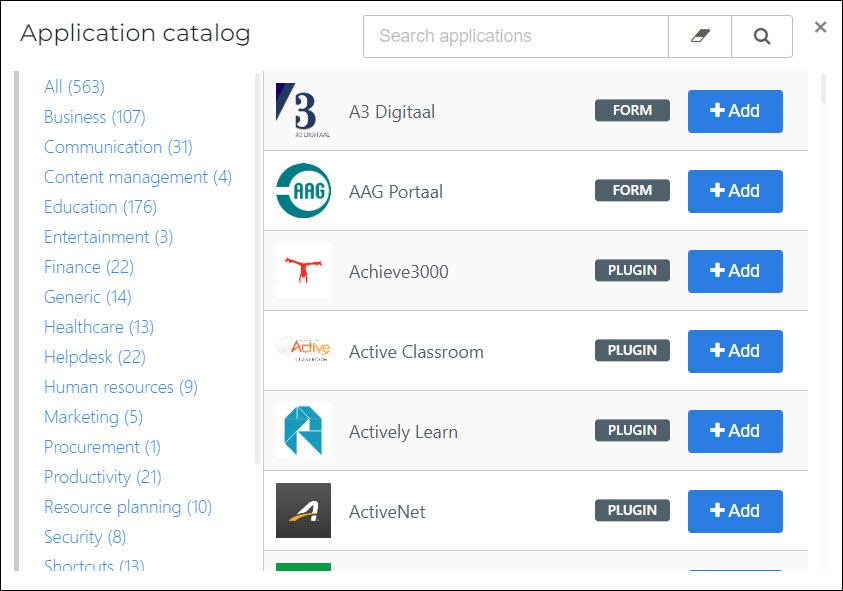
Search for the ControlUp SAML template, and click Add.
Step 3: Application setup
On the General tab, set the following field:
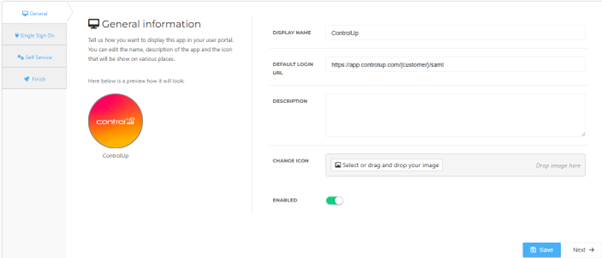
- Default Login URL
Fill the default login URL with the ControlUp environment SSO URL: replace {customername} with your company name. Optionally, you may also add a description.
Click Next.
On the Single Sign On tab, set the following fields:
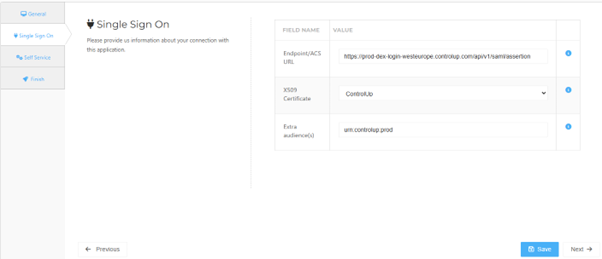
- Endpoint URL
This field is already filled in. You only need to change it if the app should connect to a different ControlUp environment (for example, a test or acceptance environment). To check this in ControlUp, sign in to your ControlUp environment and go to Settings > SAML Single Sign On > Enpoint/Assertion Login URL. Use the value from your ControlUp environment if it is different.
- X509 Certificate
From the drop-down, select the previously created or imported certificate.
- Extra audience
This field is prefilled with the default relying party trust identifier from ControlUp: urn:controlup:prod. To check this in ControlUp, sign in to your ControlUp environment and go to Settings > SAML Single Sign On > Relying Party Trust Identifier. Use the value from your ControlUp environment if it is different.
Click Next.
On the Self Service tab, choose whether to generate a product (see Products) for users to request this application. If you do, select the Group that will be linked to the product.
Click Next.
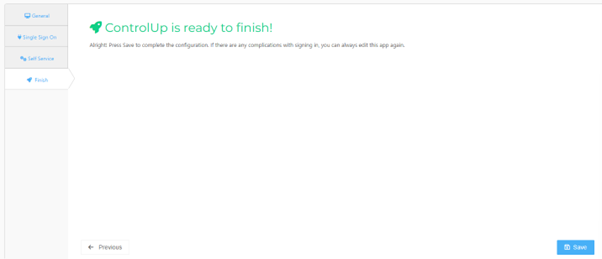
On the Finish tab, click Save.
Step 4: Mappings
ControlUp expects the company name to be sent within the SAML request when using IDP initiated login.
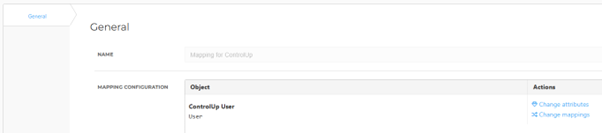
Open the new ControlUp application and click the Configure mapping set button.
Click Change attributes.
Replace organizationname in the orgurl mapping with your ControlUp organization name.
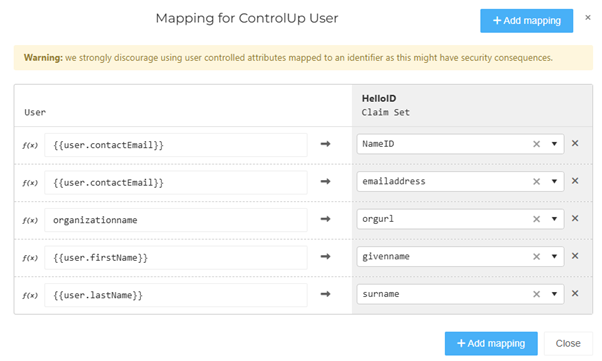
Click Close and save the application.
Step 5: Post-setup configuration
HelloID side
Get the application's metadata:
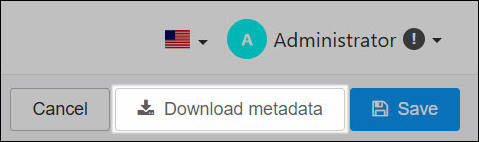
Go to Applications > Applications and click Edit for the ControlUp application.
Click Download Metadata and save it to a local file on your machine.
ControlUp side
After the Identity Provider has been configured, edit the general system settings in ControlUp. To do so, follow the steps below:
Sign in to ControlUp.
Go to Settings > SAML Single Sign On.
Click Import and upload the previously downloaded metadata XML file.
Click the Test button to test the Single Sign-On connection. When successful you can save the configuration. The SSO connection has been setup properly.
Step 7: Finish up
The application has been added to HelloID, and a trust has been configured. You may now want to do the following:
Grant a group access to an application to make the application accessible to more users.
If you generated a self-service product, you can Link a product to a group to make the product requestable for more users.