Add, edit, or remove an approval workflow
For more information, see Approval workflows.
Add an approval workflow
Tip
See the Approval workflow settings reference for a full list of configuration options.
Go to Self Service > Approval Workflows.
Click Create.
Enter a Name.
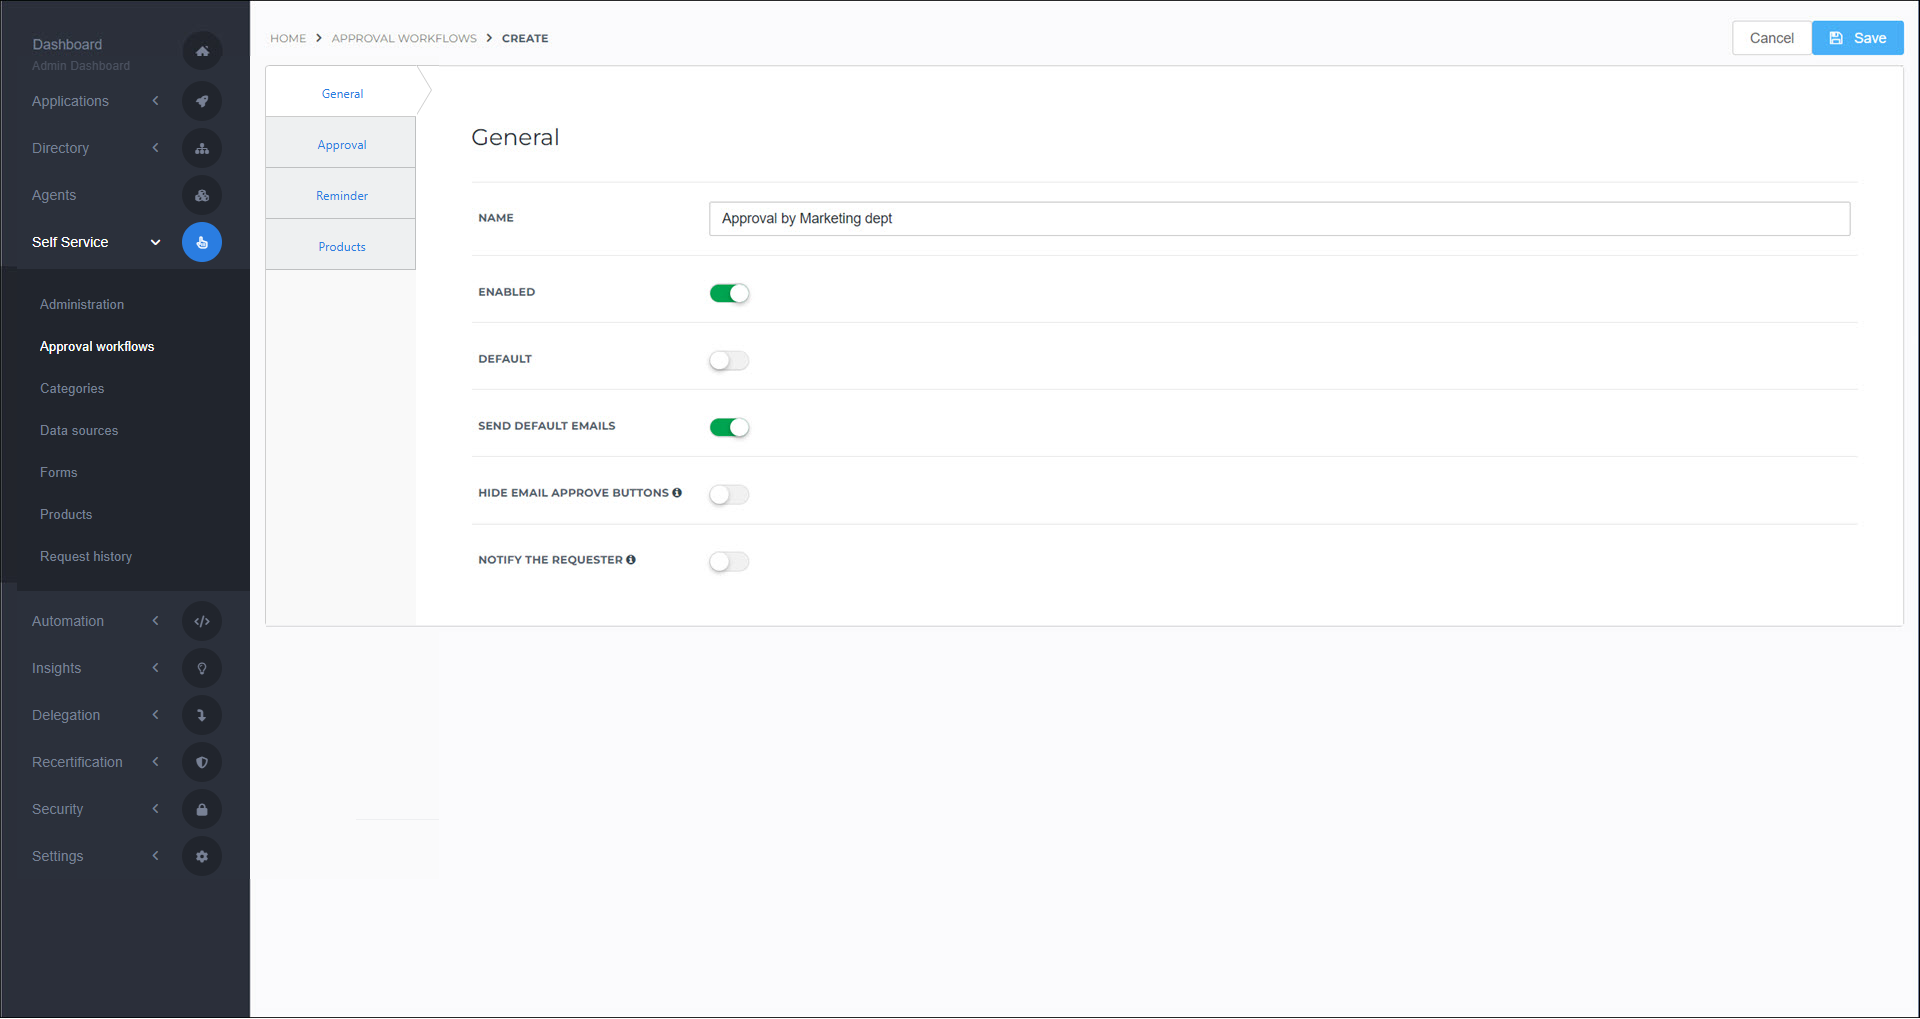
Optional: Enable the Default toggle to set this approval workflow as the default for all new products (see Set the default approval workflow).
Go to the Approval tab.
Add Users and/or Groups to the list of Designated responders, using the Specify Approvers user scope filter.
For detailed instructions, see User scope filters.
Note
If a group is appointed as designated responder, only one user from that group is required to respond. For example, if the Resource Owner group contains multiple users, only one of those users needs to approve.
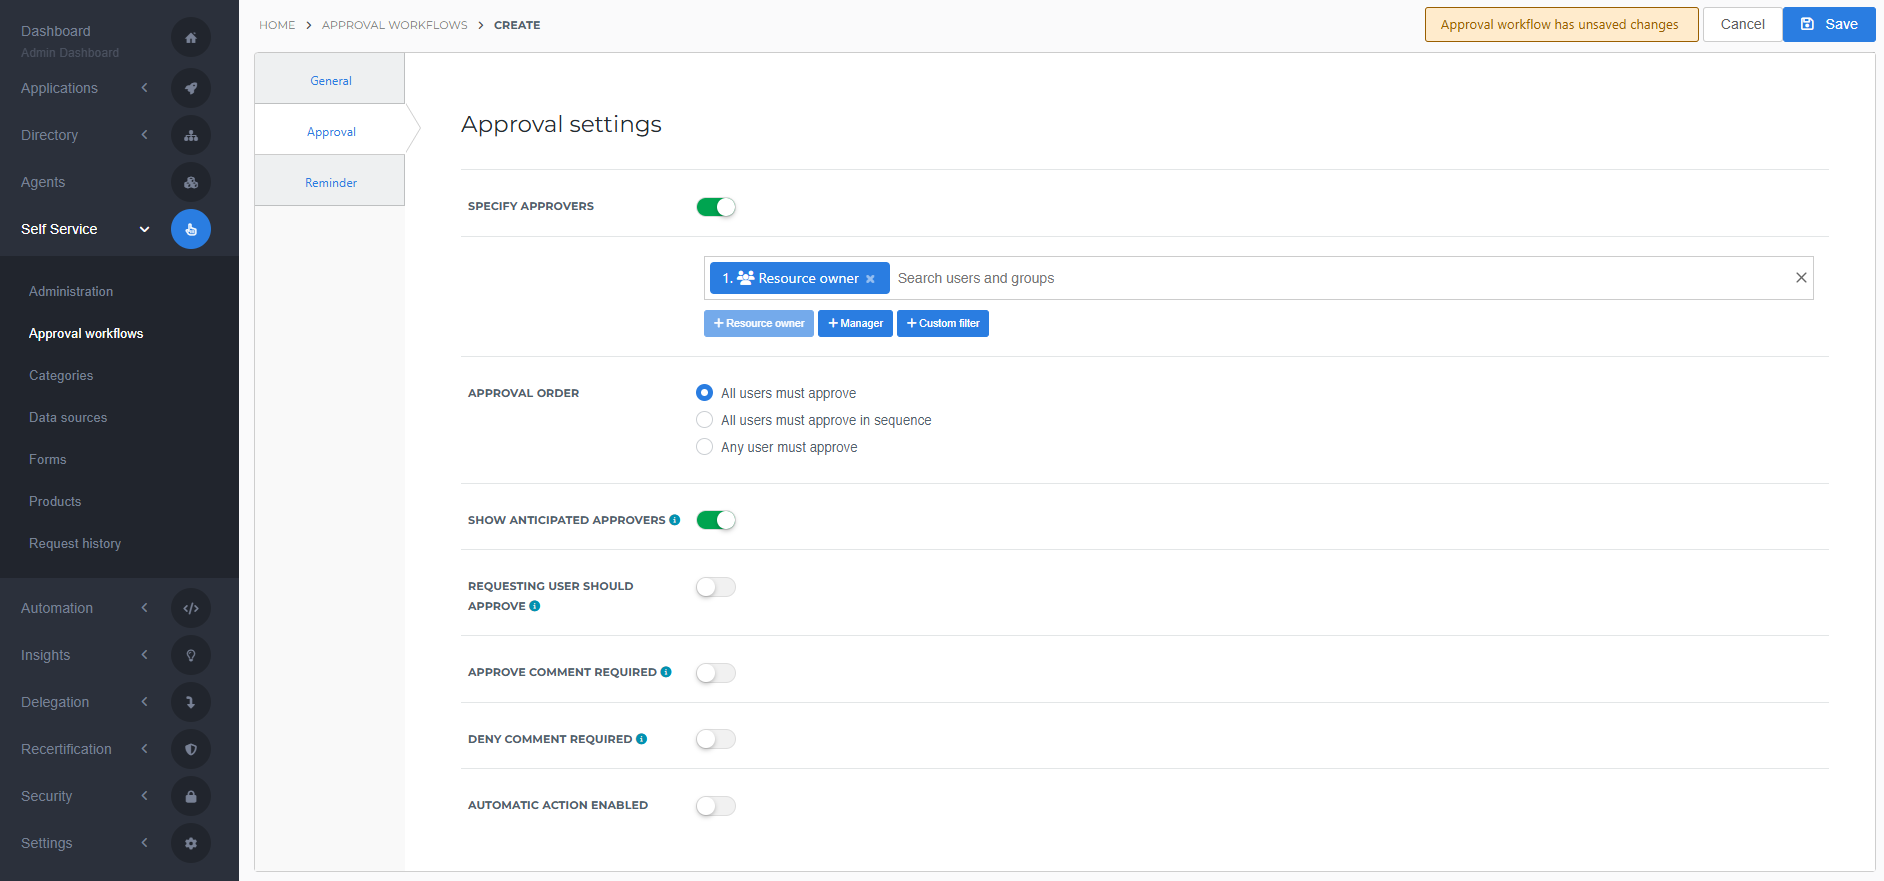
Set the Approval Order. These options apply to the users and/or groups specified as designated responders.
All users must approve: Requires approval from all users set as designated responders and one user per approval group. All users are notified at the same time.
All users must approve in sequence: Requires approval from all users set as designated responders and of one user per approval group, in the specified order. Notifications are sent sequentially; the next user or group is notified as soon as a previous user, or a user in the previous approval group, has approved.
Any user must approve: Requires approval from any one designated user or group. All users are notified simultaneously.
Optional: Go to the Reminder tab.
Enable the Reminder Enabled toggle to let the requesting user send reminder emails to the designated responders.
Click Save.
Your custom approval workflow has been created. To use it, Set a product's approval workflow.
Go to Self Service > Approval Workflows.
For the relevant approval workflow, click Edit.
Continue by following the instructions in Add an approval workflow.
Note
If the approval workflow you want to delete is the current default workflow, you must first set a different approval workflow as the default. See Set the default approval workflow.
Go to Self Service > Approval Workflows.
For the relevant approval workflow, click Delete.
To confirm, click Delete.
All Products currently using this approval workflow are re-configured to use the current default approval workflow.