Add, edit, or remove a PowerShell target system
Add a PowerShell target system
Recommended: Check the Provisioning GitHub resources to see if a GitHub repository already exists with a connector template for your target system. Templates exist for Google Workspace, the Microsoft Graph API (advanced Azure AD), Blackboard, TOPdesk, and many more.
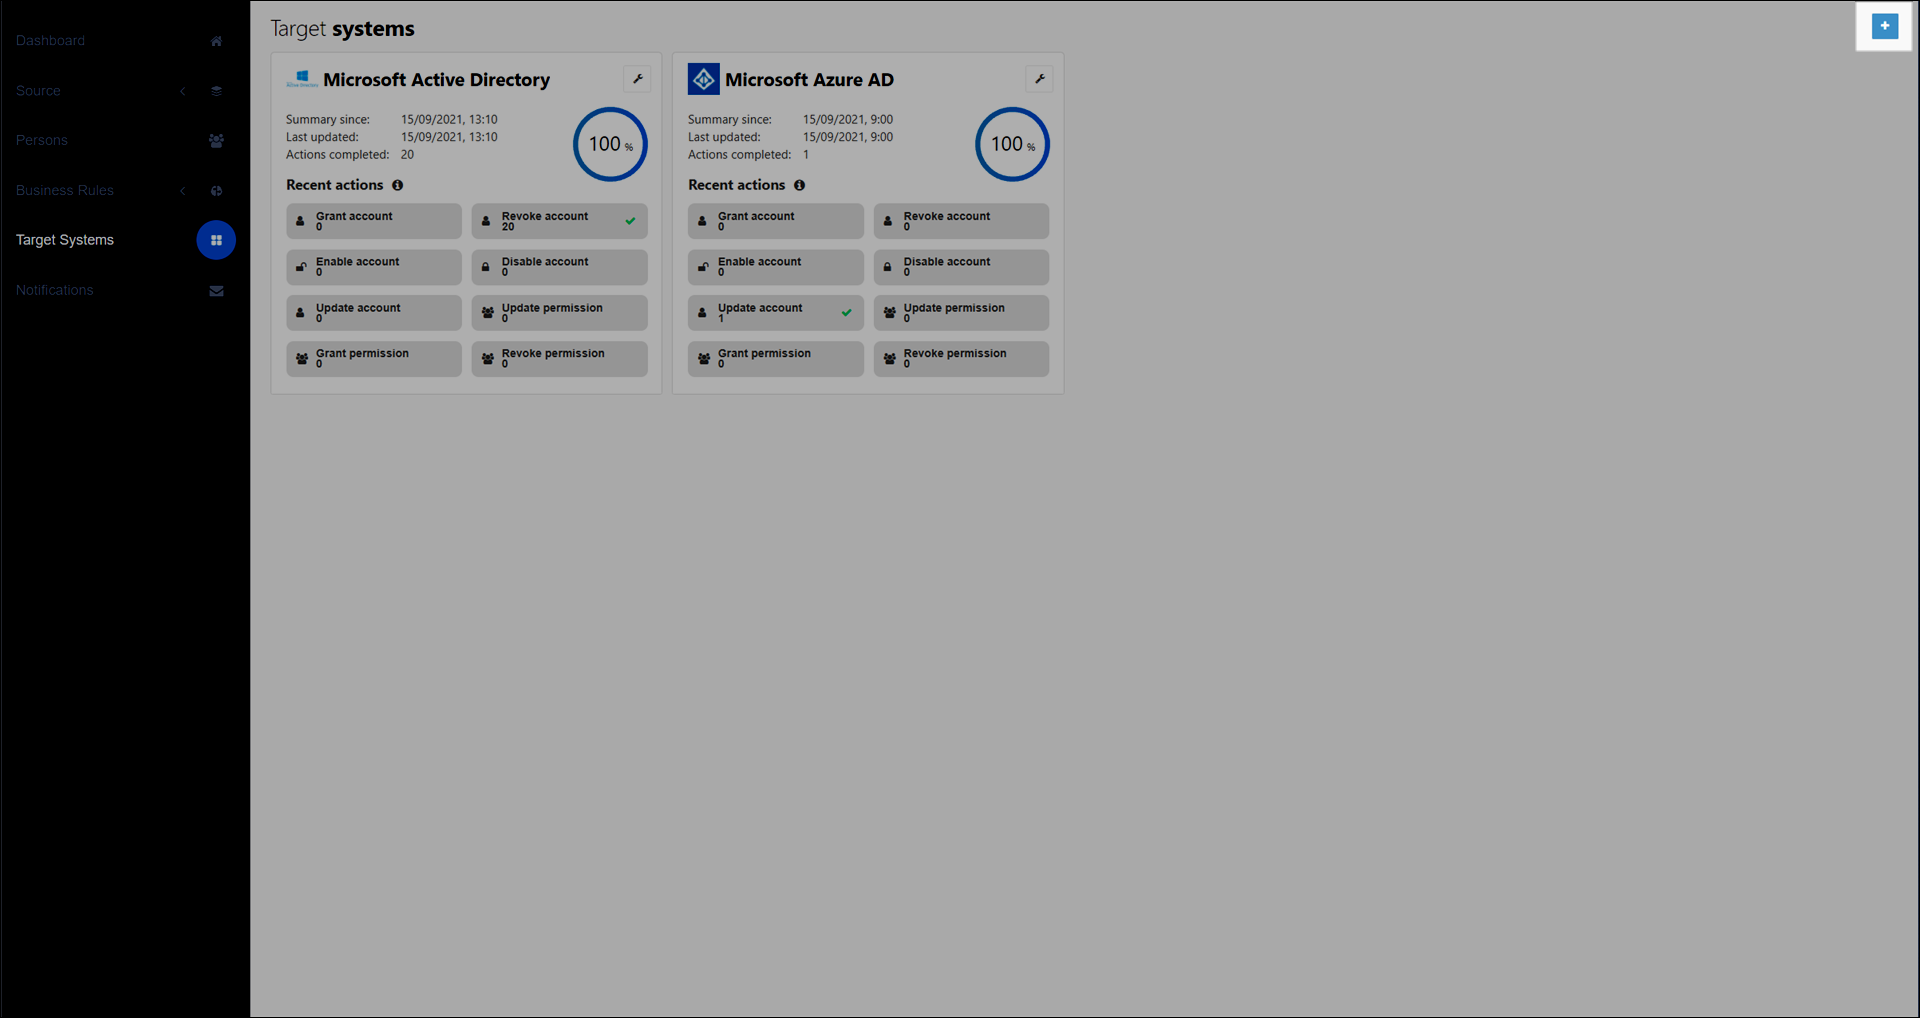
Go to Target Systems.
Click
Add System.
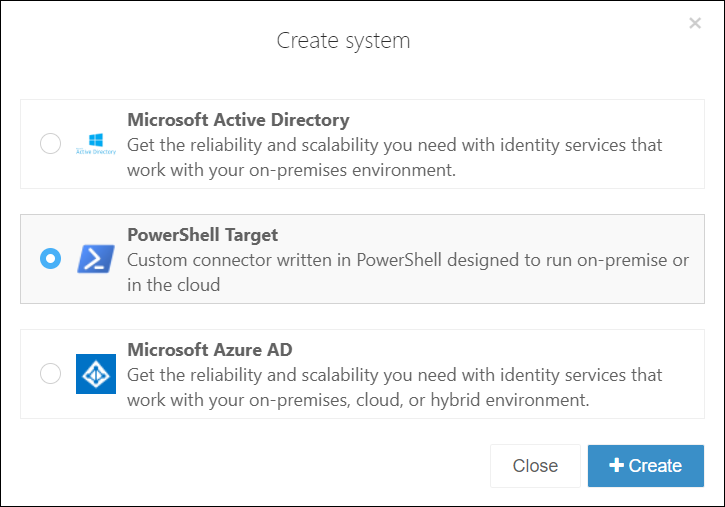
On the Create System dialog box, select PowerShell Target and click Create.
Optional: If you're using a connector template from GitHub, then copy and paste the contents of the following files to prepare the target system for configuration:
Tip
Some repositories only contain (and require) a subset of these files, or may also contain additional files, in which case they are described in the repository's readme.
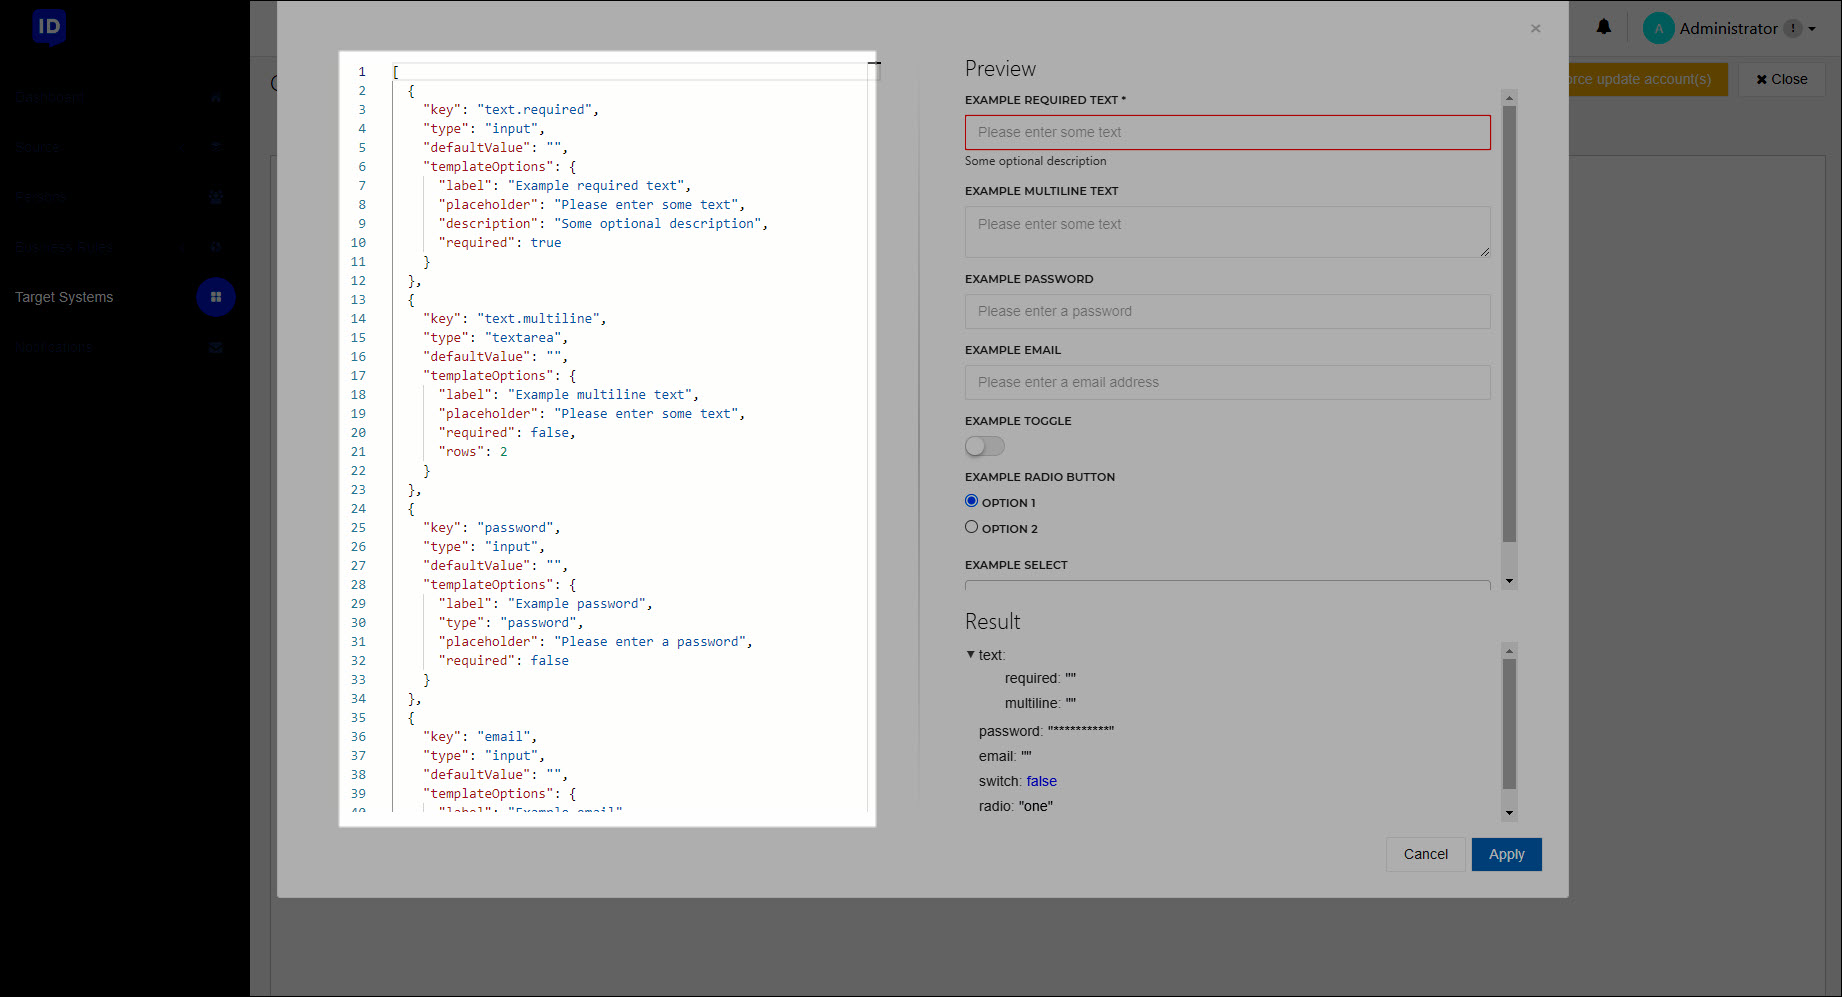
configuration.json
Account tab > Custom Connector Configuration >
Edit (Configure an input form (PowerShell v1/v2 target systems))
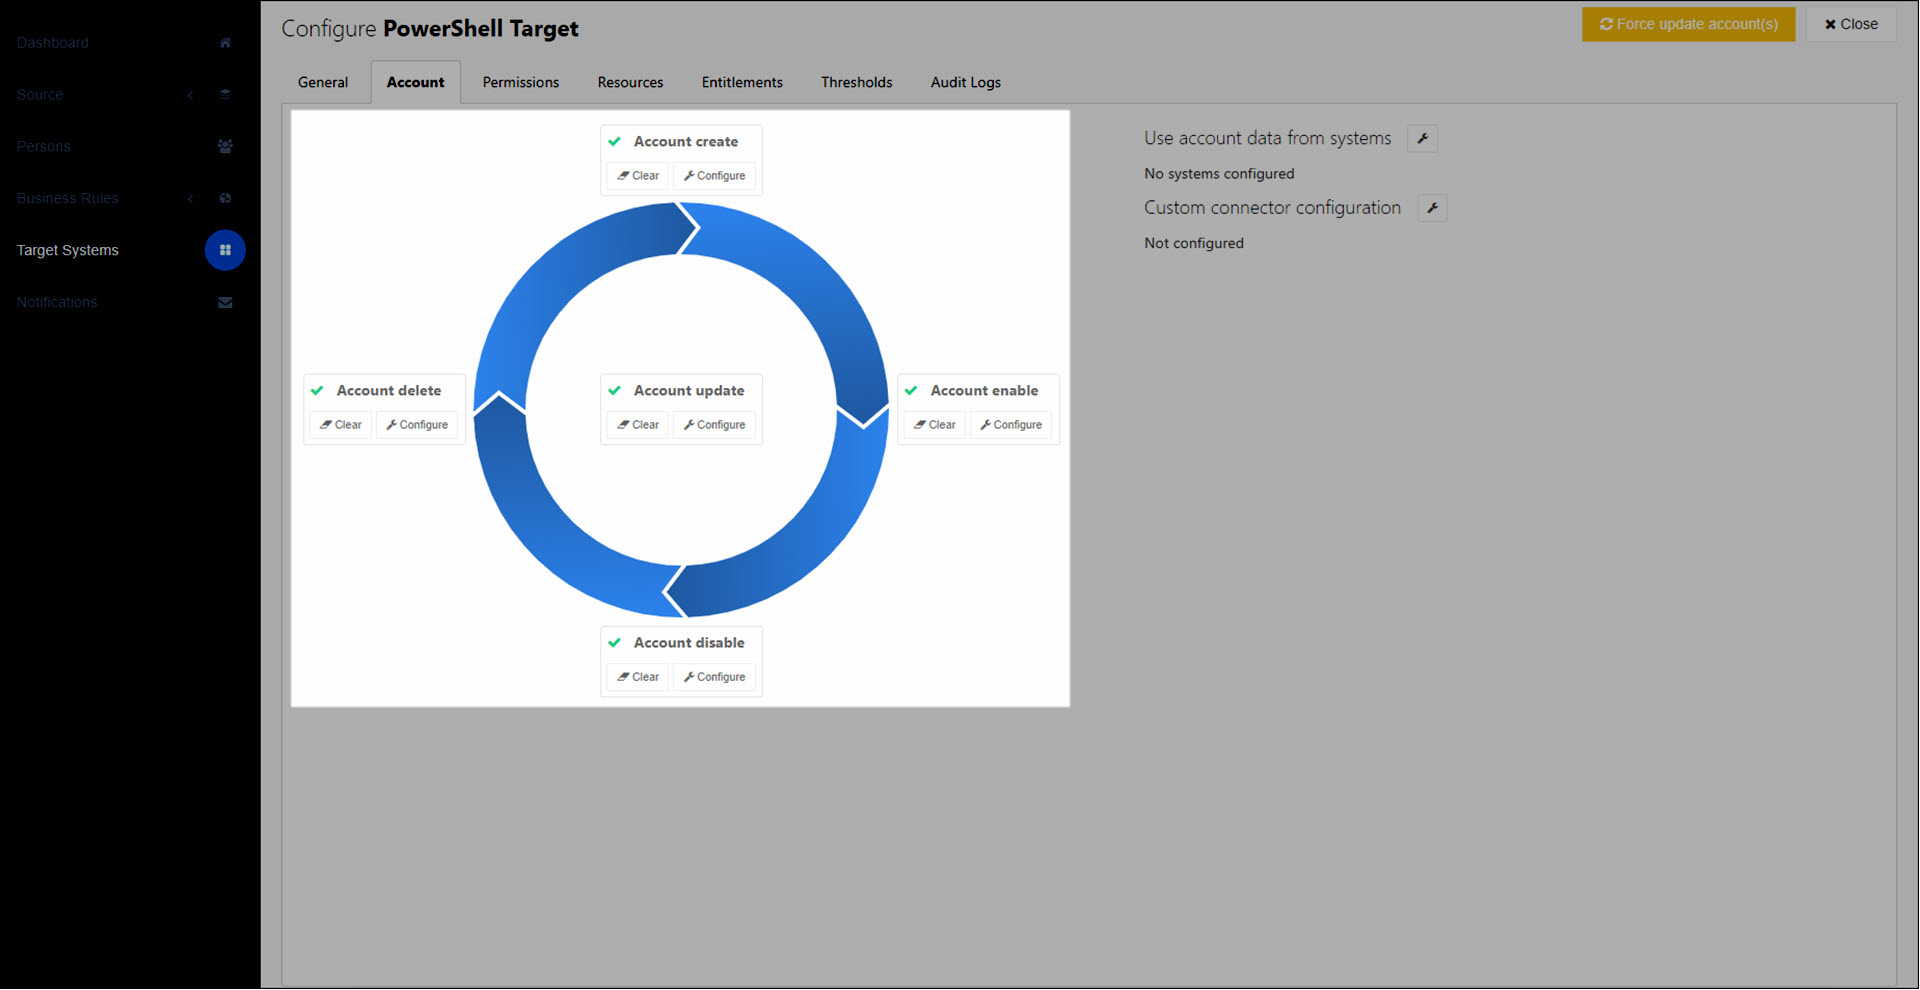
create.ps1, delete,ps1, disable.ps1, enable.ps1, update.ps1
Account tab > Configure buttons (Customize an account script)
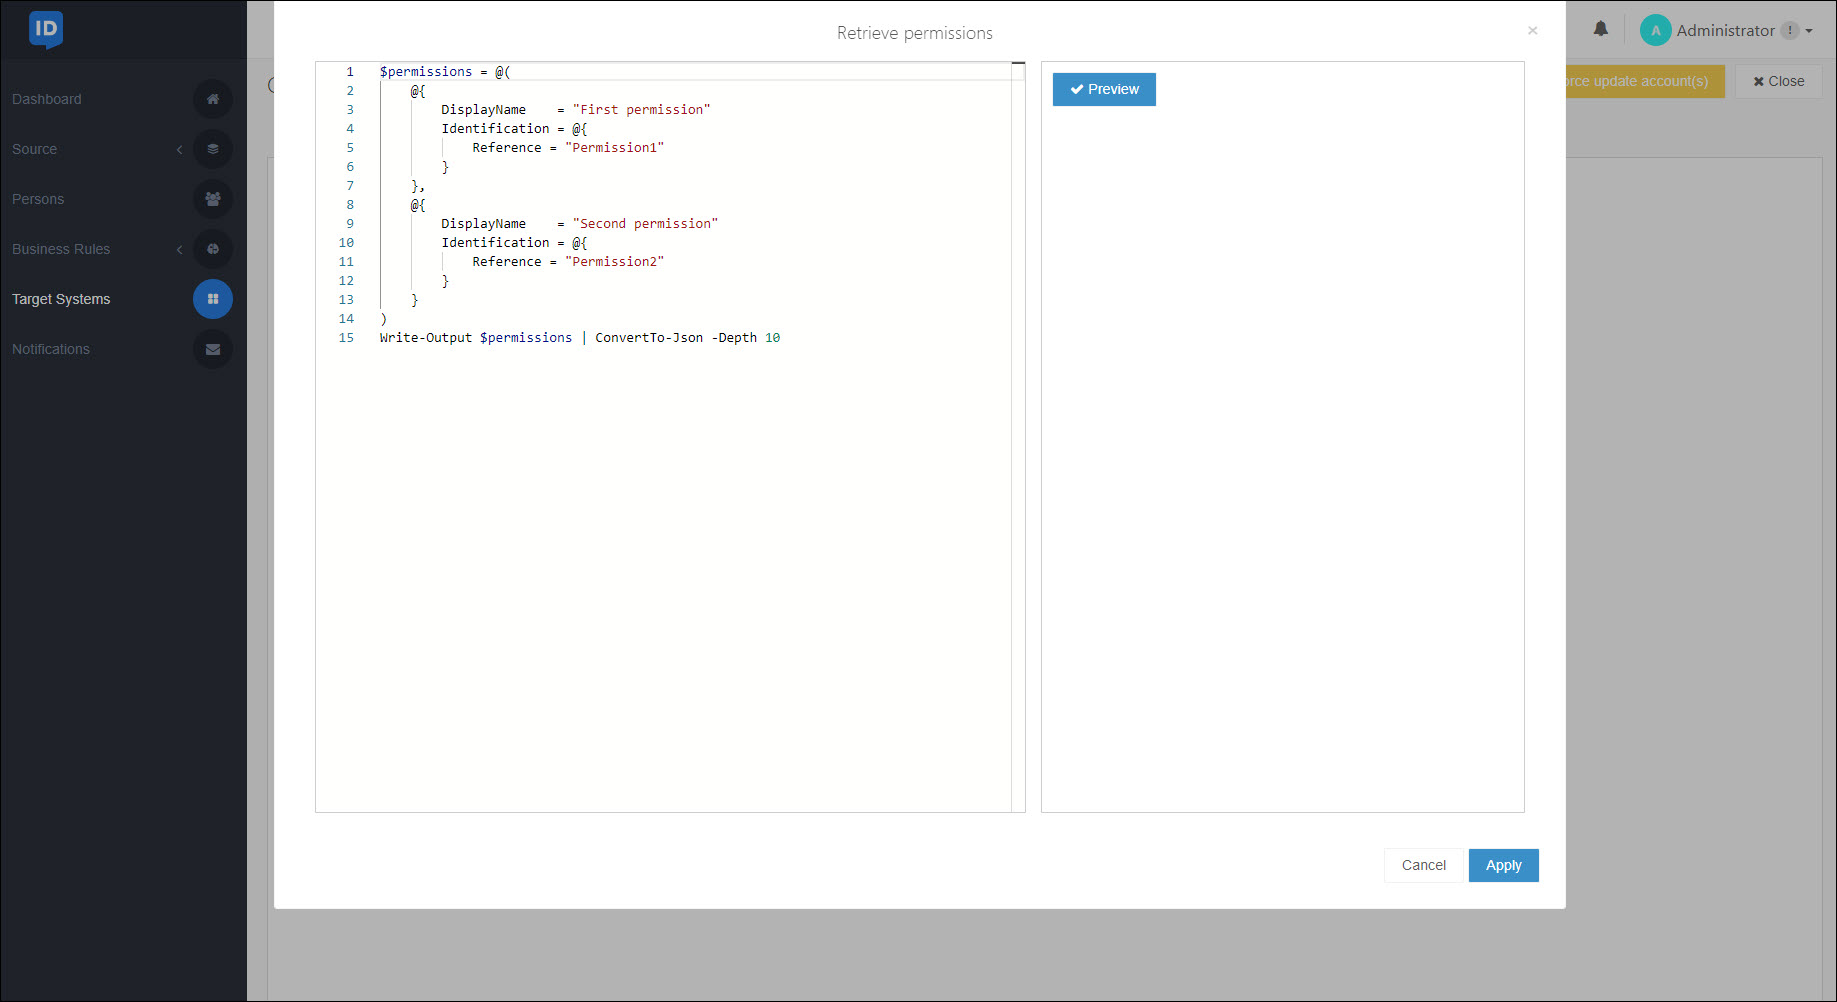
entitlements.ps1
Permissions tab >
Add Permission Set > enable Use Script To Retrieve Permissions > Retrieve Permissions Script (Retrieve permissions script)
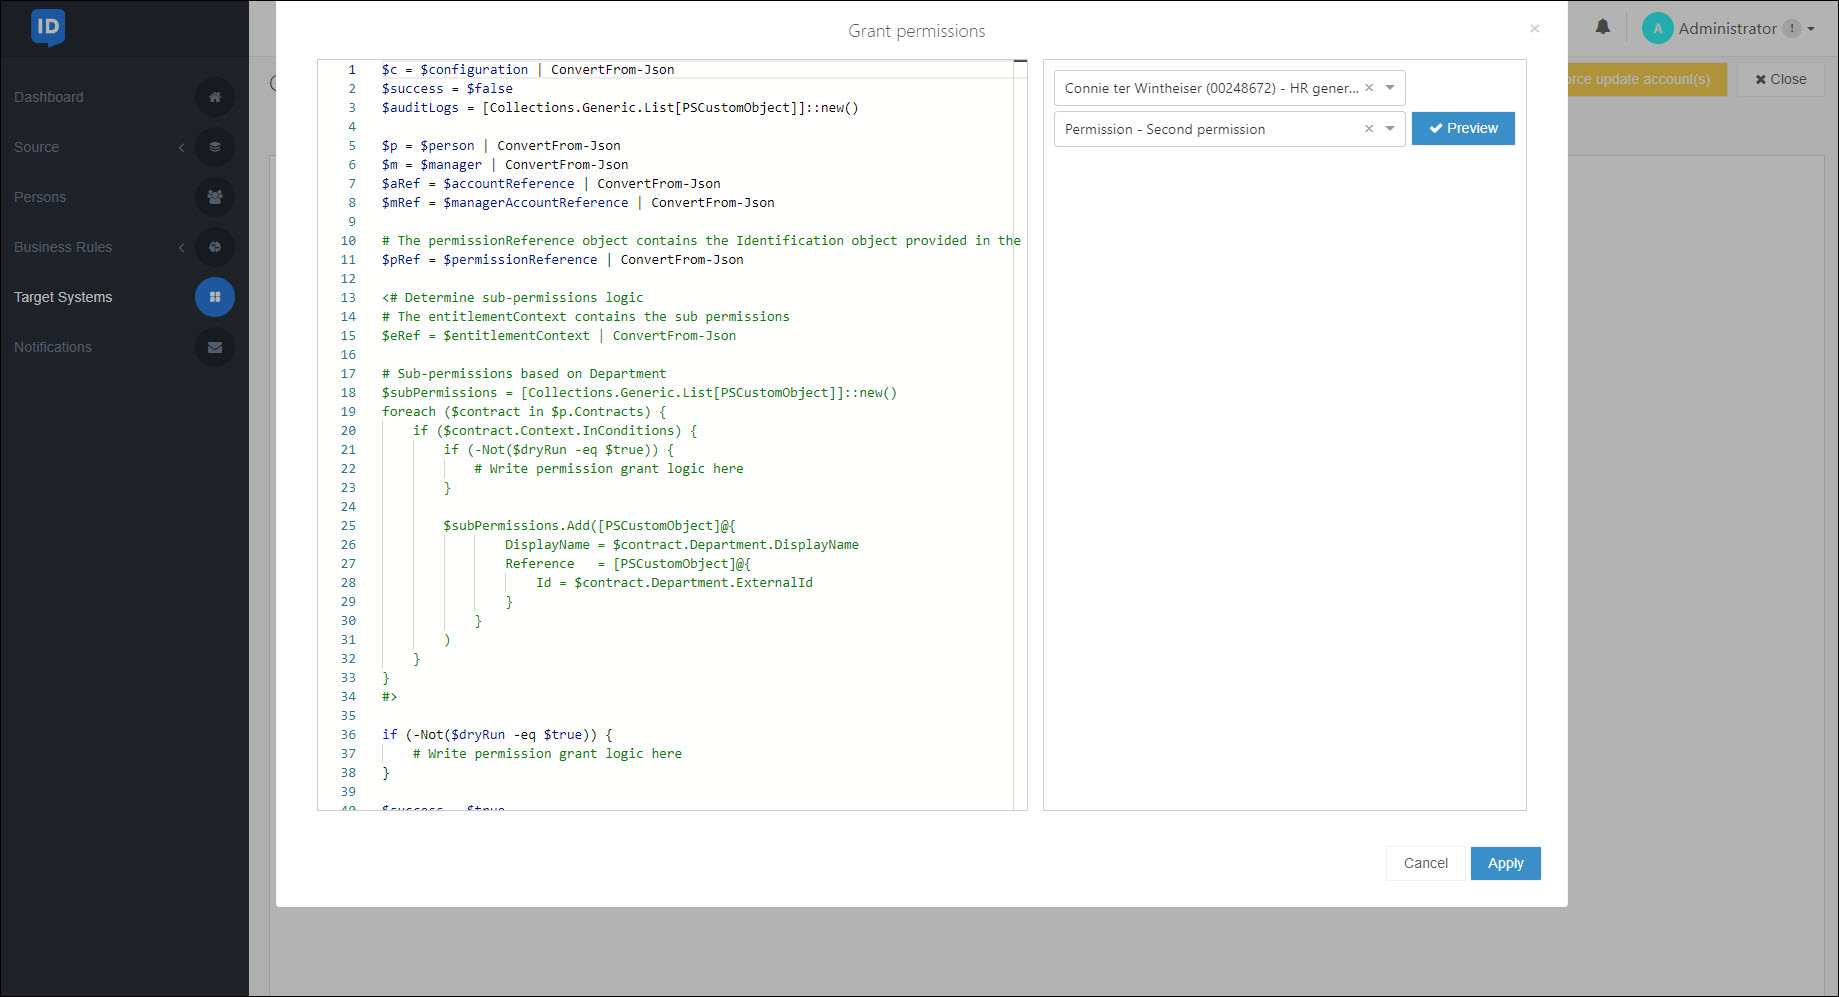
grantPermission.ps1
Permissions tab >
Add Permission Set > enable Use Separate Script For Each Action > Grant Action Script (Grant permission script)
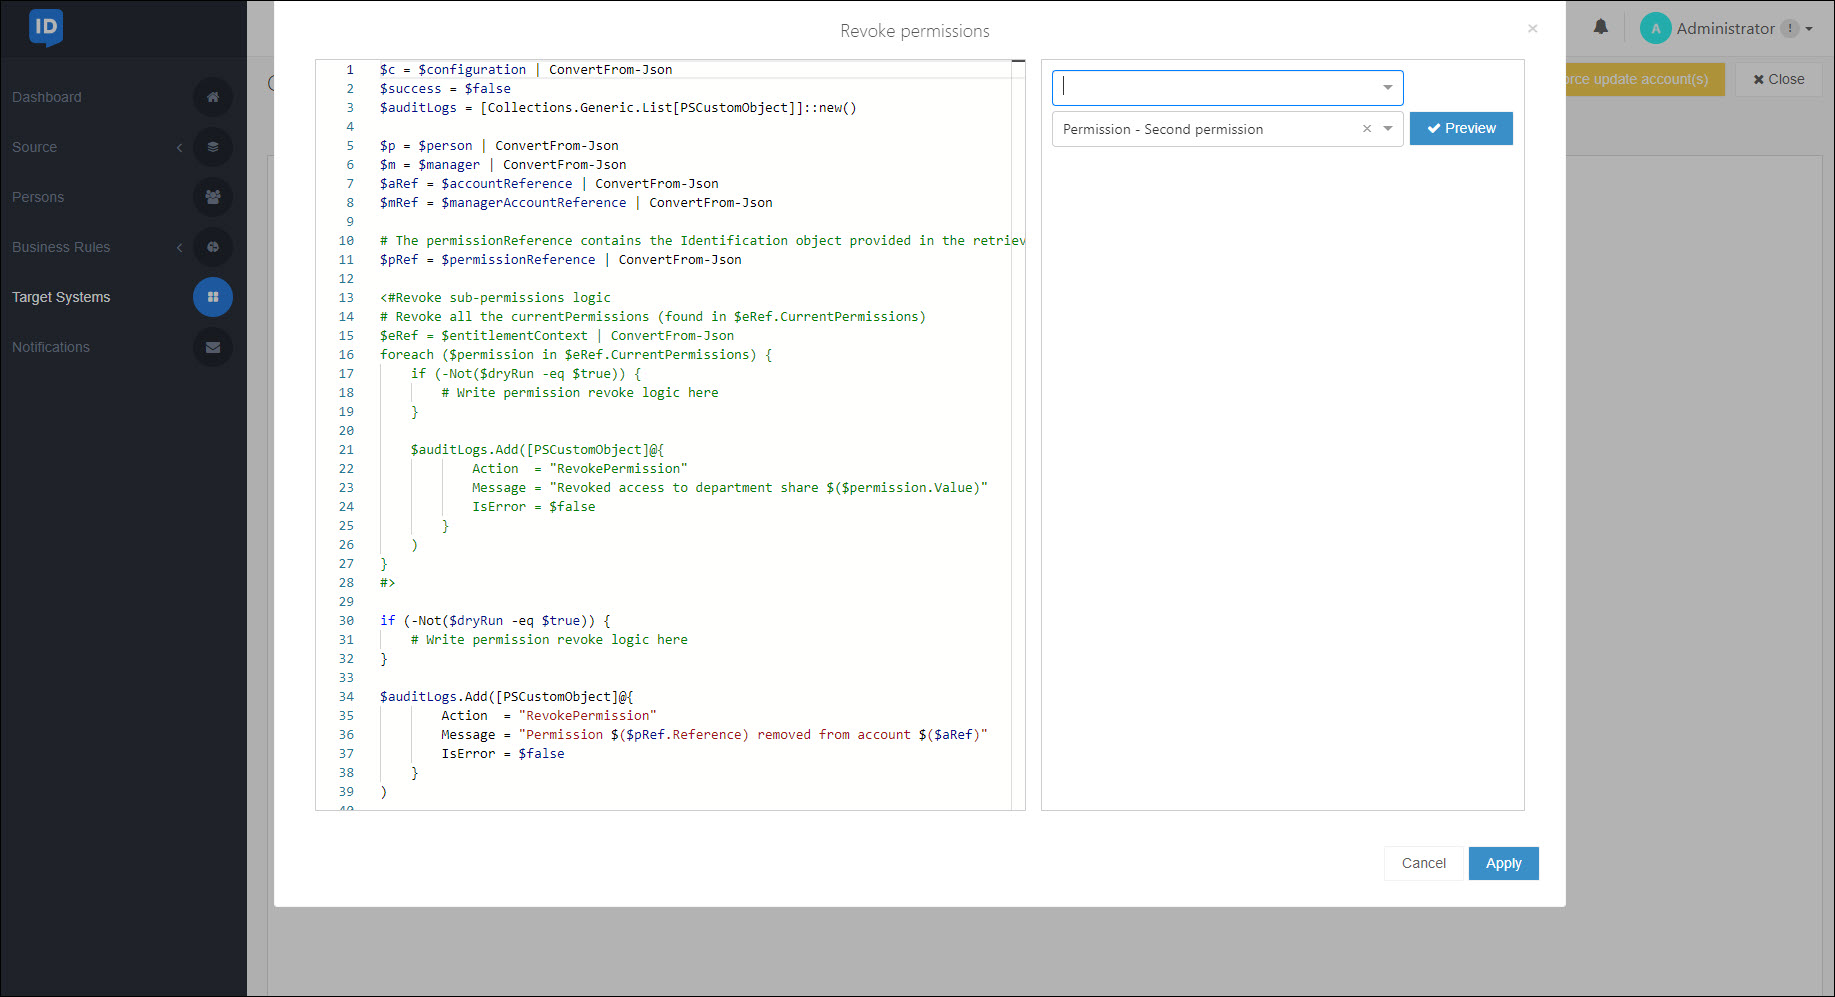
revokePermission.ps1
Permissions tab >
Add Permission Set > enable Use Separate Script For Each Action > Revoke Action Script (Revoke permission script)
Continue setting up the target system by following the steps in Configure a PowerShell target system.
Warning
By default, all new target systems are disabled, and all thresholds are enabled.
Go to Target Systems.
Click
Edit for the relevant system.
Continue by following the steps for the relevant type of target system:
Go to Target Systems.
For the relevant system, Edit a target system.
Click Delete.
On the Confirm System Deletion dialog box, click Delete to confirm.
The system is removed, including all its Entitlements that are configured in Business rules. Entitlements that are currently granted become unmanaged (see Unmanage).