Fortinet SSL VPN SAML application setup
Follow these instructions to set up the Fortinet SSL VPN SSO application in HelloID.
Tip
For more information about managing applications, see Applications.
Requirements
Fortinet SSL VPN environment
Step 1: Add a certificate
Go to Settings > Certificates.
Click Create Self-Signed Certificate.
Set the following fields:
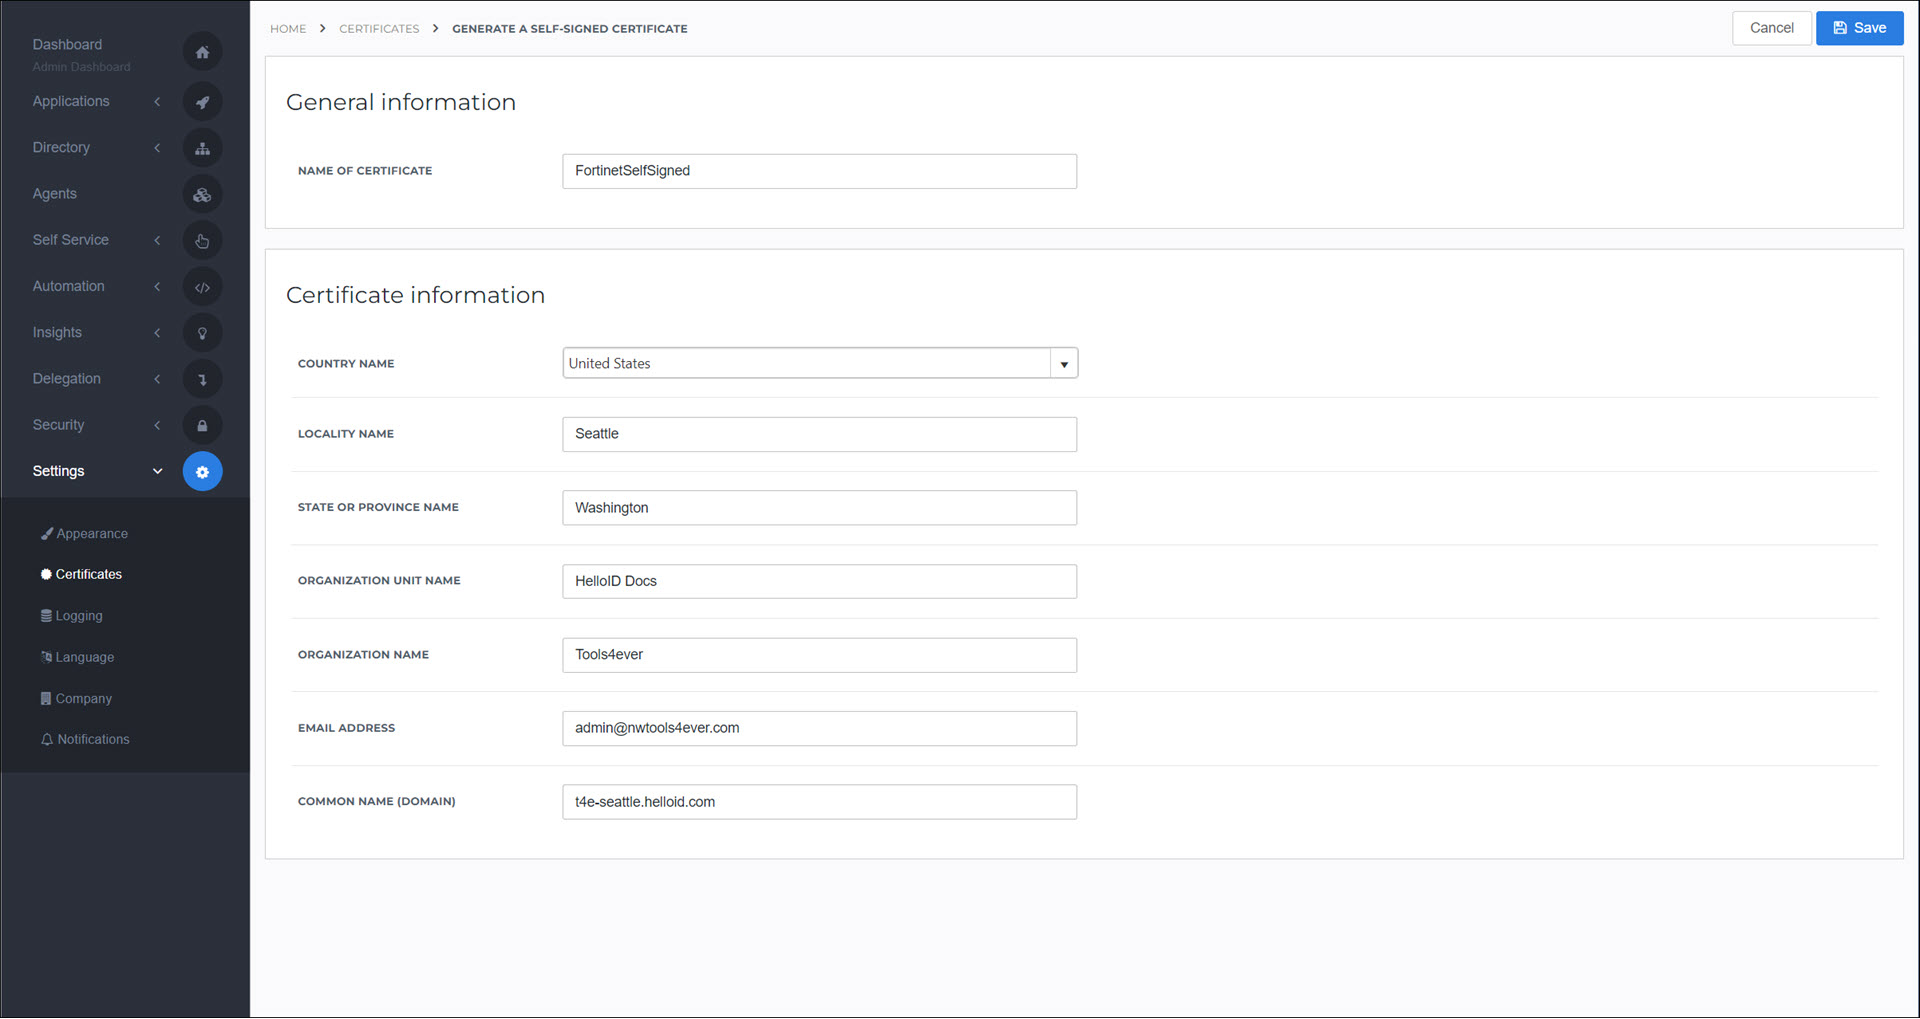
Name Of Certificate:
FortinetSelfSignedCommon Name (Domain):
<yourcustomerid>.helloid.comAll other fields: set according to your organization's requirements.
Click Save.
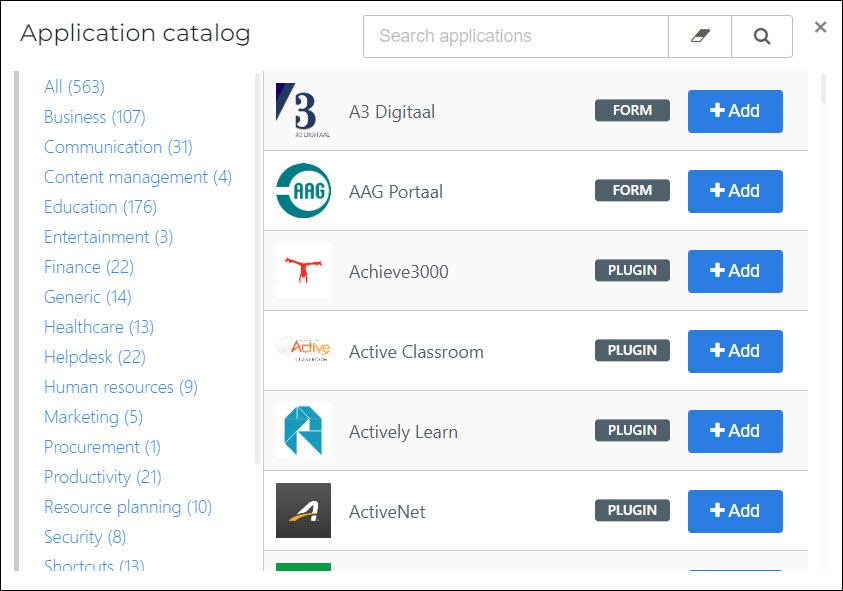
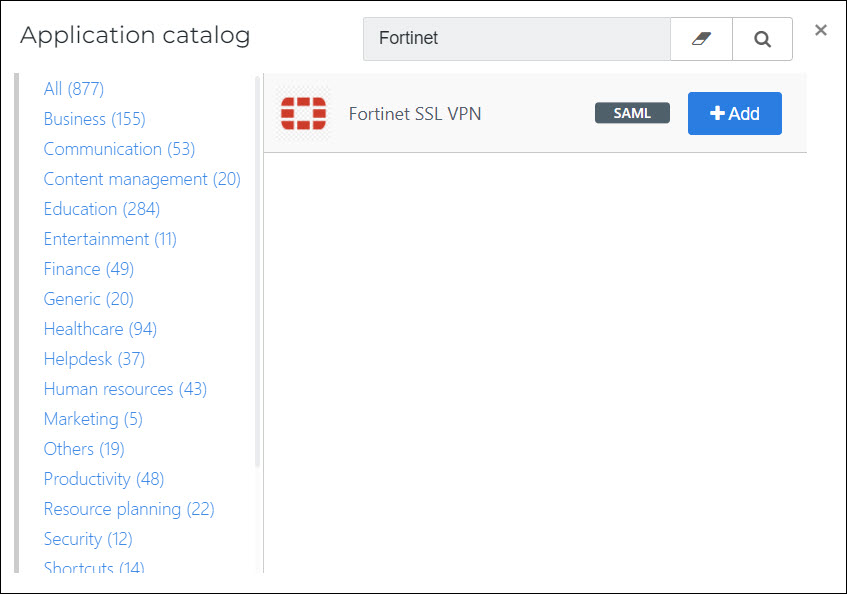
Step 2: Add the application
Go to Applications > Applications.
Click Open Application Catalog.
Search for the Fortinet SSL VPN template, and click Add.
Step 3: Application setup
Tip
For details on all available fields, see the Application settings reference.
On the General tab, set the following fields:
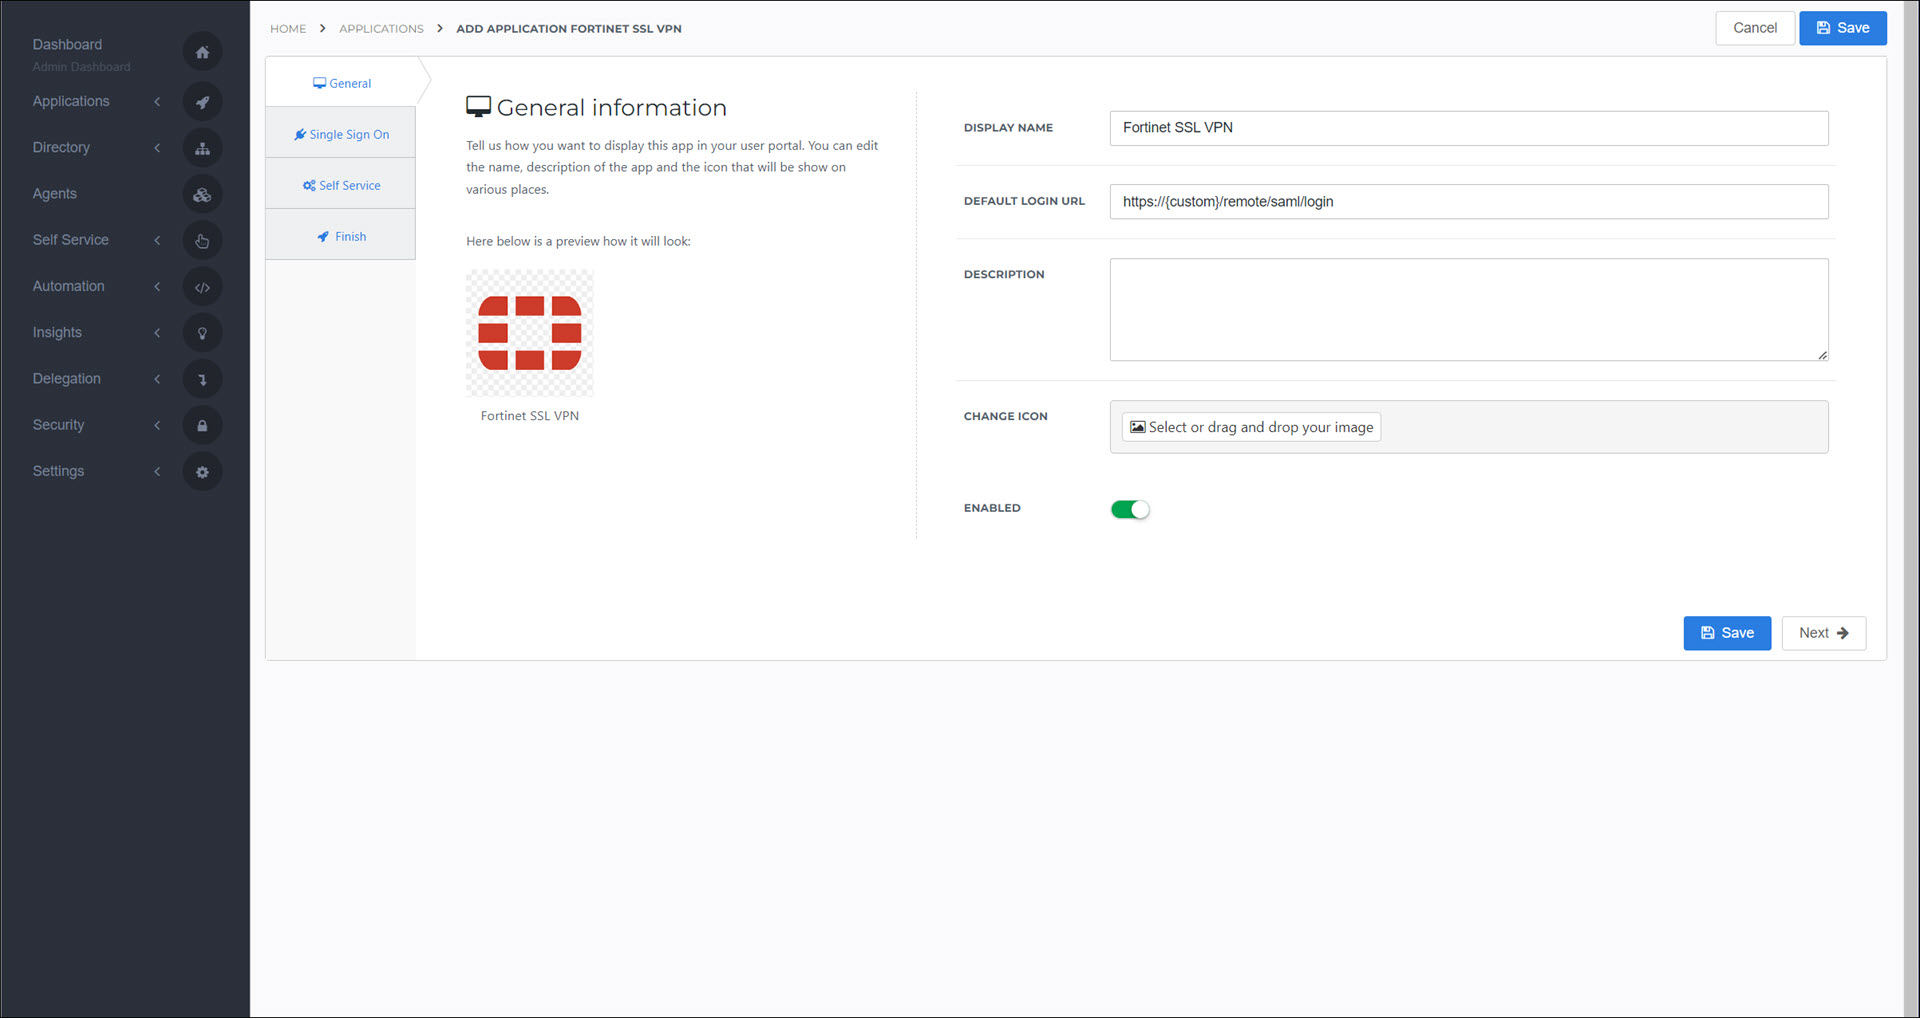
- Default Login URL
<your Fortinet SSL VPN domain>
Click Next.
On the Single Sign On tab, set the following fields:
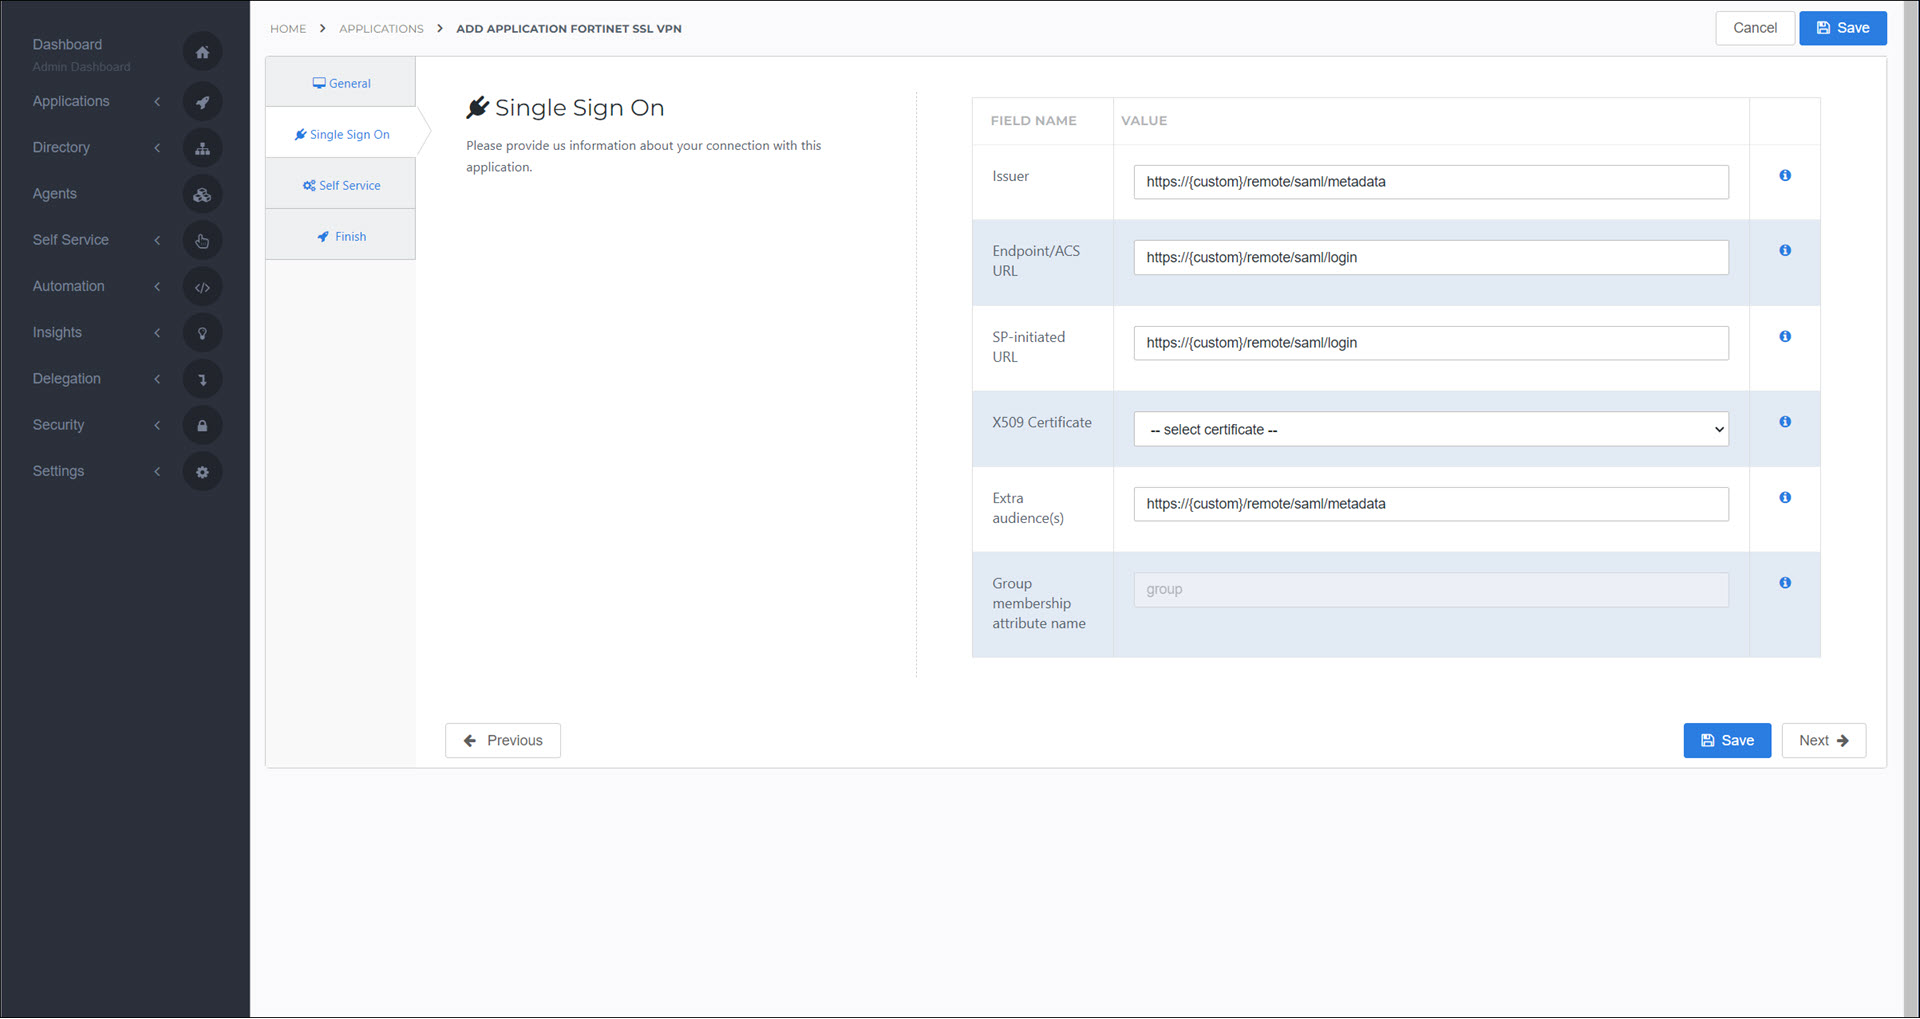
- Issuer
<your Fortinet SSL domain>
- Certificate
Select the self-signed certificate you previously created.
- Endpoint/ACS URL
<your Fortinet SSL domain>
- Extra Audience
<your Fortinet SSL domain>
Click Next.
Optional: On the Self Service tab, choose whether to generate a product (see Products) for users to request this application. If you do, select the Group that will be linked to the product.
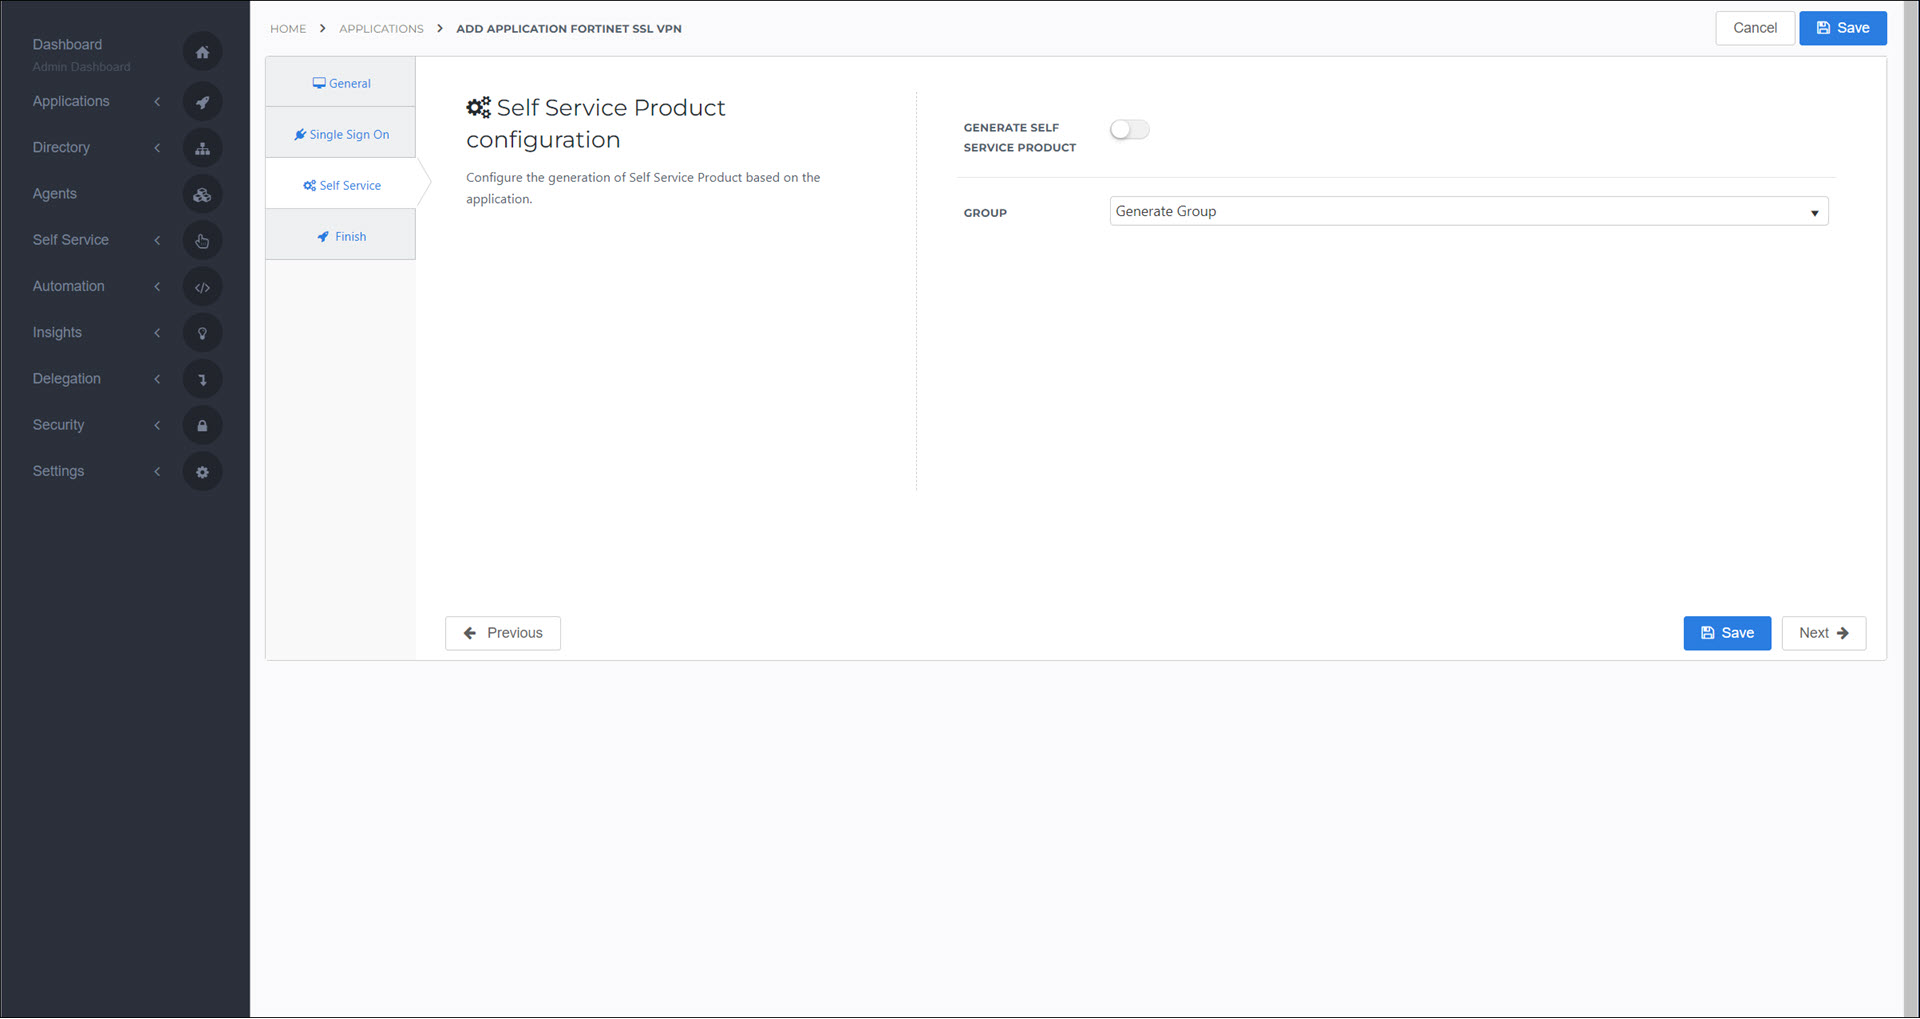
Click Next.
On the Finish tab, click Save.
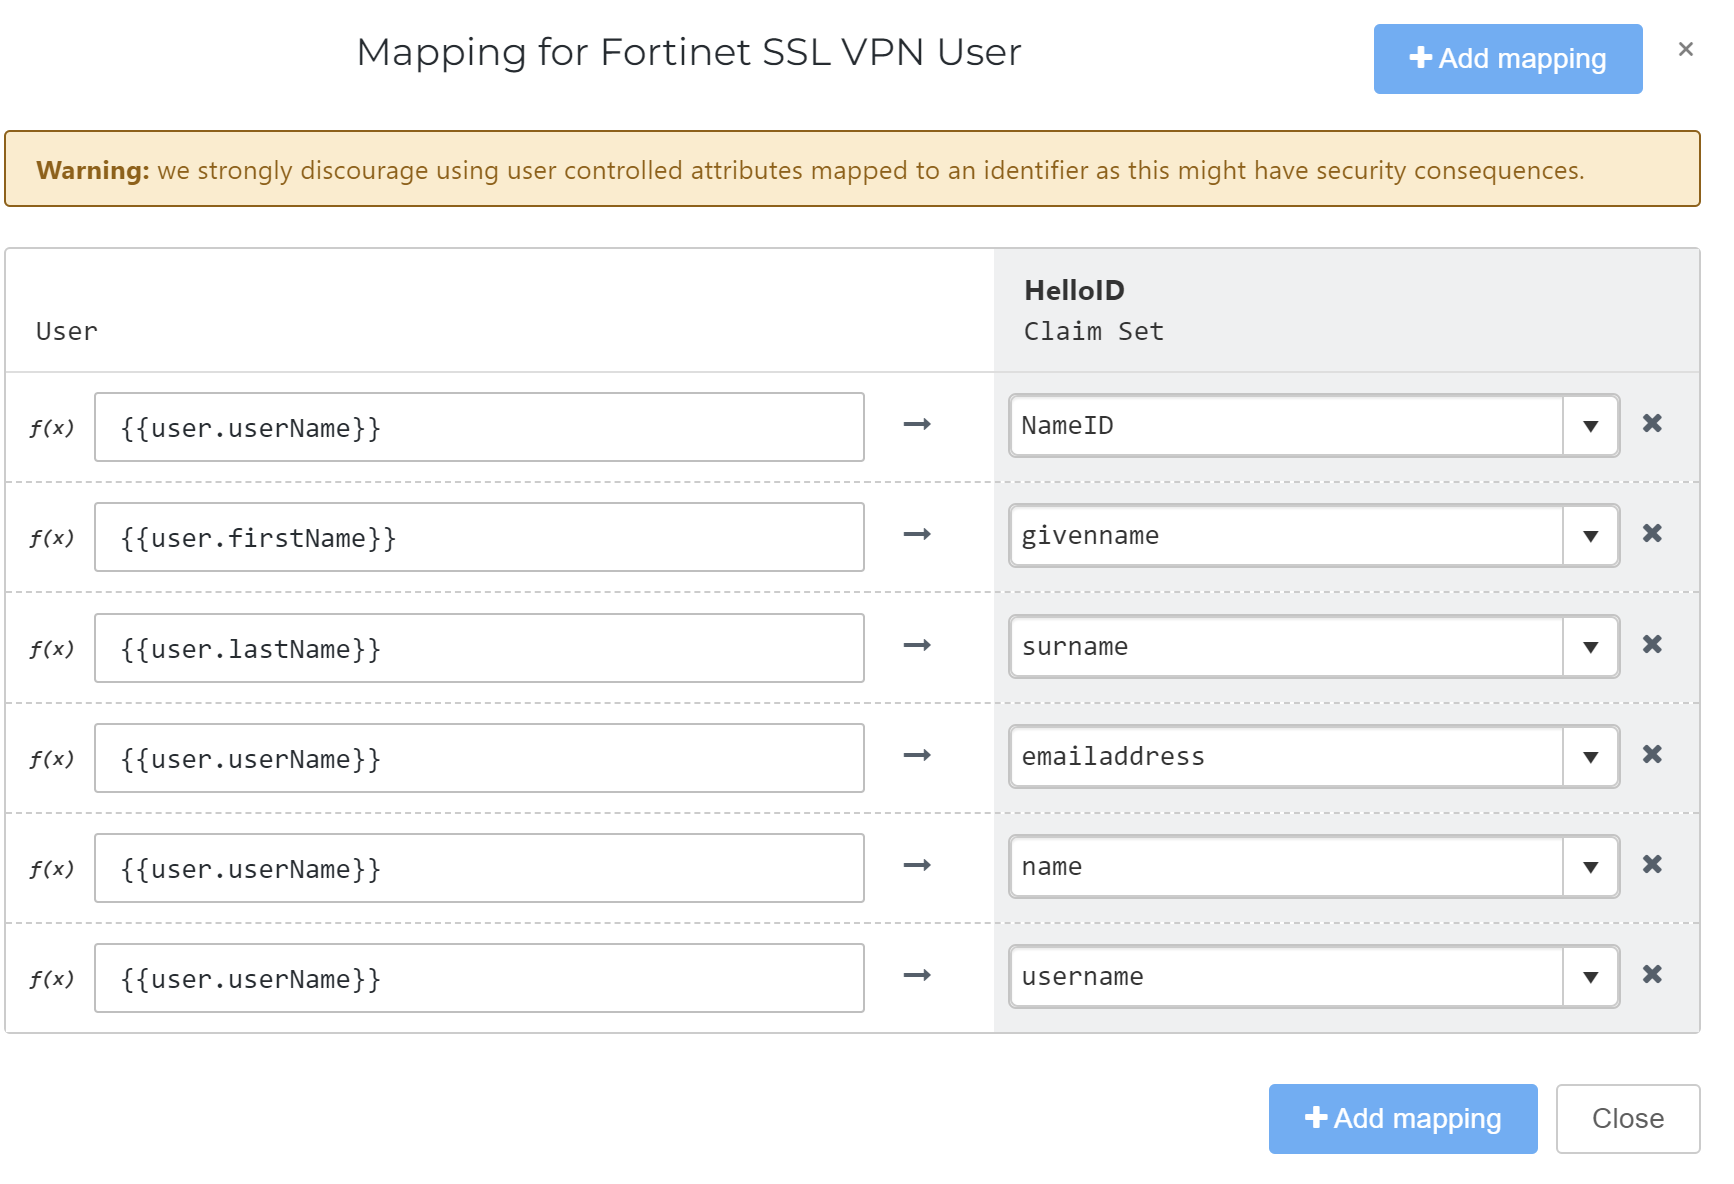
Optional: If necessary, Customize a mapping set for the Fortinet application:
Step 4: Post-setup configuration
HelloID side
For the certificate you created earlier, Export a certificate in base64 format.
Get the application's metadata.
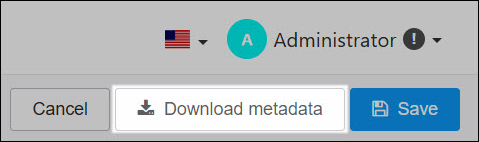
Go to Applications > Applications and click Edit for this application.
Right-click Download Metadata and click Copy Link Address. Save it to a local file on your machine.
 Example 1. SAML Metadata
https://enyoi.helloid.com/metadata/download?ApplicationGUID=c277185a-cd1f-451c-8068-c751ed85a028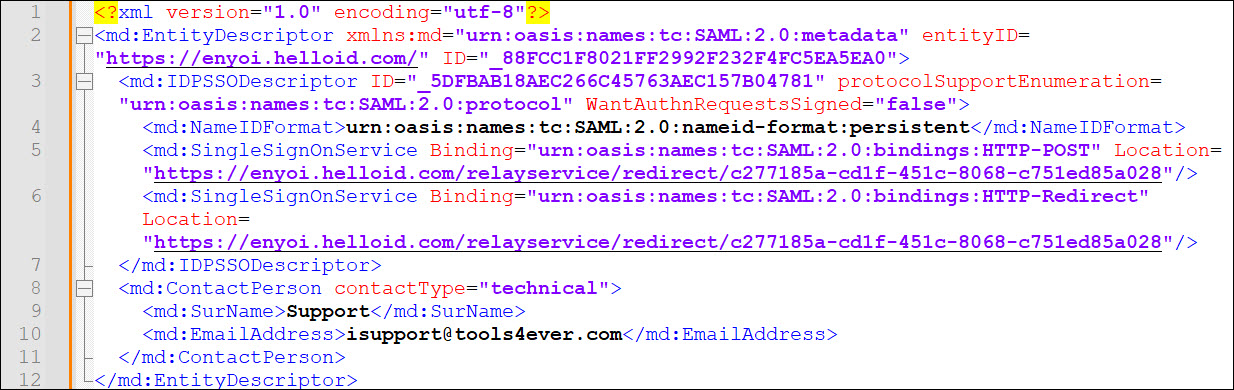
SP side
Upload the Base64 SAML Certificate
Sign in to the management portal of your FortiGate appliance.
In the left pane, select System.
Under System, select Certificates.
Select Import > Remote Certificate.
Browse to the certificate downloaded from the FortiGate app deployment in the Azure tenant, select it, and then select OK.
Configure the Fortigate appliance by command line
Note
Command line configuration is available in GUI from version 7.0 and higher.
Edit the following code by replacing the URLs:
config user saml

edit HelloID

set cert {certificate}

set entity-id https://{custom}/remote/saml/metadata

set single-sign-on-url https://{custom}/remote/saml/login

set idp-entity-id https://{custom}/remote/saml/metadata

set idp-single-sign-on-url https://{relayserviceurl}

set idp-cert {certificate}

set user-name username

set group-name group

next

end
Replace {certificate} with the certificate name imported earlier
Replace {custom} in entityid for your own Fortigate url
Replace {custom} in single-sign-on url for your own Fortigate url
Replace {custom} in idp-entity-id for your own Fortiage url
Replace {relayserviceurl} with the http post endpoint shown in the downloaded metadata file from HelloID.
After replacing the URLs, run the script in the Fortigate CLI.
Configure the permission group(s). HelloID will send all the groups a user is member of in the claim set. On the Fortigate side permissions have to be configured on one or more groups. When a user is member of a group he/she will get the appropriate permissions.
Edit the following script to match a groupname that contains all users that should be able to login to Fortinet SSL replace {groupname}.
config user group

edit FortiGateAccess

set member azure

config match

edit 1

set server-name HelloID

set group-name {groupname}

next

end

next

end
Run the script in the CLI to apply the permission setup.
Step 5: Test the application
Using a HelloID account that has access to the application, go to Applications for users on the user dashboard, and launch the application to test it.
Step 6: Finish up
The application has been added to HelloID, and a trust has been configured. You may now want to do the following:
To grant additional group(s) access to this application, Grant a group access to an application.
If you generated a product that grants access to this application, Link a product to a group to make the product requestable for additional users.