Add a custom person or contract field
For more information, see Source mappings.
Go to Source > Systems.
Click
 Edit for Custom Fields.
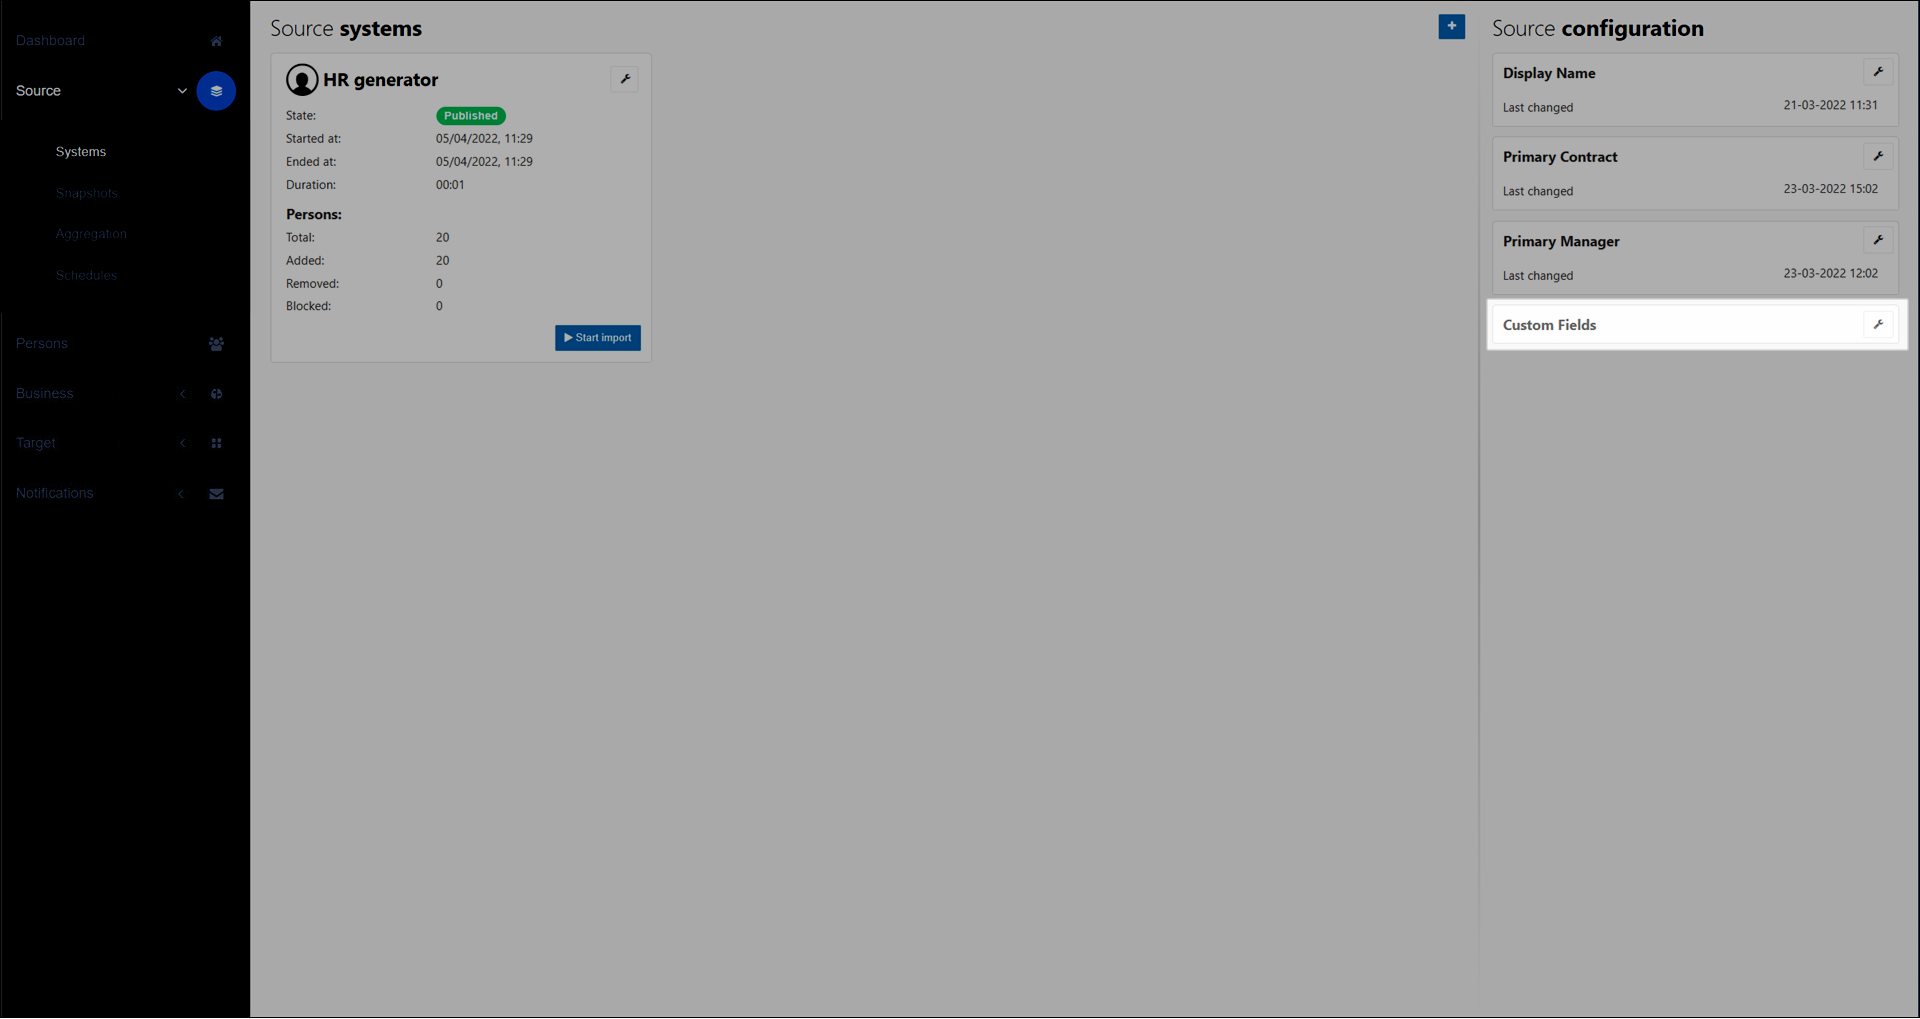
Click
 Add for Custom Fields.
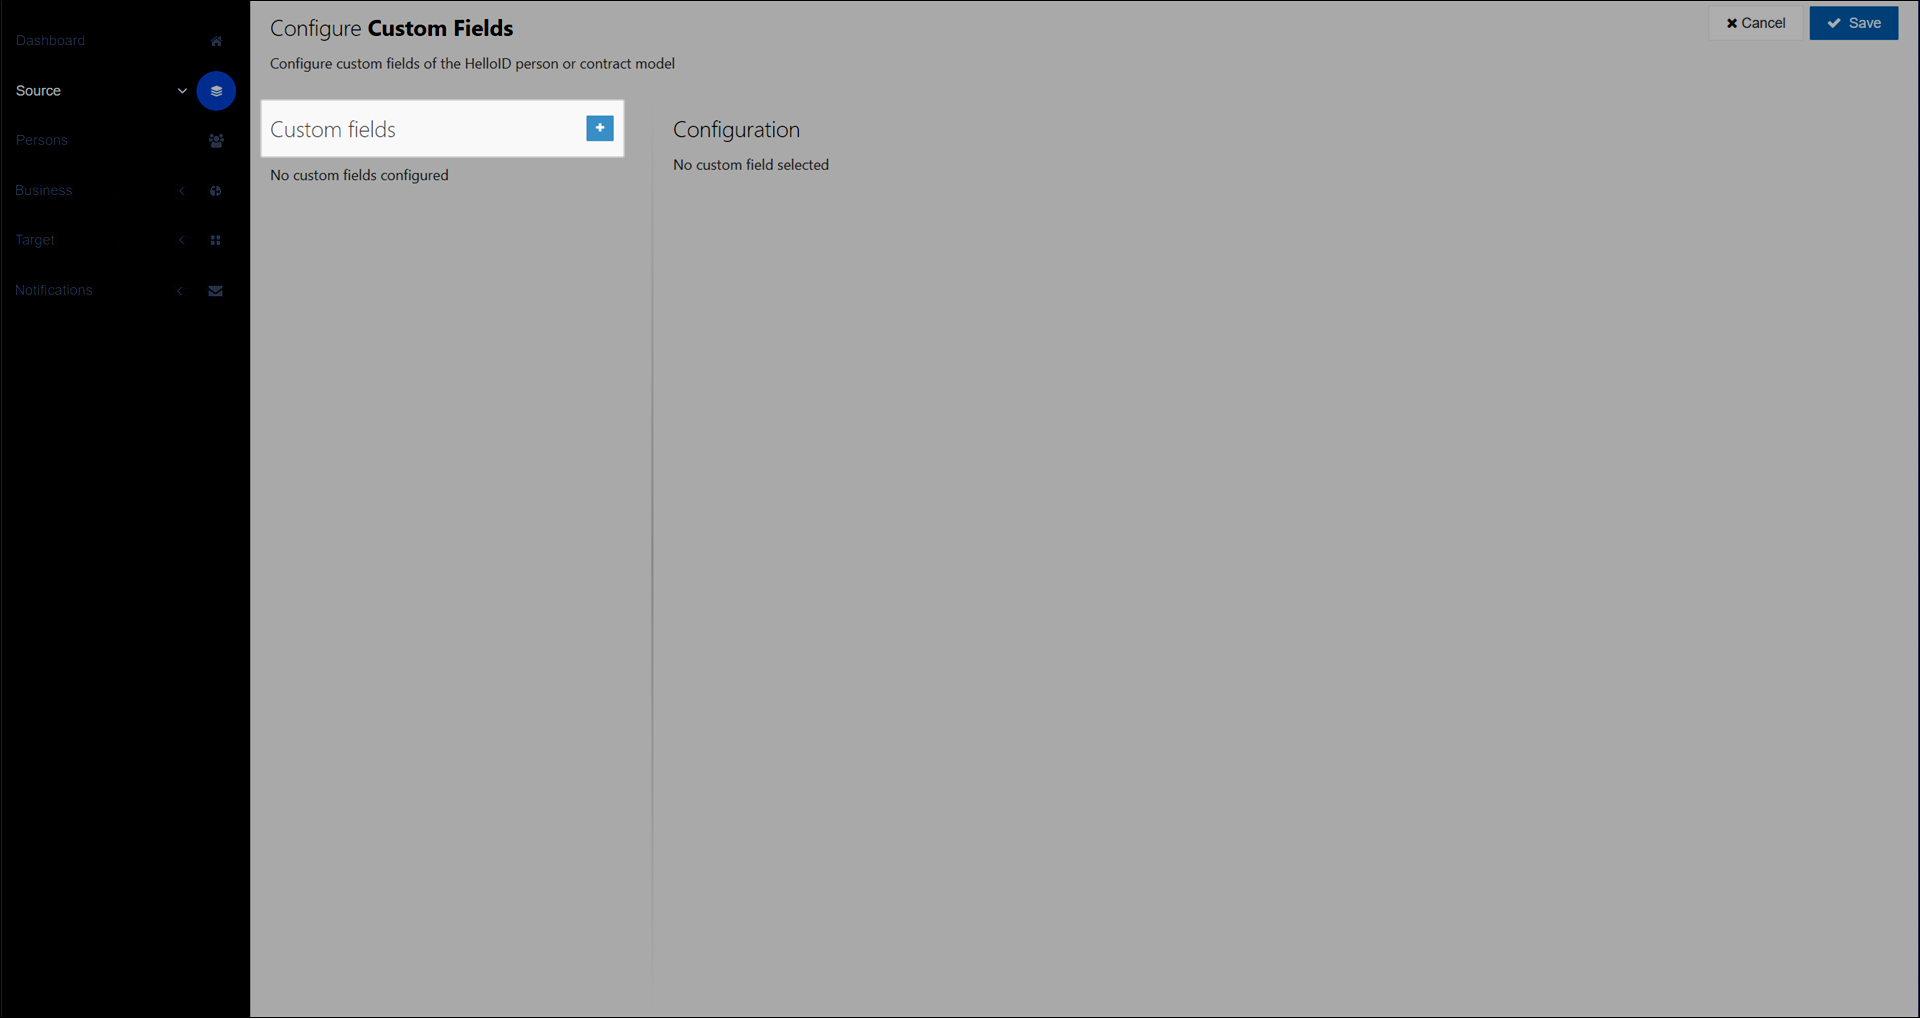
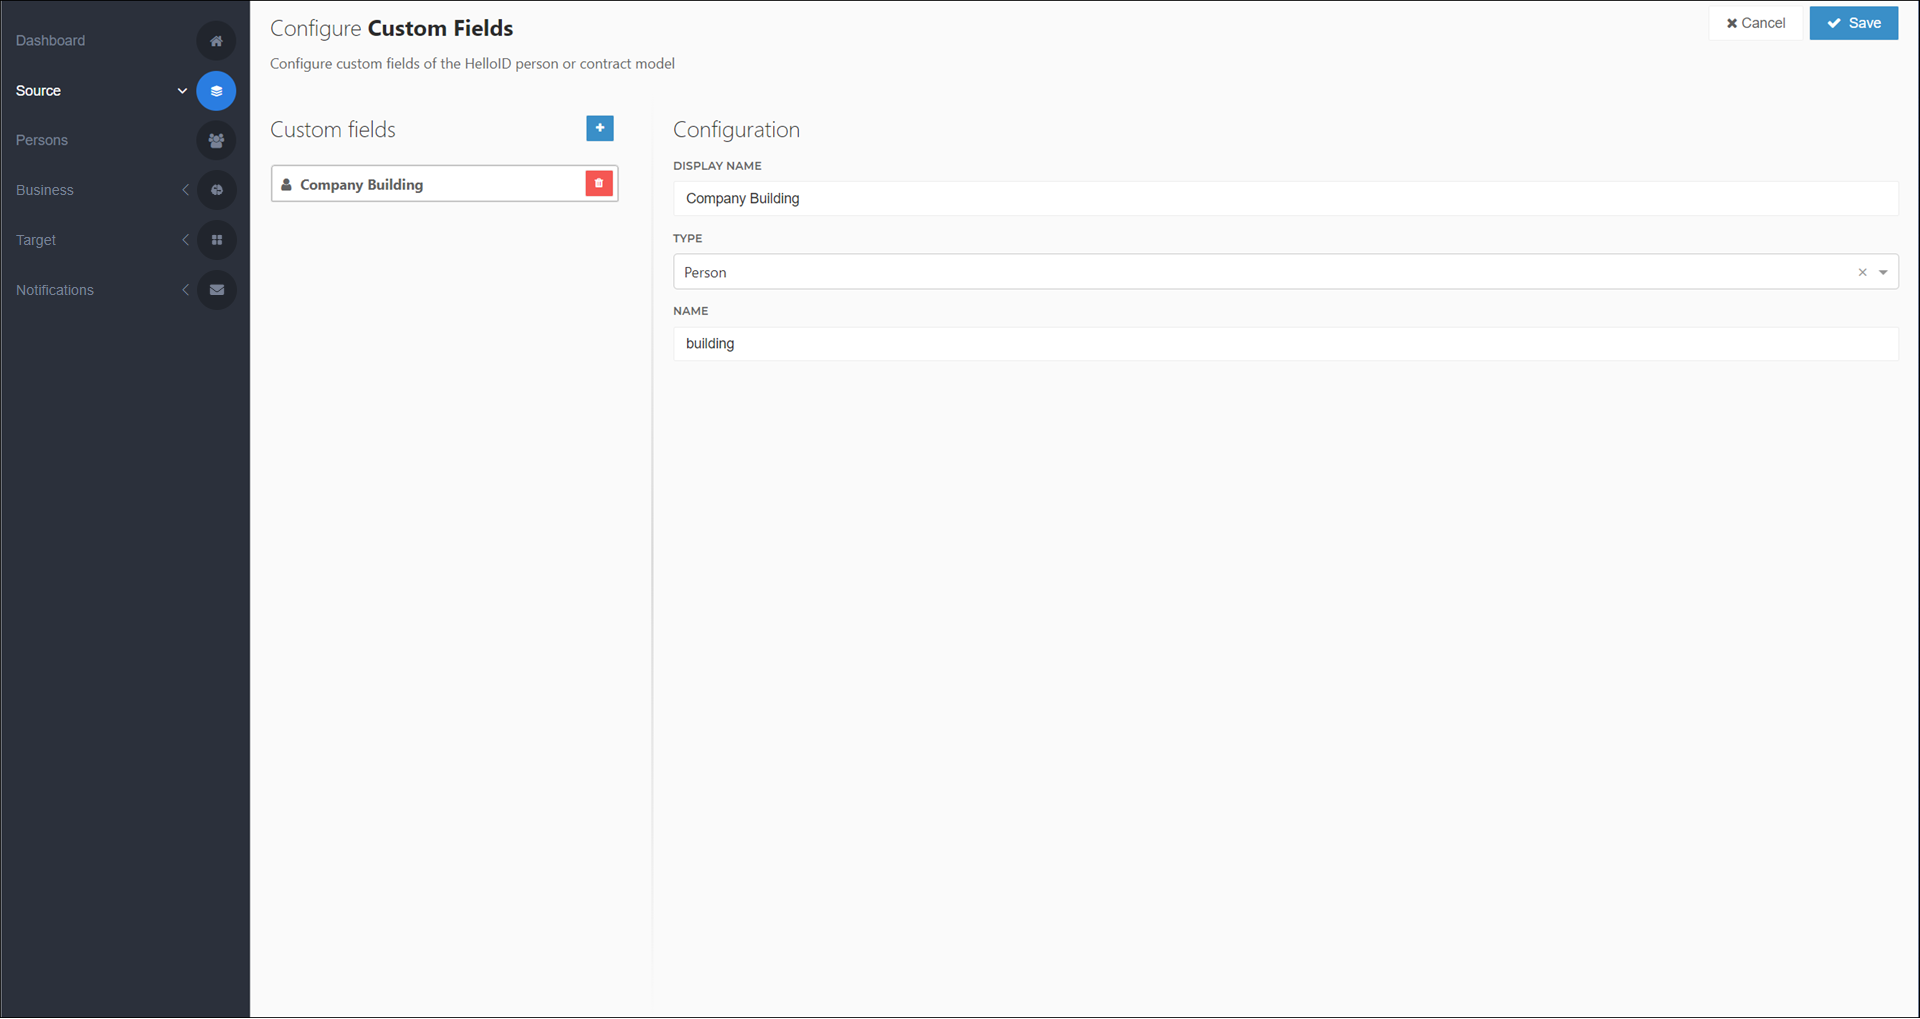
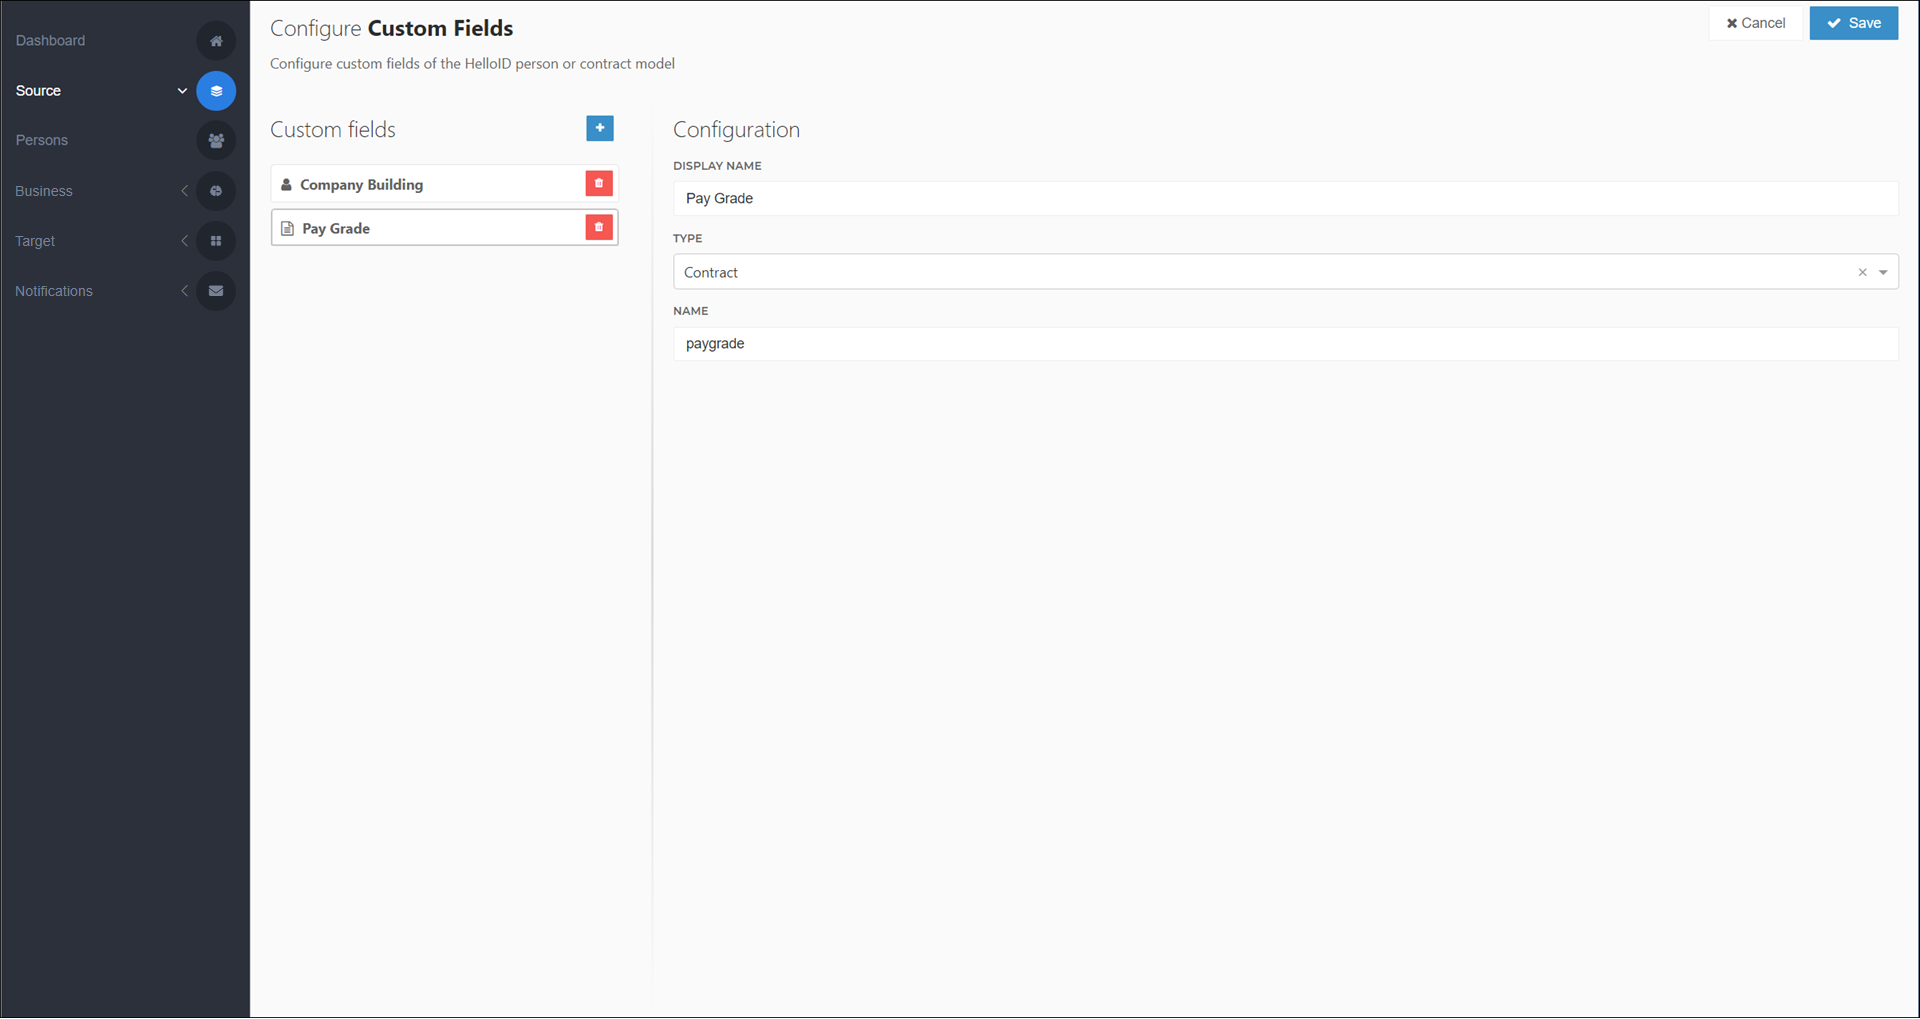
A new custom field is added. Configure it as follows:
Display Name: The name used to identify the field in the HelloID UI. For example,
Company Building.Type: Whether the custom field is added to the Person schema or the Contract schema.
Name: The unique identifier of the field. For example,
building. This field will be accessible with thecustom.prefix in scripts and mappings. For example,$person.Custom.building.
Repeat steps (3) - (4) for any other custom fields.
Click Save.
These custom fields are now available for mapping in Source mappings using the Map Additional Field dropdown (see Map an additional field).
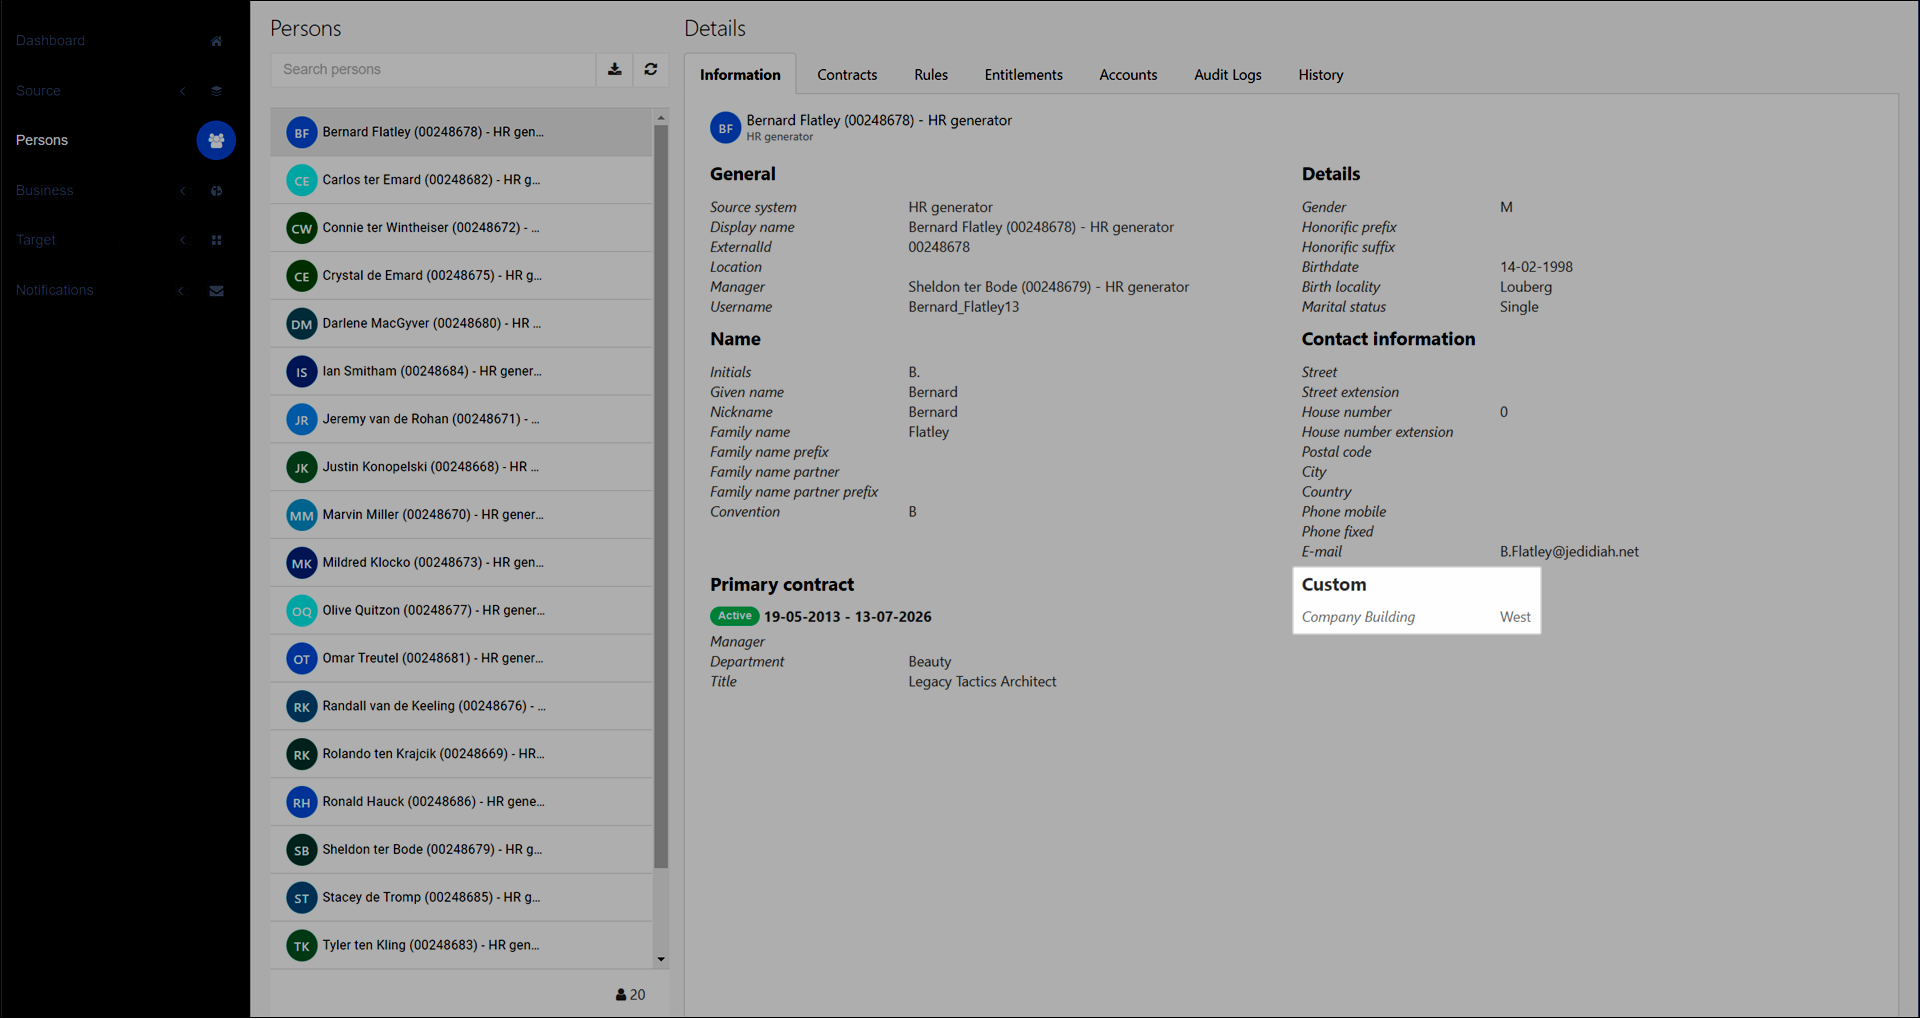
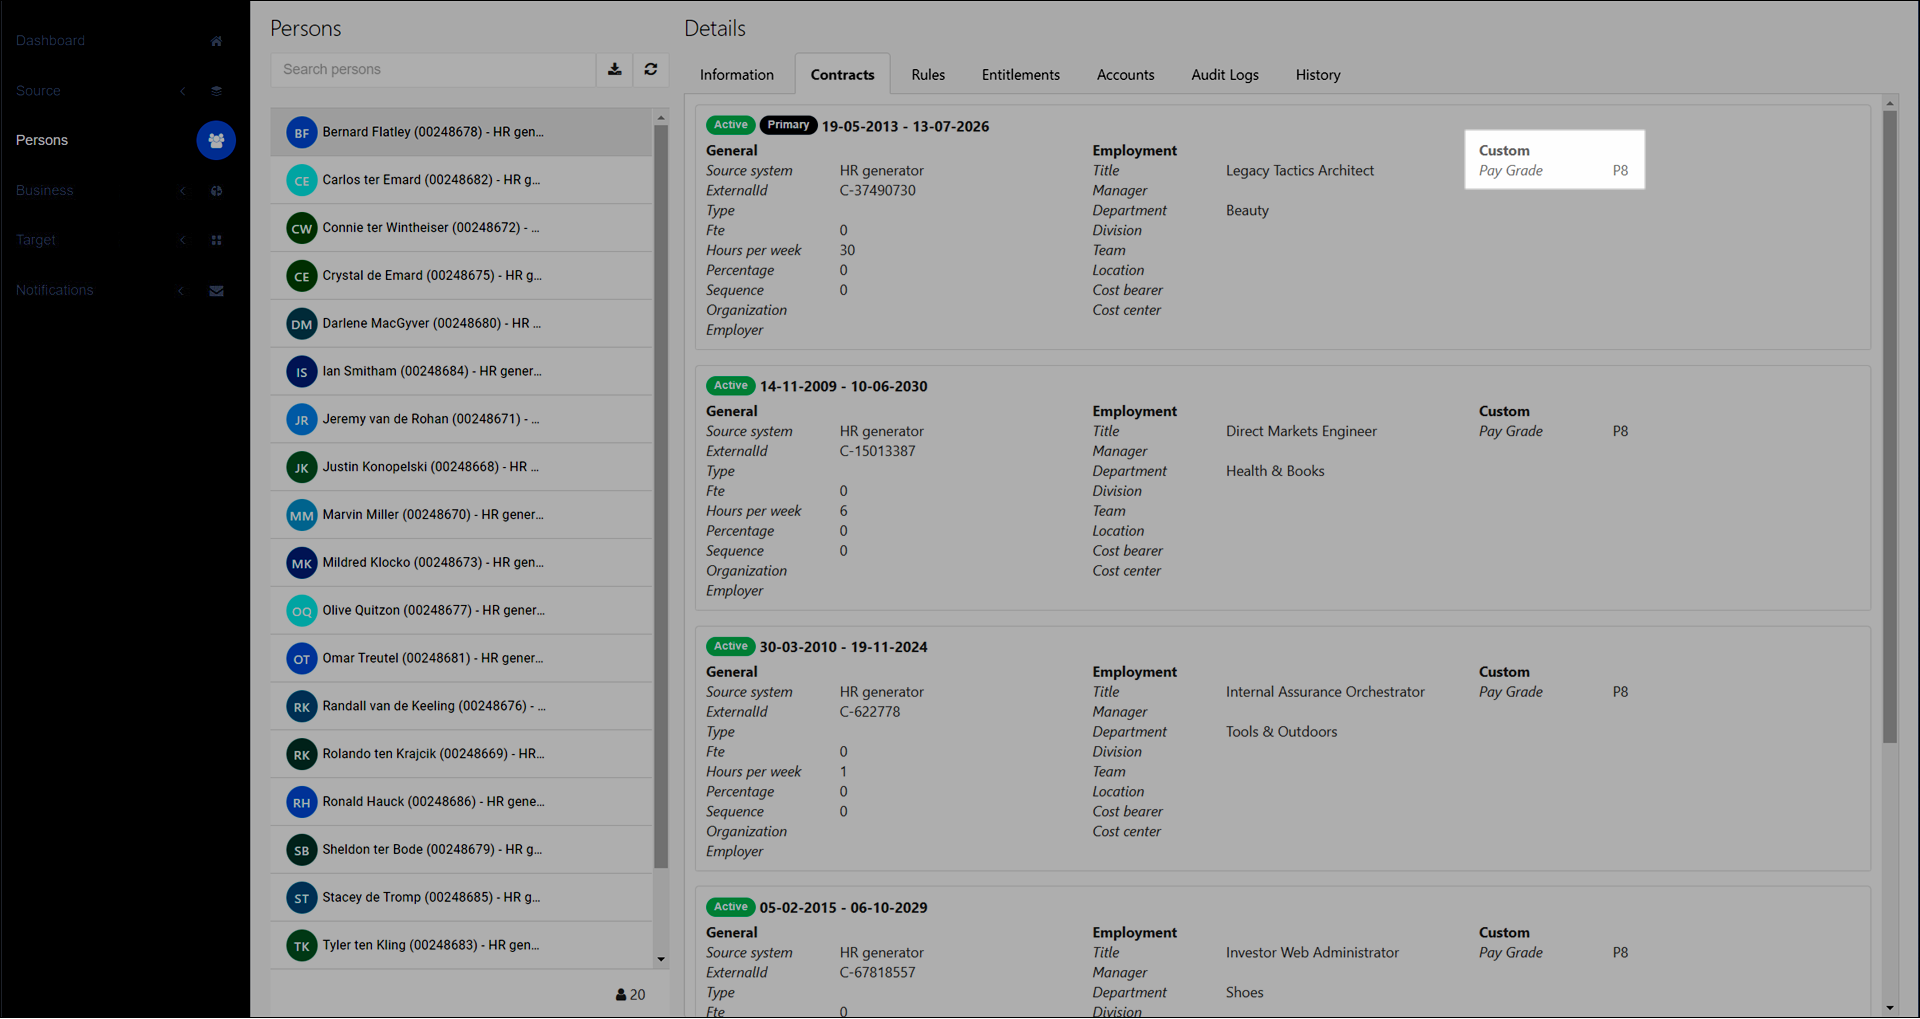
To view custom fields and their mapped values, View a person's data or View a person's contracts.