Proquro (Exact P2P) SAML application setup
Introduction
This manual shows you how to set up SSO to Proquro using the SAML protocol. The configuration takes place in HelloID and requires you to send information to Proquro.
Proquro is also known as Exact P2P.
Requirements:
HelloID environment
ProQuro environment
Create or Import a Certificate
If there is no certificate yet, a certificate must be imported or created. This can be done in the HelloID Administrator Portal under Settings > Certificates. For this tutorial, we will use a self-signed certificate. Learn more about certificates here.
Application Setup
Add the Proquro Application
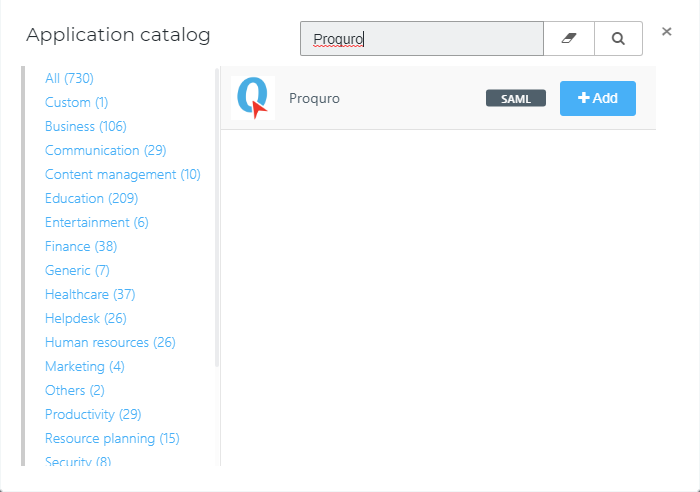
Create a new application in HelloID by navigating to Applications > Applications. Open the Application Catalog and search for "Proquro". Find the SAML template, and click Add. Learn more about managing applications here.
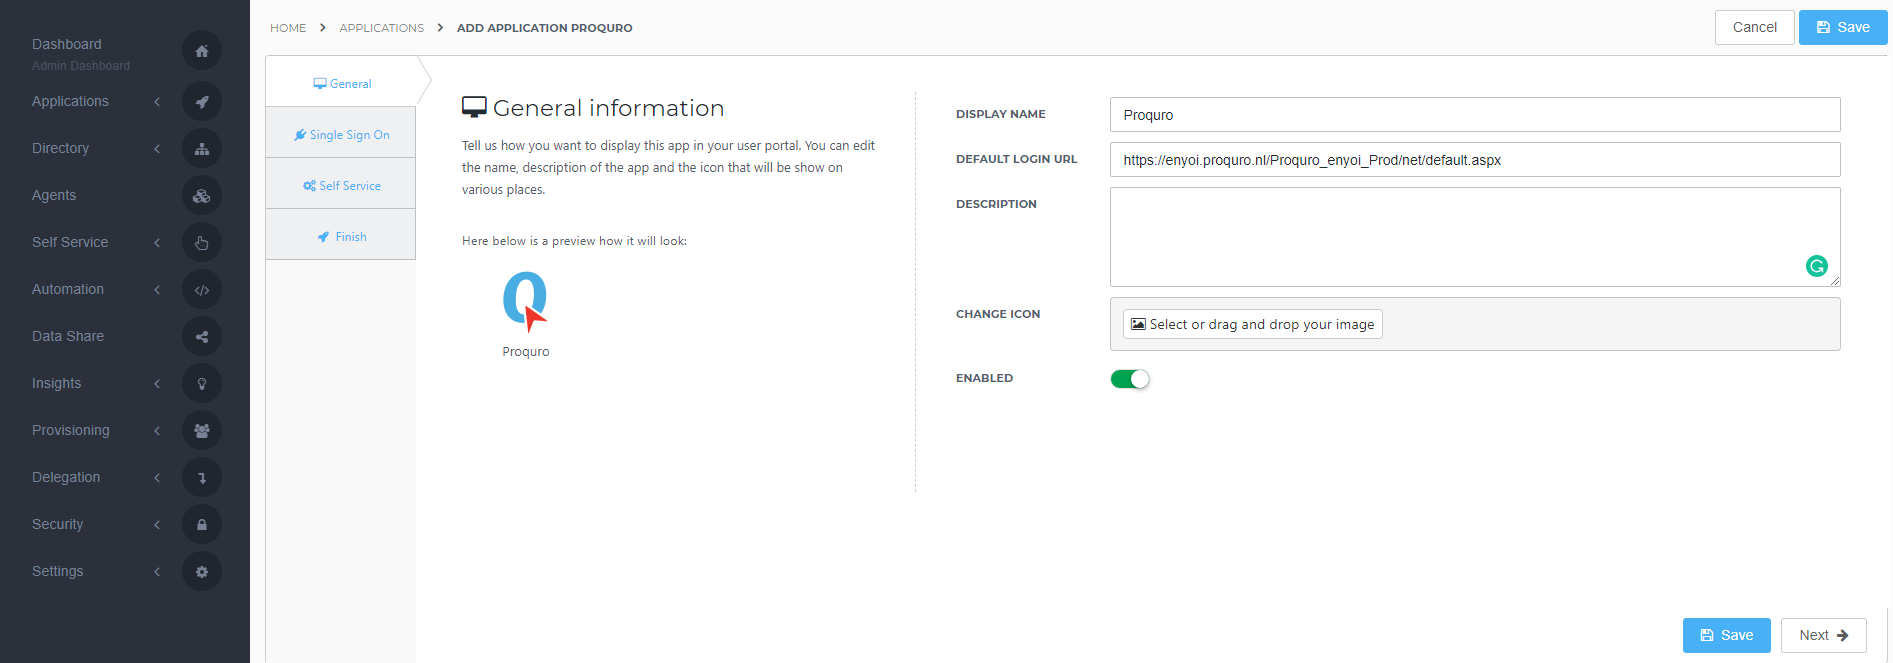
General tab
On the General tab, fill the default login URL with the Proquro environment SSO URL. Optionally, you may also add a description. Click Next.
Note: https://enyoi.proquro.nl/Proquro_enyoi_Prod/net/default.aspx will not work! This is just an example.
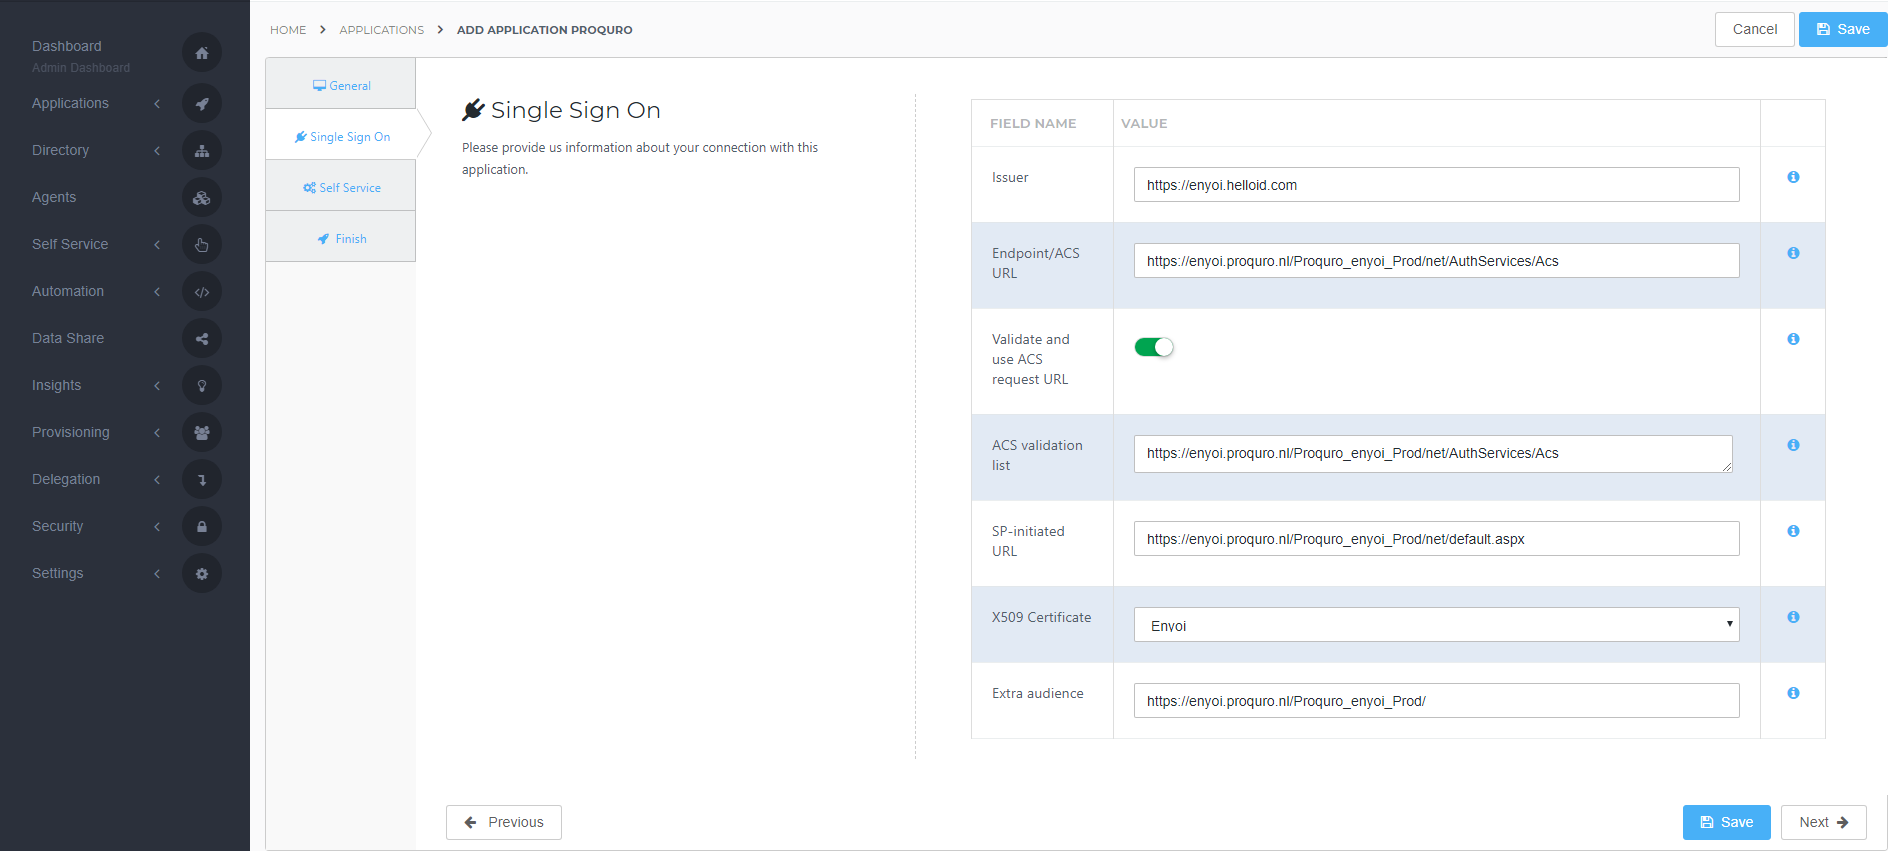
Single Sign-on tab
On the Single Sign-On tab, perform the following steps:
For the Issuer field, provide your HelloID environment URL.
For example: https://enyoi.helloid.com
Note: https://enyoi.helloid.com will not work! This is just an example.
Endpoint/ACS URL should be set with the ACS endpoint URL of your Proquro environment (this can be found in the metadata file of Proquro) in the format "https://{customer}.proquro.nl/{customer_environment}/net/AuthServices/Acs"
Note: This URL is case sensitive
For example: https://enyoi.proquro.nl/PROQURO_ENYOI_PROD/net/AuthServices/Acs
Note: https://enyoi.proquro.nl/PROQURO_ENYOI_PROD/net/AuthServices/Acs will not work! This is just an example.
Validate and use ACS request URL should always be selected for security reasons.
ACS validation list should contain the URL you entered at the Endpoint/ACS URLNote: This URL is case sensitive For example: https://enyoi.proquro.nl/PROQURO_ENYOI_PROD/net/AuthServices/Acs
Note: https://enyoi.proquro.nl/PROQURO_ENYOI_PROD/net/AuthServices/Acs will not work! This is just an example.
The SP-initiated URL has to be the url which initiates the authentication flow, in this case the dasboard URL, (in the format "https://{customer}.proquro.nl/{customer_environment}/net/default.aspx")
Note: This URL is case sensitive
For example: https://enyoi.proquro.nl/PROQURO_ENYOI_PROD/net/default.aspx
Note: https://enyoi.proquro.nl/PROQURO_ENYOI_PROD/net/default.aspx will not work! This is just an example.
In the X509 Certificate dropdown, select the certificate that you created or imported previously.
As Extra audience enter the RequestInitiator (this can be found in the metadata file of Proquro) in the format "https://{customer}.proquro.nl/{customer_environment}/"
Note: the trailing slash ( / ) is required! Note: This URL is case sensitive For example: https://enyoi.proquro.nl/PROQURO_ENYOI_PROD/
Note: https://enyoi.proquro.nl/PROQURO_ENYOI_PROD/ will not work! This is just an example.
Click Next.
Self service tab
On the Self Service tab, choose whether to automatically create a Self Service product, which makes the application requestable. This is optional. Click Next.
Finish tab
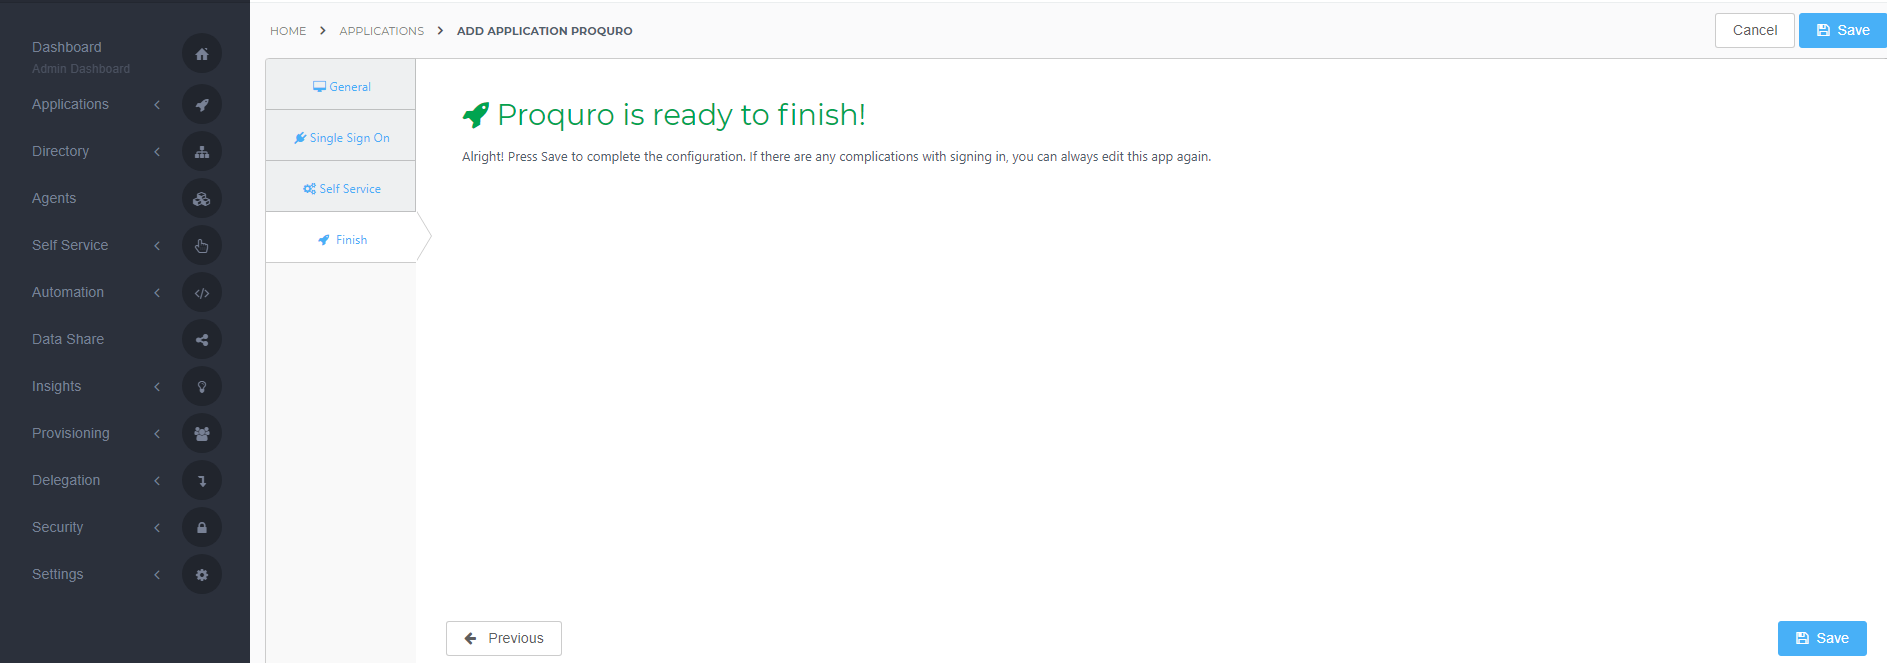
On the Finish tab, click Save to add the application to HelloID.
Configuring the Mapping Set
By default, the 'matching identifier' is set to the user's username. This is, assuming the username matches the user's UserPrincipalName, because Proquro recommends the UserPrincipalName to use for the matching identifier. If you wish to use another attribute, click here to learn more about attribute mappings.
Application metadata
After saving the Proquro application, click its Edit link on the applications overview. This will bring you to its properties page.
You now have two options to obtain the application metadata.
Static metadata (download)
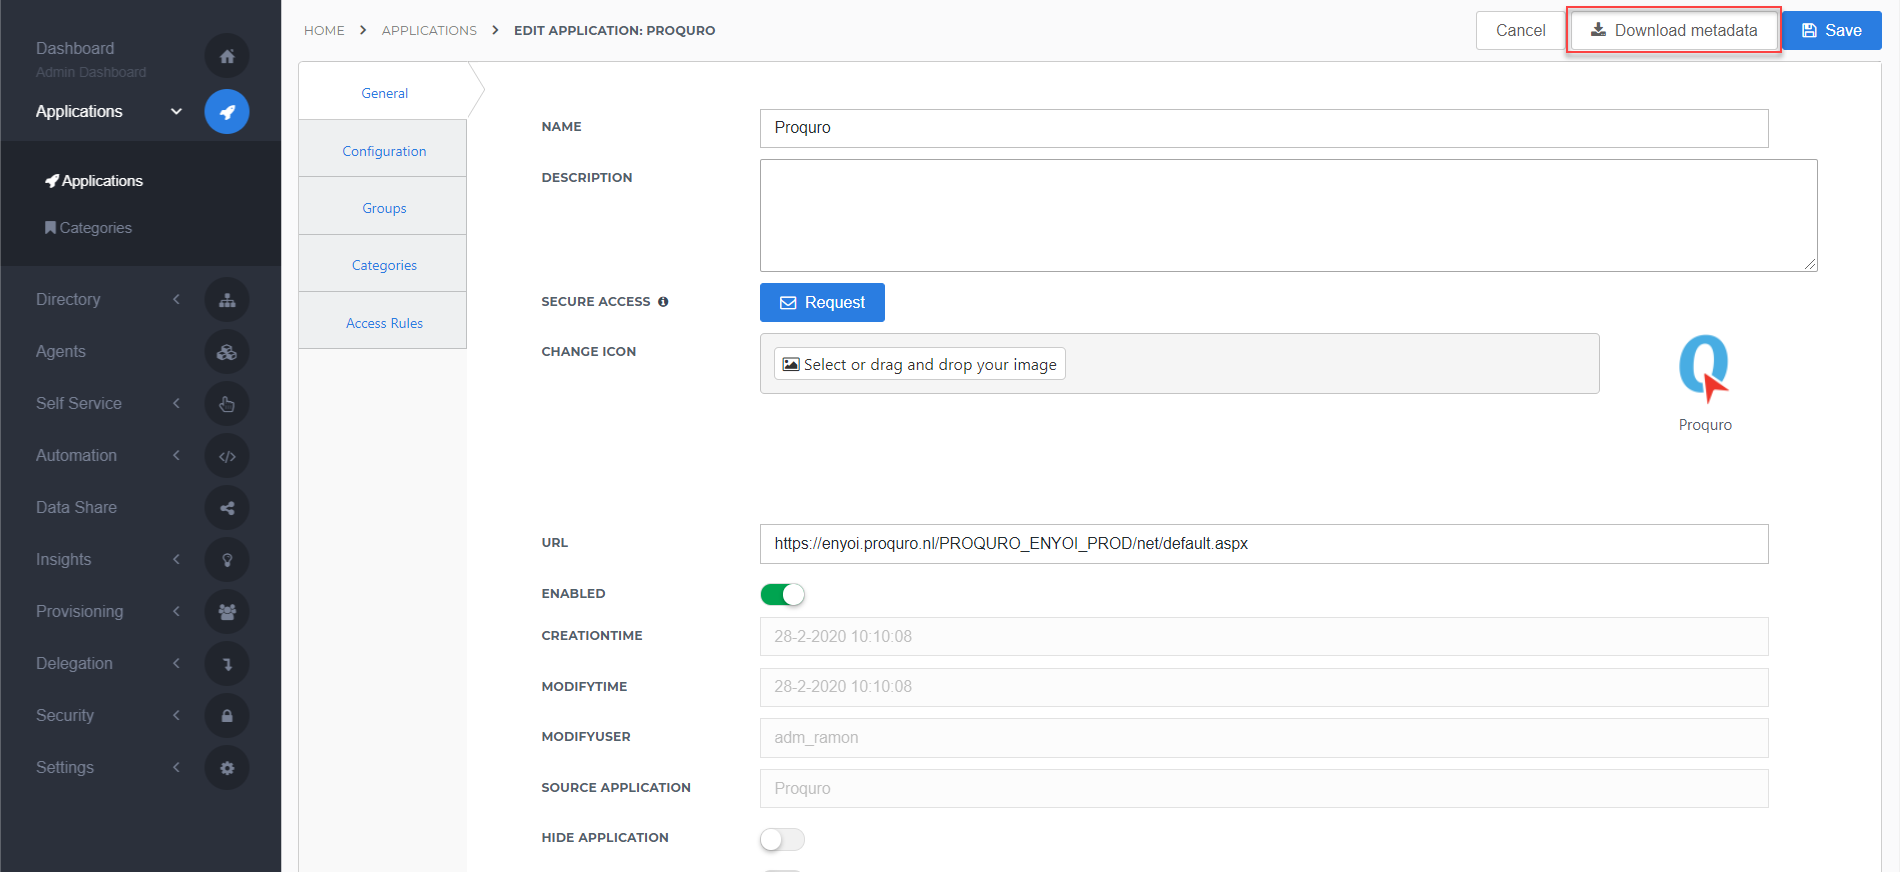
You can simply click Download metadata at the right top of the screen and save the file to your local computer for later use.
Dynamic Metadata (URL)
You can copy the link address (something along the lines of https://enyoi.helloid.com/metadata/download?ApplicationGUID=e6e741f5-a469-4849-93f7-fe2e259a339f) and replace 'download' with 'index' to view the metadata.

Please provide the dynamic Metadata to Proquro
Note: The static download URL will not work!
The configuration of the HelloID application is finished.
Proquro Configuration
Request SAML
In order to make the connection, Proquro needs to add the connection on their side. This can be requested at Proquro.
To configure the SSO on the Proquro side, they will need the following information:
Metadata URLPlease provide the dynamic Metadata to Proquro
Note: The static download URL will not work!
EntityIdThe issuer you specified at step 1. at the Single Sign-on Tab of the HelloID configuration (this can also be found in the metadata file).
For example: https://enyoi.helloid.com
Note: https://enyoi.helloid.com will not work! This is just an example.
ApplicationIDThis can be found in the metadata file. It is the GUID found at the end of the metadata URL and the SingleSignOnService URLs.
For example: e6e741f5-a469-4849-93f7-fe2e259a339f
Note: e6e741f5-a469-4849-93f7-fe2e259a339f will not work! This is just an example.
SignOnUrlThe URL found at the SingleSignOnService HTTP-POST URL.For example: https://enyoi.helloid.com/relayservice/redirect/e6e741f5-a469-4849-93f7-fe2e259a339f
Note: https://enyoi.helloid.com/relayservice/redirect/e6e741f5-a469-4849-93f7-fe2e259a339f will not work! This is just an example.
Primary claimThe primary attribute that will be sent in the claims used for identifying the user is the UserPrinpipalName.
To make it easier for Proquro we decided to use the Microsoft schema URL for this: http://schemas.xmlsoap.org/ws/2005/05/identity/claims/UPN
To make it easier for us, we already included this in the HelloID application template.
User identities in Proquro
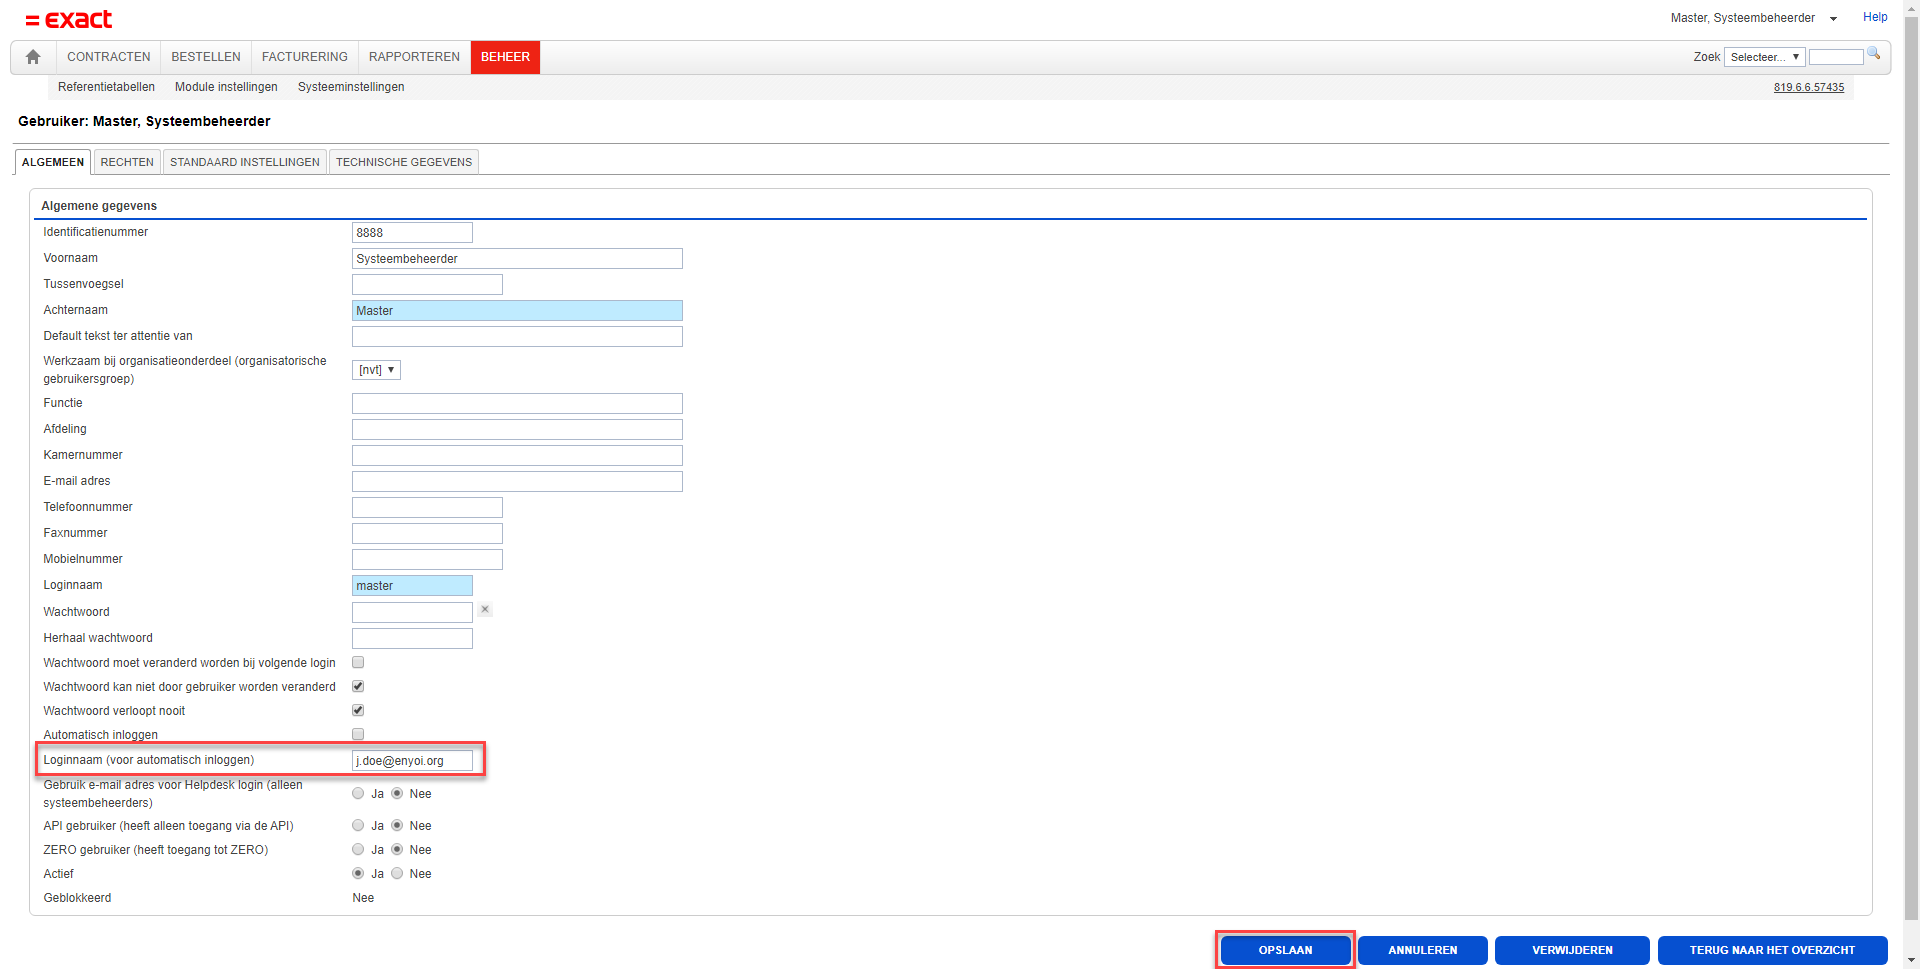
When the above steps have been completed and Proquro has made the changes on their sides the authentication configuration will be finished and working successfully. Although to actually grant users the possibility to log in by using SSO, we need to enter their "login name (for automatic logging on)". The below steps will show you how to configure this.
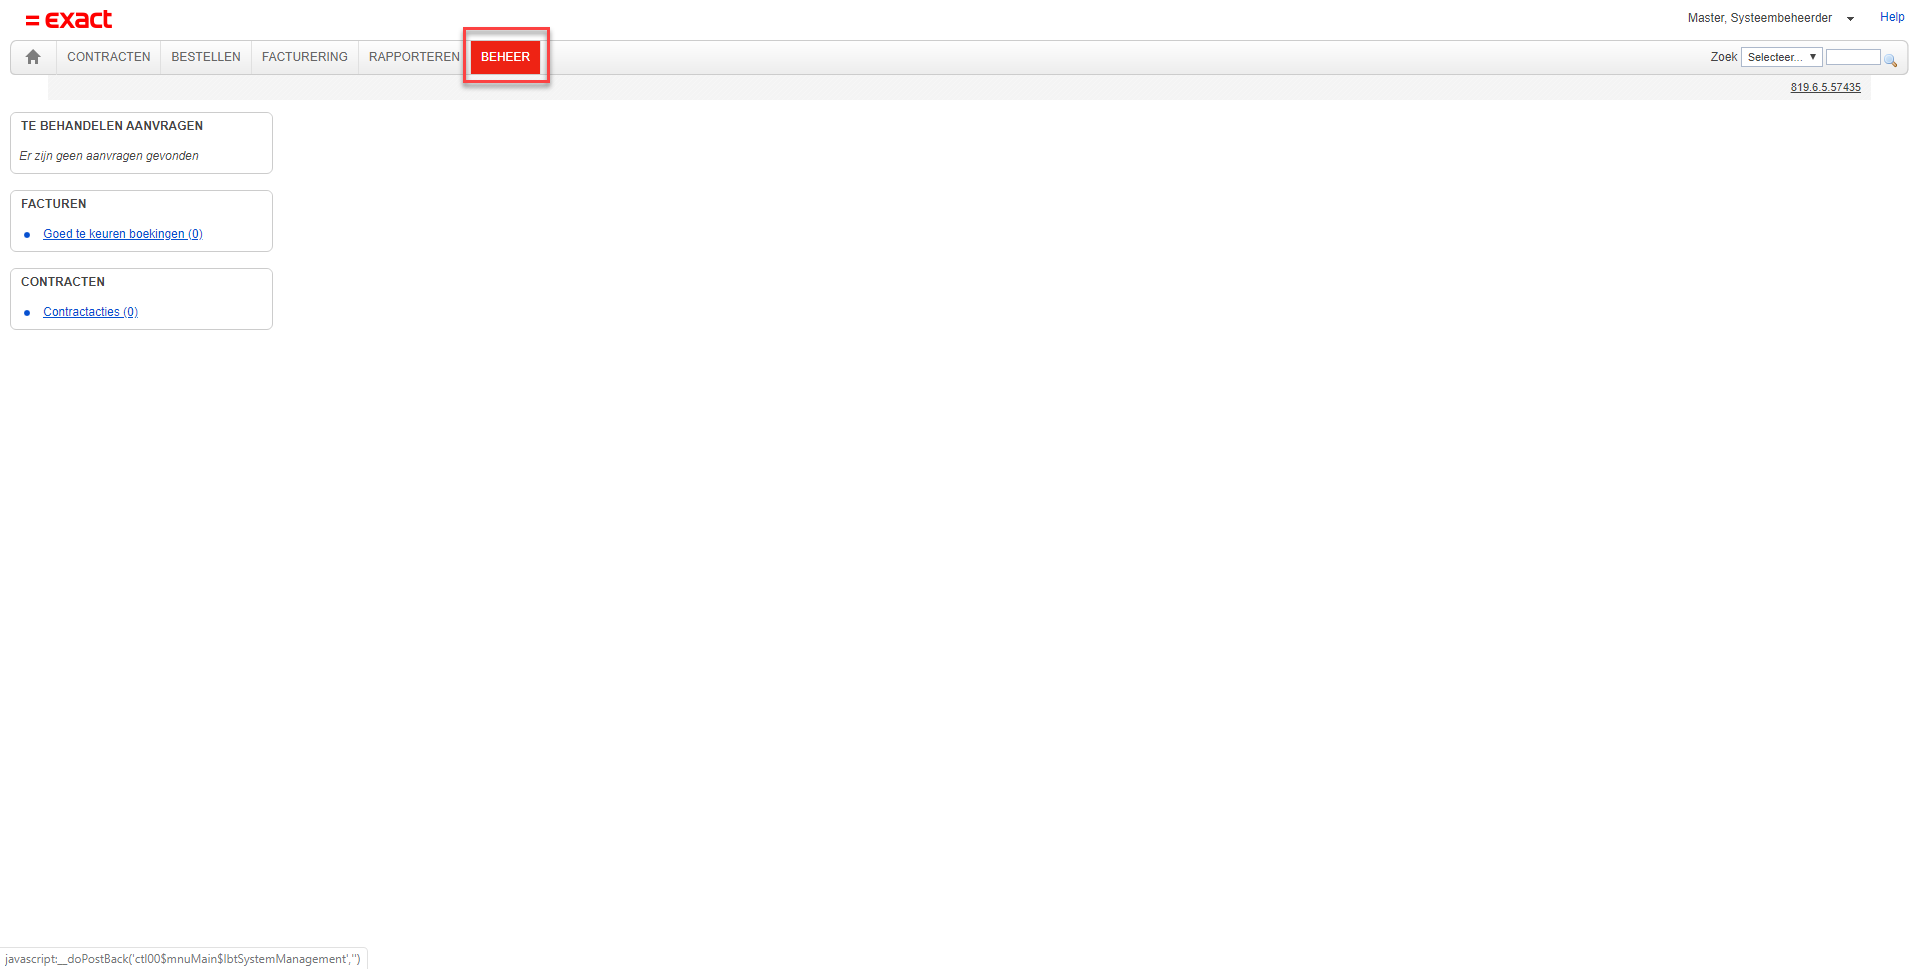
Log in as an admin to your Proquro portal and go to Beheer.
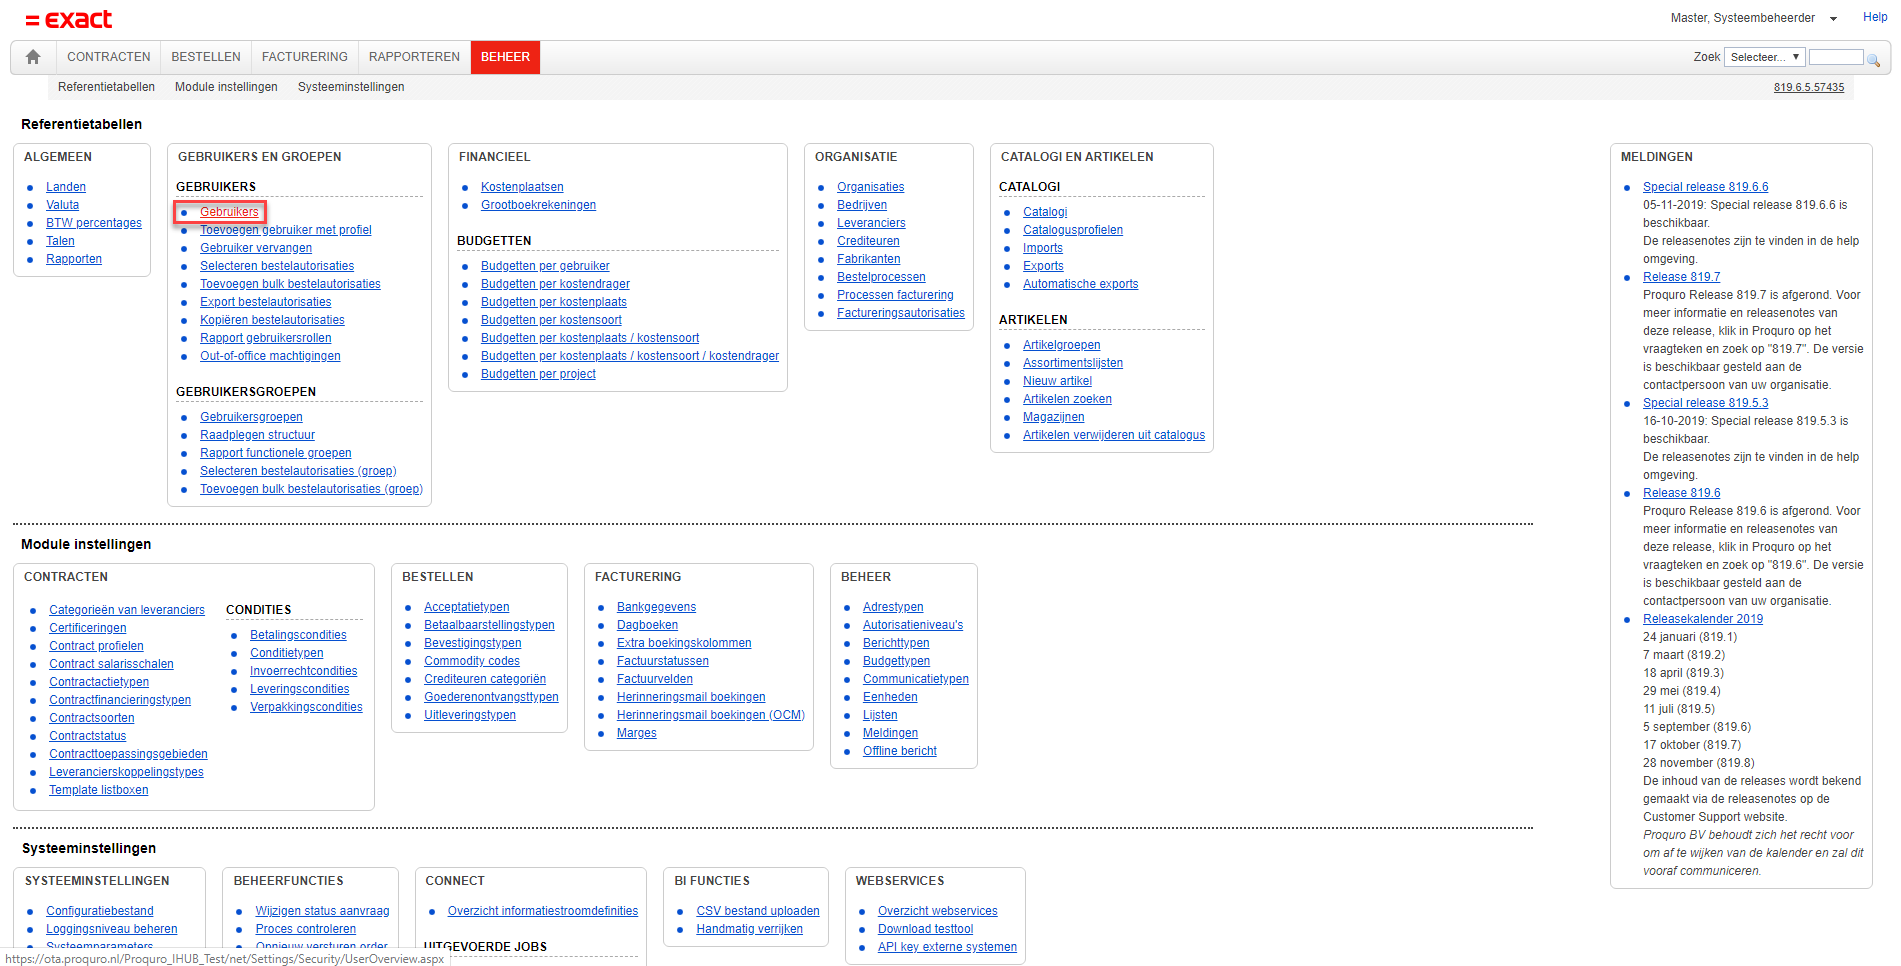
On the Beheer tab, click Gebruikers.
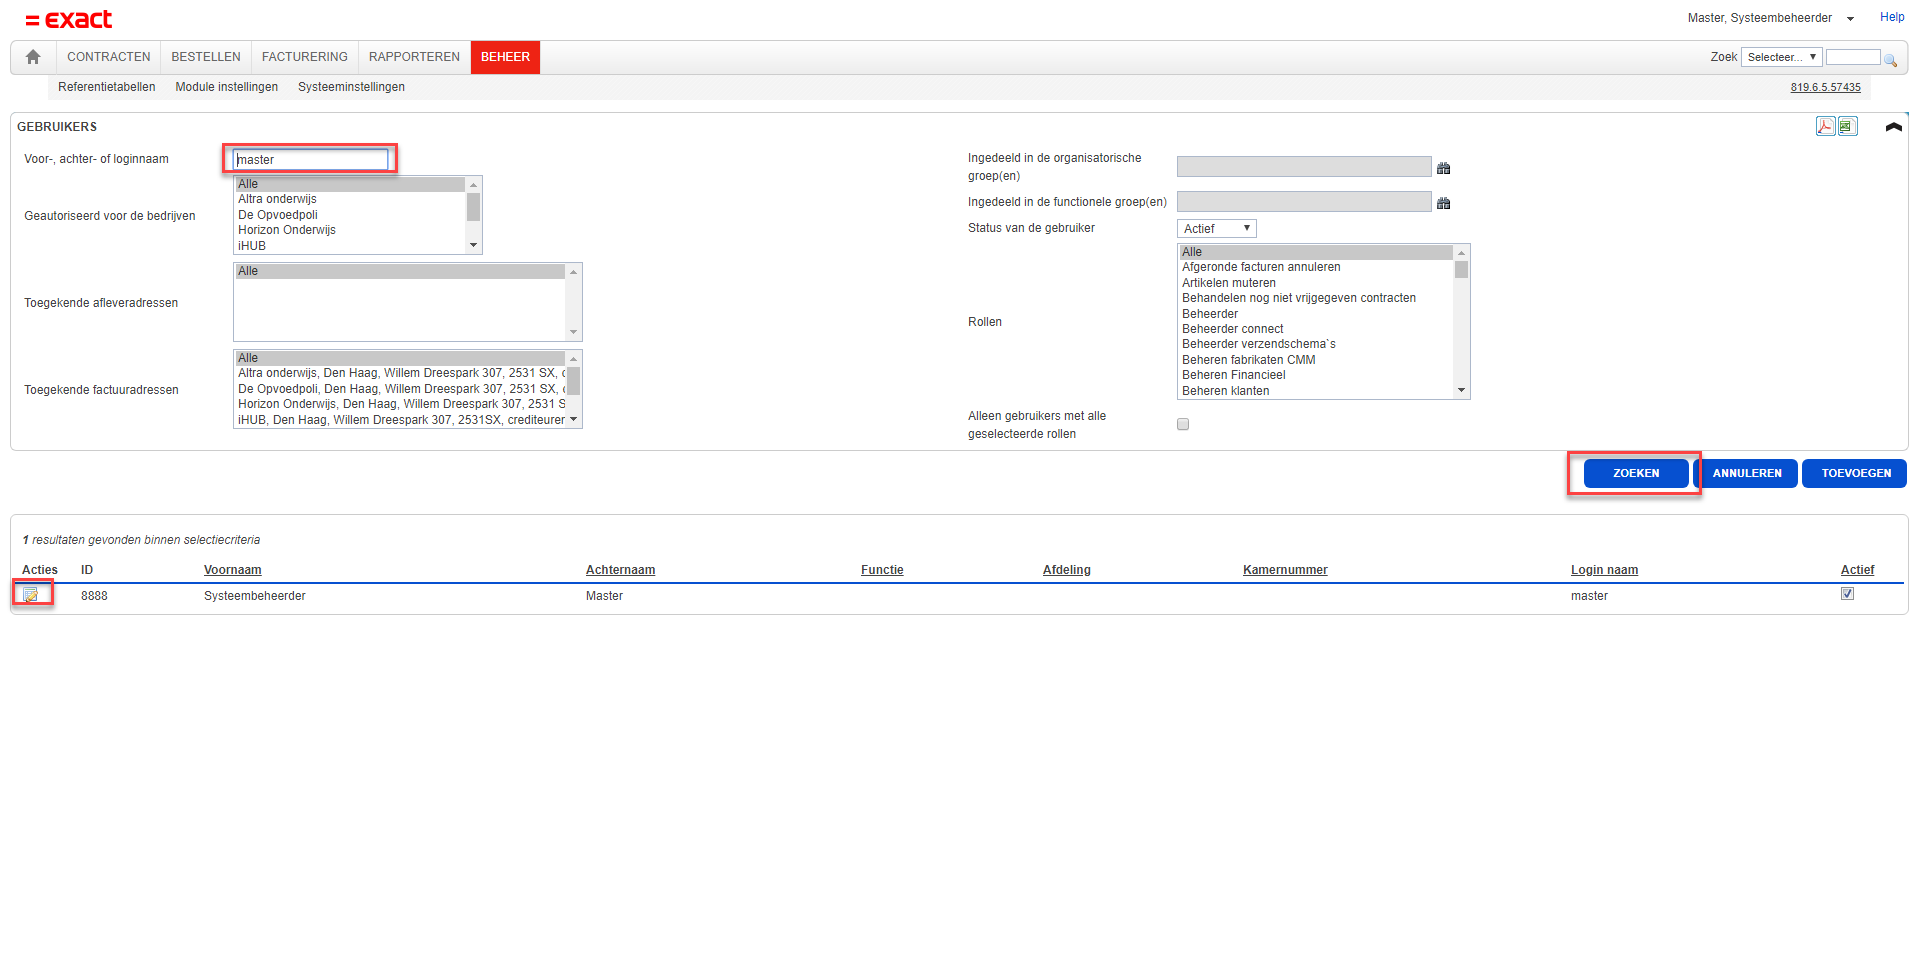
You shall arrive at the search page for users. Enter the user you would like to edit and click Search. For this example we have chosen our "master" user. Once the user is found, click the edit icon in front of the user at the Actions column. This will take you to the user's edit page.
Enter a Login name (for automatic logging on). This has to match the UserPrincipalName known in HelloID, for this is the matching identifier.
Dont forget to click Save!
Now our user is all set up to enjoy the full benefits of Single Sign-on between HelloID and Proquro!