Zivver SAML application setup
Introduction
Zivver is a secure mail Application that will encrypt all the user data by using an encryption key.
Some implementations will use an encryption key that is read from the Active directory. But other implementations can use the unique User ID from HelloID to encrypt the data. In this case be very cautious with deleting a HelloID user account as it can lead to loss of data in Zivver.
This manual shows you how to setup SSO to Zivver for both type of implementations.
Requirements:
HelloID environment
Zivver admin portal access.
Create or Import a Certificate
If there is no certificate yet, a certificate must be imported or created. This can be done in the HelloID Administrator Portal under Settings > Certificates. For this tutorial, we will use a self-signed certificate. Learn more about certificates here.
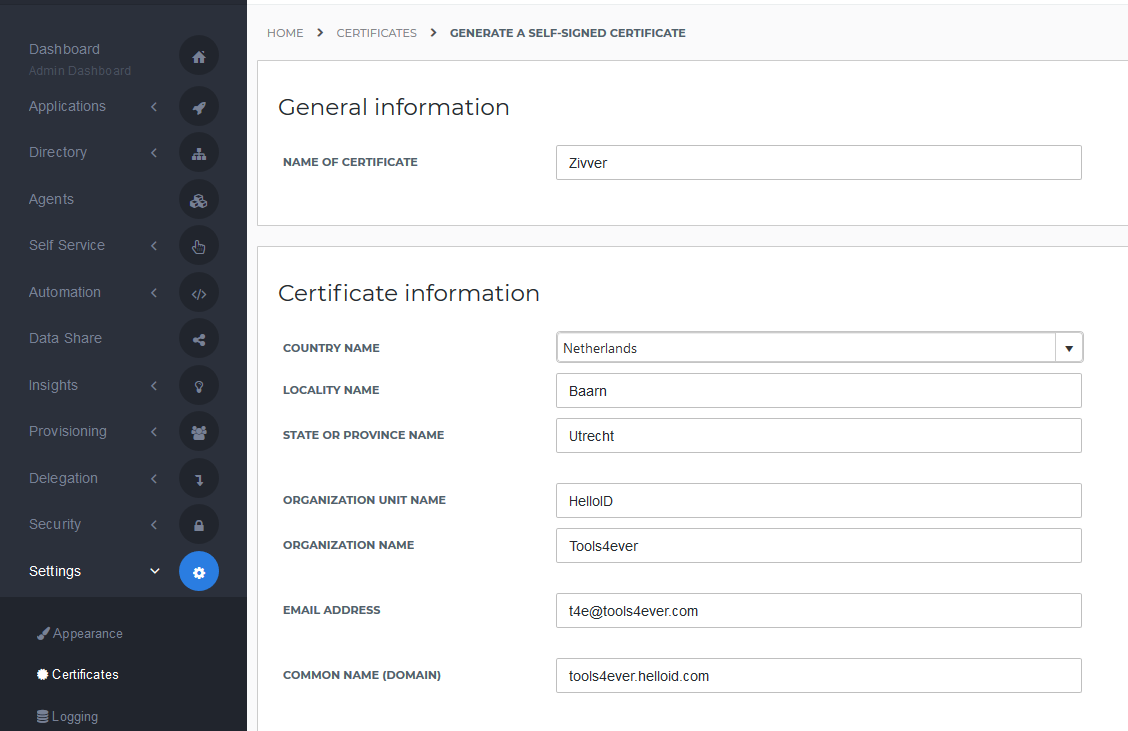
Application Setup Zivver
Add the Zivver Application
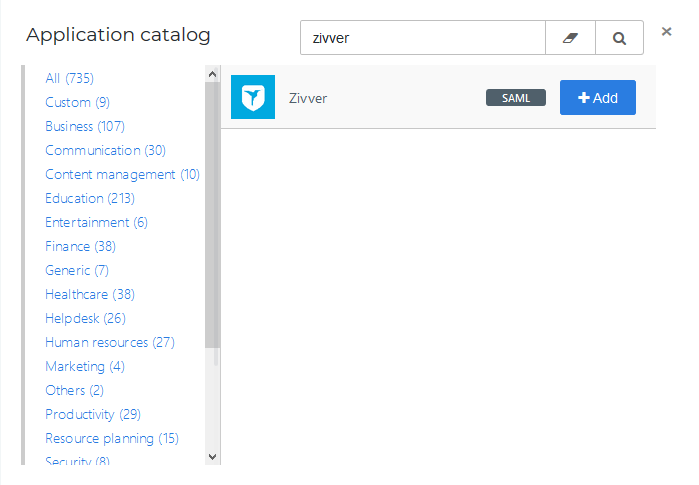
Create a new application in HelloID by navigating to Applications > Applications. Open the Application Catalog and search for "Zivver". Find the SAML template, and click Add. Learn more about managing applications here.
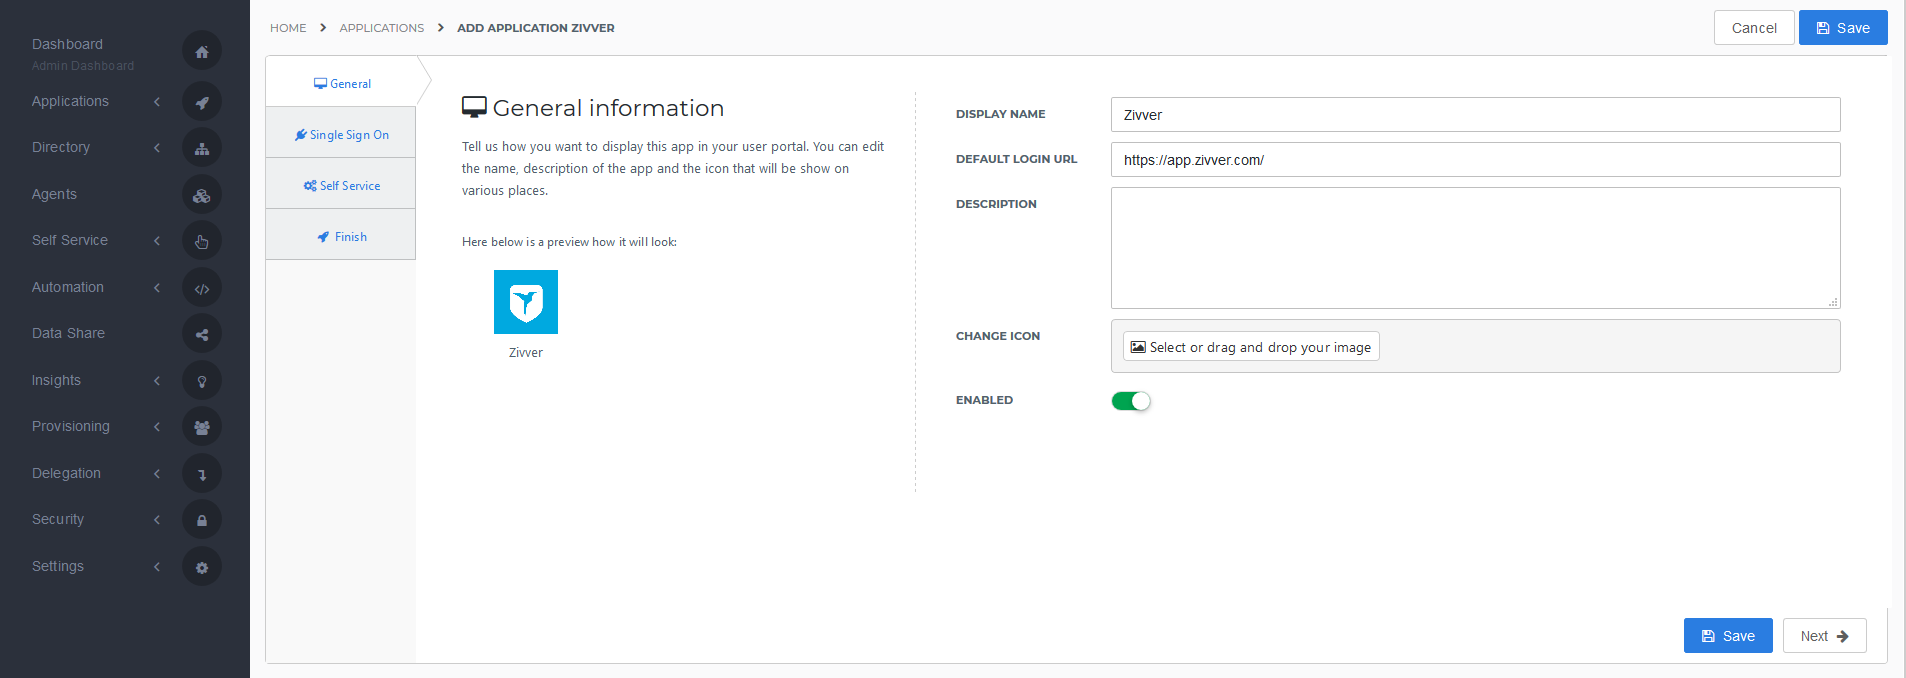
General tab
On the General tab, you dont need to change anything. Optionally, you may change the name or add a description. Click Next.
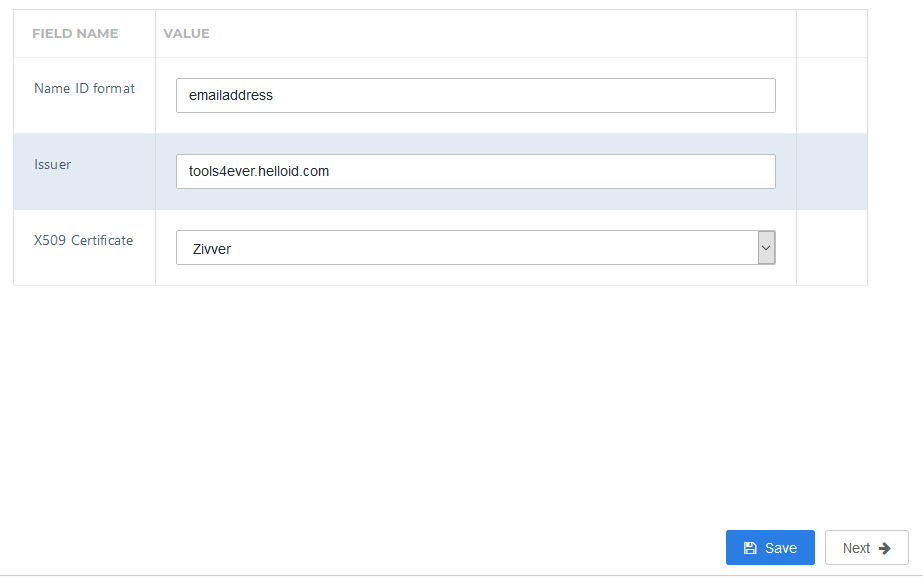
Single Sign-on tab
On the Single Sign-On tab, perform the following steps:
Change the Issuer to your portal name.
In the X509 Certificate dropdown, select the certificate that you created or imported previously.
Click Next.
Self service tab
On the Self Service tab, choose whether to automatically create a Self Service product, which makes the application requestable. This is optional. Click Next.
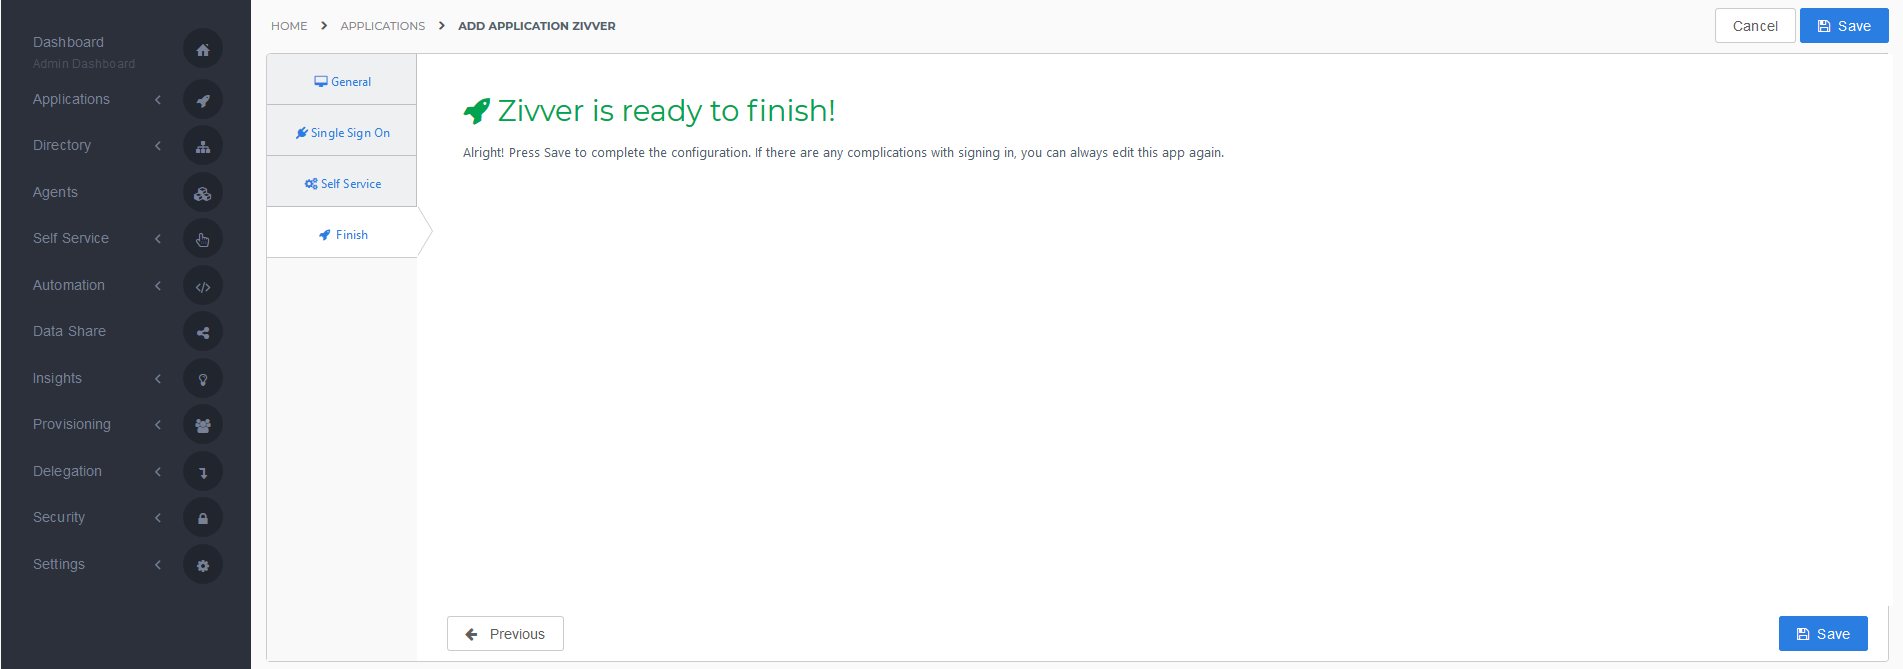
On the Finish tab, click Save to add the application to HelloID.
Application metadata
After saving the Zivver application, click its Edit link on the applications overview. This will bring you to its properties page.
You can simply right-click Download metadata at the right top of the screen and copy the URL for later use in Zivver.
Mapping set
After saving the Zivver application, click its Edit link on the applications overview. This will bring you to its properties page. You can now edit the Mapping Set on the configuration tab.
Press the Change mappings button of the SAML user.

Now there are 2 options, choose which applies to your organization:
Mapping with HelloID ZivverAccountKey
You dont need to change the mapping, by default the Email Address in HelloID will be used and the HelloID UserGUID will be used as ZivverAccountKey.

Mapping with Active Directory ZivverAccountKey
When using Active Directory as source for your users you need to configure this so Zivver knows which user is logging in. HelloID can also send the ZivverAccountKey which are retrieved from the Active Directory.
Make sure you have configured an Active Directory configuration. Learn more about Active Directory configurations here.
Make sure the Active Directory ObjectGUID is mapped to a HelloID attribute, Learn more about mapping attributes here. The Active Directory attributes should look like this:

The mapping to the HelloID attributes could look like this:

Add the AD Object GUID to the Zivver configuration. Click on the change mappings set and change the fields that are sent to Zivver.
the email address sent to HelloID needs to be the same as known in Active Directory, by default this is mapped to {{user.contactEmail}}
The Zivver Account Key that is sent to Zivver is calculated from the AD ObjectGUID. Fill in the same value as you have used in step 2, in this example we use {{user.attributes.ADObjectGUID}} And click the f(x) icon to select the operation Encode to Base64.

Configure SAML in Zivver
In order to make the connection a Zivver admin needs to import the metadata you have saved in the previous steps.
Open the Zivver admin portal and open select 'Single Sign-On (SSO)'

Choose the option 'Automatically retrieve metadata from URL (recommended)' and enter the metadata URL from the previous steps.
Also mark the option 'Use Single sign-On'
