Decos OpenID application setup
Introduction
This article demonstrates how to set up HelloID and Decos for single sign-on using the OpenID Connect protocol. The configuration takes place in HelloID and requires you to send information to Decos.
Requirements
HelloID environment
Decos environment
Create or import a certificate
If there is no certificate yet, you must create or import one. For this tutorial, we will create a self-signed certificate. Name it DecosSelfSigned.
Application setup
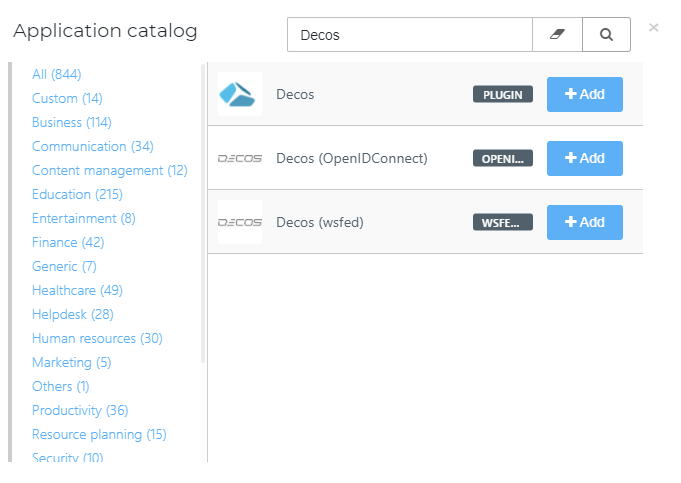
Add the Decos application
Add a new application.
Find the template for Decos (OpenIDConnect).
Select its Add button.
General tab
Change the following settings:
Default Login URL
https://{customer}.decos.com/. Replace{customer}with your account subdomain.
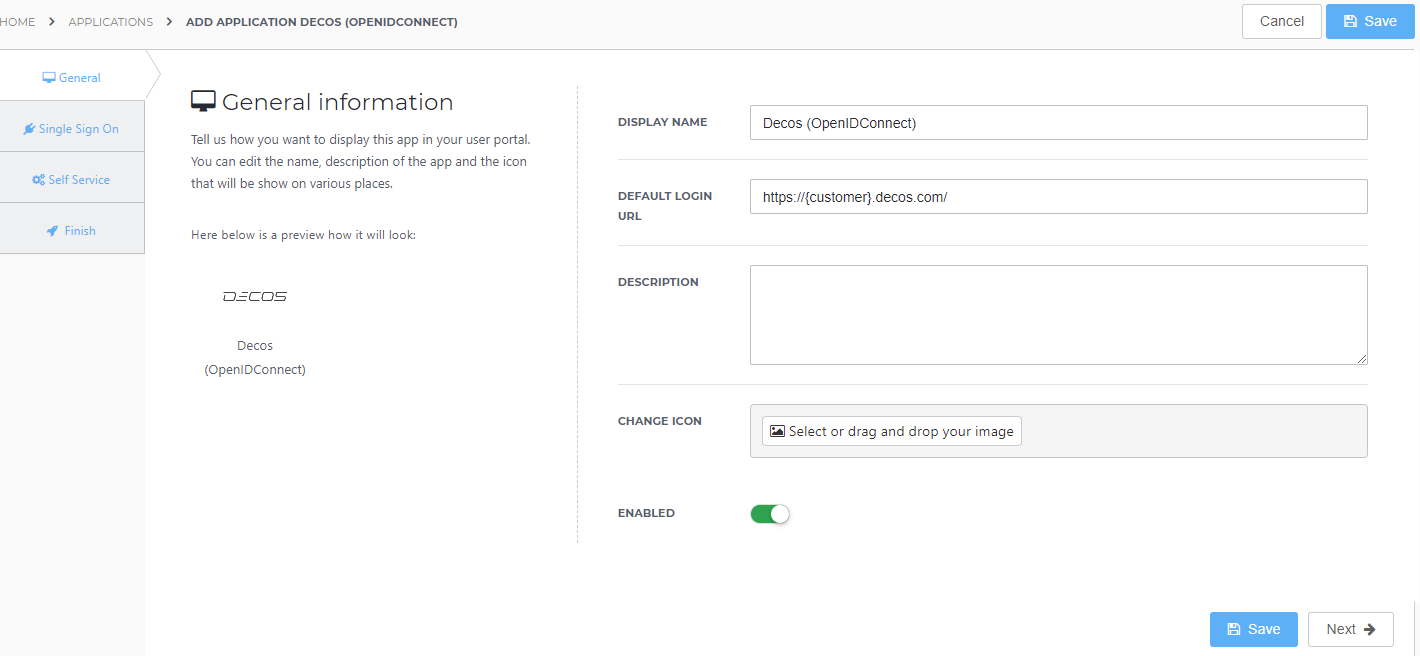
Select the Next button.
Single Sign-On tab
Change the following settings:
Secret
Accept the default value, or optionally, enter a custom secret. If you use a custom value, we suggest a string of at least 52 characters with uppercase characters, lowercase characters, and numbers. The secret cannot contain special characters.
Signing Certificate
Select the
DecosSelfSignedcertificate that you previously imported or created.Redirect URI
Enter the Redirect URI provided by Decos. For example:
https://{customerURL}/aspx. If necessary, add additional endpoints for the admin interface. For example:https://{customerURL}/admin. Note that if you configure multiple Redirect URIs, it's recommended to hide the OpenID Connect application and publish generic shortcut applications for both applications.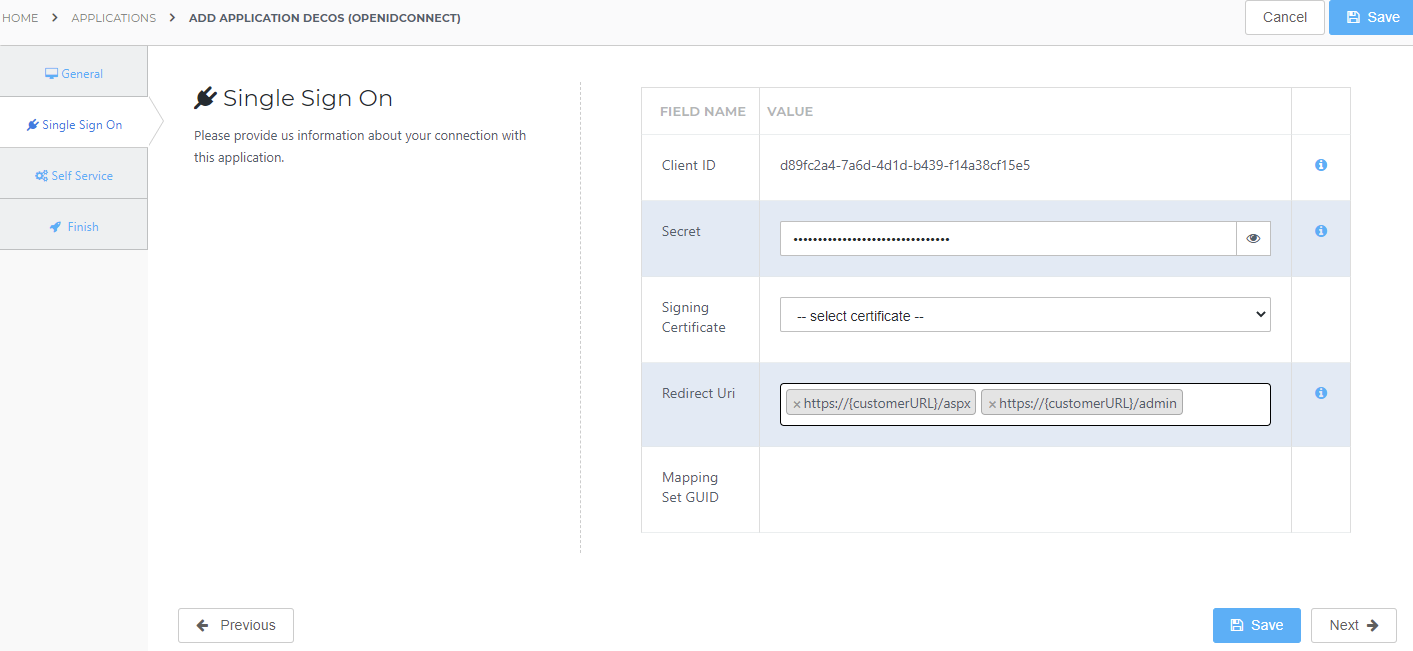
Select the Next button.
Self Service tab
Optionally, generate a Self Service product, which makes the application requestable. Select a group which will have access to the product.
Select the Next button.
Finish tab
On the Finish tab, click Save to add the application to HelloID.
Additional configuration
Mapping
By default, the user's HelloID {{user.username}} attribute is sent as the unique identifier preferred_username. To change this, or map other attributes including mobile or business phone numbers, see Mapping - Overview.
Supplier-side configuration
The HelloID side of the configuration is now finished.
To connect, Decos needs to add the connection on their side. Contact Decos to request this.
Send them the following information:
Client ID & Secret
Discovery document URL
Client ID & Secret
Edit the newly-added Decos application.
Go to its Configuration tab.
Copy the Client ID value.
Select the "eye" button to reveal the Secret, and copy the value.
Discovery document
Edit the newly-added Decos application.
Right-click the View discovery document button
Select Copy link. It will resemble:
https://enyoi.helloid.com/oauth2/v2/e6e741f5-a469-4849-93f7-fe2e259a339f/.well-known/openid-configuration/.