Salesforce SAML application setup
Important
Some URLs and parameters are case sensitive. If not entered correctly, configurations may not work.
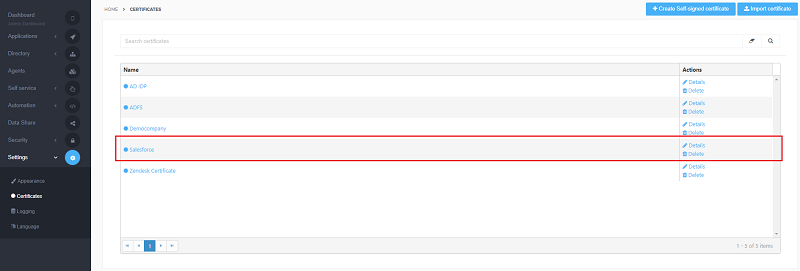
1. Login as Administrator in the HelloID Portal and press manage portal. Go to Settings > Certificates and press Create Self-Signed Certificate to create a Certificate for Salesforce. See How to use certificates for more information about creating and using certificates.
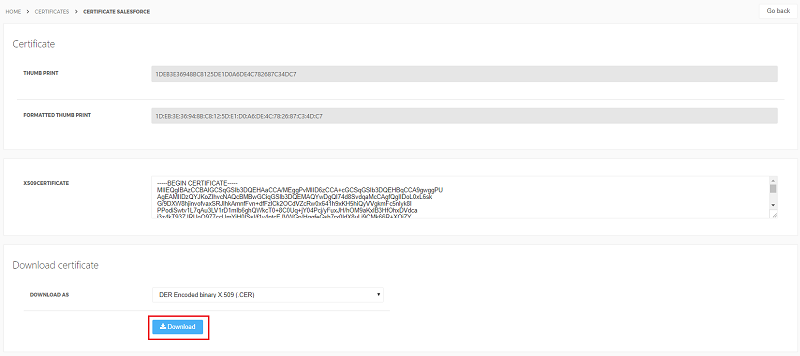
2. Open the created certificate.
3. Download the Certificate for use in the Salesforce configuration.
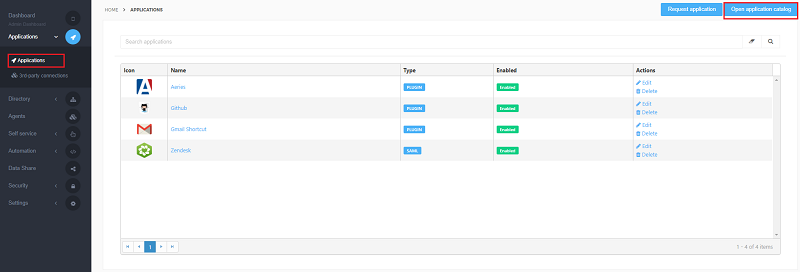
4. Go to Applications > Applications and press Open application catalog
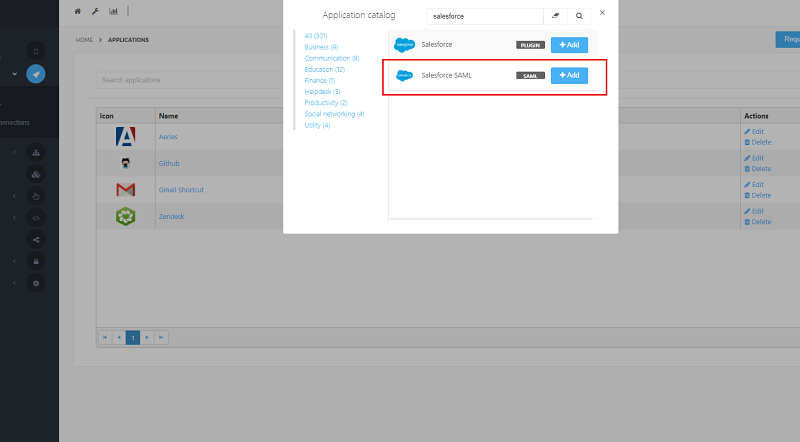
5. Search for Salesforce SAML and press Add
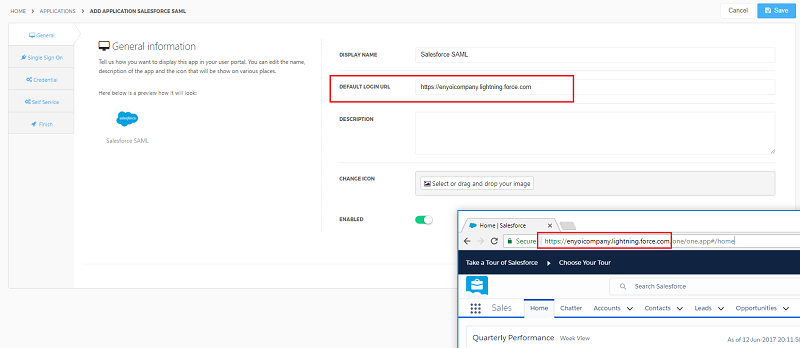
6. Enter the correct environment name in the URL in and press Next
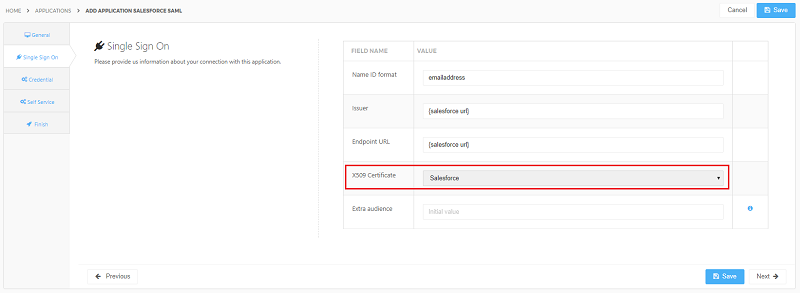
7. Select the Salesforce certificate (see step 3). Press Next to continue
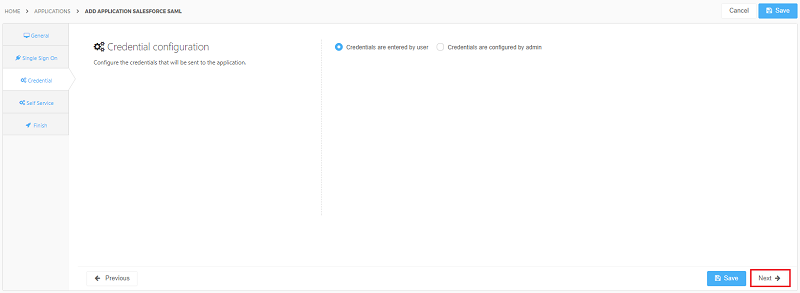
8. These settings do not have to be changed. Press Next to continue
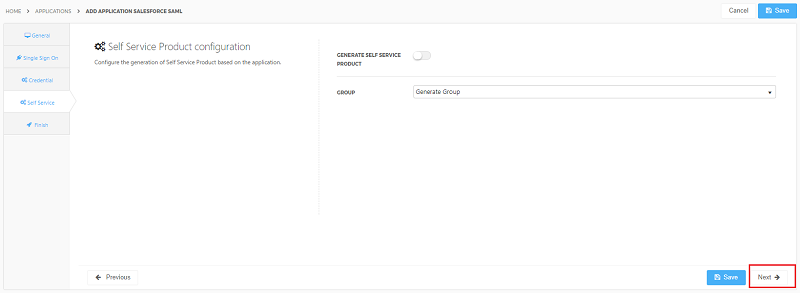
9. Here it’s possible to configure a self-service product. Press Next to continue
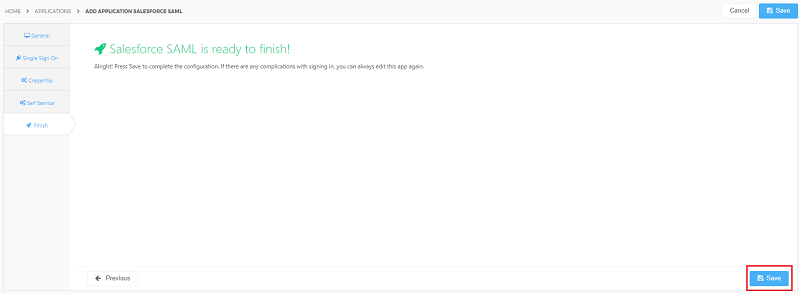
10. Press Save to add the application to the dashboard
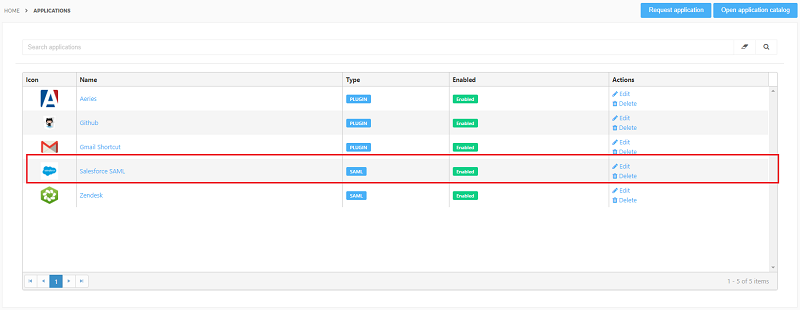
11. Now open the Salesforce application by pressing Edit in the application overview
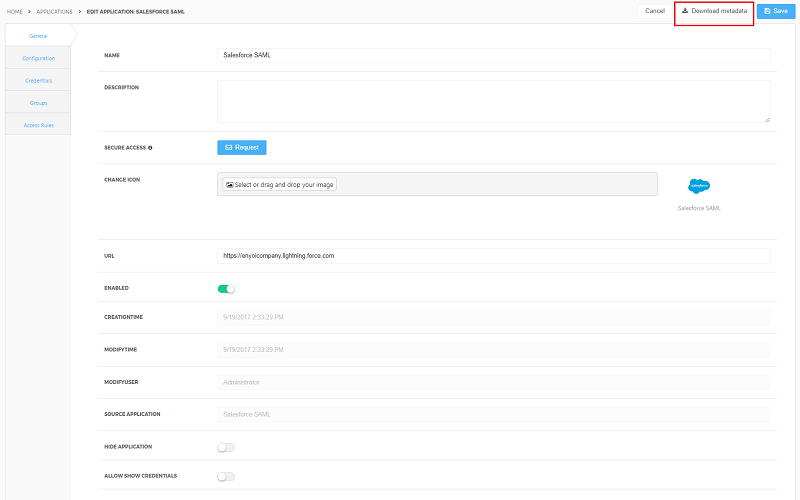
12. Press Download metadata
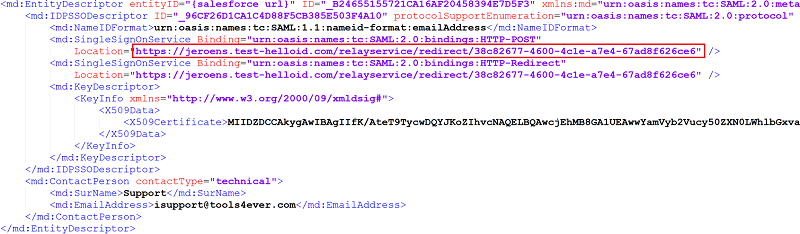
13. Open the metadata file a texteditor like notepad and copy the location.

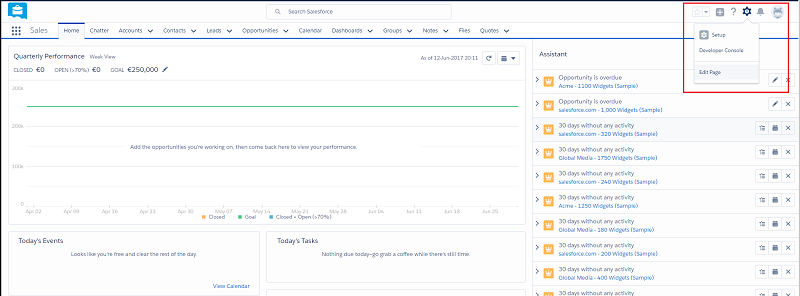
14. Login to the Salesforce portal and select Setup
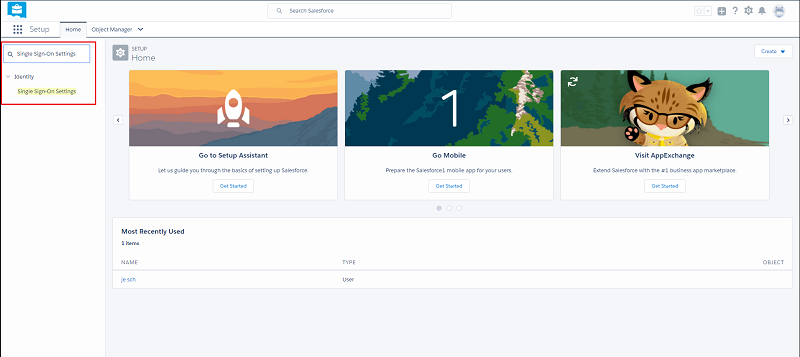
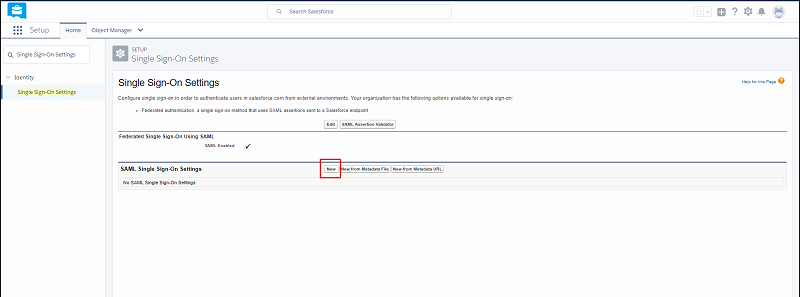
15. Search for Single Sign-On Settings and select the page
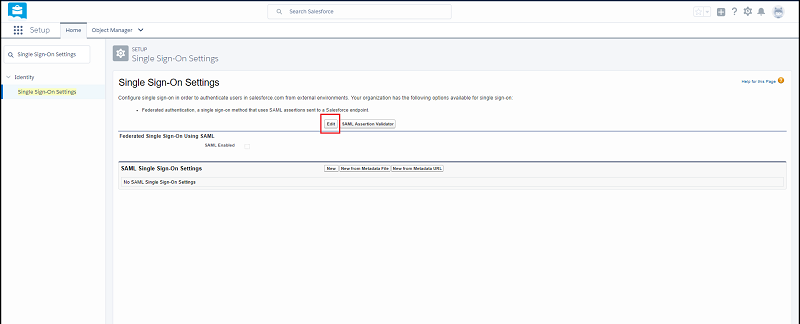
16. Press Edit
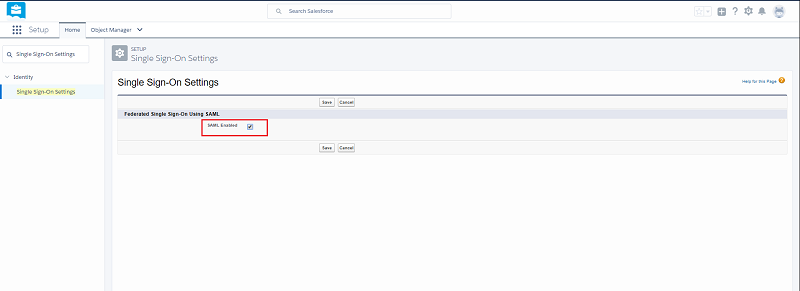
17. Check the SAML Enabled box and press Save
18. Press the New button
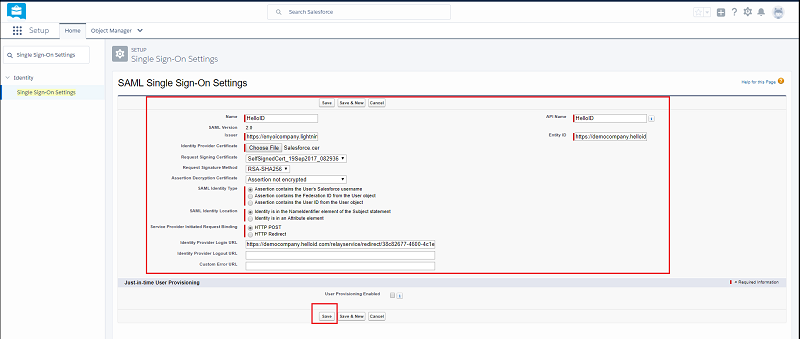
19. Enter the following fields and press Save
Name: Enter a name for the Federation
API Name: By default same as Name
Issuer: The URL of your Salesforce Environment
Entity ID: The URL of your HelloID Environment
Identity Pro Certificate: Select the Certificate (step 3)
Request Sign Certificate: Default
Request Sign Method: Default
Assertion Decr cert: Not encrypted
SAML Identity Type: Assertion contains User’s salesforce.com username
SAML Identity Location: Identity is in the NameIdentifier element…
Service Provider Init: HTTP Post
Identity Provider login: The location copied at step 13
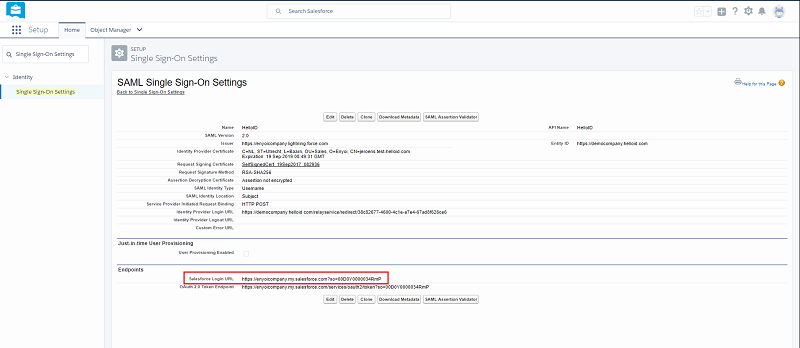
20. Copy the Salesforce Login URL
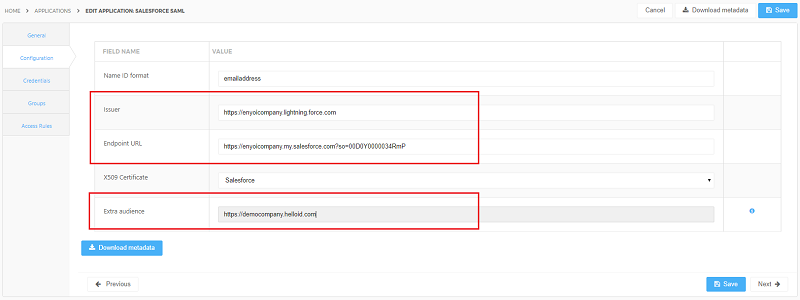
21. Paste the Salesforce Login URL in the Salesforce configuration > Endpoint URL value and enter the Salesforce URL in the Issuer value. Enter in the Extra audience value the “<portal url>” and press Save to finish the configuration.
22. At first use the user needs to enter and verify their email address. When the verification is finished the user will be logged in to Salesforce.
The credentials can be prepopulated by configuring step 8 of this guide or by using the API “Create Credential Set”.