Map target account fields
For the relevant AD target system, Edit a target system.
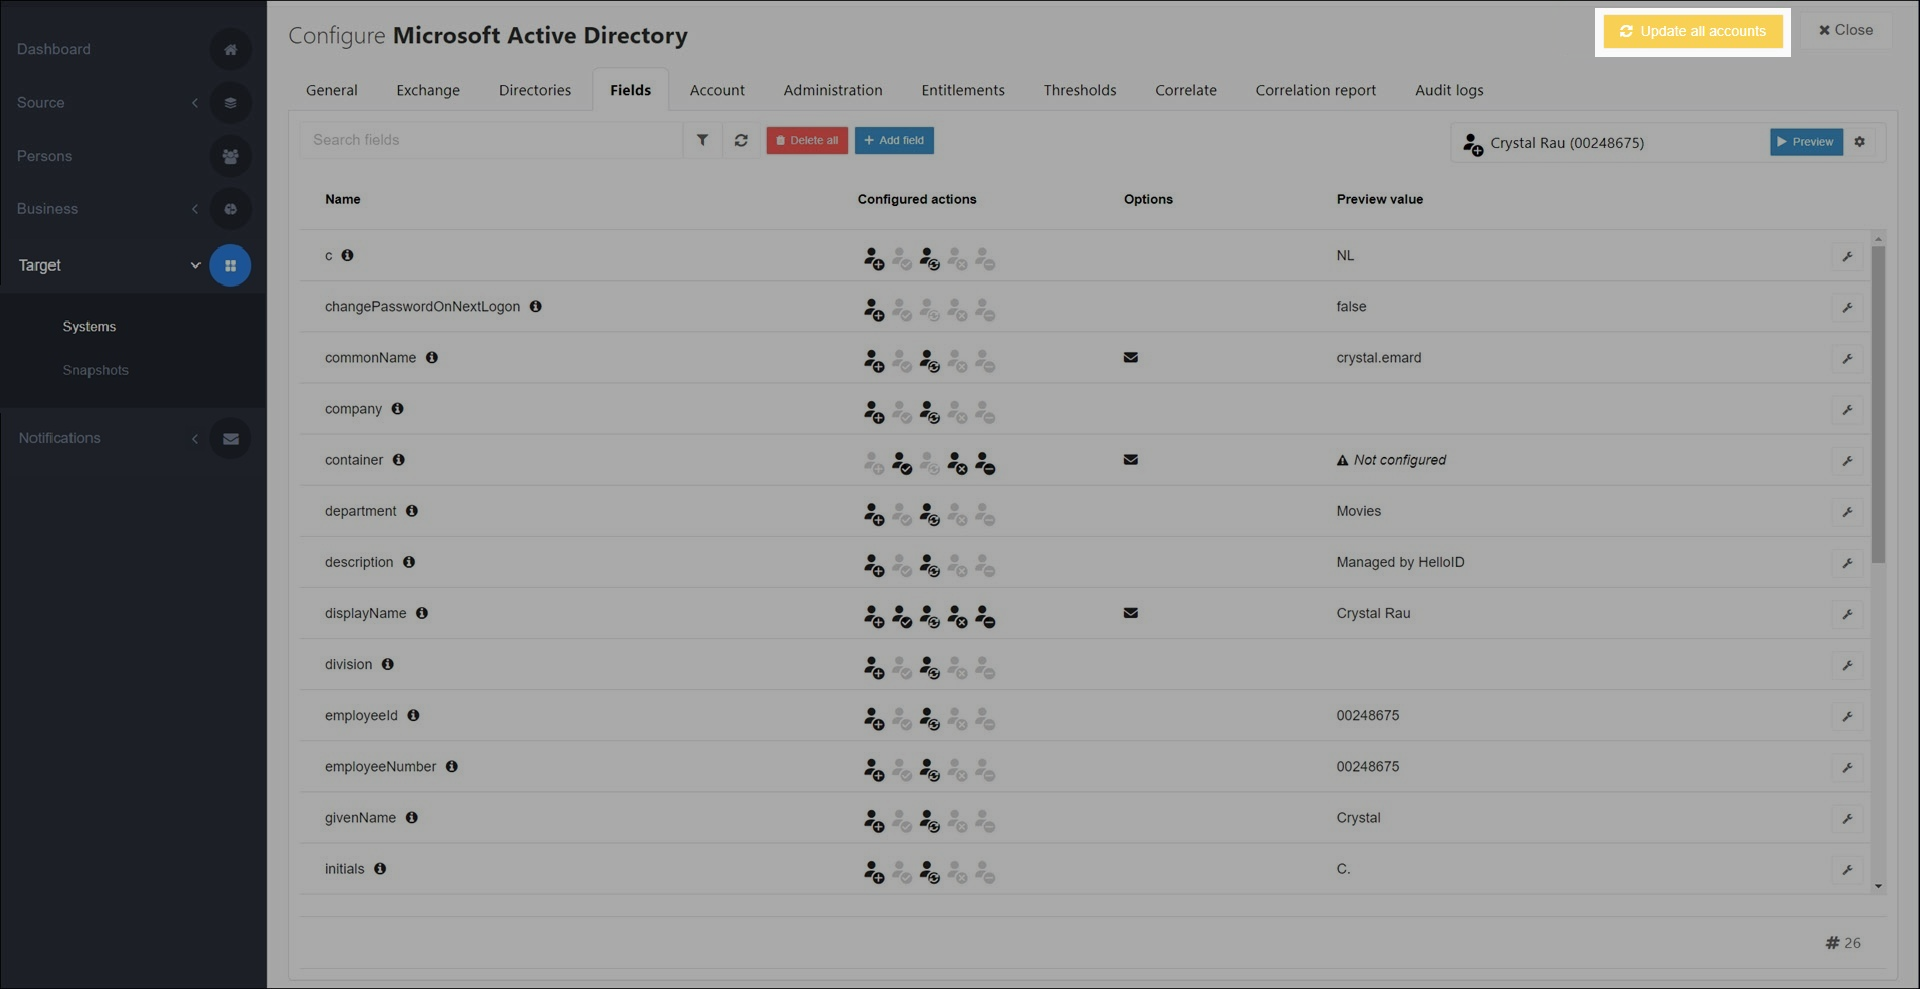
Go to the Fields tab.
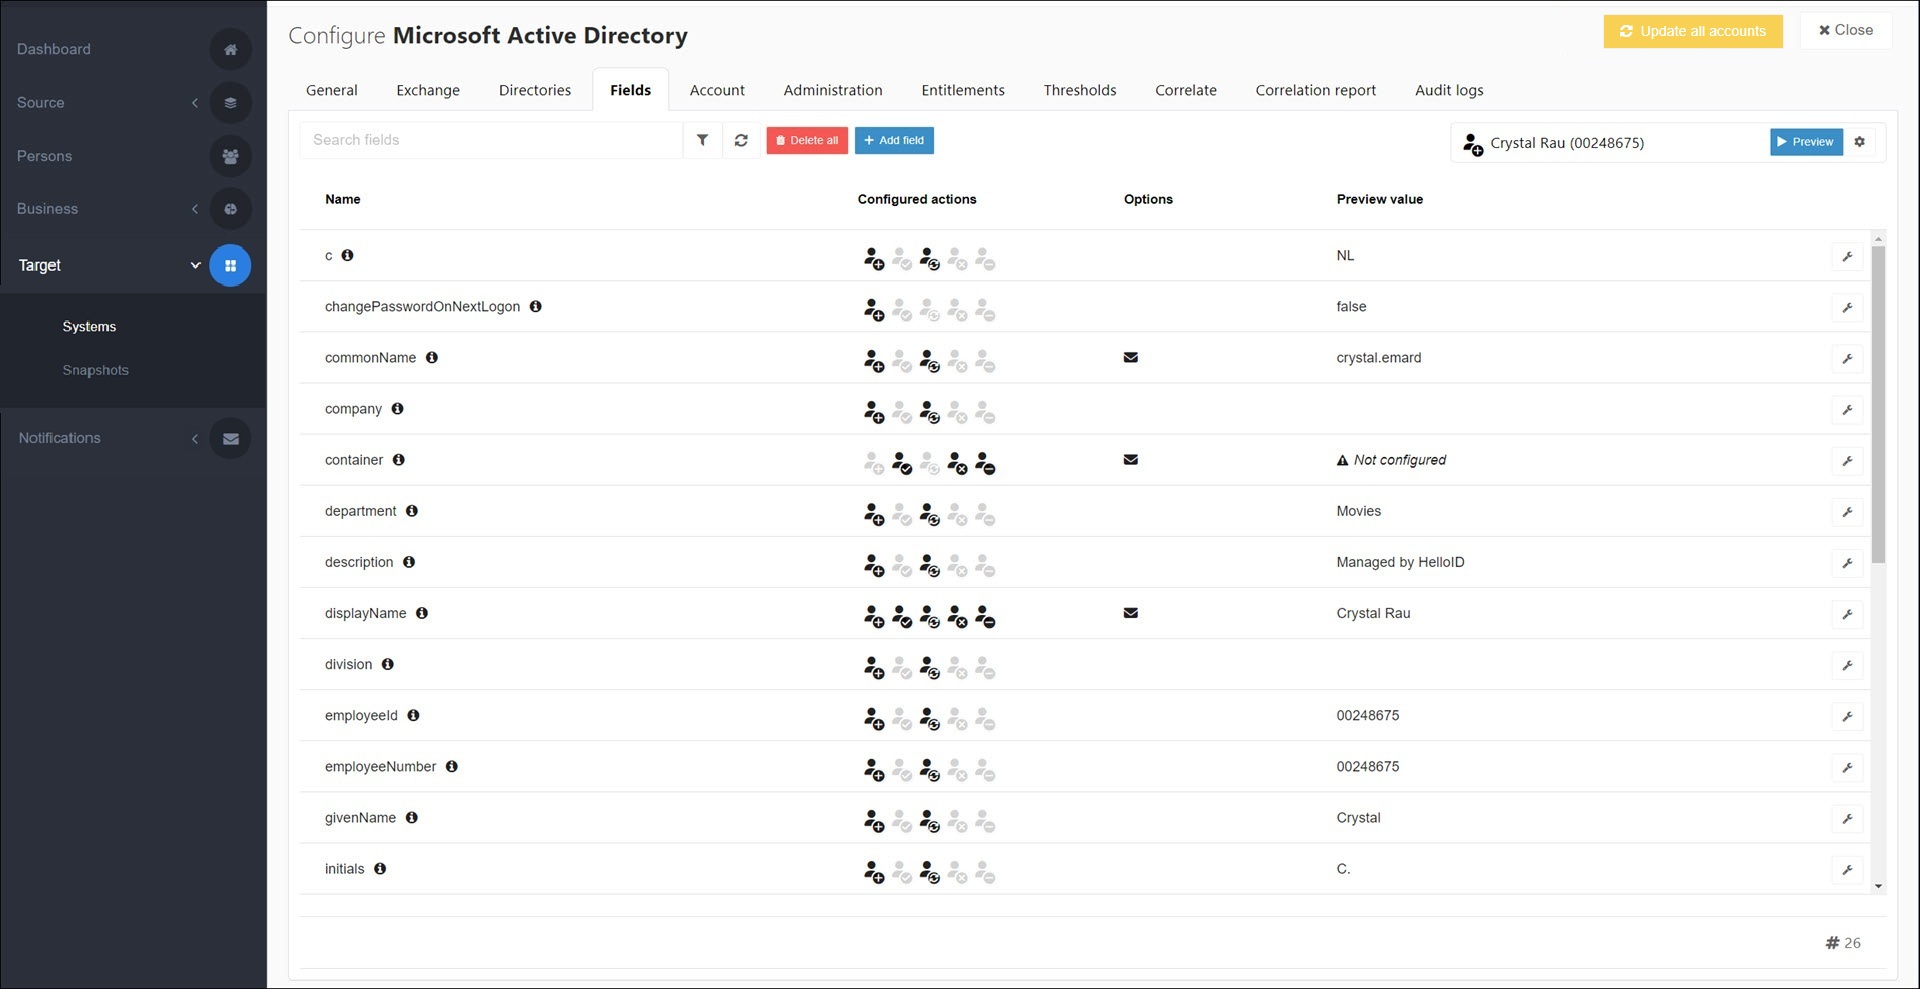
Choose one:
To remap an existing field:
Click the field's
 Edit button to open it.
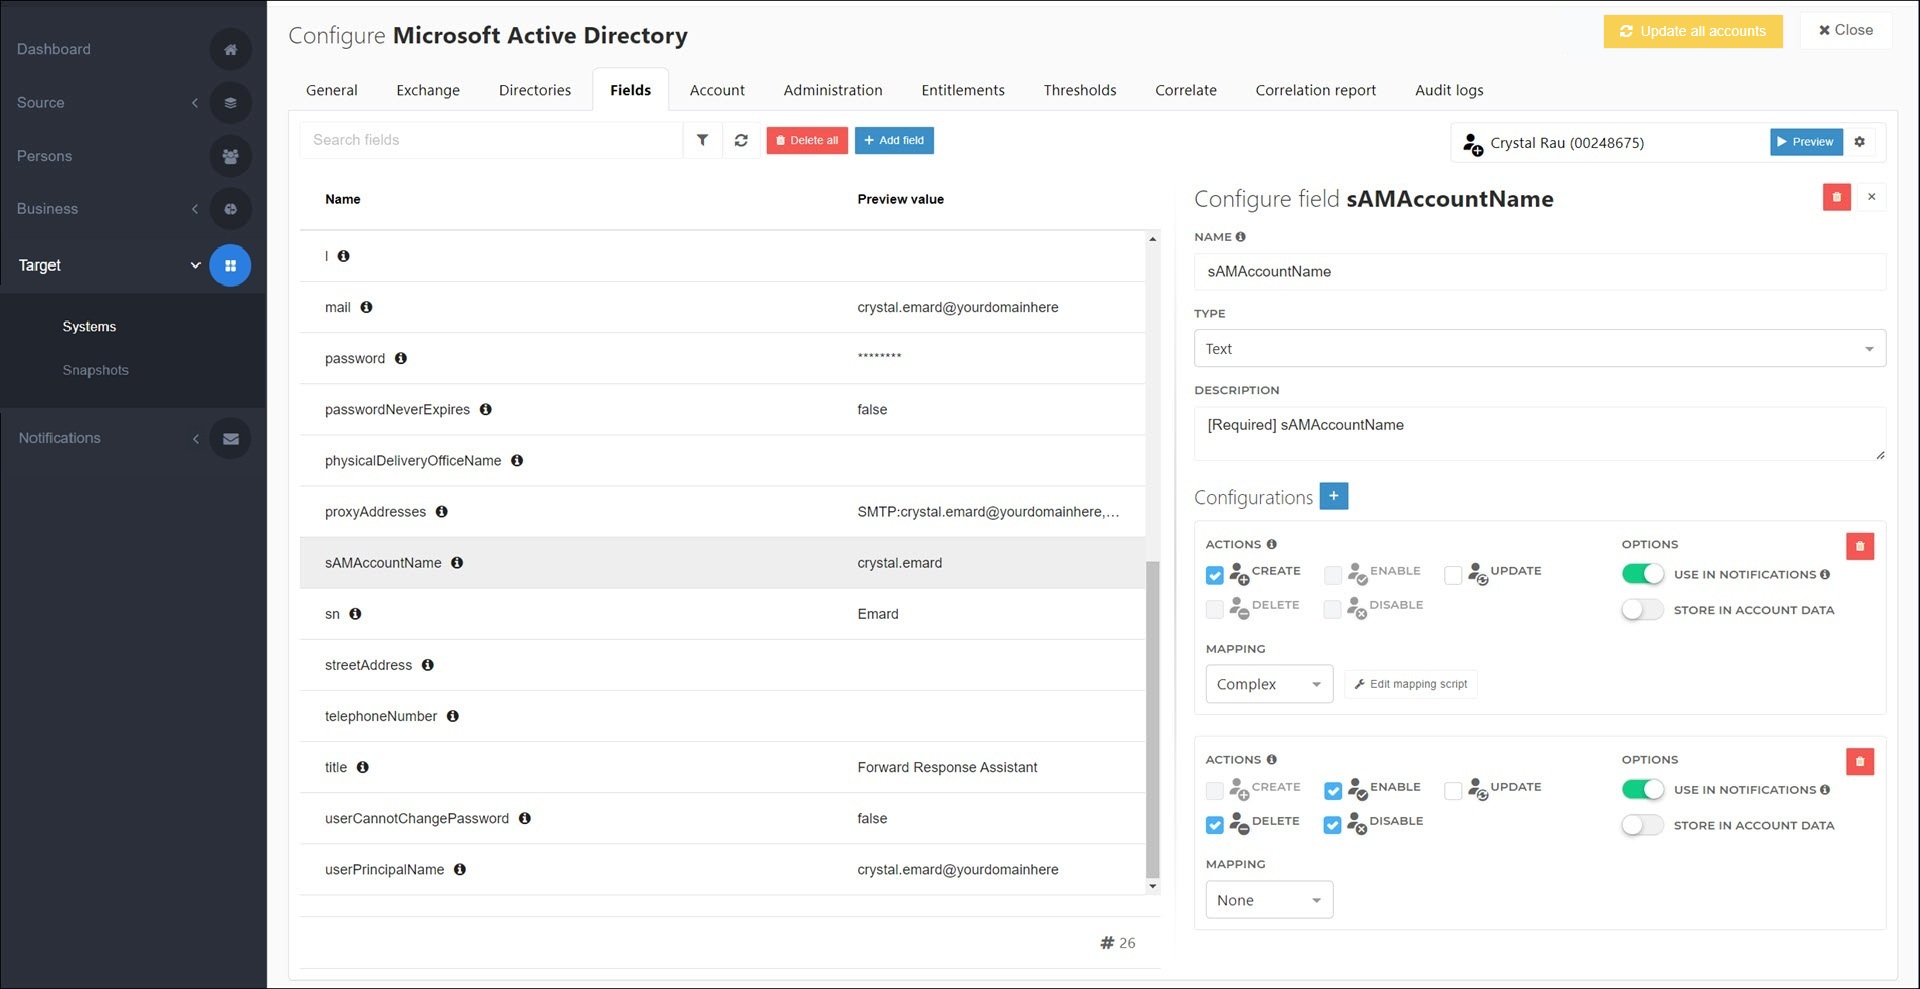
Configure its options:
Table 1. Individual mappingsName
Description
 Delete
Delete this mapped field.
 Close
CloseStop editing this mapped field and return to the grid. Any changes you made are automatically saved.
Name
The name of this mapped field.
Type
The type of this mapped field:
Text: A string.
Array: An array of strings.
Description
An optional description of this mapped field, for internal (admin) reference only.
 Add
AddAdd a new configuration to this mapped field. Configurations let you vary a field's mapping depending on the account lifecycle stage (using the Actions checkboxes).
Actions
Specify which account lifecycle stage(s) the current configuration should be active for. Each stage can only be used in a single configuration.
DeleteDelete this configuration.
Use In Notifications
Make this mapped field available to use as a condition in Notifications (including conditional notifications).
Store In Account Data
Mapping type
None: A target account field that has no mapping, because the value is set in an account script or read from the target system. Sometimes needed in conditional notifications.
Fixed: A constant string value (specified by you). All accounts in this target system will receive the same fixed value for this field.
Field: A direct mapping of a field from the Person schema, without any further transformations applied.
Complex: A string built in JavaScript. See Complex mappings.
Person field
The field from the Person schema that will be used as the basis for this mapped field.
To add and map a new field:
Click Add Field.
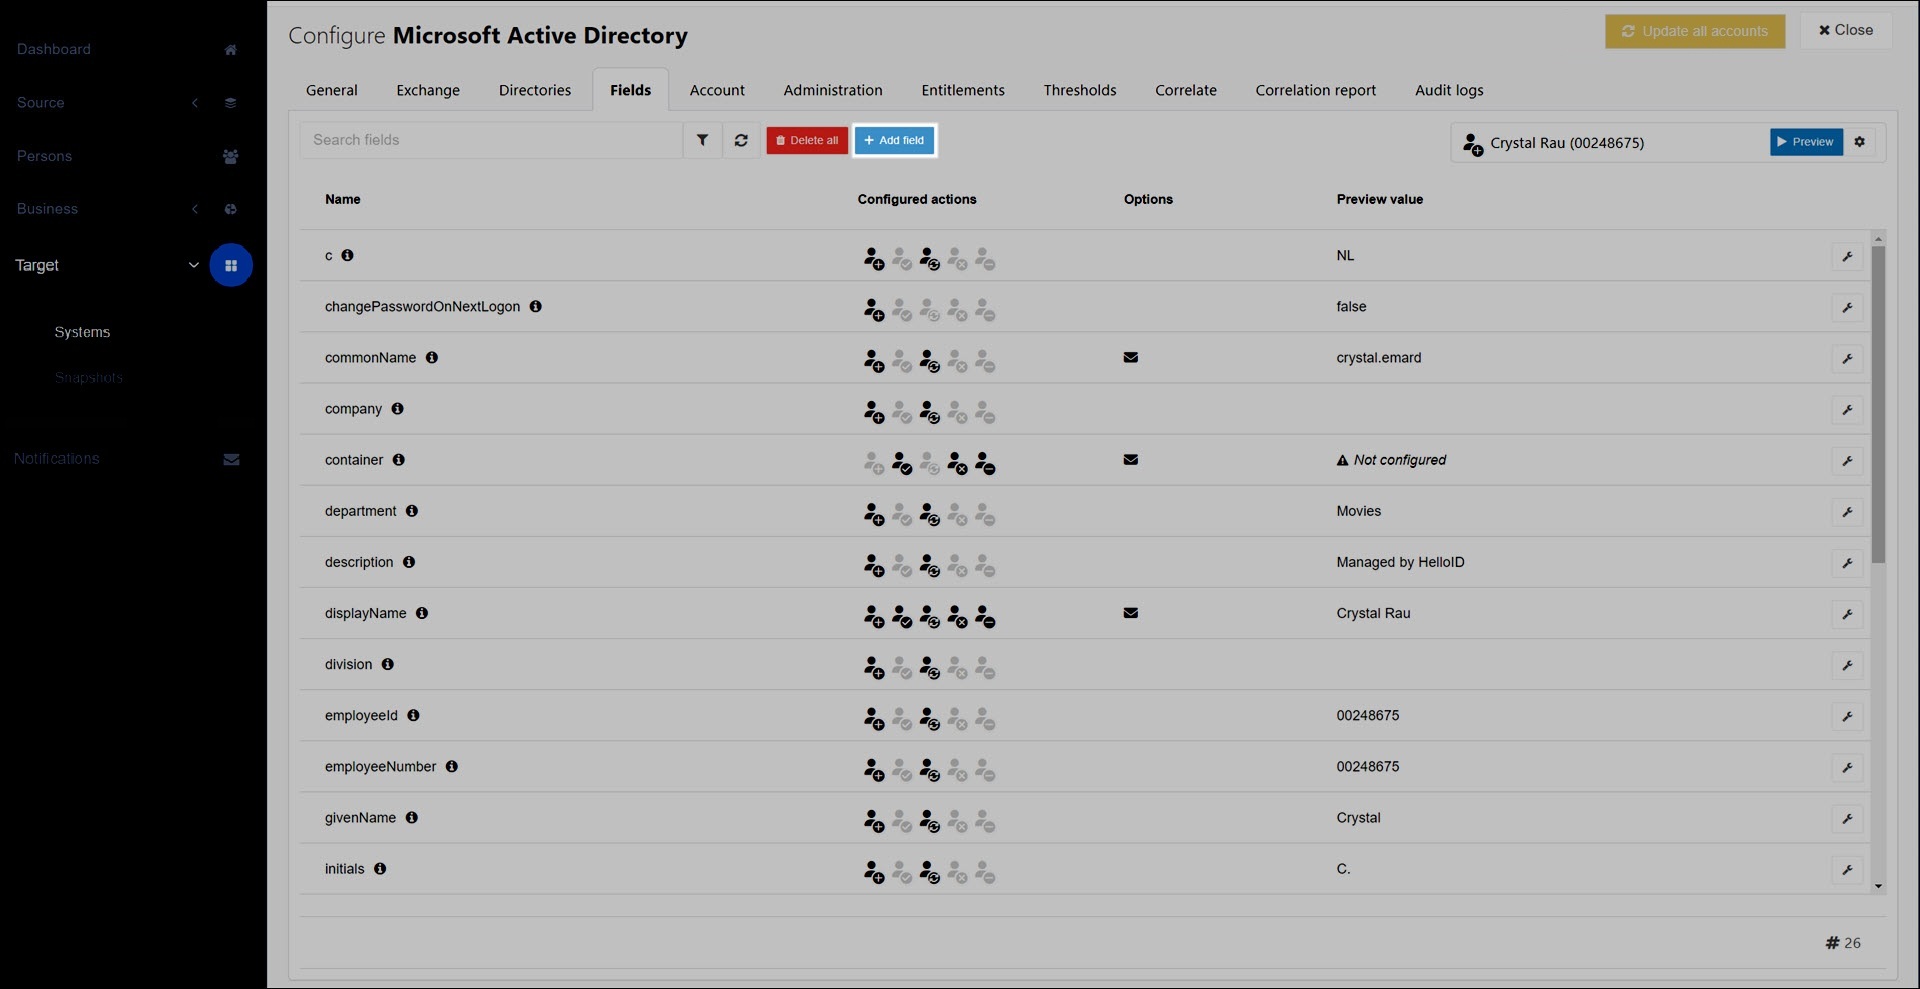
A new, unconfigured field is added:
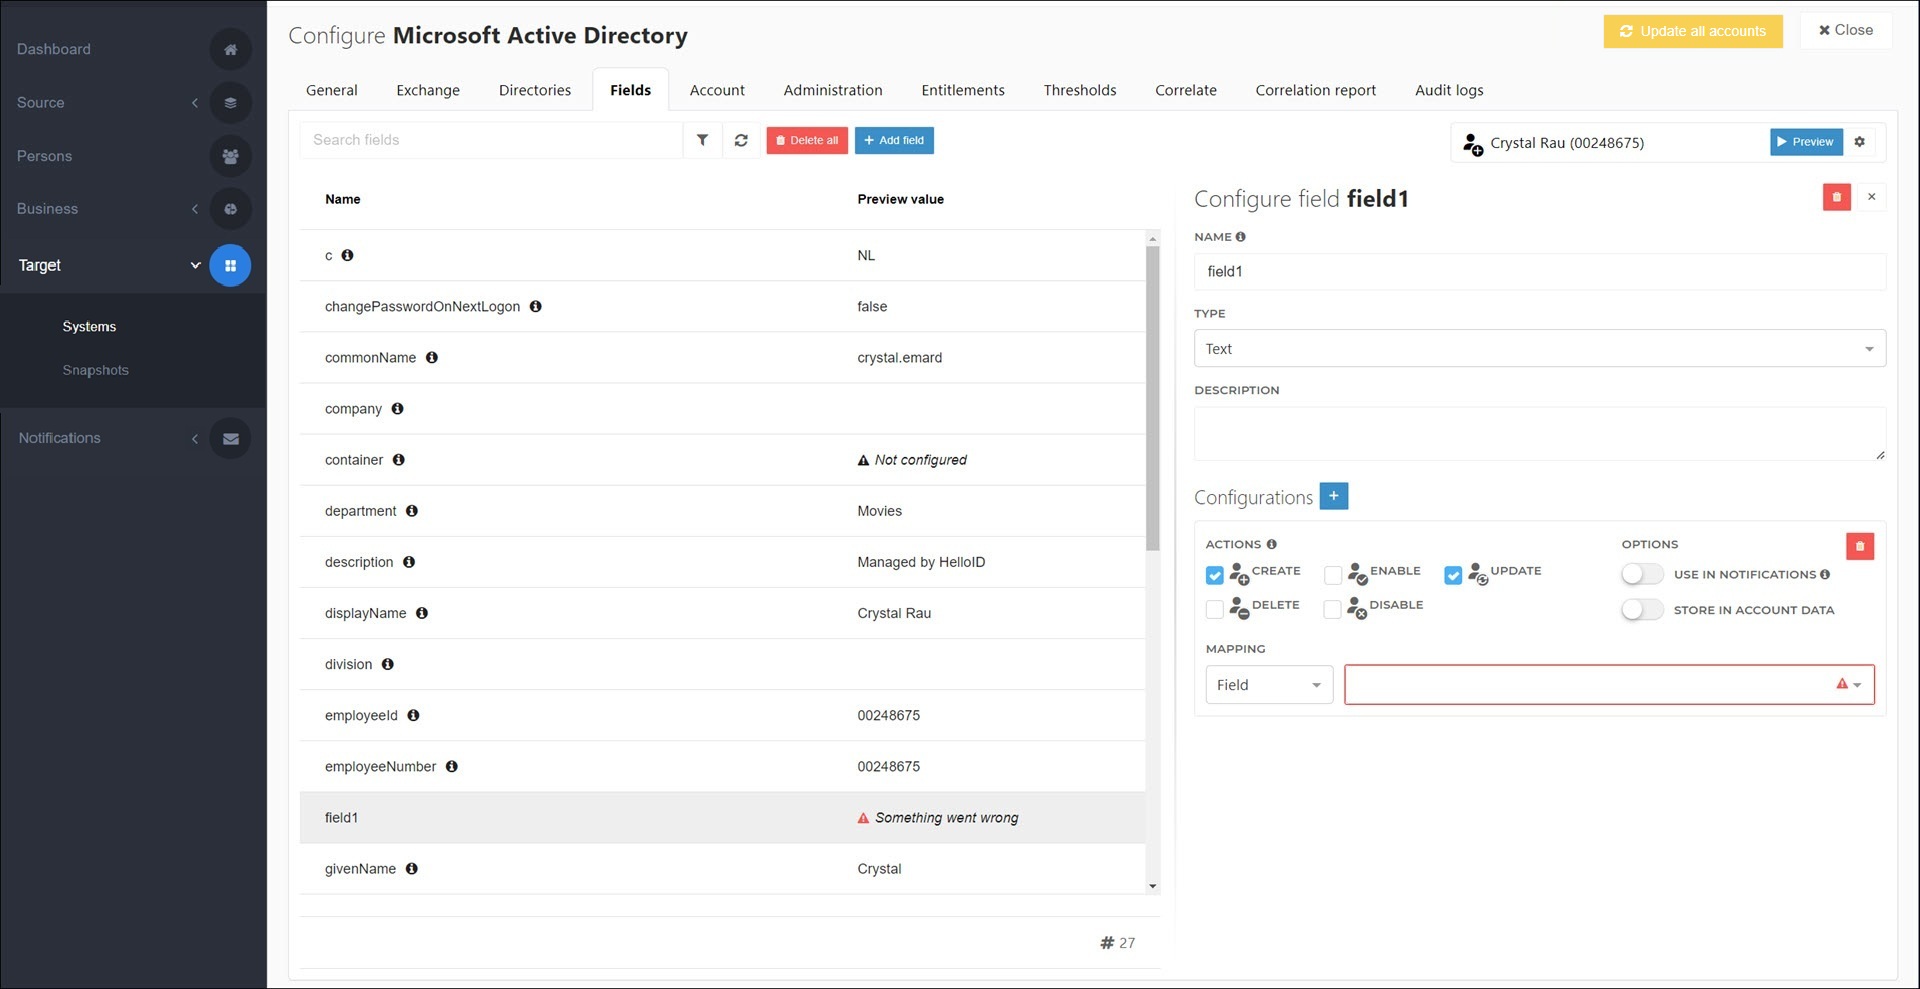
Map the new field using the instructions in step (3a).
Note
Custom fields added this way must already be defined and available in the target system's user schema.
To preview mappings, Preview target mappings.
Click Update all accounts.
The new mappings will be written to target accounts during the next Enforcement.