Drupal OpenID application setup
Introduction
This manual shows how to make an OpenID connection to Drupal. The configuration takes place in HelloID the Drupal admin portal.
Requirements:
HelloID environment
Drupal environment
OpenID Connect module (download link: https://www.drupal.org/project/openid_connect)
Create or Import a Certificate
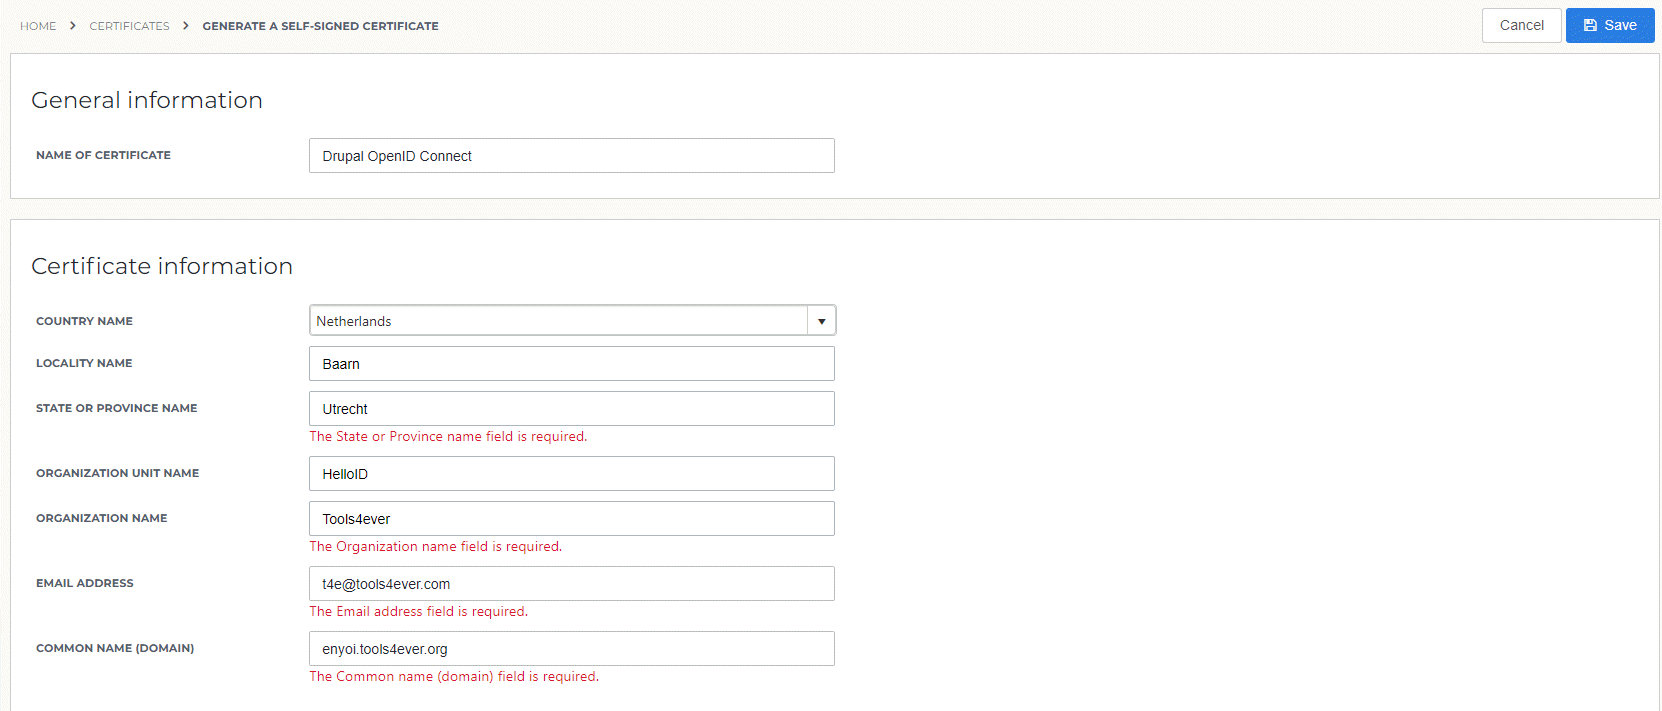
If there is no certificate yet, a certificate must be imported or created. This can be done in the HelloID Administrator Portal under Settings > Certificates. For this tutorial, we will use a self-signed certificate. Learn more about certificates here.
Application Setup
Add the Drupal Application
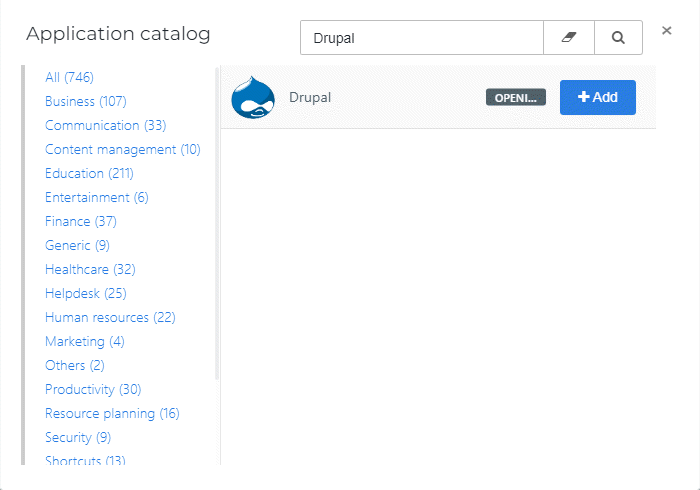
Create a new application in HelloID by navigating to Applications > Applications. Open the Application Catalogue and search for "Drupal". Find the OpenID template, and click Add. Learn more about managing applications here.
General tab
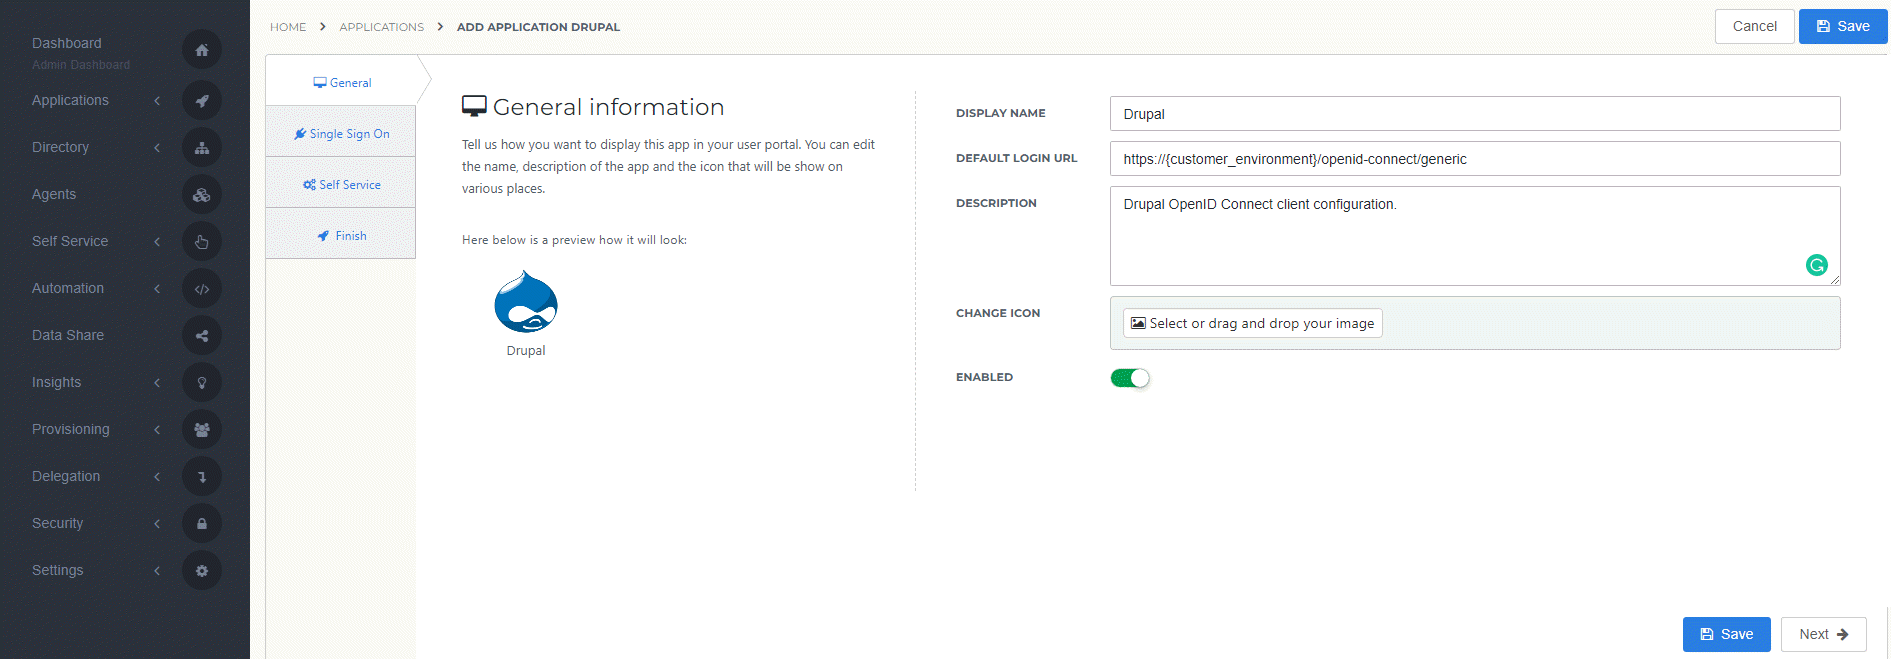
On the General tab, replace the customer environment {customer_environment} in the Default Login URL field with the URL to your Drupal environment. Optionally, you may also add a description. Click Next.
Single Sign-on tab
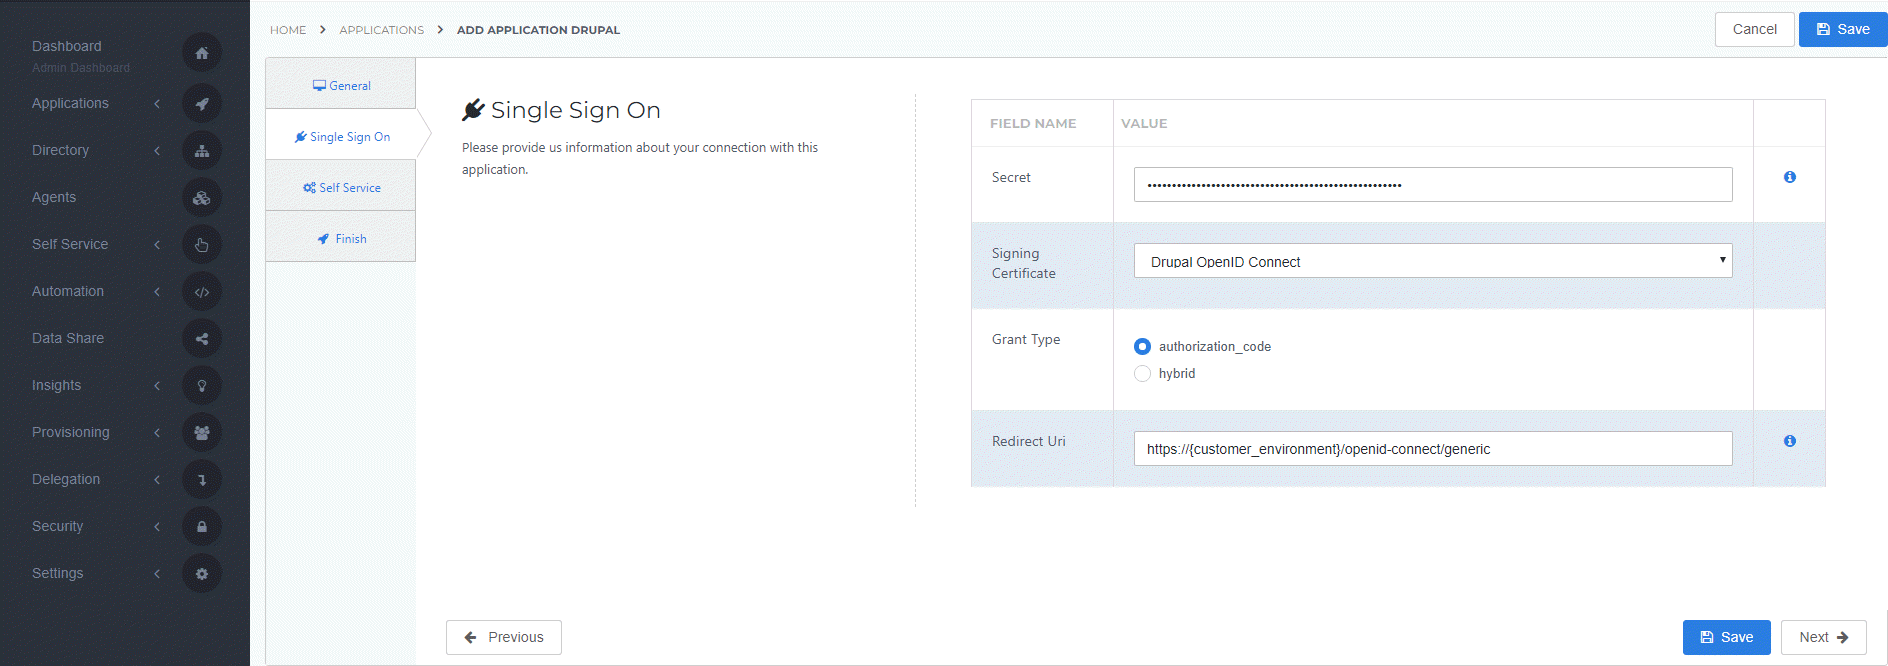
On the Single Sign-On tab, perform the following steps:
Provide a value in the Secret field.
This can be any value that you want. Although we suggest a string of at least 52 characters.
Make note of it, as you will need to enter it in Drupal later on.
In the Signing Certificate dropdown, select the certificate that you created or imported previously.
For Grant Type select authorization_code.
As Redirect Uri enter the redirect URI of your Drupal environment. This can be found at the Drupal admin center.
Click Next.
Self service tab
On the Self Service tab, choose whether to automatically create a Self Service product, which makes the application requestable. This is optional. Click Next.
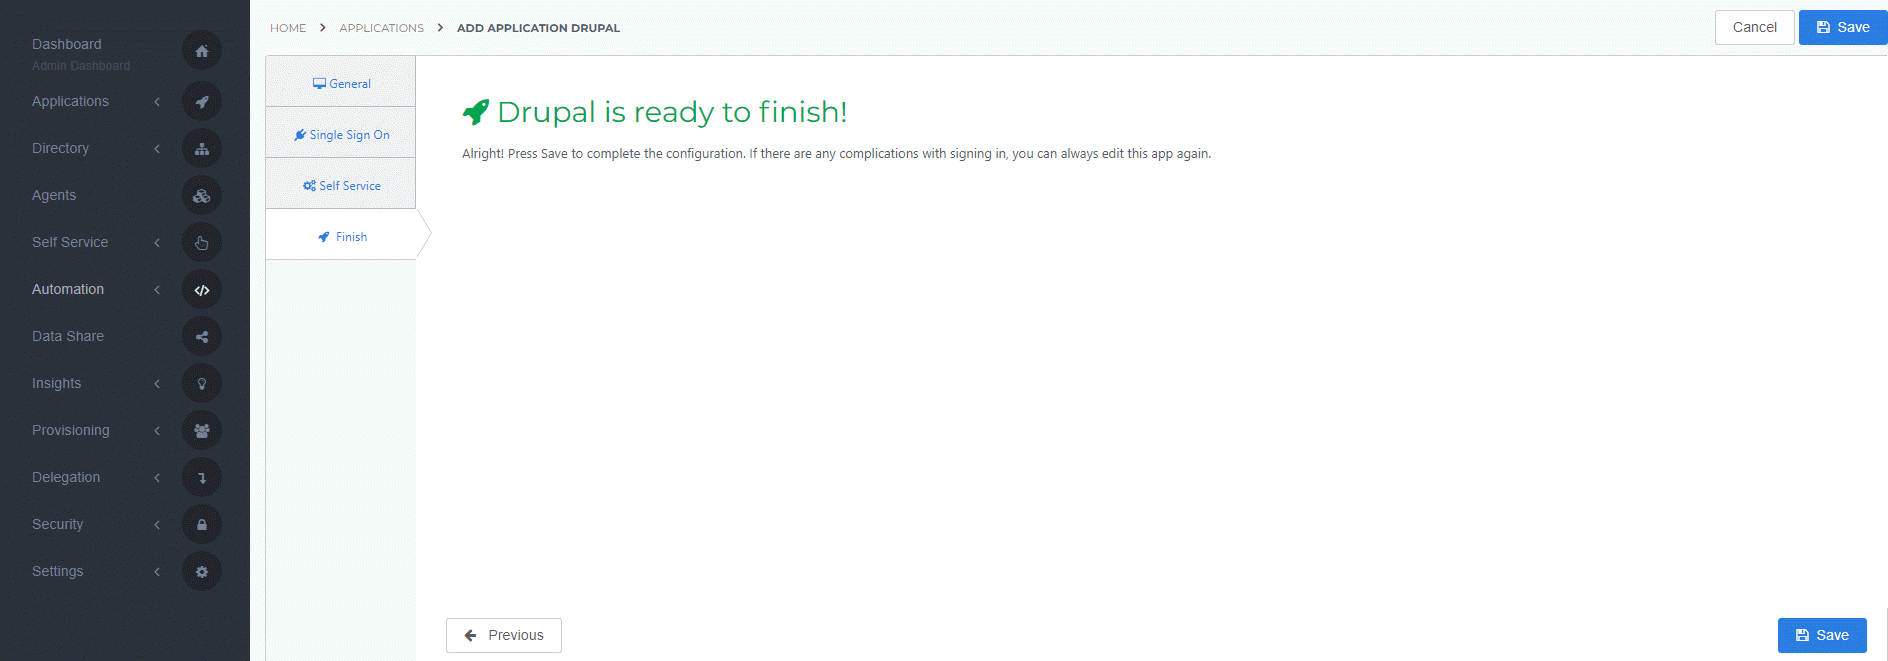
On the Finish tab, click Save to add the application to HelloID.
Additional Configuration
After adding the Drupal application, click its Edit link on the applications overview. This will bring you to its properties page. Right-click View discovery document at the right top of the screen and Copy link address.
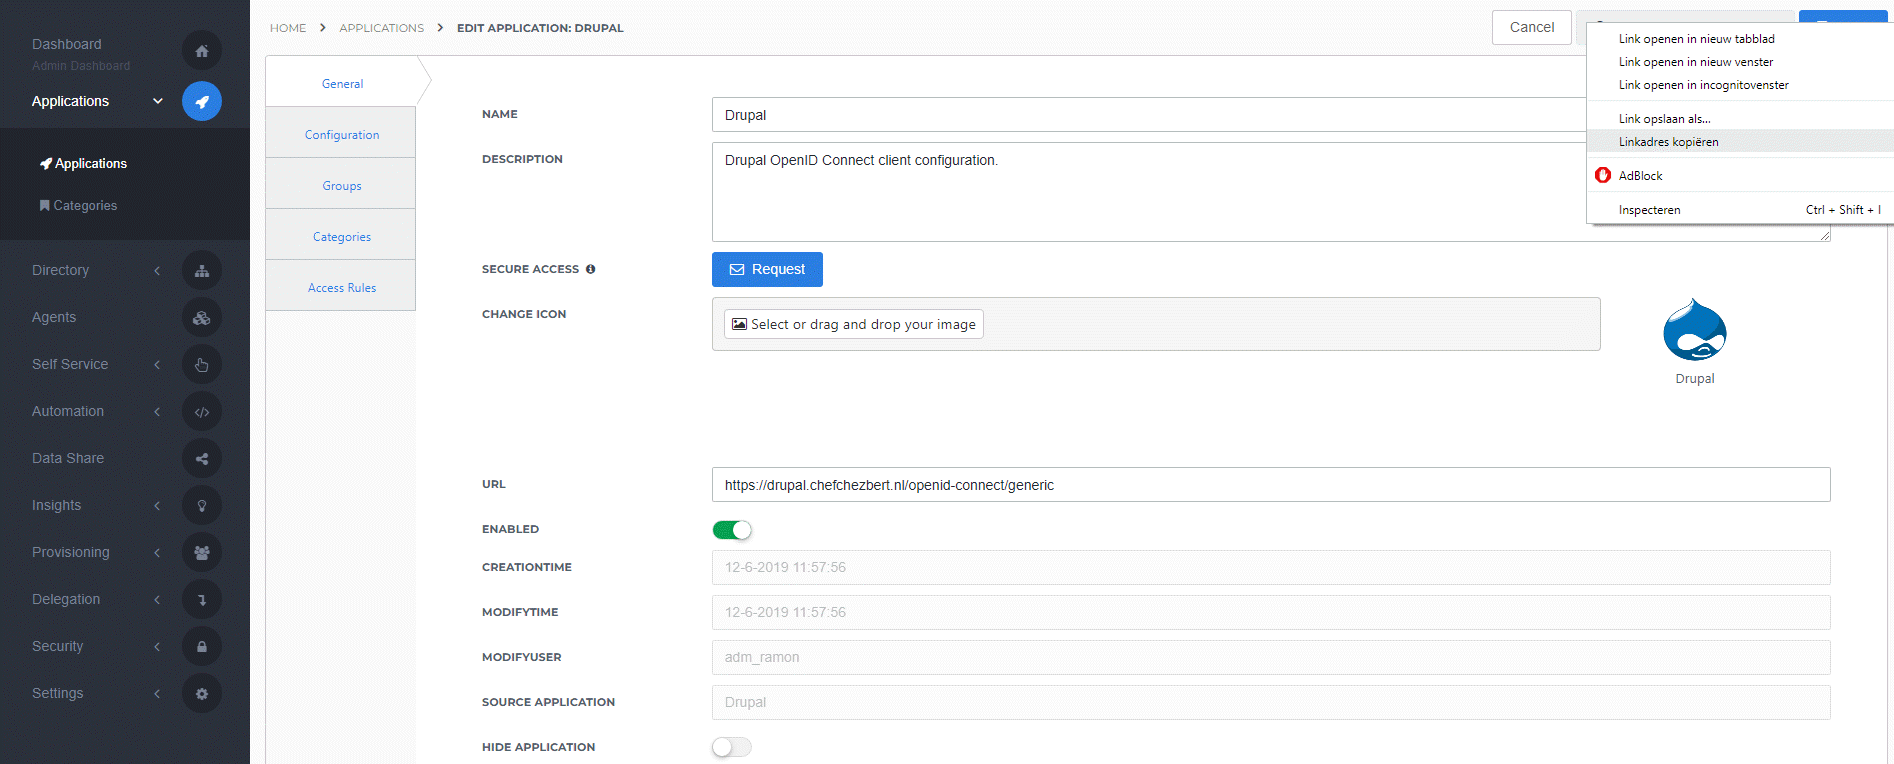
Click Close and then click Save. The configuration of the HelloID application is finished.
Drupal Configuration
In order to make the connection, we need to set up the configuration in Drupal as well. Log on to the Drupal portal as an administrator (https://{customer_environment}/user/login).
If you do not have the OpenID Connect module available, install the module first. The module download installation files/links can be found here: https://www.drupal.org/project/openid_connect. Once installed, you can install the module to your Drupal environment by clicking the Extend tab and select the OpenID Connect module and click Install to enable the OpenID Connect module.
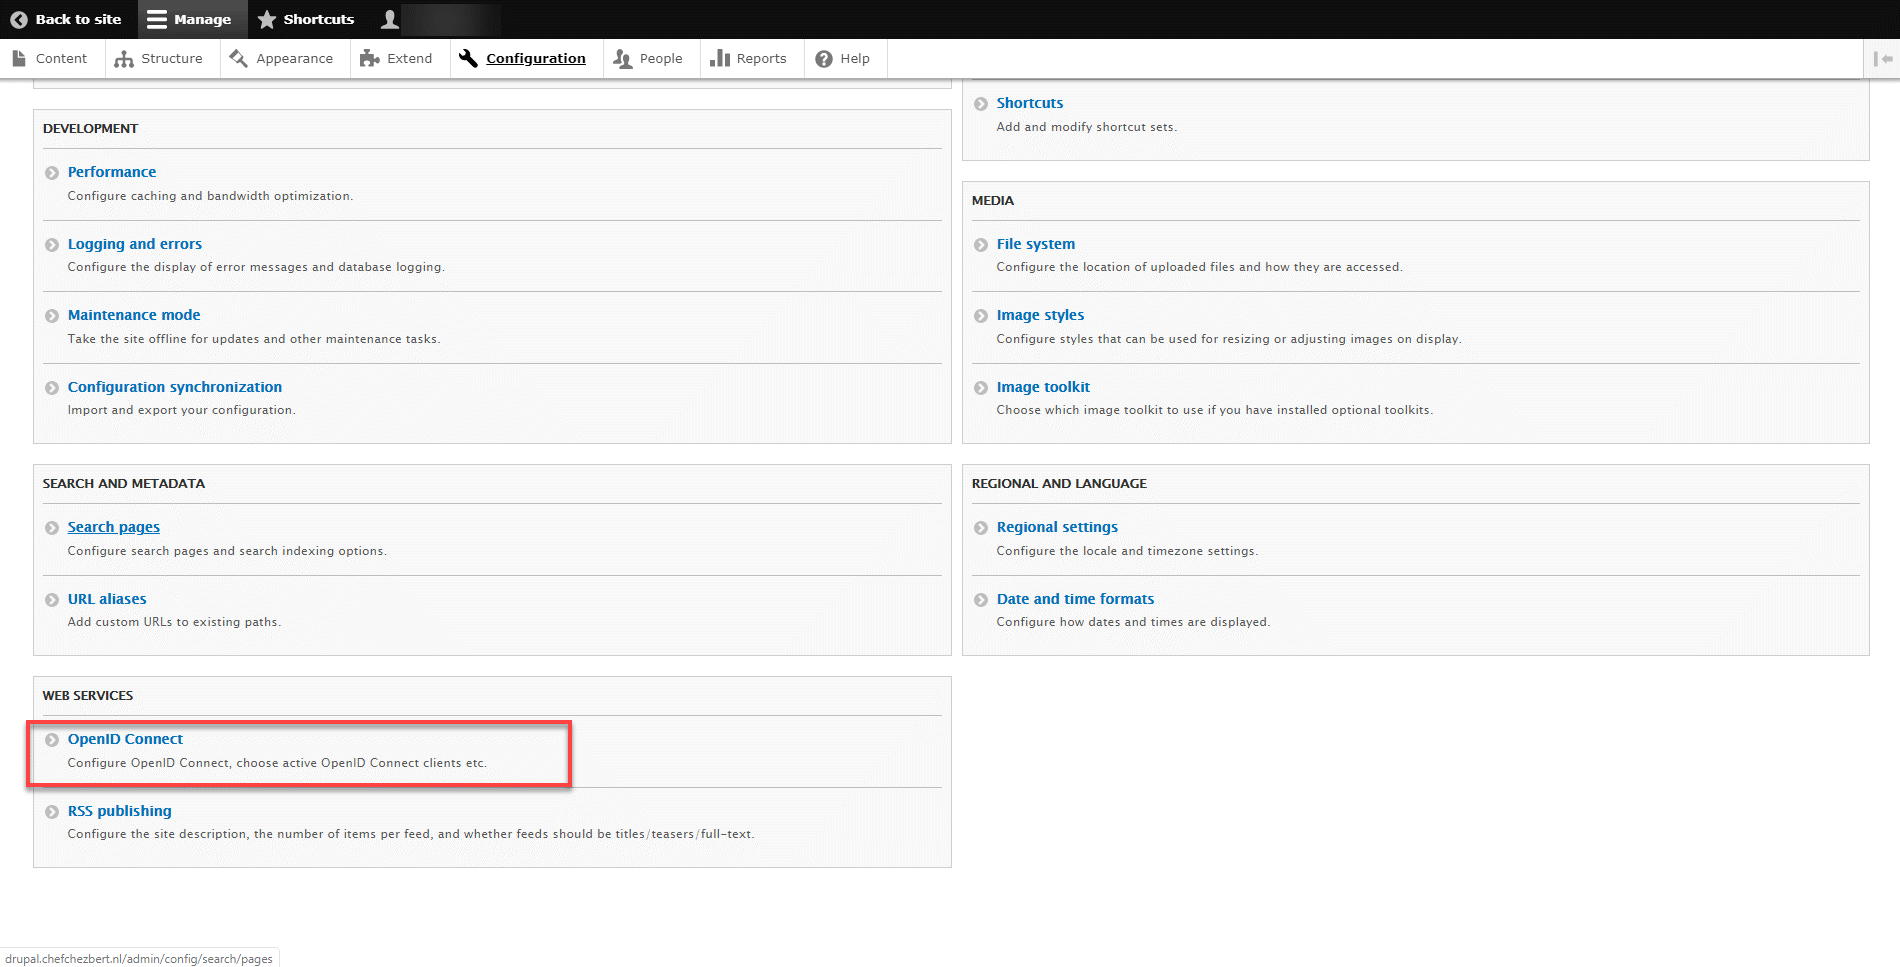
Click the Configuration tab and find and click the OpenID Connect module at the Web Services.
Perform the following steps:
For the Enabled OpenID Connect Clients select 'Generic'
As the C lient ID use the client ID found at the configuration tab of the HelloID application (the client id is also in the HelloID application discovery document URL).
Copy the Client Secret which you created earlier.
Note: You cannot copy this secret from the configuration tab in HelloID.
Fill in the Token endpoint (https://{customer}.helloid.com/oauth2/v2/connect/authorize)Note: the value needed can be found in the HelloID application discovery document.
Enter the Authorization endpoint (https://{customer}.helloid.com/oauth2/v2/connect/token)
Note: the value needed can be found in the HelloID application discovery document.
Provide a value for UserInfo endpoint (https://{customer}.helloid.com/oauth2/v2/connect/userinfo)
Note: the value needed can be found in the HelloID application discovery document.
Make sure to Save user claims on every login is selected.
Also, select automatically connect existing users
Enter the Authorization endpoint, the value needed can be found in the discovery document of the HelloID application.
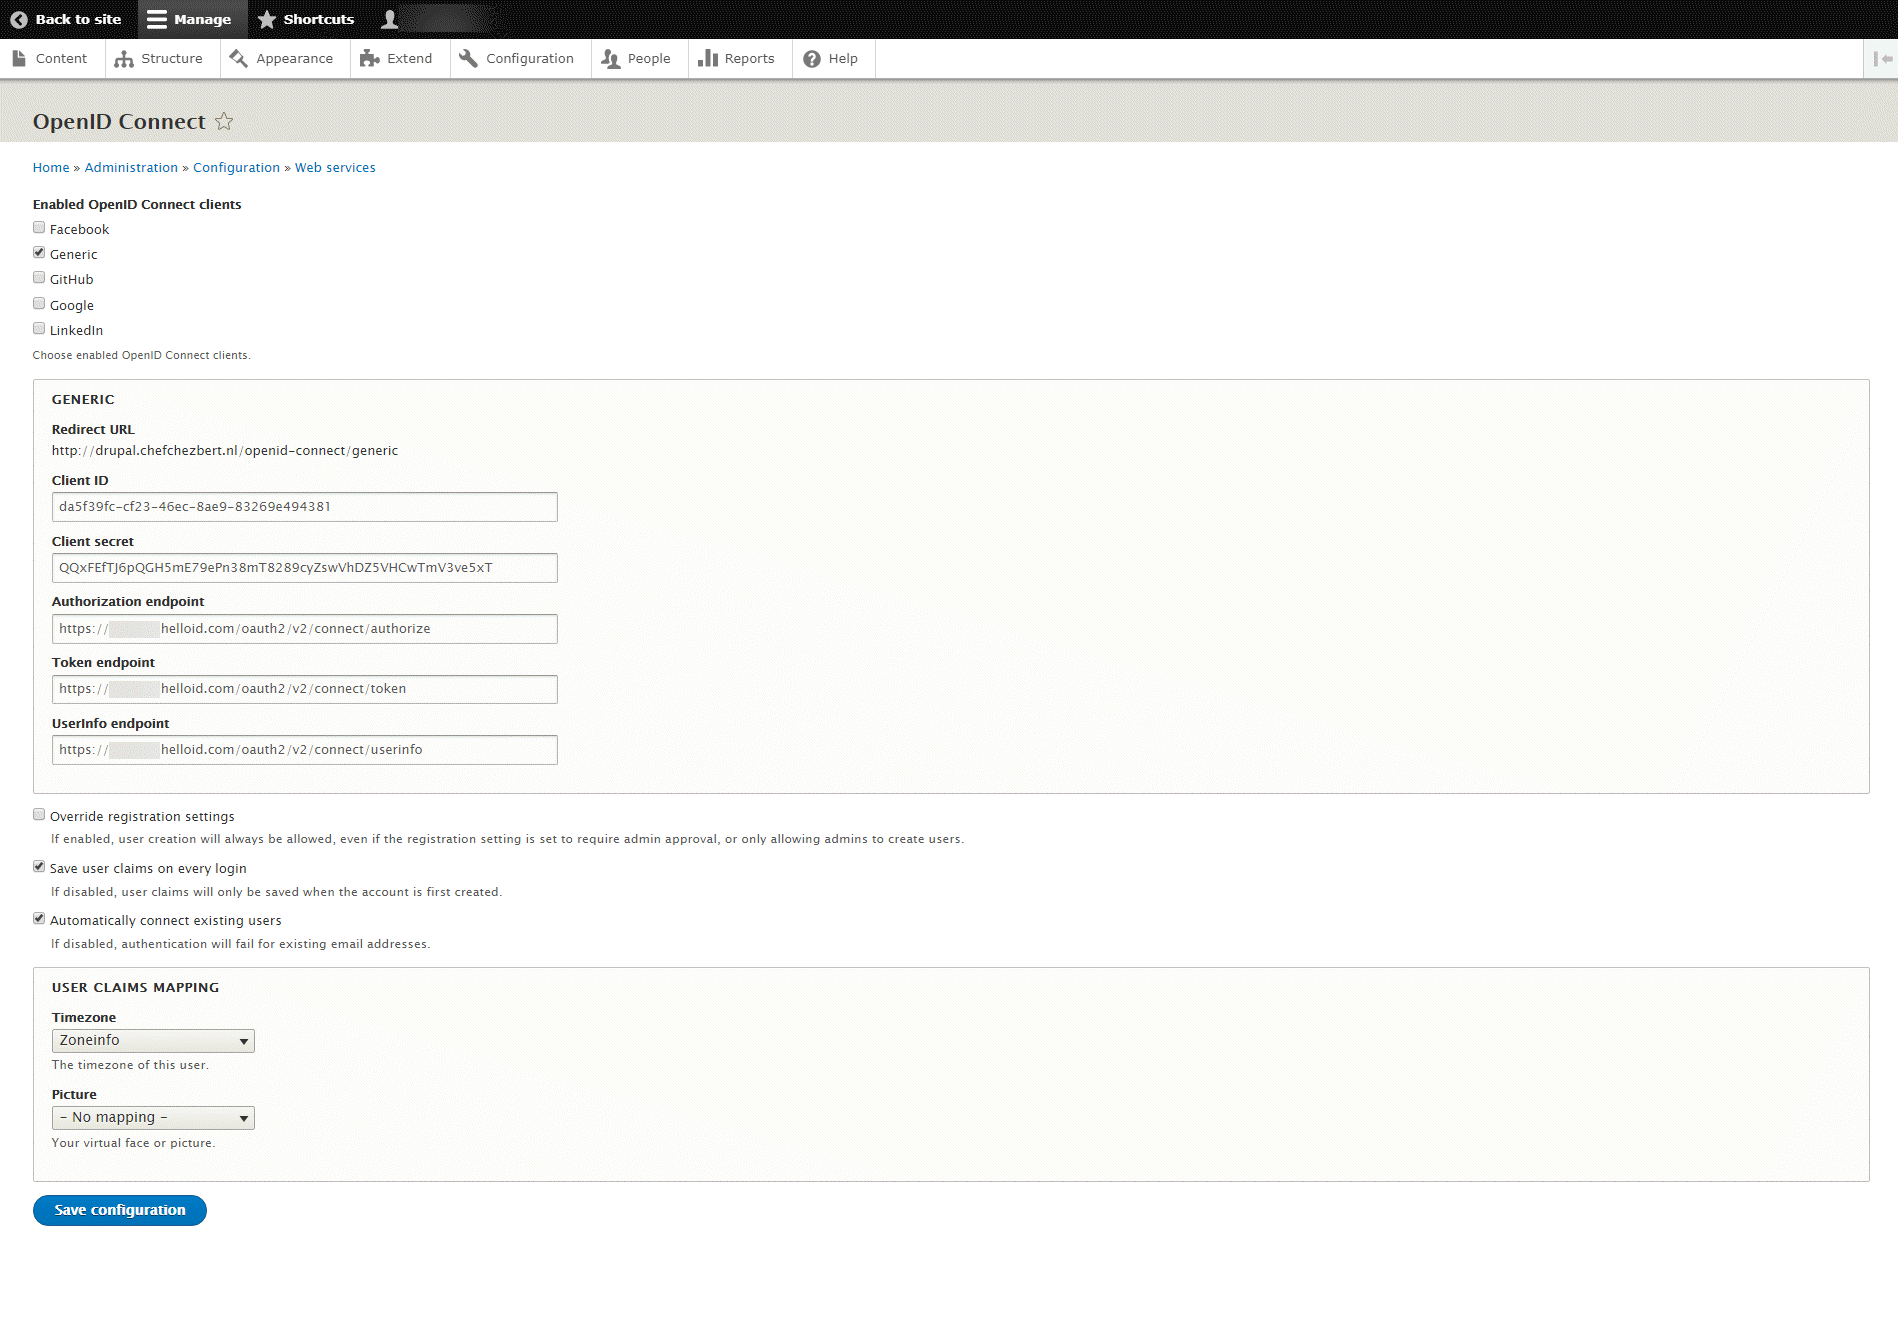
Click Save configuration and the Drupal OpenID Connect configuration is finished.
Now all that is left to do is adding the login button to your Drupal environment.
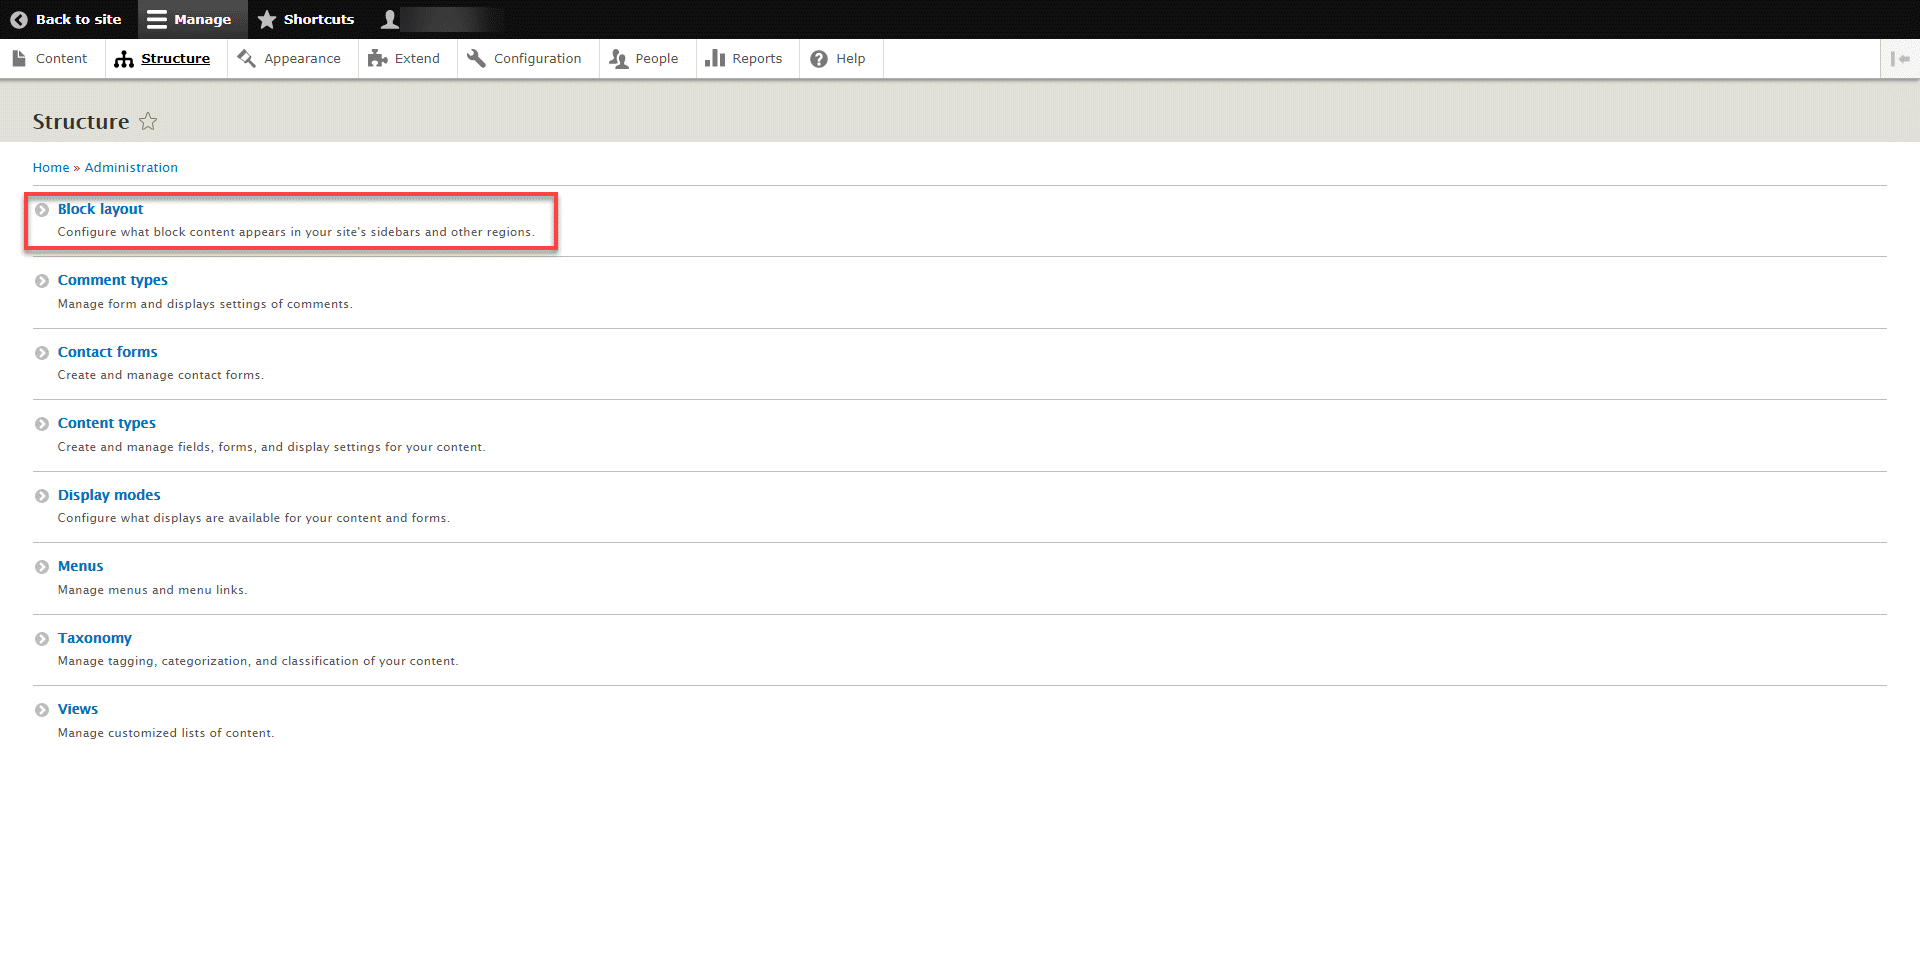
Click the Structure tab and find and click the Block layout.
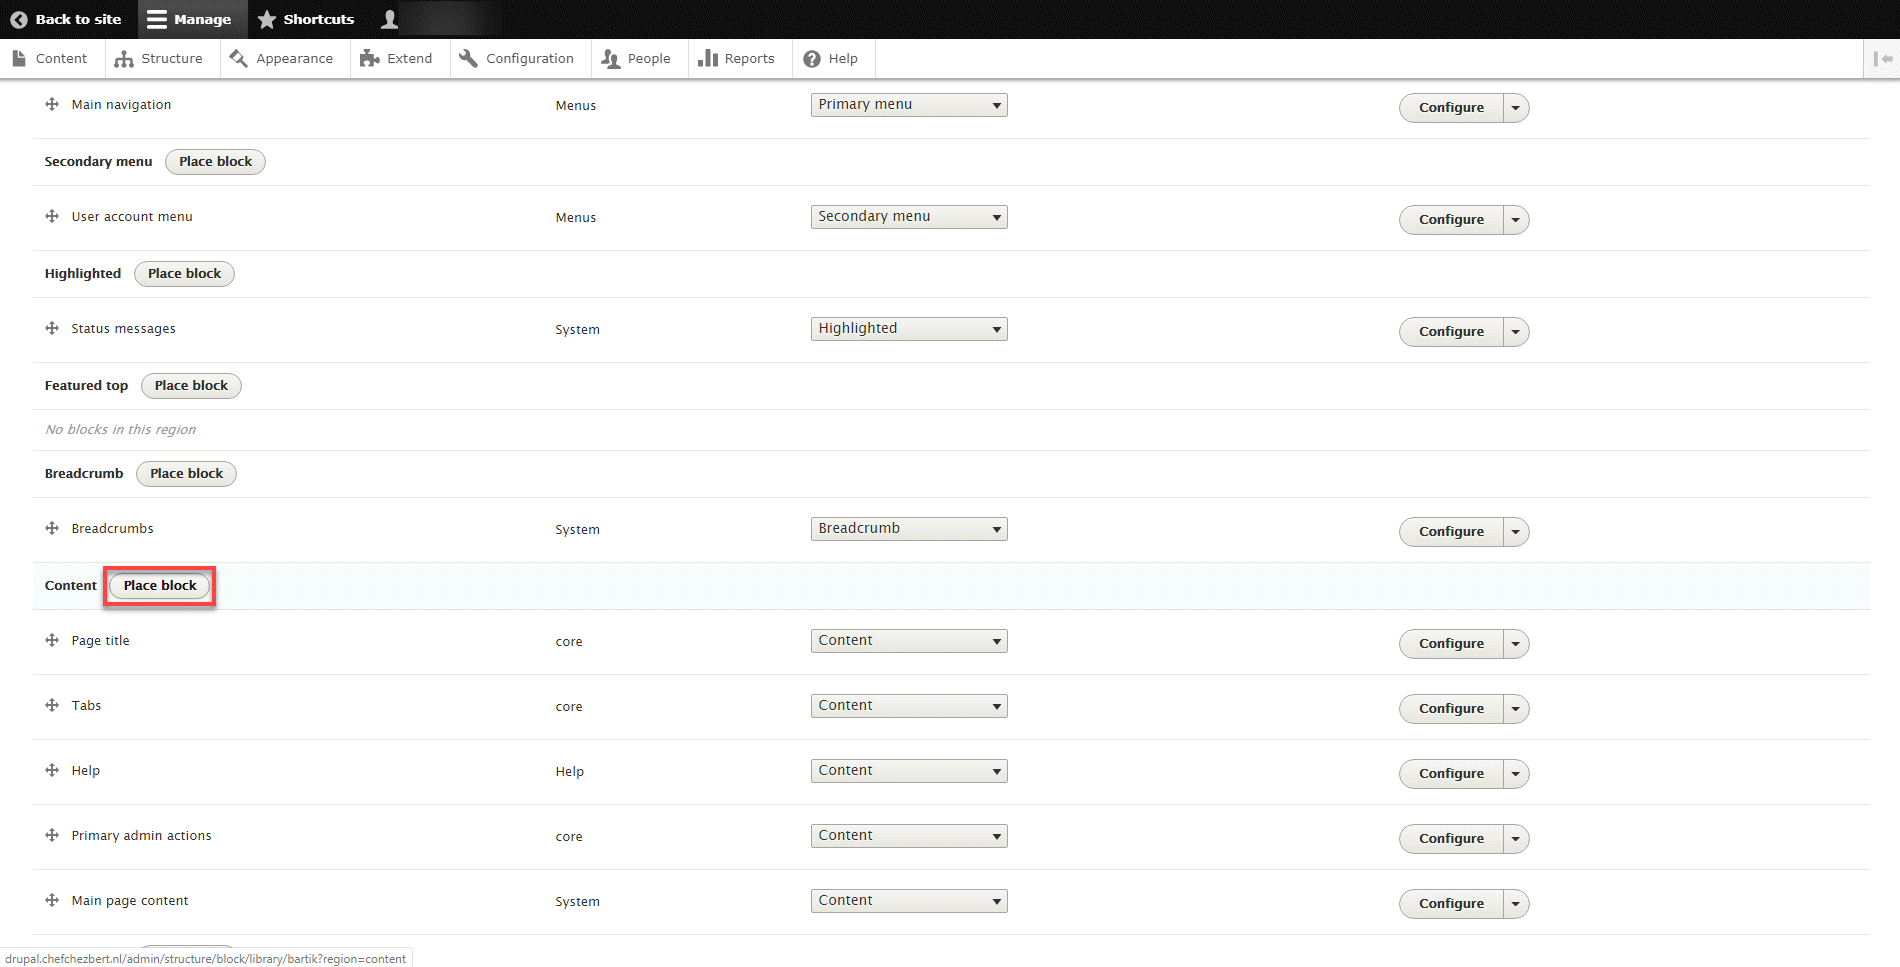
Scroll down to the Content and click Place block.
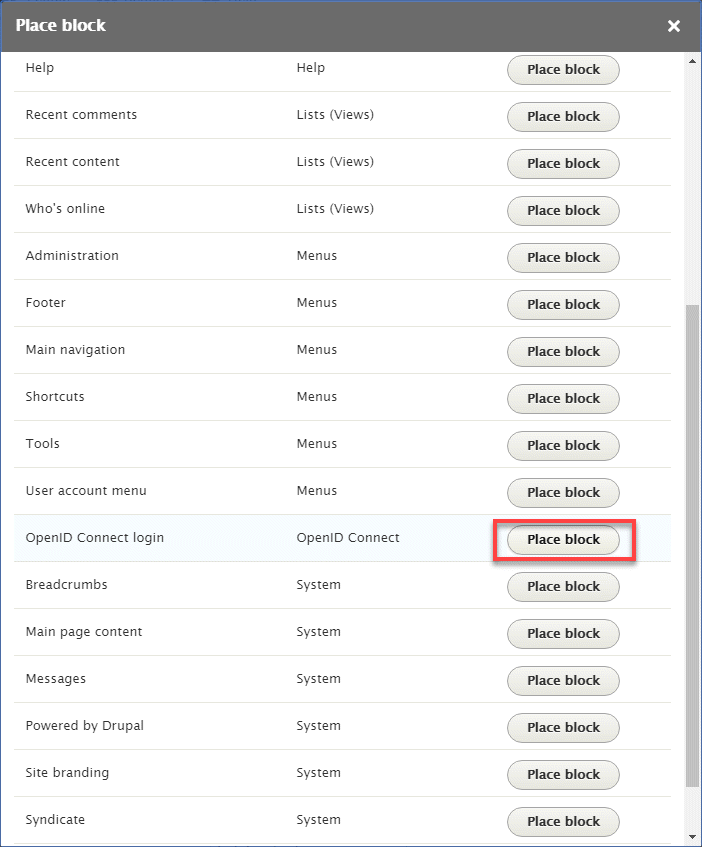
At the block selector page, scroll down and click Place block at the OpenID Connect Login block.
Next, the Configure block screen will open, enter a suiting Title for the OpenID Connect login block, e.g. 'Login with HelloID' and click Save block.
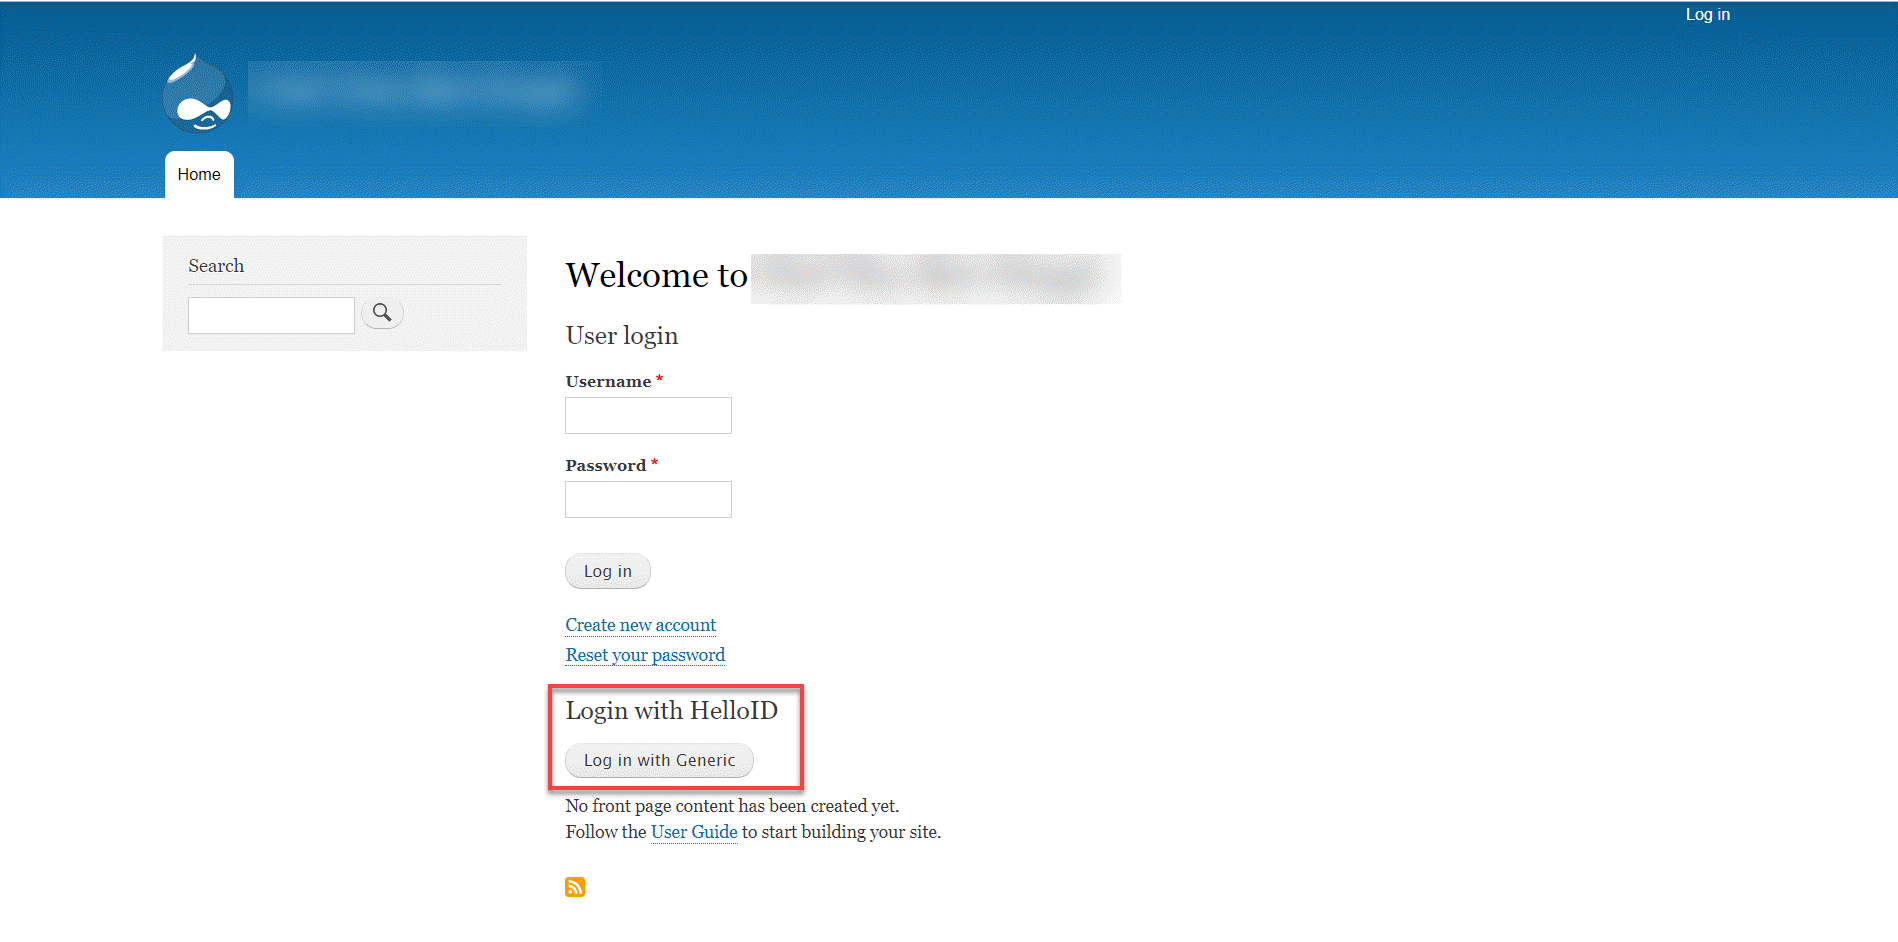
Now the OpenID Connect configuration for Drupal is finished. You can verify this by checking if the login page looks like this.
