HelloID SAML application setup
Introduction
This article demonstrates how to set up SSO from HelloID to HelloID; one HelloID environment as the identity provider for another HelloID environment. The configuration takes place in both HelloID environments.
Requirements
At least 2 HelloID environments;
1 "source" environment to act as an IdP (Identity Provider). For example:
https://enyoi-a.helloid.com/.1 "target" environment to act as a SP (Service Provider). For example:
https://enyoi-b.helloid.com/.
Identity Provider configuration
The following configuration takes place in the source/IdP HelloID environment.
Create and export a certificate
If there is no certificate for the HelloID environment yet, you must create or import one. For this tutorial, we will create a self-signed certificate. Name it {customer}.helloid.com SelfSigned.
After creating the certificate, export and download it as a .CER file.
Add the HelloID application
Add a new application.
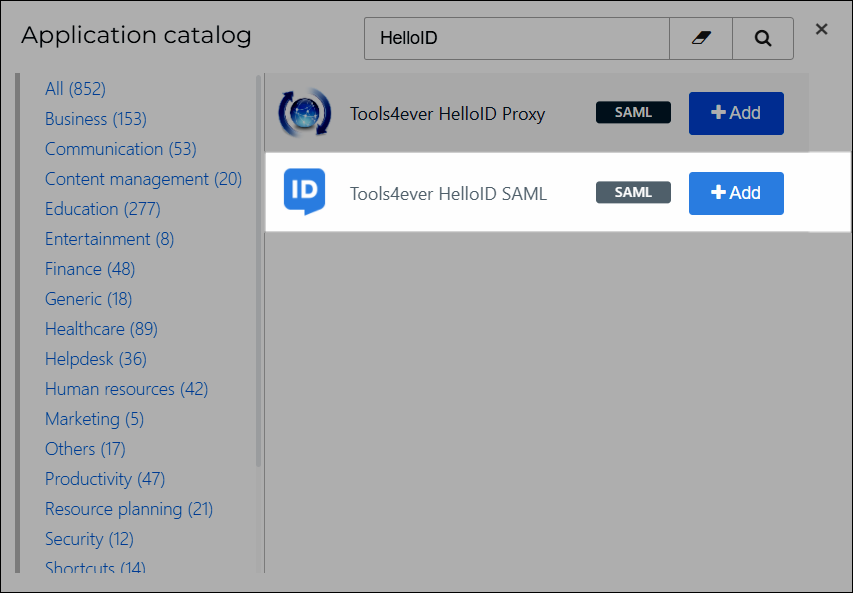
Find the template for Tools4ever HelloID SAML.
Select its Add button.
General tab
Change the following settings:
Default Login URL
Replace with your HelloID environment URL. For example:
https://enyoi-a.helloid.com/.
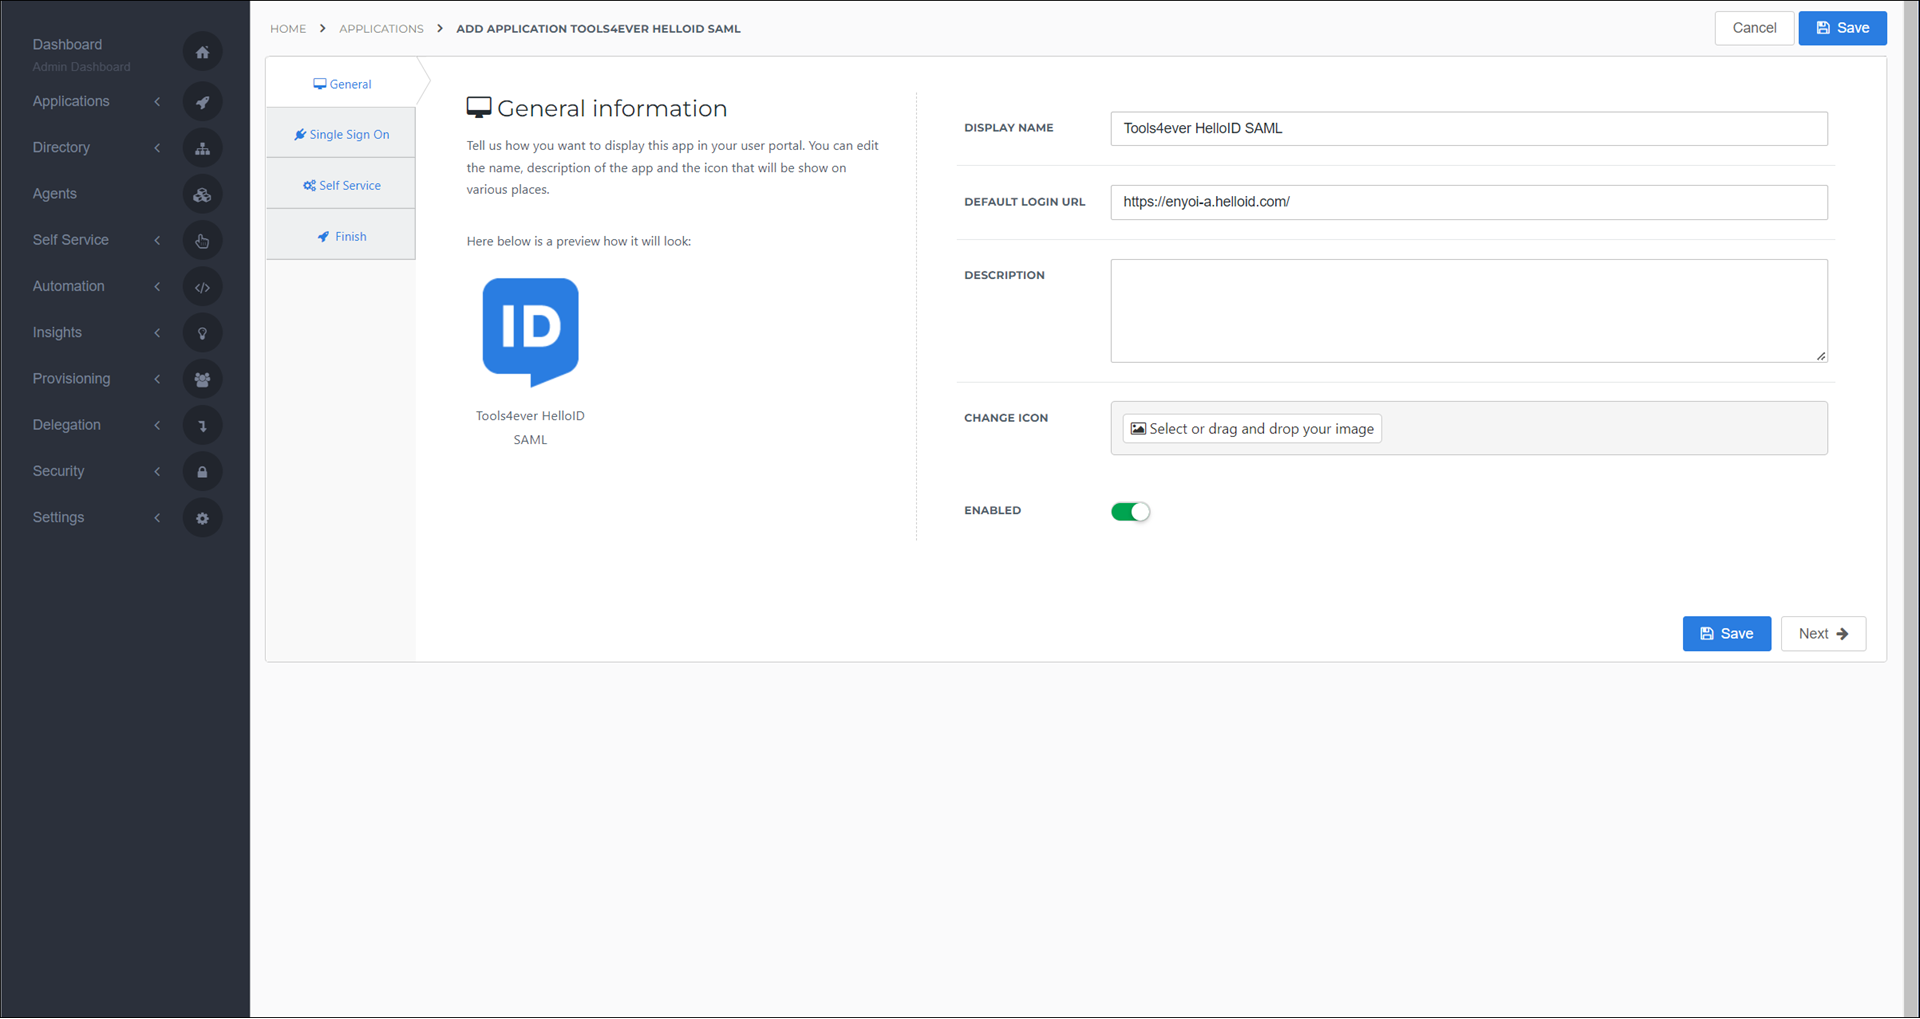
Select the Next button.
Single Sign-On tab
Change the following settings:
Endpoint/ACS URL
Leave blank for now. This value will be obtained in a later step (from the Consumer URL from the target/SP environment).
X509 CertificateSelect the certificate that you previously created or imported.
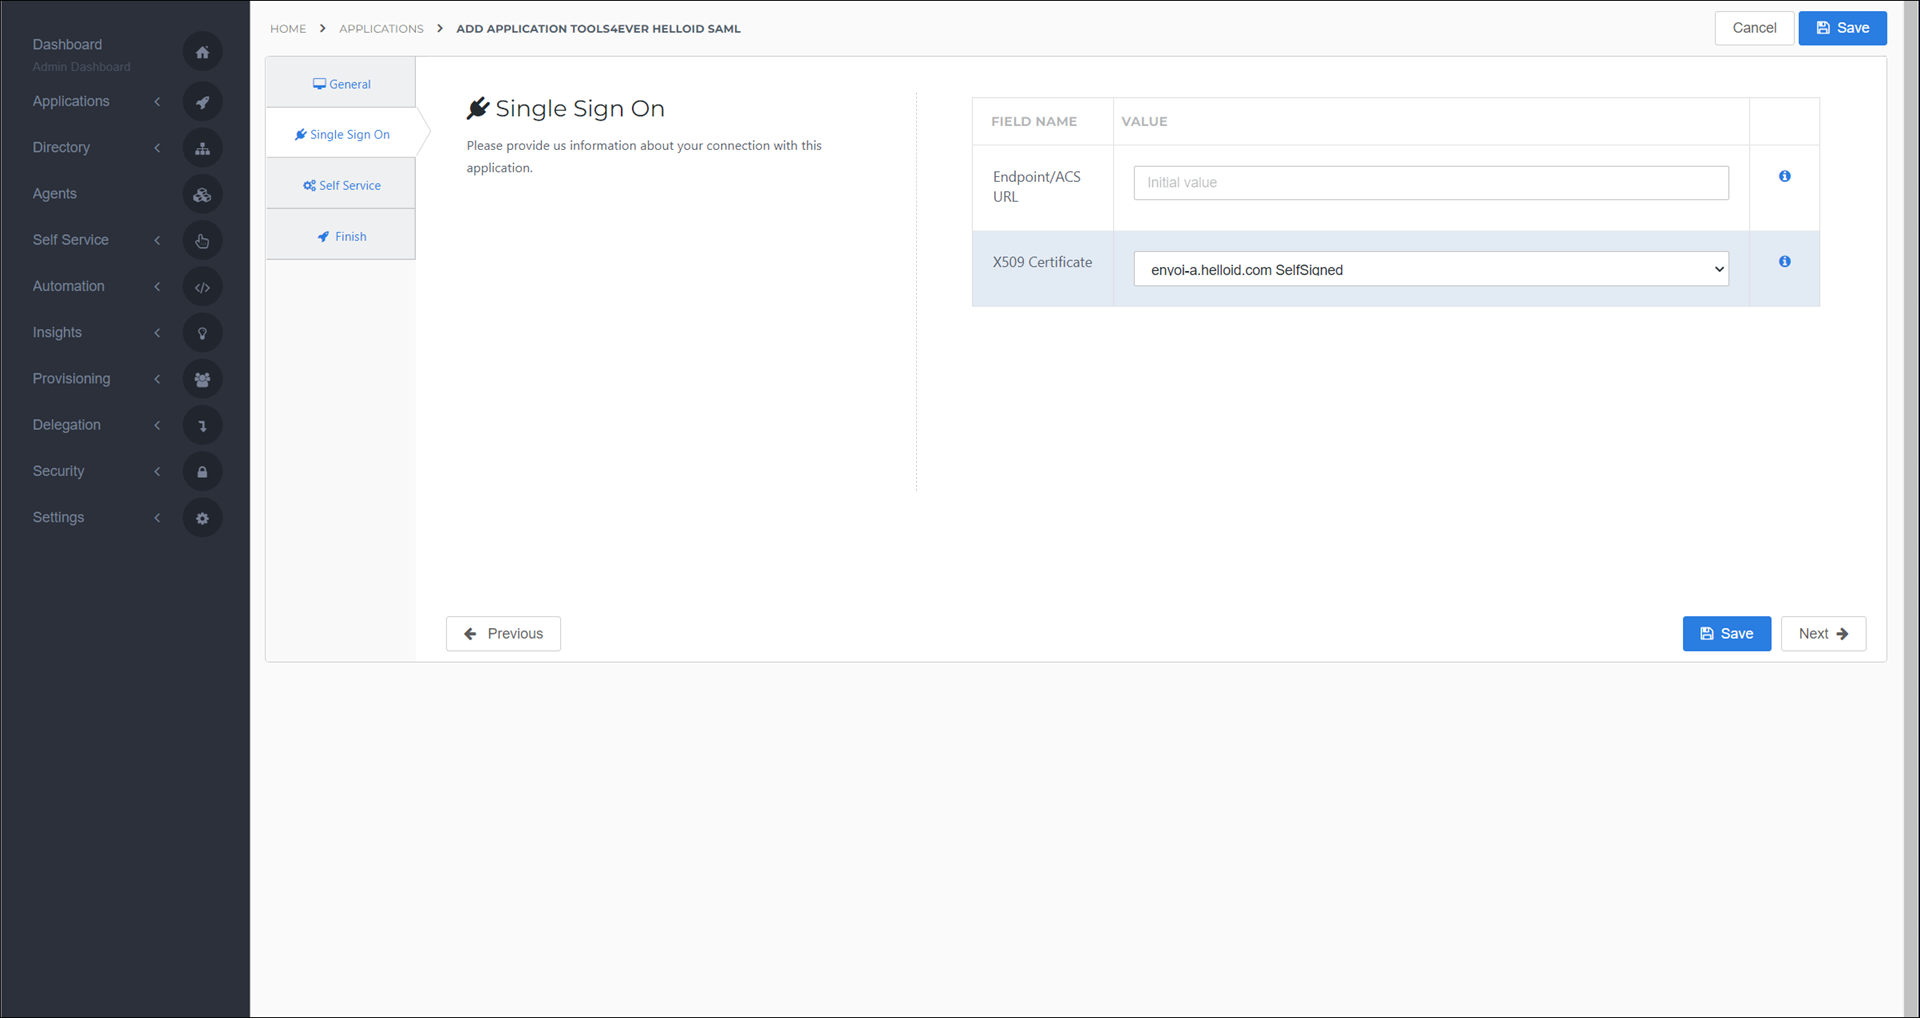
Select the Next button.
Self Service tab
Optionally, generate a Self Service product, which makes the application requestable. Select a group which will have access to the product.
Select the Next button.
Finish tab
On the Finish tab, click Save to add the application to HelloID.
Additional configuration
Mapping
By default, the user's HelloID {{user.contactEmail}} attribute is sent as the SAML NameID. If you want to use another attribute, see Mapping - Overview.
SingleSignOnService Location
Go to the Applications overview.
Select the Edit link for the newly-added HelloID SAML application.
Click the Download metadata button
Open the file and find the SingleSignOnService Location for the Post Binding. It will resemble:
https://enyoi-a.helloid.com/relayservice/redirect/9d9abf2f-06f3-45ac-88db-2aa29761de67.Copy this value to a text editor.

Service Provider configuration
The following configuration takes place in the target/SP HelloID environment.
Import the certificate
Import the certificate that you exported from your source/IdP HelloID environment into your target/SP HelloID environment.
Configure the HelloID IDP
Go to Security > Authentication > Identity Providers and click Create Provider. This will bring up the Identity Provider Catalog.
Find the SAML - Generic IDP and click the Add button next to it.
Portal Information tab
Change the following settings:
Name
Replace with a recognizable name for your HelloID source/IdP environment. For example:
enyoi-a.helloid.com.Display on login page
Optionally, disable this option to make sure other users do not have the ability to choose this login method.
Consumer URLCopy this to a text editor for a later step.
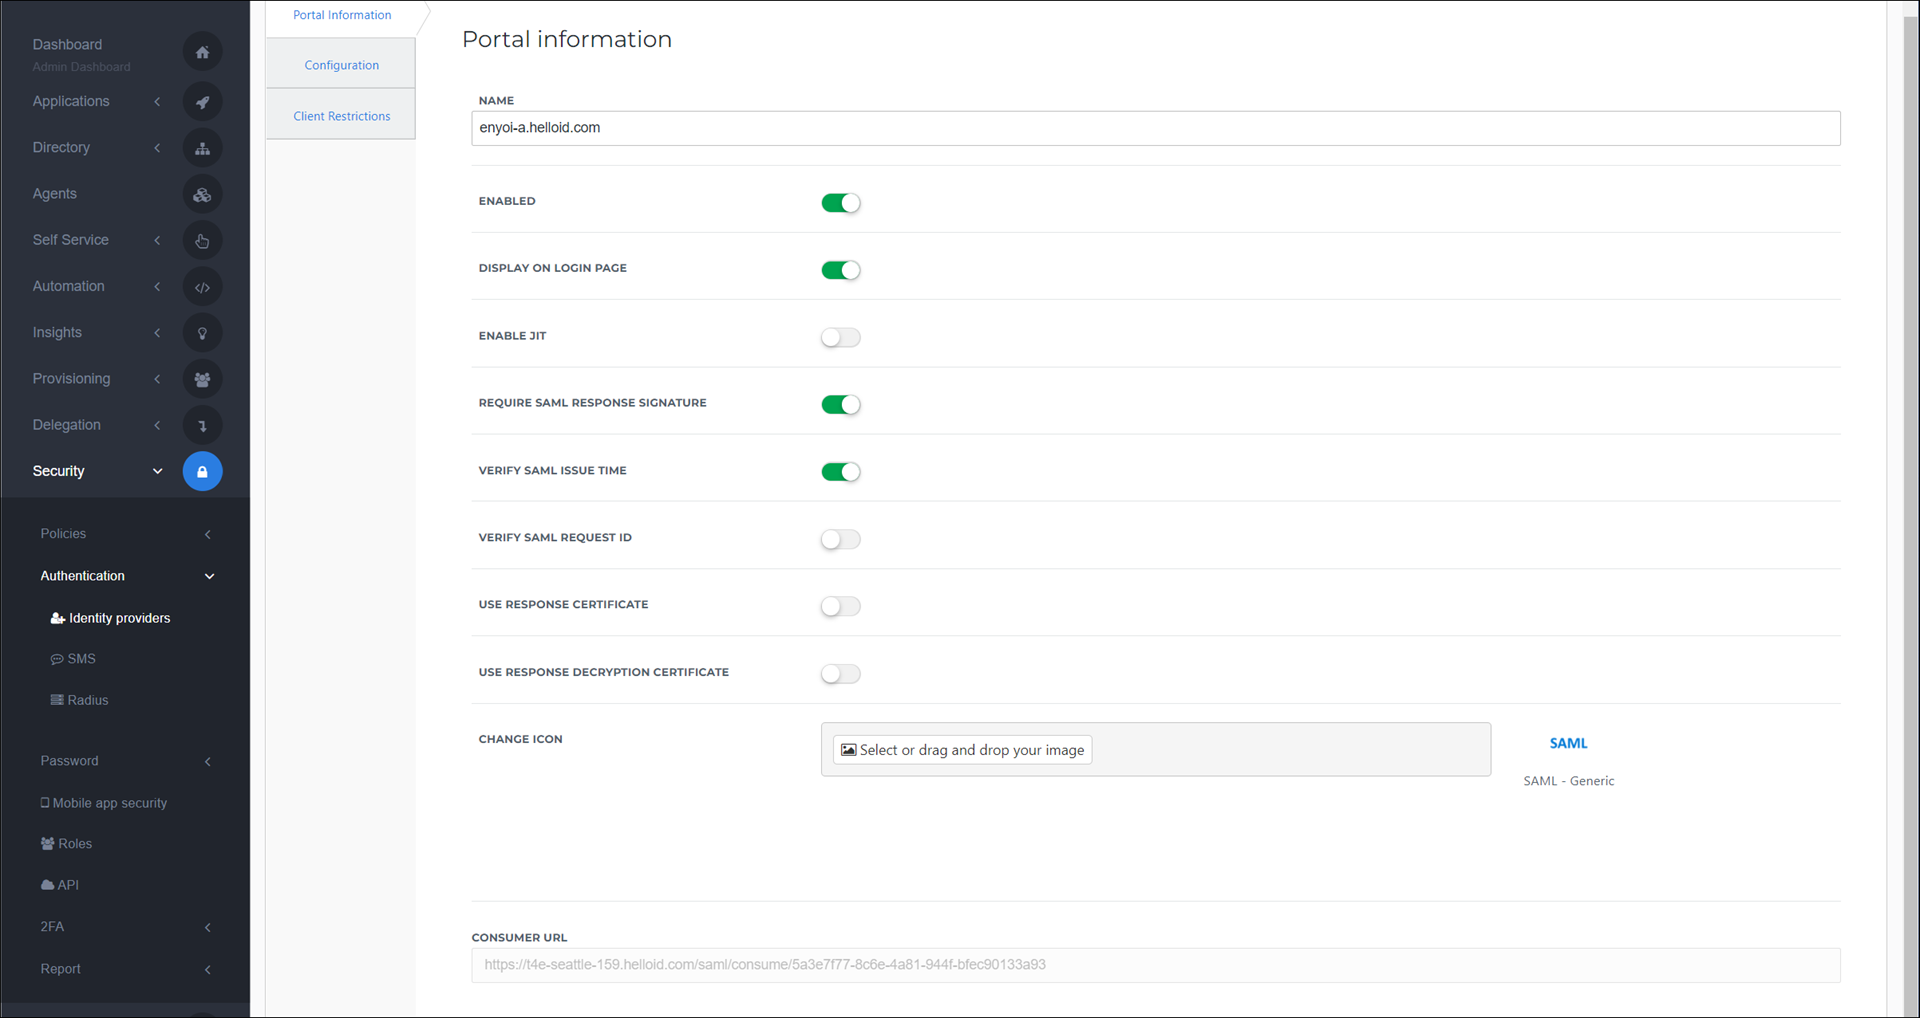
Select the Next button.
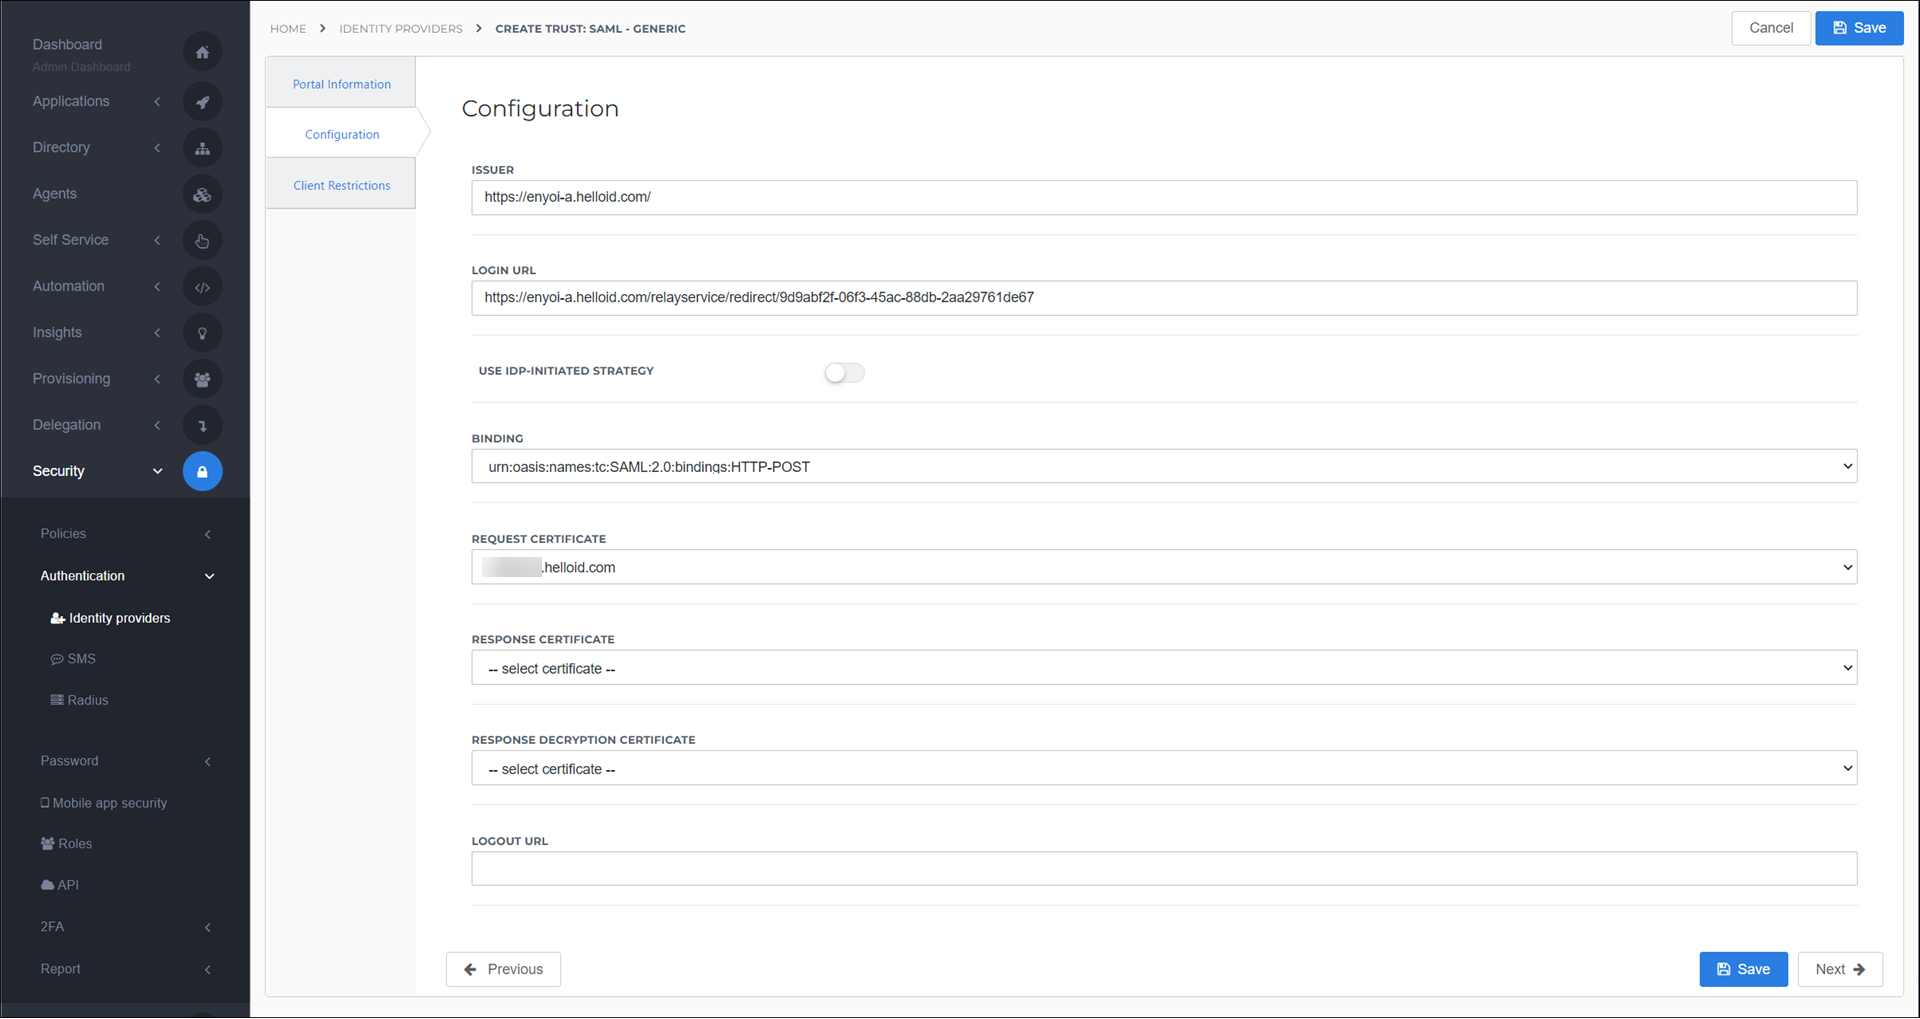
Configuration tab
Change the following settings:
Issuer
Enter your HelloID source/IdP environment URL. For example:
https://enyoi-a.helloid.com/.Login URLPaste the SingleSignOnService Location that you copied from the source/IdP environment earlier.
BindingChange this to the
HTTP-POSToptionRequest CertificateSelect the certificate that you imported.
Finish up
The final step is to configure the Endpoint/ACS URL in the HelloID source/IdP environment.
Go to your HelloID source/IdP environment.
Select the Edit link for the newly-added HelloID application and go to the Single Sign On tab.
For the Endpoint/ACS URL enter the Consumer URL that you copied from the target/SP environment. For example:
https://enyoi-b.helloid.com/saml/consume/7458799f-f098-42fc-85d6-31fe31225fd5.
After this, the application is ready for use. Go to the HelloID User Dashboard and launch the application. You should be authenticated into the HelloID SP environment application without being prompted for credentials.
You are now free to test the application and assign it to users within your organization. See Applications - Overview and its related articles for more information.