Noordhoff-Health PulseWeb SAML application setup
Introduction
This article demonstrates how to set up HelloID and PulseWeb for single sign-on using the SAML protocol. The configuration takes place in HelloID and requires you to send information to PulseWeb (Noordhoff-Health).
Requirements
HelloID environment
PulseWeb environment
Cost
PulseWeb charges a fee for SAML 2.0 Single Sign-On functionality: A one-time setup fee of €1,750, and an annually recurring fee of €400 thereafter.
Additional changes beyond the initial SSO implementation may incur additional fees.
Create or import a certificate
If there is no certificate yet, a certificate must be imported or created. For this tutorial, we will use a self-signed certificate. Create one before proceeding and name it PulseWebSelfSigned.
Application setup
Add the PulseWeb application
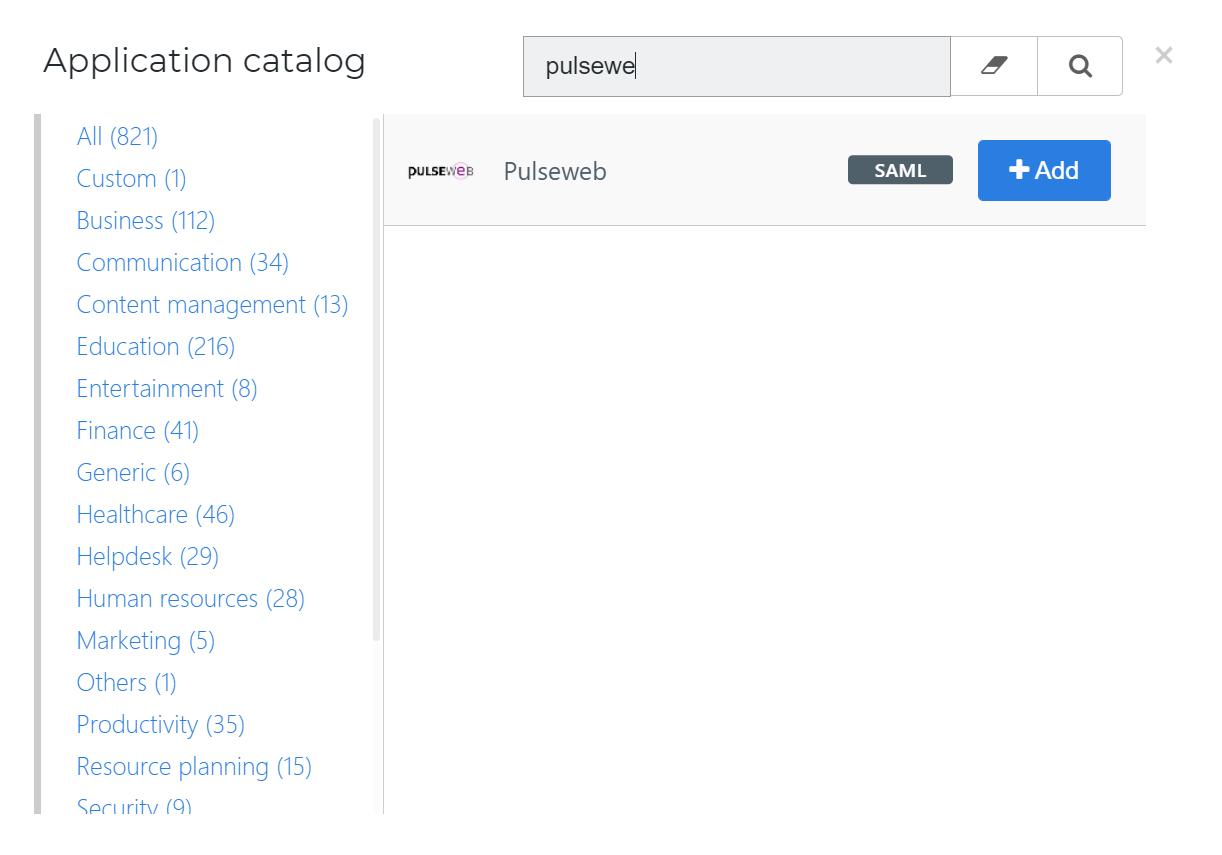
Go to Applications > Applications and select the Open application catalog button. Find the template for PulseWeb (SAML) and select its Add button. Learn more about managing applications here.
General tab
On the General tab, replace the Default Login URLwith your PulseWeb login URL. This is in the format https://{customer_environment}.nl.Optionally, add a description.
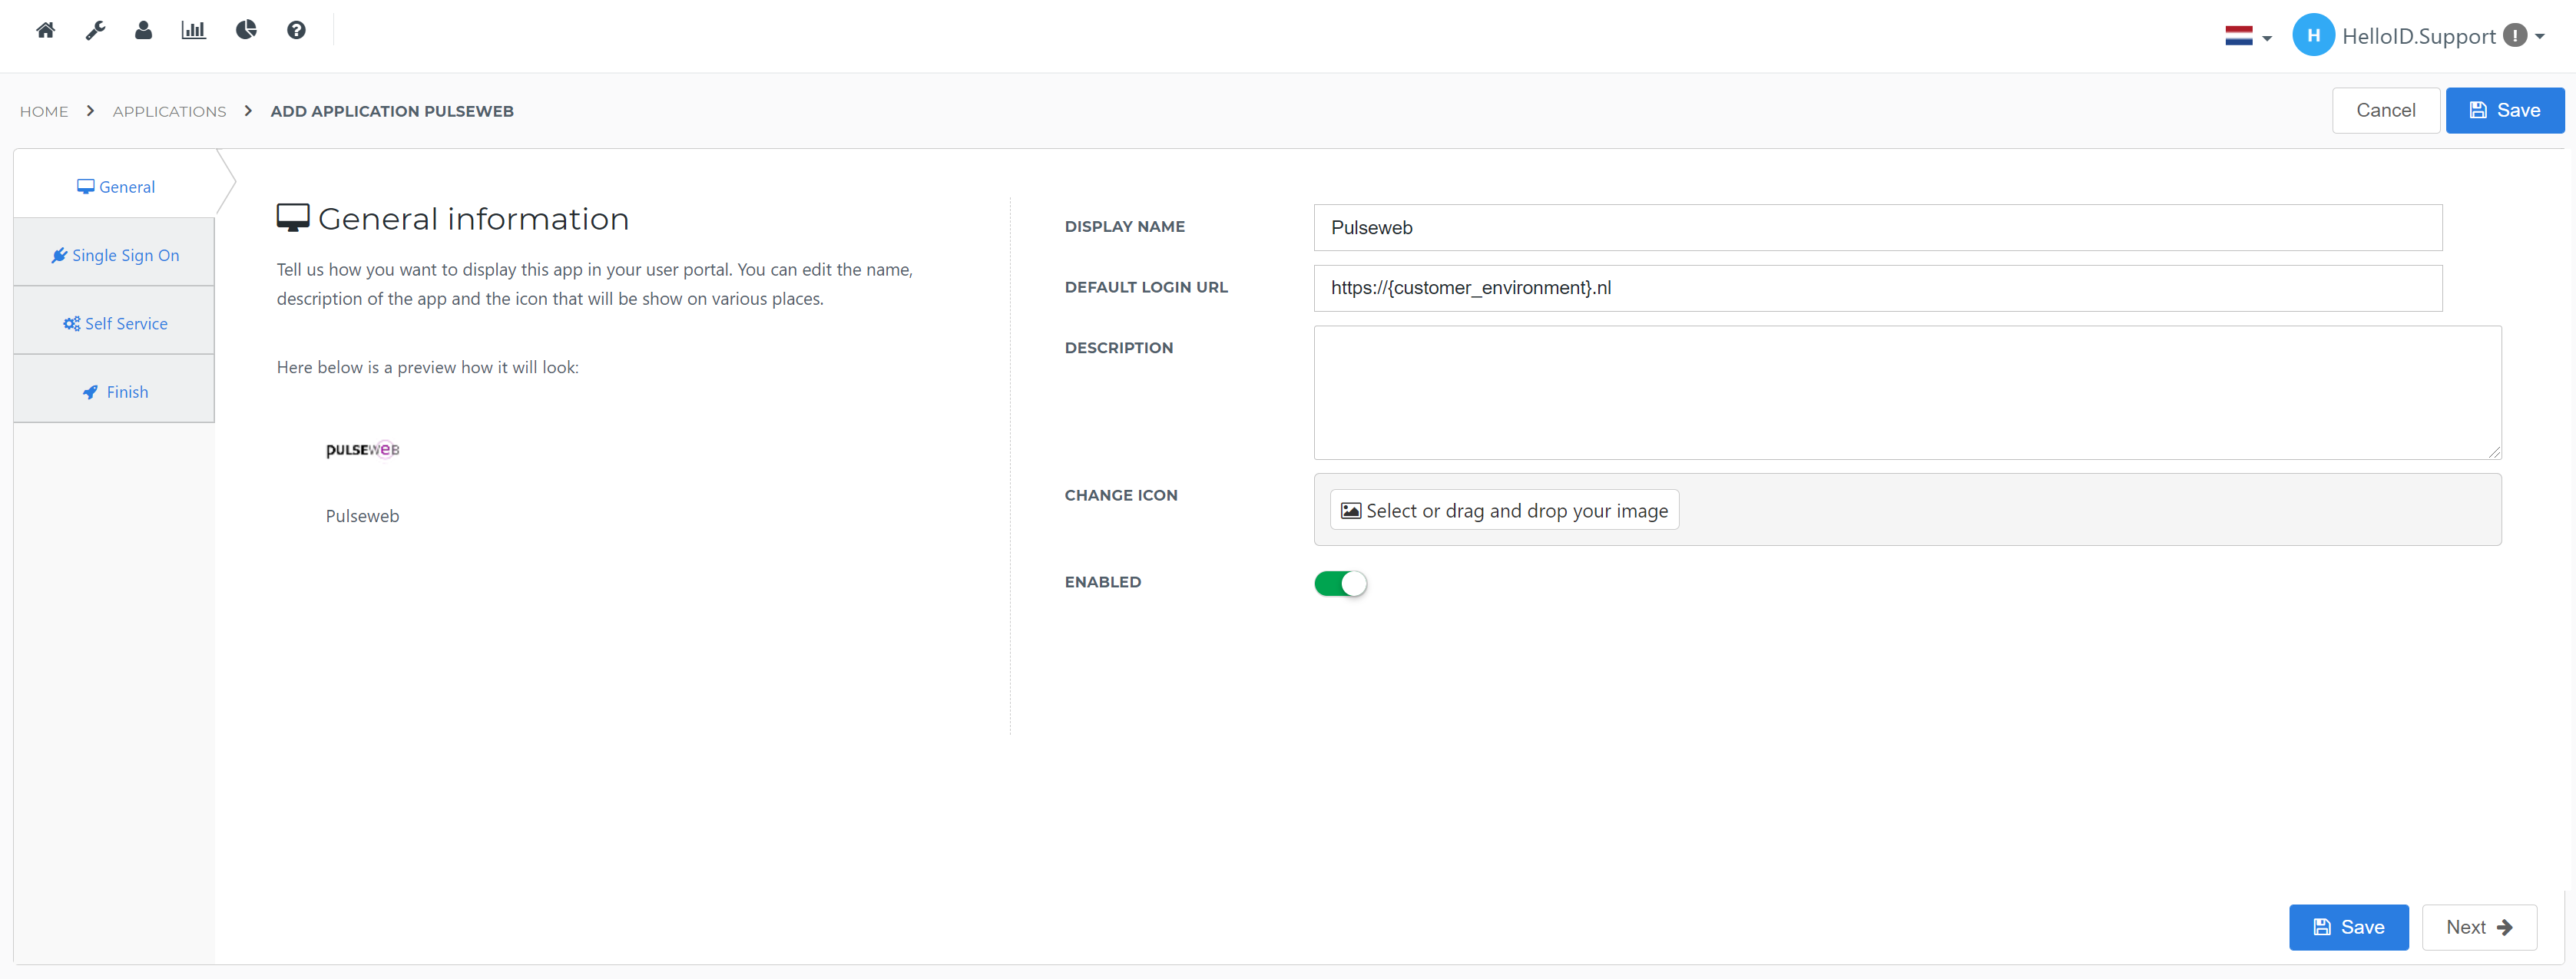
Select the Next button.
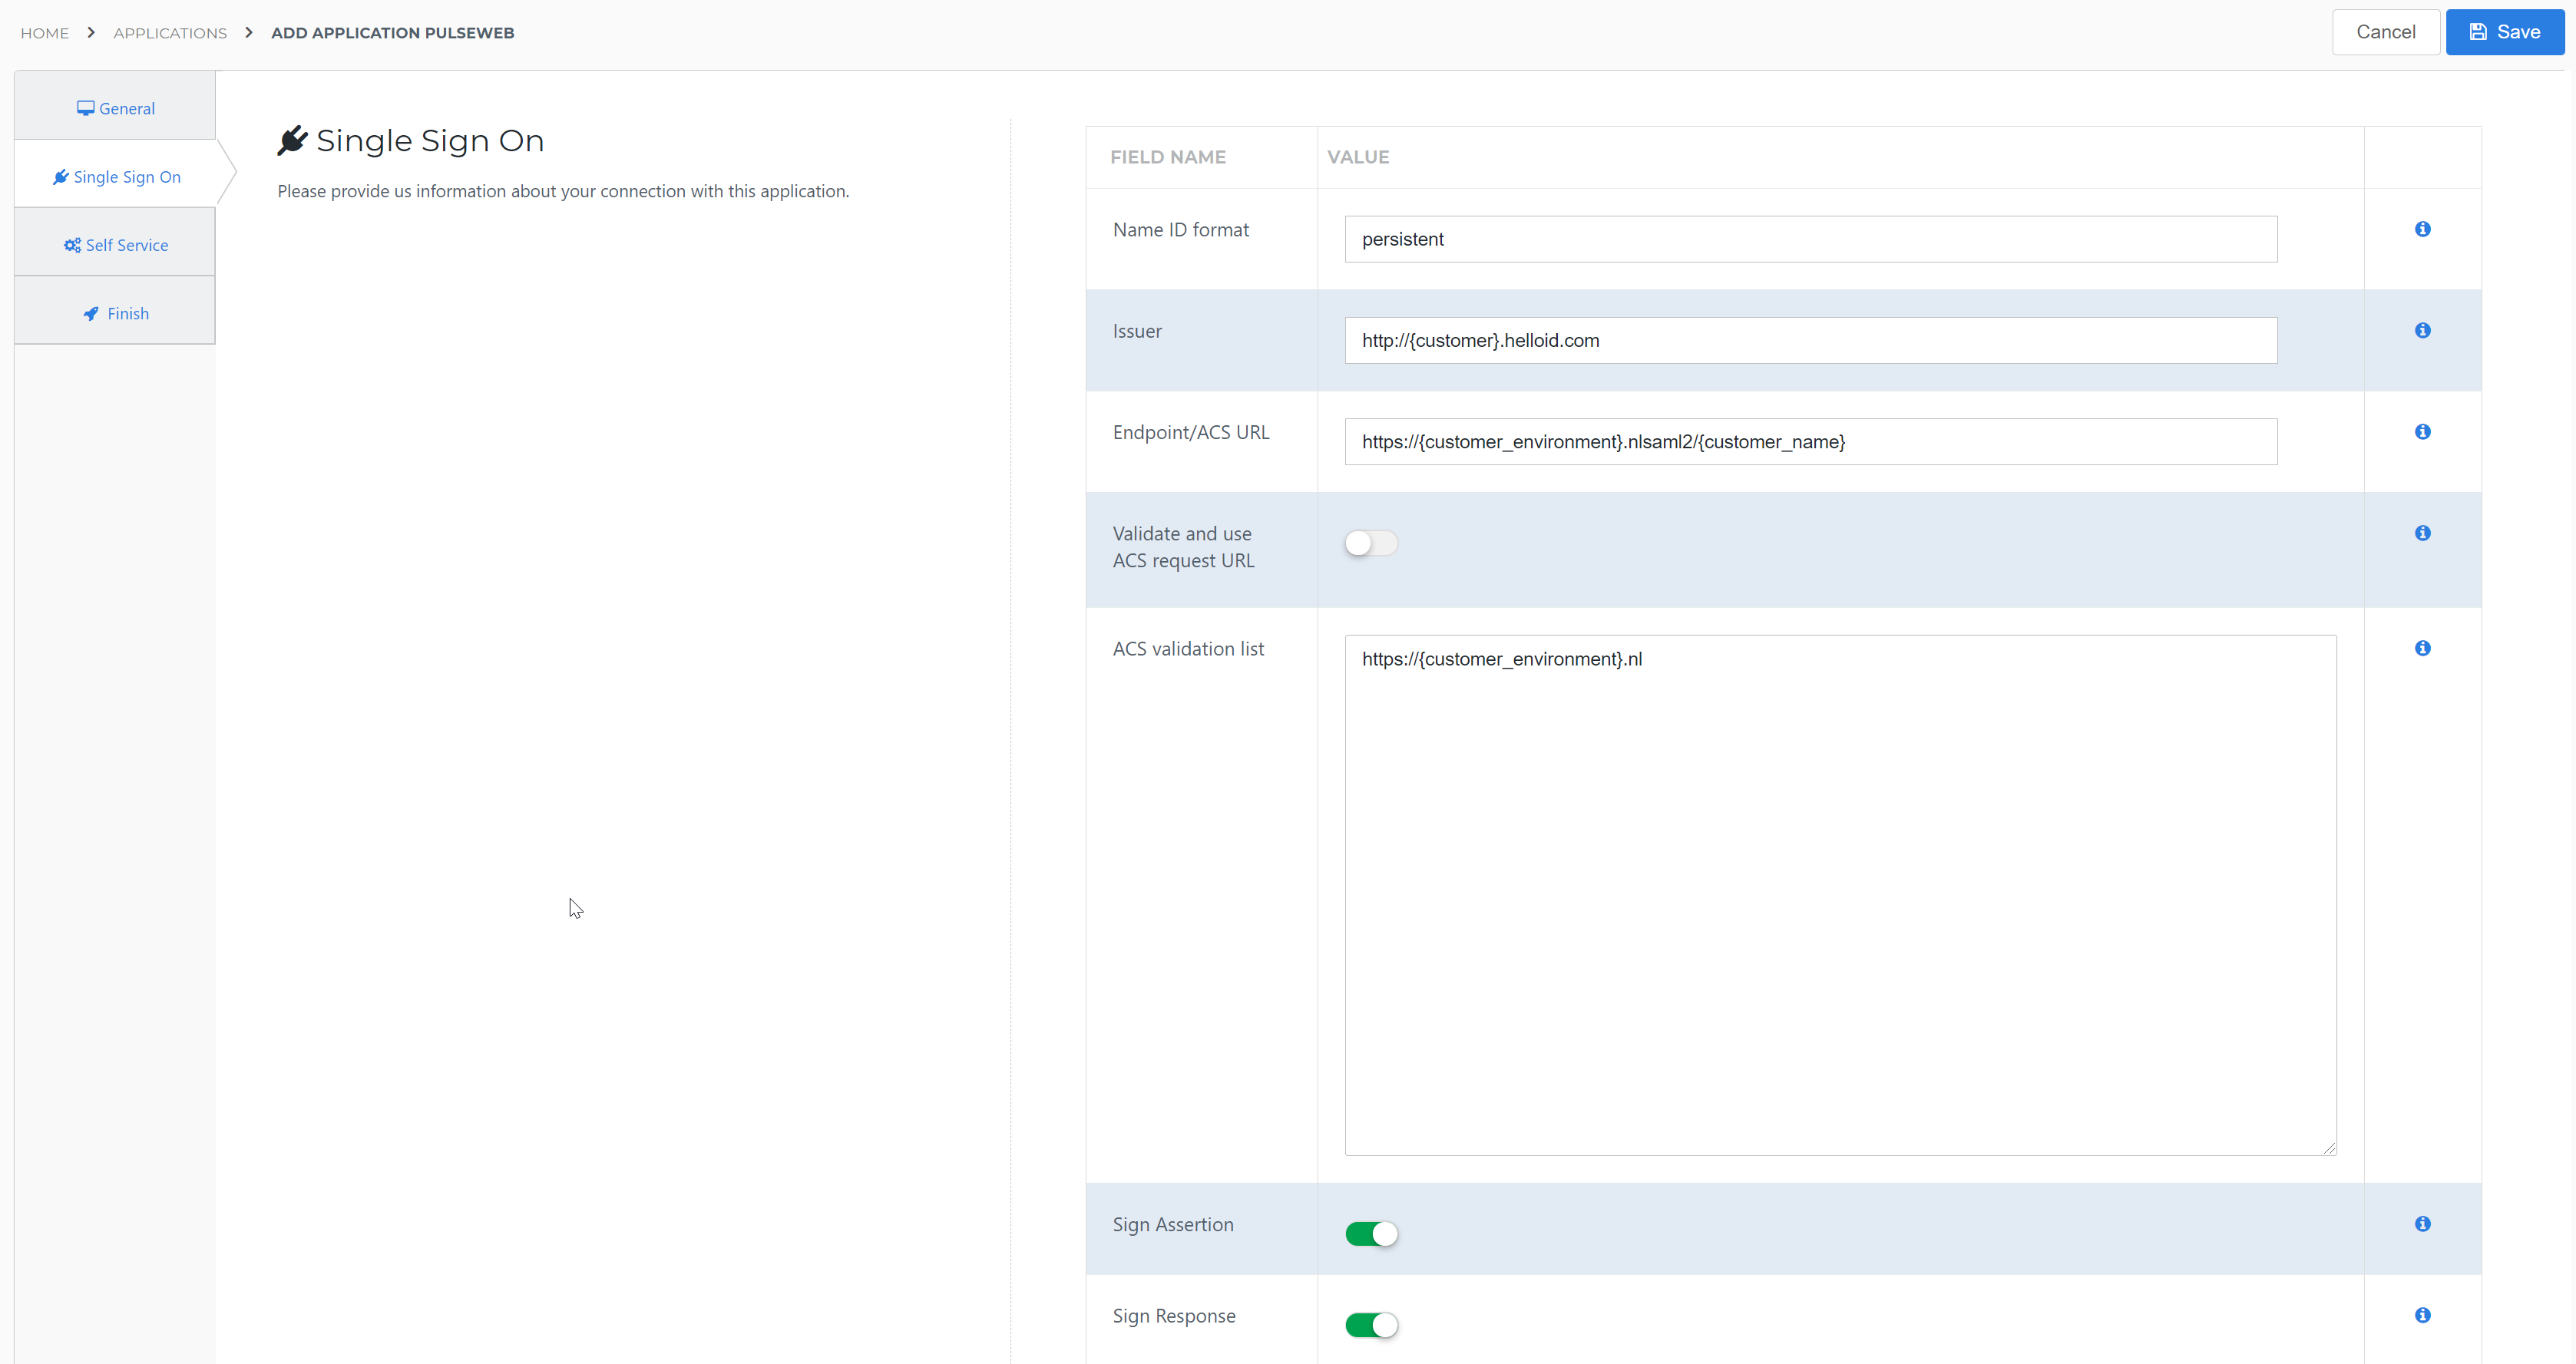
Single Sign-on tab
On the Single Sign-On tab, perform the following steps:
Name ID format
persistentIssuer
Your HelloID portal URL, e.g.,
https://enyoj.helloid.comEndpoint/ACS URL
The URL of your PulseWeb endpoint, e.g.,
https://{customer_environment}.nlsaml2/{customer_name}Validate and use ACS request URL
Off
ACS validation list
Your PulseWeb login URL, e.g.,
https://{customer_environment}.nlSign Assertion
On
Sign Response
On
X509 Certificate
PulseWebSelfSignedOverwrite Audience
Off
Extra Audience
Your PulseWeb login URL, e.g.,
https://{customer_environment}.nl

Select the Next button.
Self service tab
On the Self Service tab, choose whether to generate a Self Service product, which makes the application requestable. Optionally, choose a group to control access to the application.
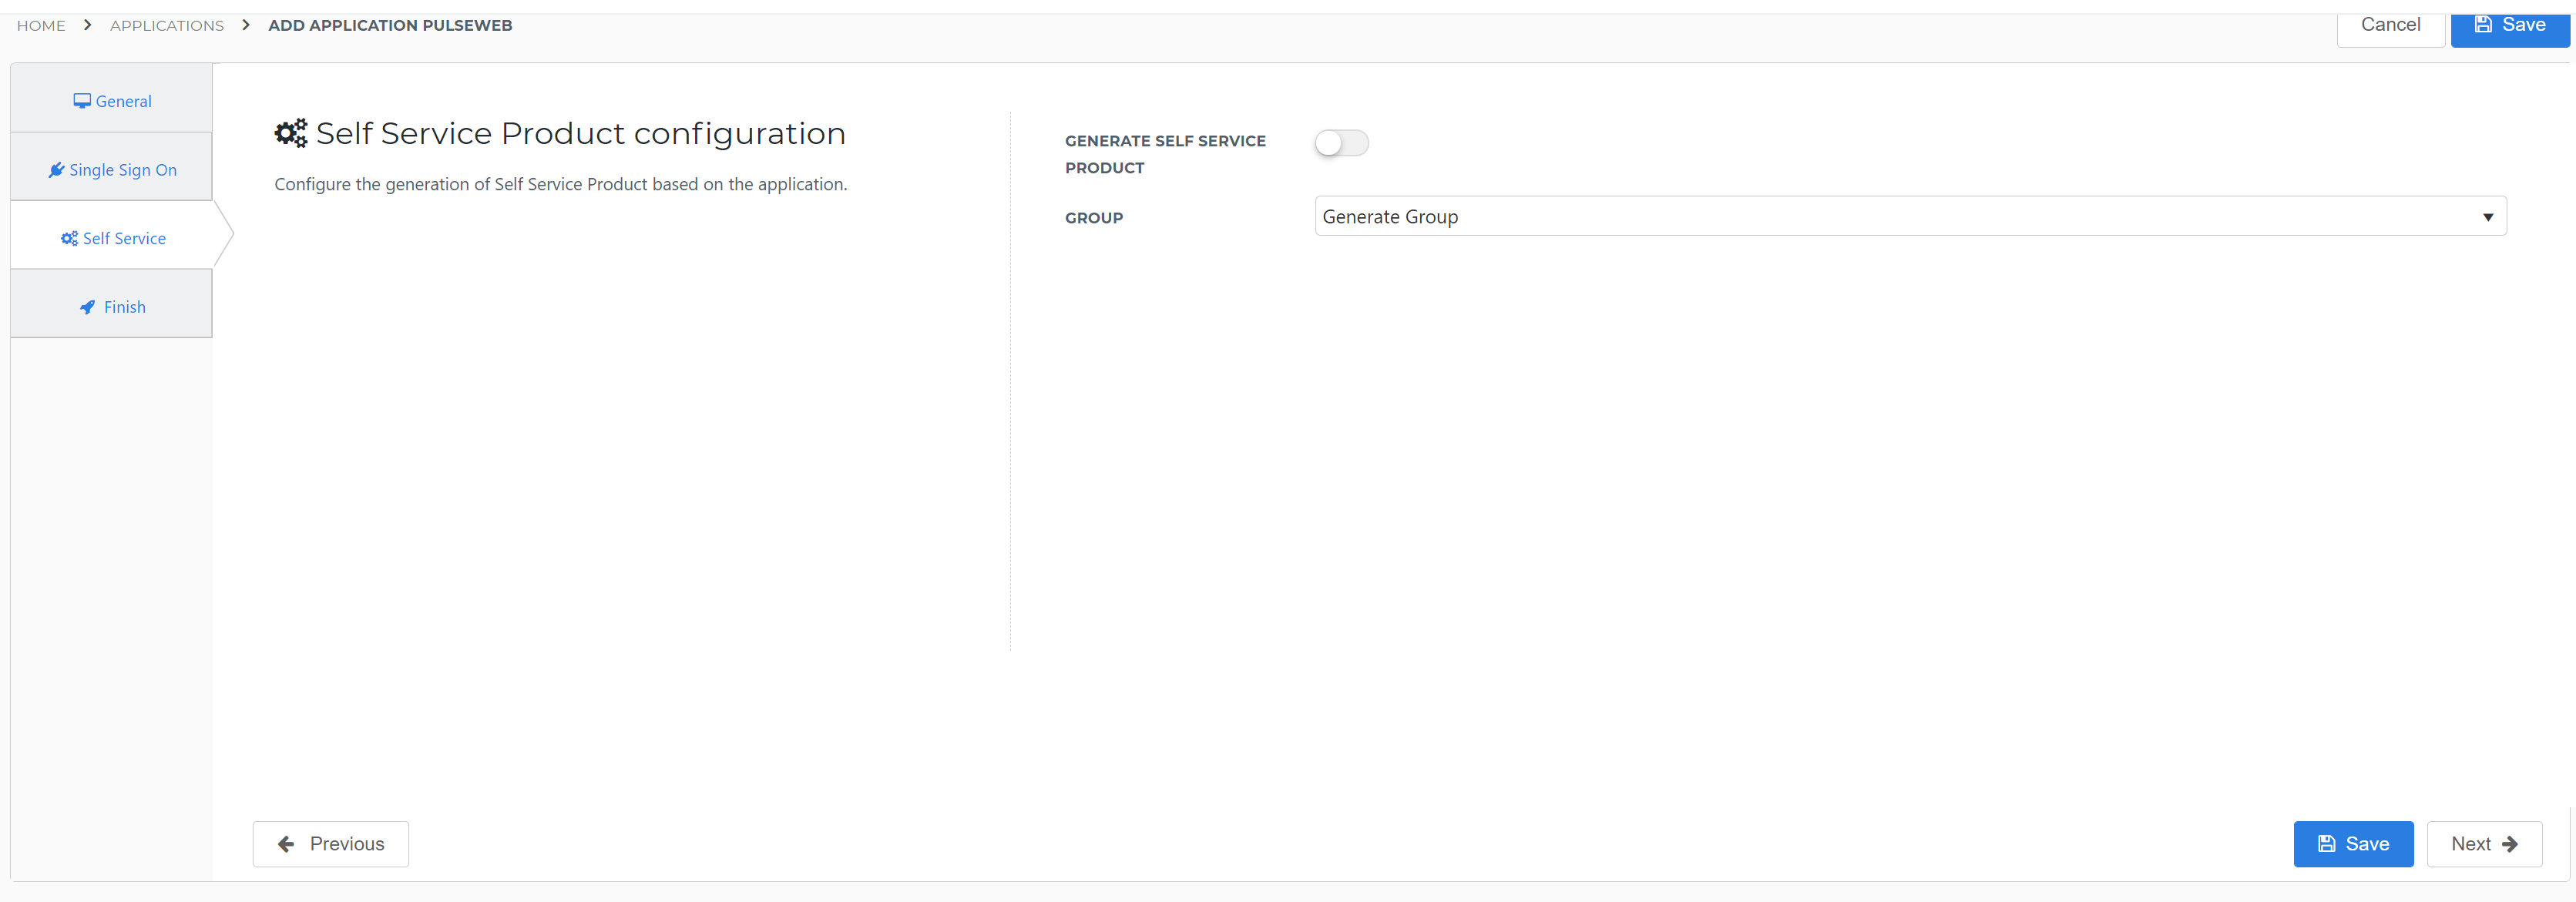
Select the Next button.
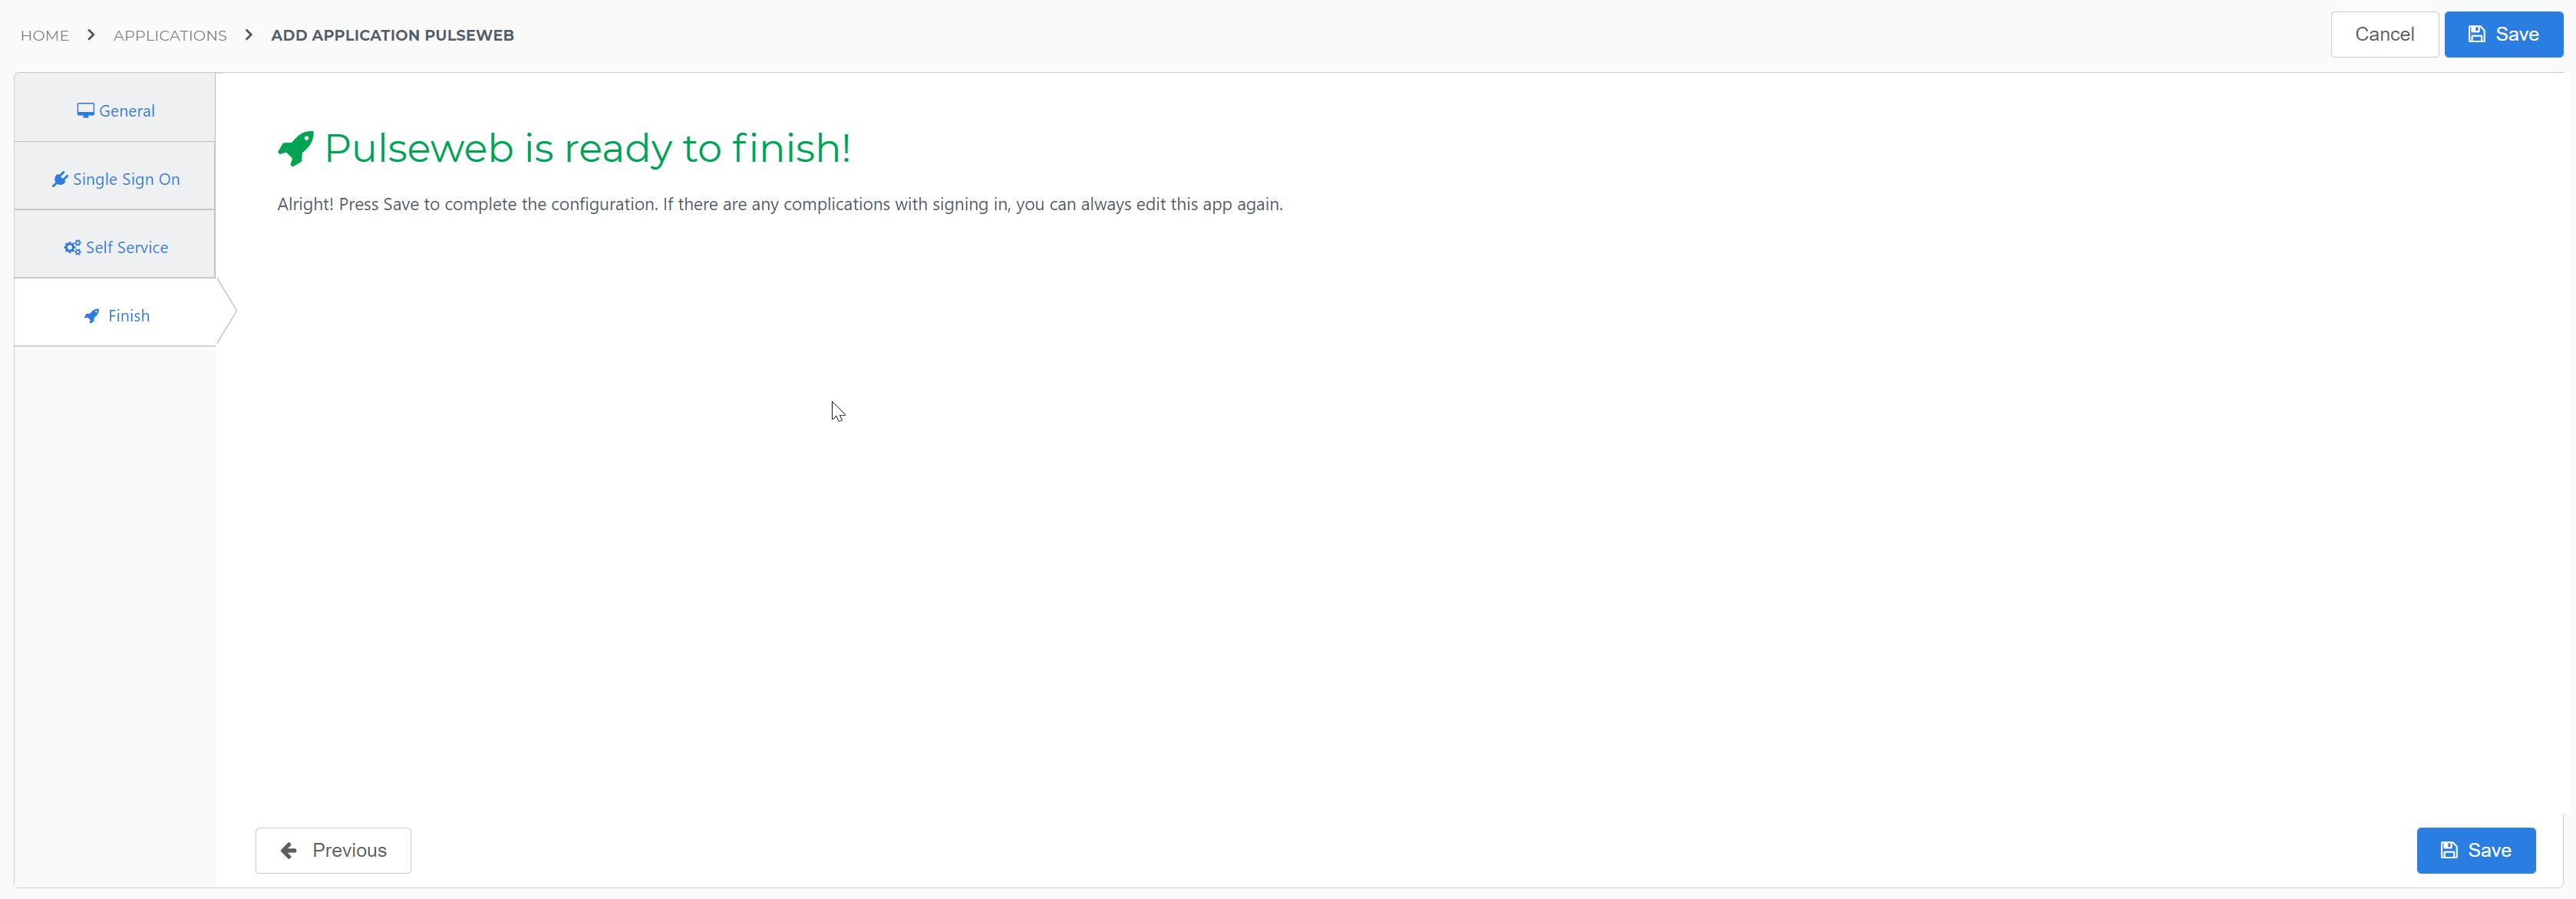
Finish tab
On the Finish tab, select the Save button to add the PulseWeb application to HelloID.
Supplier-side configuration
The HelloID side of the configuration is now finished, but Noordhoff-Health needs to add the connection on their side.
Note that they will need the Metadata URL. To retrieve this value, go to Applications > Applications. Locate your newly-added PulseWeb application and select its Edit link. Right-click the Download metadata button and select Copy link address. This will be in the format https://{customer}.helloid.com/metadata/download?ApplicationGUID={guid}
Send this value to Noordhoff-Health and request that they complete the connection. Contact information is provided below.
030 – 638 30 41
Finish up
The PulseWeb application has been added to HelloID, and a trust has been configured between PulseWeb and HelloID. You are now free to assign the application to users within your organization and begin testing it and using it. See Applications - Overview and its related articles for more information.