Gerimedica Ysis SAML application setup
Introduction
This article demonstrates how to set up Ysis for single sign-on. The configuration takes place in HelloID and requires you to send information to Gerimedica.
Note
If Gerimedica has asked your organization to use the new Auth0 Single Sign-On (SSO) authentication method, do not follow the classic setup instructions. Instead, follow the new setup instructions below.
Requirements
HelloID environment
Ysis environment
Ysis SAML metadata (received after requesting single-sign-on from Gerimedica)
Classic setup
Create or import a signing certificate
If there is no signing certificate yet, you must create or import one. For this tutorial, we will create a self-signed certificate. Name it YsisSelfSigned.
Import the encryption certificate
In addition to creating or importing the above signing certificate, you must import the Ysis encryption certificate.
After you have received the Ysis SAML metadata file from Gerimedica, open it in a text editor.
Find the following line:
<md:KeyDescriptor use="encryption"><ds:KeyInfo xmlns:ds="http://www.w3.org/2000/09/xmldsig#"><ds:X509Data><ds:X509Certificate>Copy the text between the
<ds:X509Certificate></ds:X509Certificate>tags. Paste it into a new file.Add
-----BEGIN CERTIFICATE-----to the first line, and-----END CERTIFICATE-----to the last line.
For example:
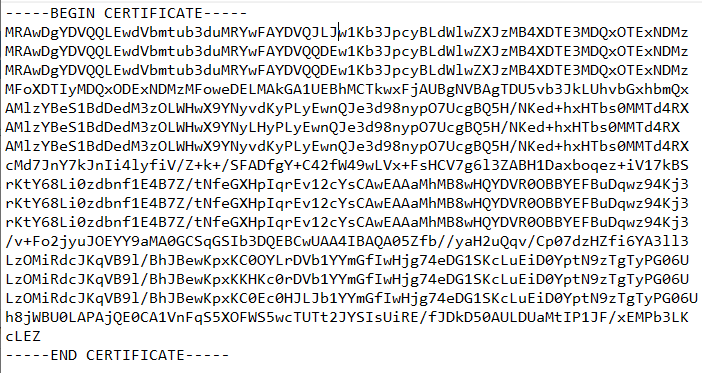
Save the file and import it into HelloID. Name the certificate YsisImported.
Application Setup
Add the Ysis Application
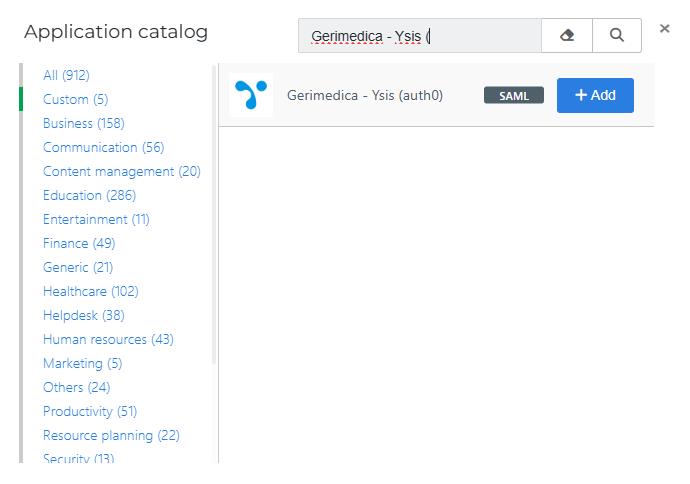
Add a new application.
Find the template for Gerimedica Ysis (SAML).
Select its Add button.
General tab
Change the following settings:
Default Login URL
Replace
{customer}with your Ysis username.
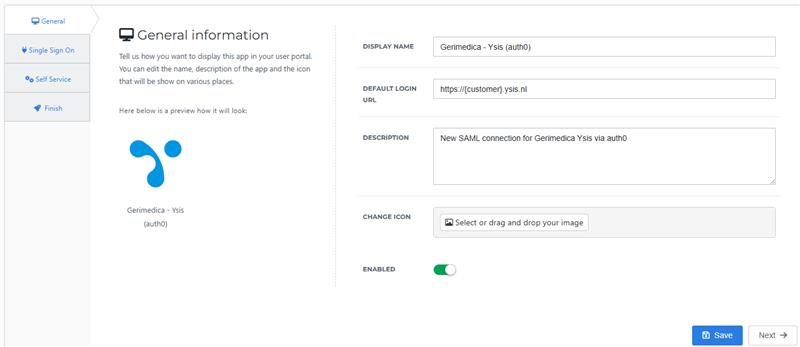
Select the Next button.
Single Sign-On tab
Change the following settings:
Endpoint/ACS URL
Replace
{customer}with your Ysis username.X509 Certificate
Select the signing certificate that you previously imported or created.
Extra Audience(s)Replace
{customer}with your Ysis username.X509 Encryption Certificate
Select the encryption certificate that you previously imported.
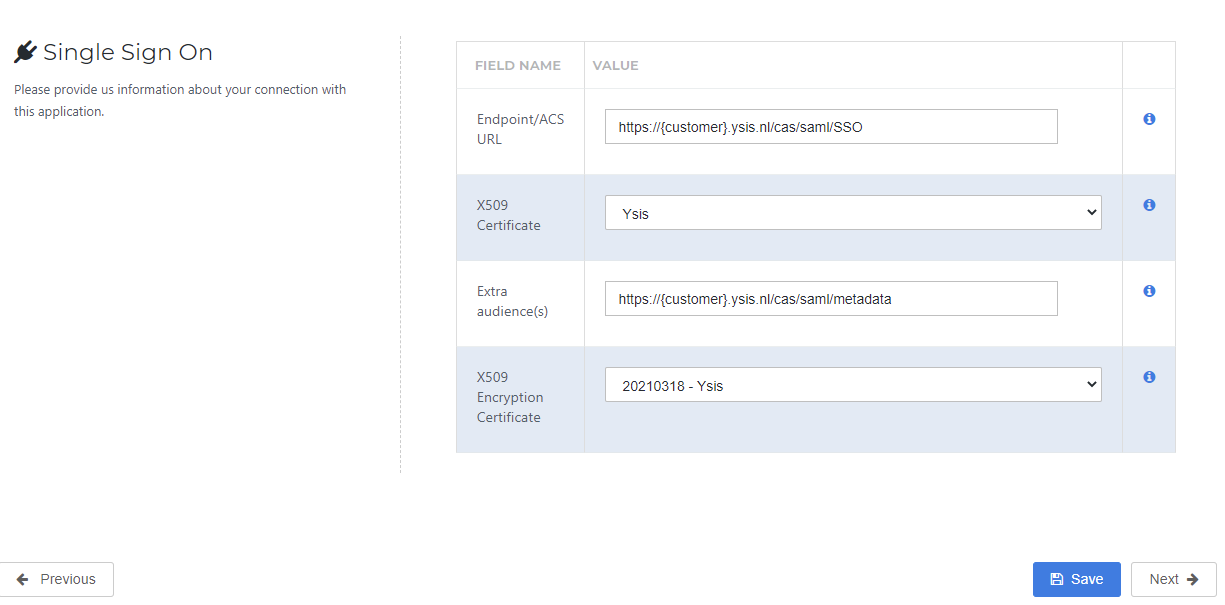
Select the Next button.
Self Service tab
Optionally, generate a Self Service product, which makes the application requestable. Select a group which will have access to the product.
Select the Next button.
Finish tab
Select the Save button to add the Ysis application to HelloID.
Additional configuration
Mapping
By default, the user's HelloID {{user.contactEmail}} attribute is sent as the SAML NameID. If you wish to use another attribute, see Mapping - Overview. You must communicate this change to Gerimedica.
Create a shortcut
Gerimedica Ysis doesn't support SP-initiated flows. Therefore, if you want your users to be able to launch it from the HelloID dashboard, you must create a shortcut to it.
Supplier-side configuration
The HelloID side of the configuration is now finished.
To connect, Gerimedica needs to add the connection on their side. Contact Gerimedica to request this.
Send them the following information:
Metadata URL
Login URL
Logout URL
Metadata URL
Go to the Applications overview.
Select the Edit link for the newly-added Ysis application.
Right-click the Download metadata button
Select Copy link address. It will resemble:
https://enyoi.helloid.com/metadata/download?ApplicationGUID=e6e741f5-a469-4849-93f7-fe2e259a339f.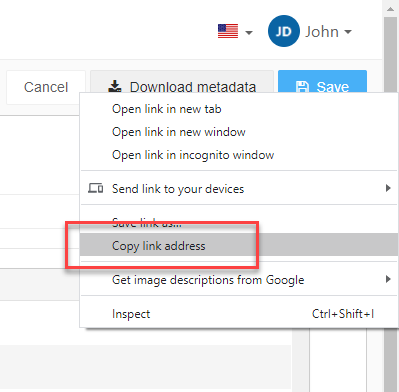
Login URL
The login URL can be found in the metadata file. It resembles: https://{customer}.helloid.com/relayservice/redirect/896f41ed-6d3a-4ef3-bc4c-a64c5b1847e9
Logout URL
The logout URL of your HelloID environment, in the format: https://{customer}.helloid.com/authentication/signoff
Replacing an encryption certificate
When the encryption certificate is about to expire, Gerimedica will provide a new metadata file with the new encryption certificate included.
Please follow the steps above in the "Import the encryption certificate" section and save the new certificate with a new name. Do not remove the old certificate before the configuration has been changed.
Before making the new encryption certificate active please contact Gerimedica to make an appointment for the replacement of the certificate. If you replace the certificate directly the Single-Sign-On will stop working.
You can replace the certificate by following the next steps:
In the HelloID administrator dashboard browse to applications
Next find the Gerimedica Ysis application in your application list and click edit
Open the configuration tab and select the newly created encryption certificate in the dropdown next to the X509 Encryption certificate option.
Do not change the selected certificate at the X509 certificate option below the endpoint option. This is the signing certificate and therefore not being used to encrypt the message.
Press save to finish the replacement of the encryption certificate.
New setup
Follow these instructions if your organization has been asked by Gerimedica to use the the new Auth0 Single Sign-On (SSO) authentication method.
Create or import a signing certificate
If there is no signing certificate yet, you must create or import one. For this tutorial, we will create a self-signed certificate. Name it YsisSelfSigned.
Application setup
Add the Ysis Application
Add a new application.
Find the template for Gerimedica Ysis (SAML).
Select its Add button.
General tab
Change the following settings:
Default Login URL
Replace
{customer}with your Ysis customer name.
Select the Next button.
Single Sign-On tab
Change the following settings:
Issuer
Enter the value you received from Gerimedica. If you have not received this information yet, leave the default value unchanged.
Endpoint/ACS URL
Enter the value you received from Gerimedica. If you have not received this information yet, leave the default value unchanged.
X509 Certificate
Select the signing certificate that you previously imported or created.
SP-initiated URL
Replace {customer} with your Ysis customer name.
Extra Audience(s)
Enter the value you received from Gerimedica. If you have not received this information yet, leave the default value unchanged.
Select the Next button.
Self Service tab
Optionally, generate a Self Service product, which makes the application requestable. Select a group which will have access to the product.
Select the Next button.
Finish tab
Select the Save button to add the Ysis application to HelloID.
Additional configuration
Mapping
By default, the user's HelloID {{user.contactEmail}} attribute is sent as the SAML NameID. If you wish to use another attribute, see Mapping - Overview. You must communicate this change to Gerimedica.
Supplier-side configuration
The HelloID side of the configuration is now finished.
To connect, Gerimedica needs to add the connection on their side. Contact Gerimedica to request this.
Send them the following information:
Metadata URL
Login URL
Metadata URL
Go to the Applications overview.
Select the Edit link for the newly-added Ysis application.
Right-click the Download metadata button
Select Copy link address. It will resemble:
https://enyoi.helloid.com/metadata/download?ApplicationGUID=e6e741f5-a469-4849-93f7-fe2e259a339f.
Login URL
The login URL can be found in the metadata file. It resembles: https://{customer}.helloid.com/relayservice/redirect/896f41ed-6d3a-4ef3-bc4c-a64c5b1847e9
Finish up
When your request for SAML has been handled by Gerimedica you will receive the correct information to complete the SAML connection.
Go to Applications, find the new Ysis application and edit it. Go to the Single Sign-On tab and enter the values received from Gerimedica in the Issuer, Endpoint/ACS URL and Extra audience(s) fields.
Save the application and test the login.