Intus InPlanning SAML application setup
Follow these instructions to set up the Intus InPlanning SSO application in HelloID.
Tip
For more information about managing applications, see Applications.
Requirements
Intus InPlanning environment
Step 1: Add a certificate
Go to Settings > Certificates.
Click Create Self-Signed Certificate.
Set the following fields:
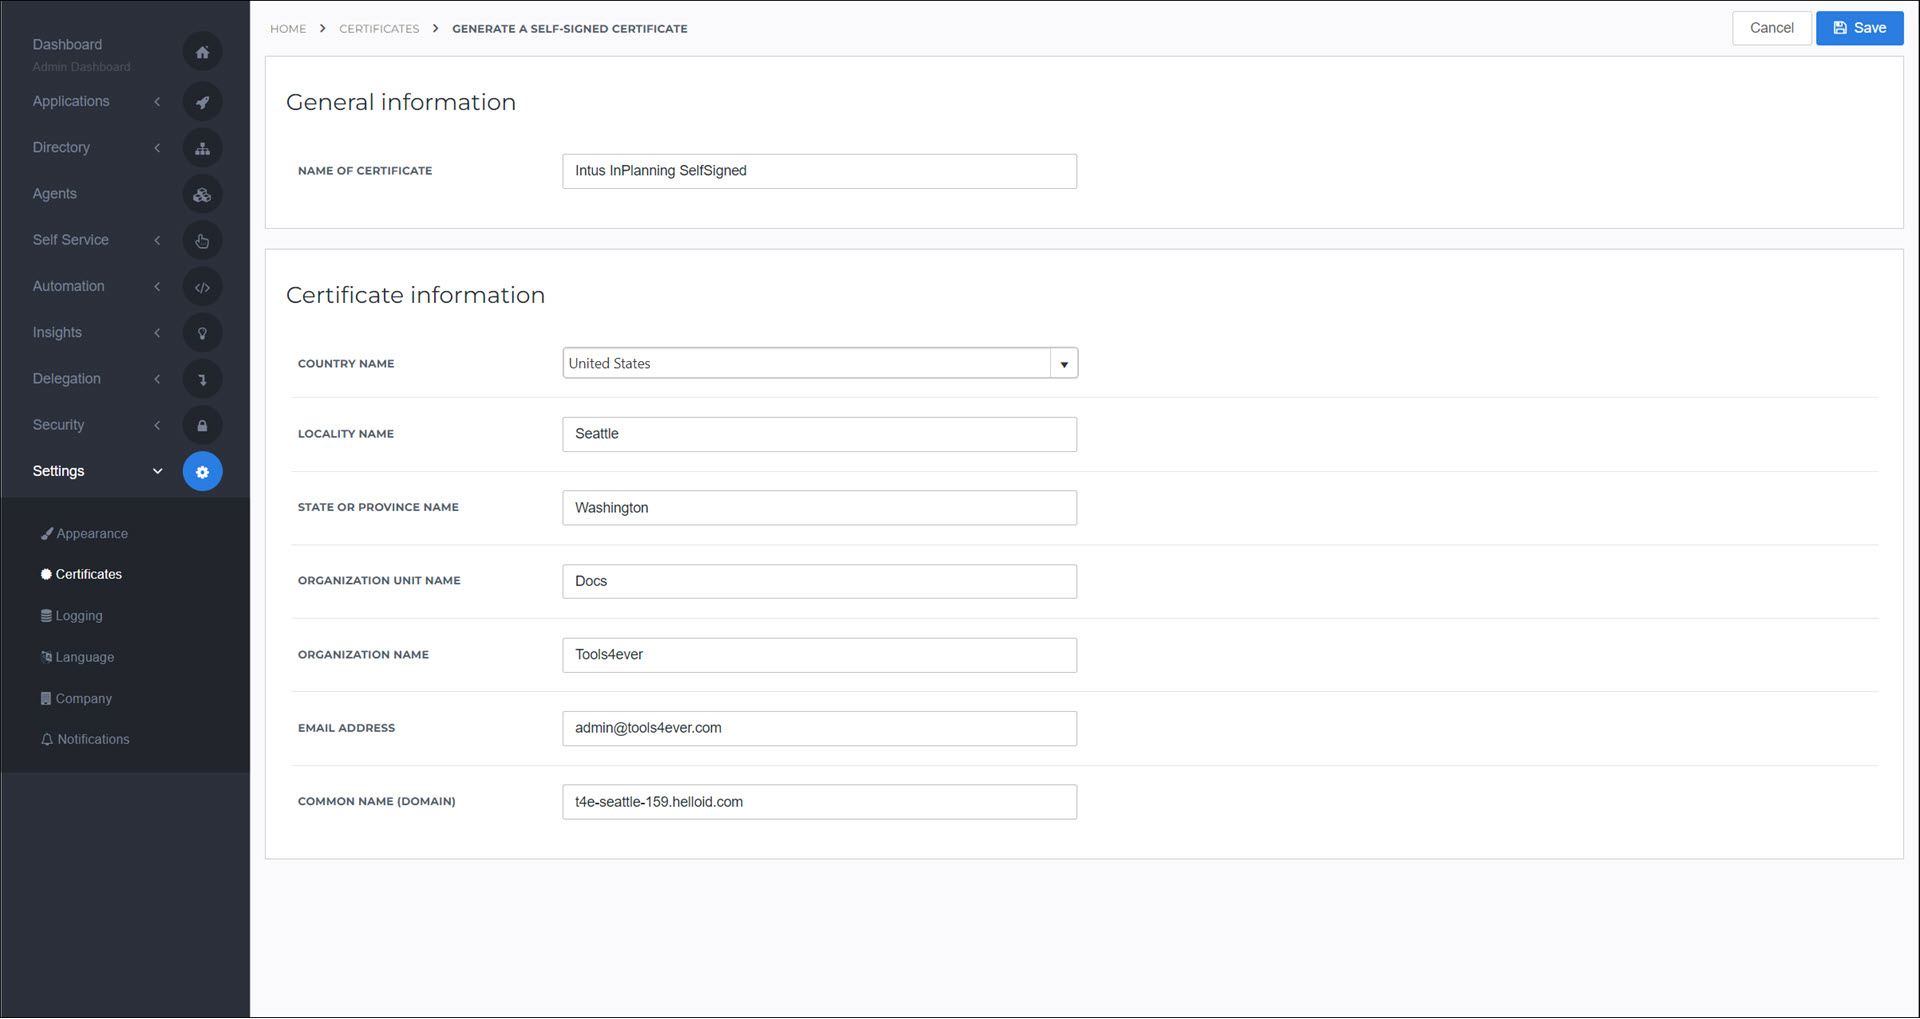
Name Of Certificate:
Intus InPlanning SelfSignedCommon Name (Domain):
<yourcustomerid>.helloid.comAll other fields: set according to your organization's requirements.
Click Save.
Step 2: Add the application
Go to Applications > Applications.
Click Open Application Catalog.
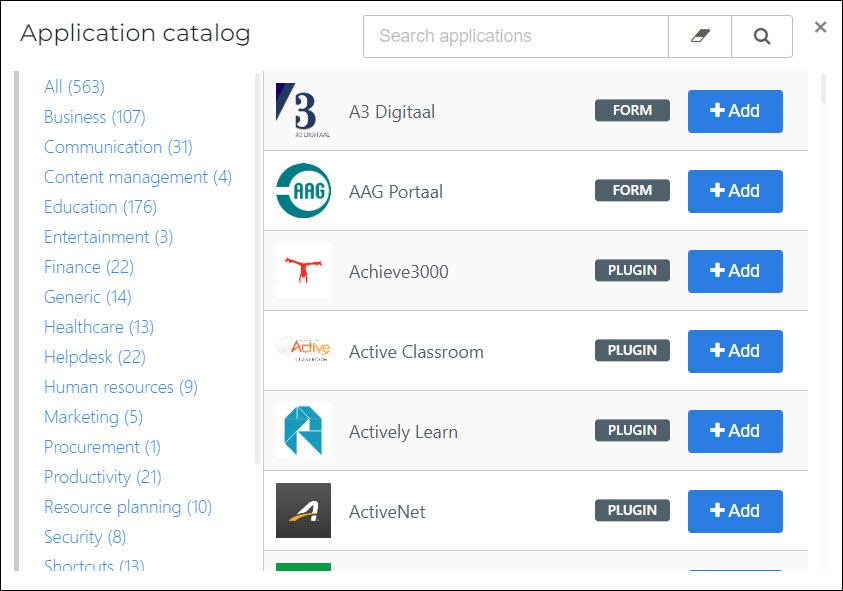
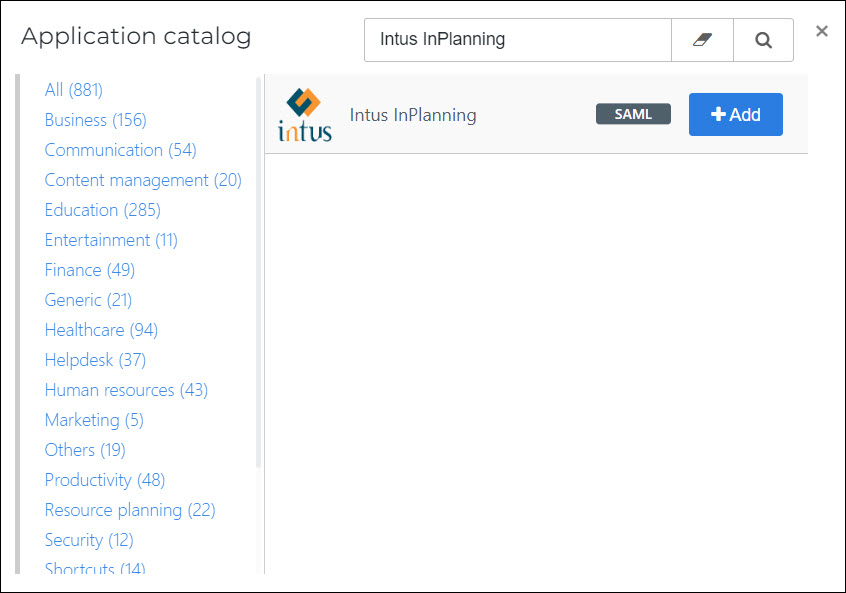
Search for the Intus InPlanning template, and click Add.
Step 3: Application setup
Tip
For details on all available fields, see the Application settings reference.
On the General tab, set the following fields:
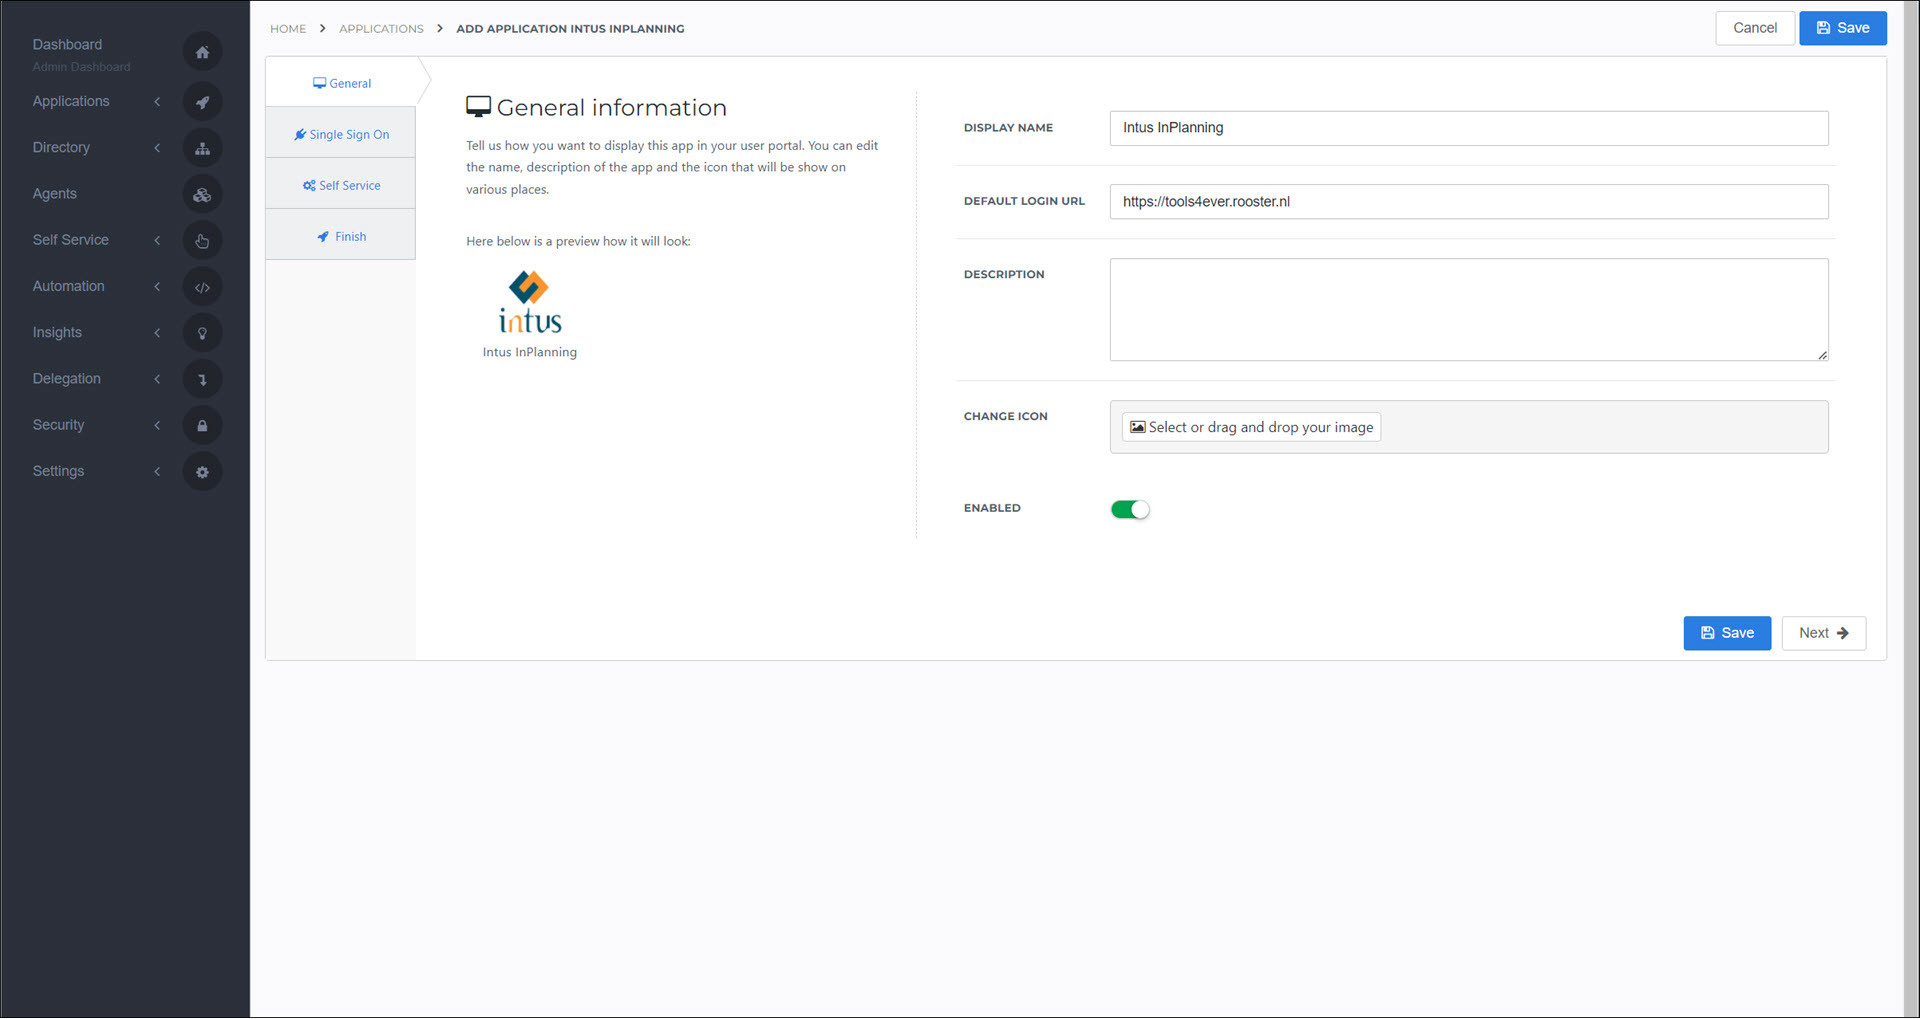
- Default Login URL
Your InPlanning URL, in the format https://<customer>.rooster.nl. For example,
https://tools4ever.rooster.nl
Click Next.
On the Single Sign On tab, set the following fields:
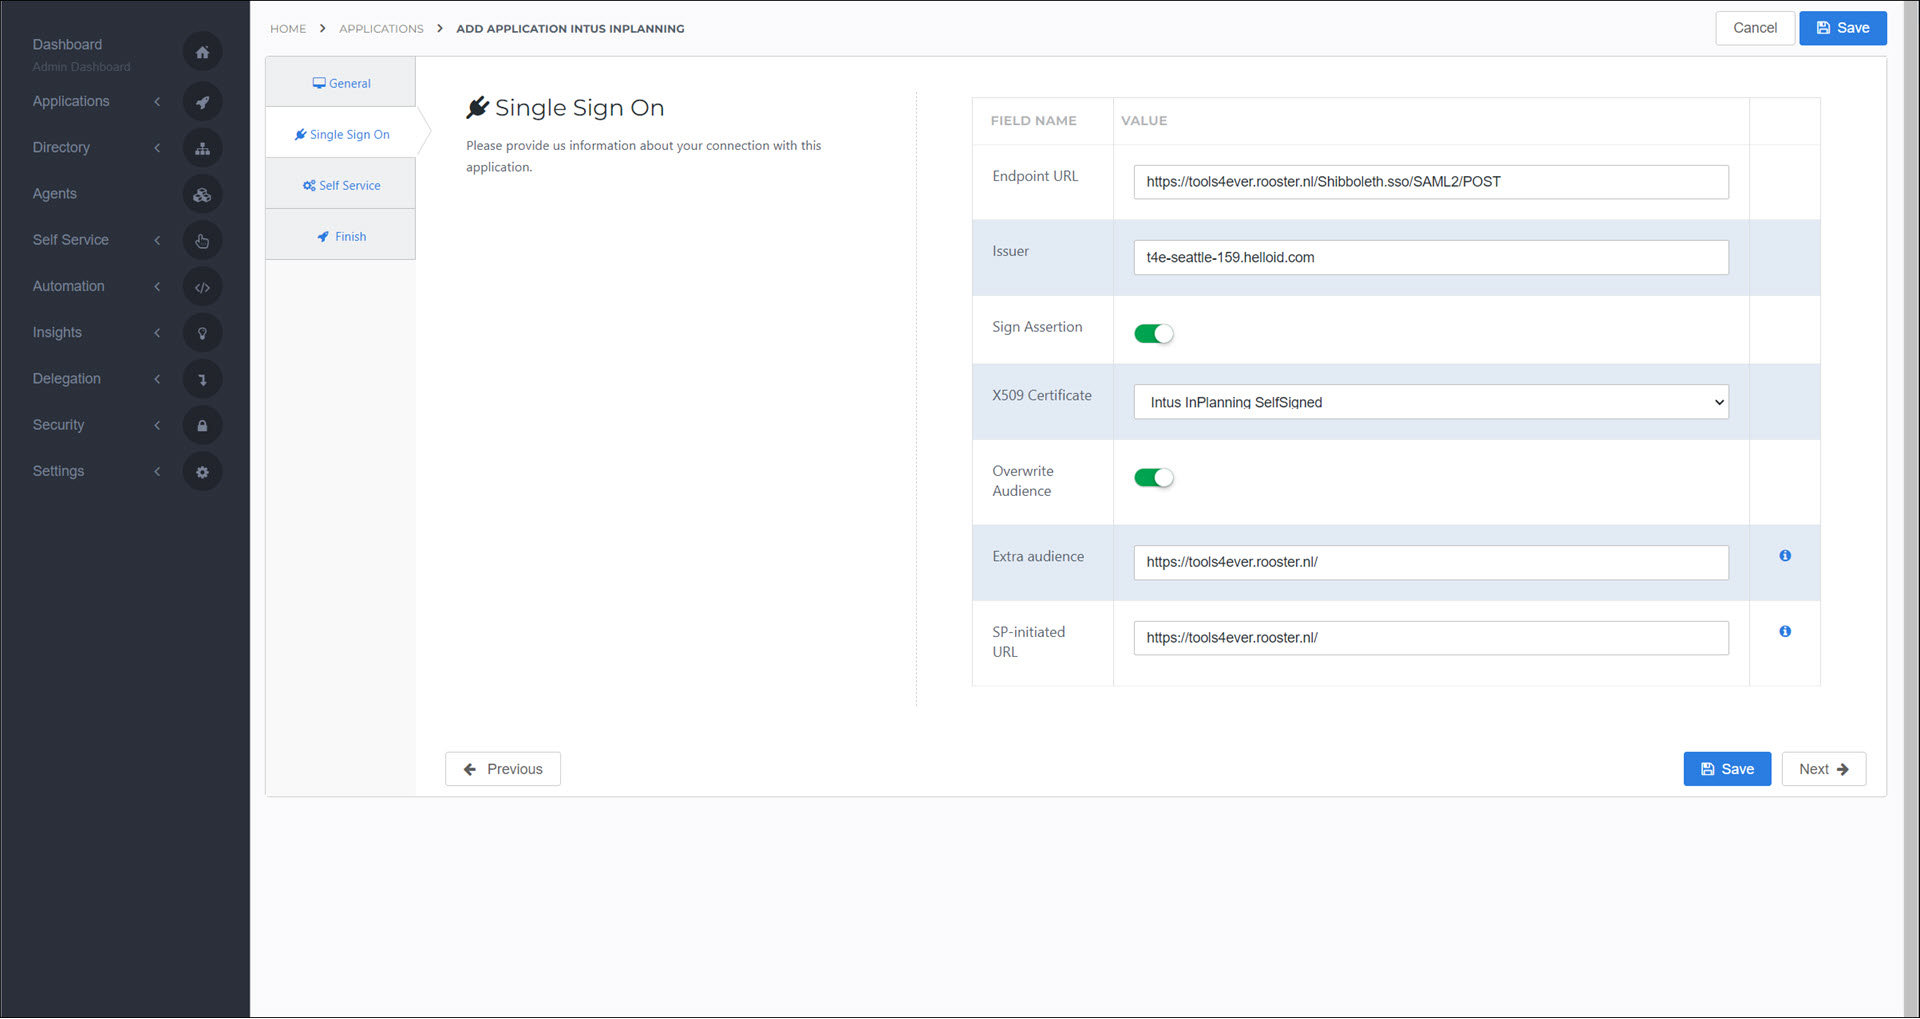
- Endpoint URL
Your InPlanning URL, in the format https://<customer>.rooster.nl/InplanningService/rest/sso/saml2/post.. For example,
https://tools4ever.rooster.nl/InplanningService/rest/sso/saml2/post- Issuer
Your HelloID portal URL, in the format <customer>.helloid.com. For example,
t4e-seattle-159.helloid.com- X509 Certificate
Select the self-signed certificate you previously created.
- Extra Audience
Your InPlanning URL, in the format https://<customer>.rooster.nl/. For example,
https://tools4ever.rooster.nl/app/- SP-Initiated URL
Your InPlanning URL, in the format https://<customer>.rooster.nl/. For example,
https://tools4ever.rooster.nl/app/
Click Next.
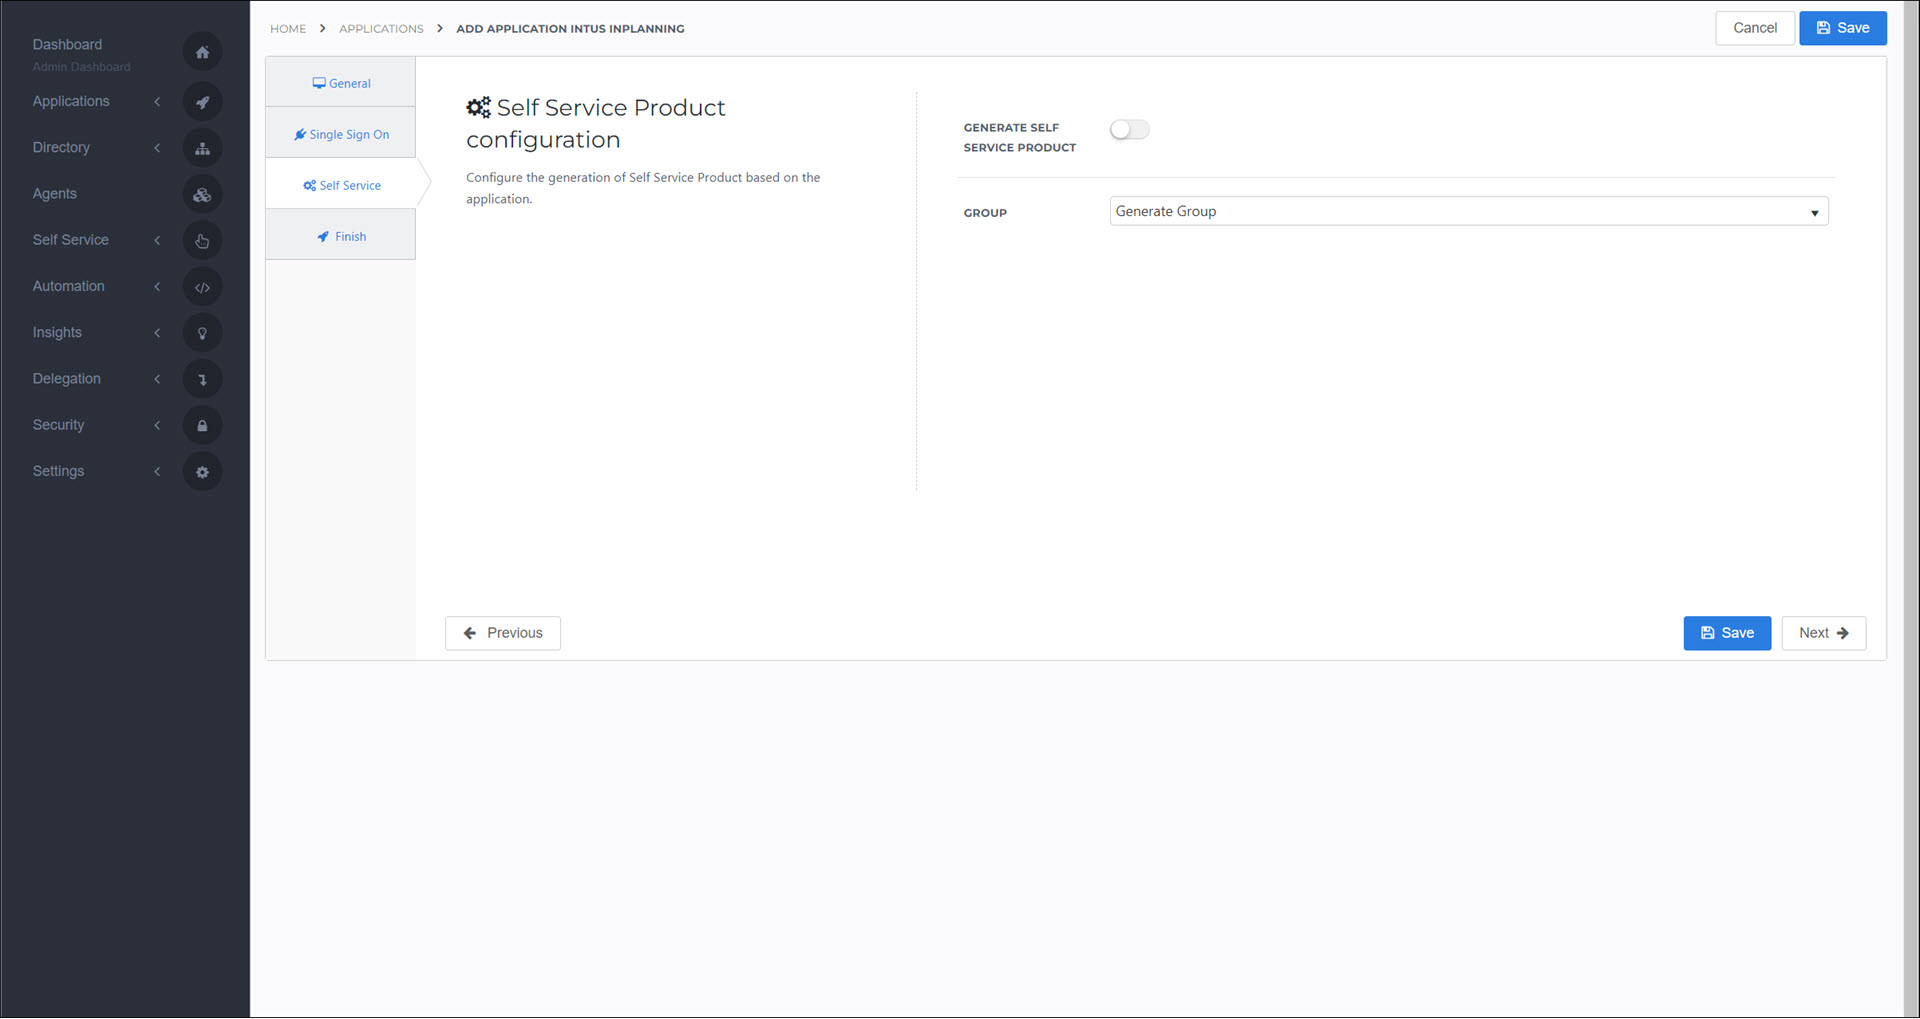
Optional: On the Self Service tab, choose whether to generate a product (see Products) for users to request this application. If you do, select the Group that will be linked to the product.
Click Next.
On the Finish tab, click Save.
Step 4: Post-setup configuration
HelloID side
Get the application's metadata, to send to the service provider.
Go to Applications > Applications and click Edit for this application.
Right-click on Download Metadata and click Copy Link Address.
Example 1. SAML Metadata
https://enyoi.helloid.com/metadata/download?ApplicationGUID=c277185a-cd1f-451c-8068-c751ed85a028
Paste the URL into a local text editor, and replace
downloadwithindex.For example,
https://enyoi.helloid.com/metadata/download?ApplicationGUID=c277185a-cd1f-451c-8068-c751ed85a028becomeshttps://enyoi.helloid.com/metadata/index?ApplicationGUID=c277185a-cd1f-451c-8068-c751ed85a028.
SP side
Obtain the InPlanning sysadmin role from an Intus consultant, or someone in your organization who uses InPlanning. This gives you access to InPlanning configuration.
In InPlanning, go to the administration panel.

Select the option that corresponds to your role:

Administratie (Admistration)
Systeem (System)
SSO configuratie (SSO configuration)
Nieuwe SSO-configuratie (New SSO configuration)
Enter the following values:

Applicatie-URL (Entity ID): The application URL in the format https://<customer>.rooster.nl/app/. For example,
https://tools4ever.rooster.nl/app/.Metadatabron: Your Metadata preference: either file or URL (recommended). The metadata source is the URL you previously obtained from HelloID.
Attribuut/claim met gebruikersnaam: The attribute that is mapped to
{{user.username}}in the claim set for Intus InPlanning (see Directory > Mapping Sets in the Admin dashboard).In this example, "identifier":

Notificatie-e-mail versturen naar: Notification email address.
Enkelvoudig uitloggen (SLO): Optionally enable this toggle to enable single logout.
Actief: Toggle for activation. The configuration is only active if the switch is on in combination with a reboot and the right settings at Intus. Otherwise nothing happens.
Note
You can find many of these values on the overview (Overzicht) tab.

2. Application URL to be copied to Identifier (Entity ID)
3. Assertion Consumer Service URL to be copied at Reply URL
4. Login URL needs to be copied to Sign On URL
5. Logout URL to be copied to Logout URL

Save your changes.
Step 5: Test the application
Using a HelloID account that has access to the application, go to Applications for users on the user dashboard, and launch the application to test it.
Step 6: Finish up
The application has been added to HelloID, and a trust has been configured. You may now want to do the following:
To grant additional group(s) access to this application, Grant a group access to an application.
If you generated a product that grants access to this application, Link a product to a group to make the product requestable for additional users.