- HelloID
- Access Management
- Applications
- App catalog
- App setup guides
- Microsoft SharePoint via WS-Federation application setup
Microsoft SharePoint via WS-Federation application setup
Introduction
Using WS-Federation (Web Services Federation), you can use HelloID as an Identity Provider (IdP) for Microsoft SharePoint.
This configuration requires communication between your HelloID Administrator and Tools4ever support.
Requirements:
HelloID environment
SharePoint environment
This configuration requires that you have full administrative rights to your SharePoint environment.
Create or Import a Certificate
The first step in the process is to create a self-signed certificate using the instructions found here. Name this certificate "SharePoint". Once created, you must export that certificate as a PFX file. Send a copy of the certificate to Tools4ever support. Then, save a copy somewhere on your SharePoint application server, and make note of its location—you'll need it later on in this article.
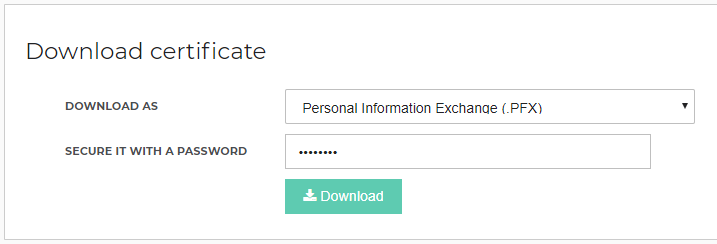
Tools4ever support will take their copy of the PFX certificate and convert it into a format that is compatible with the WS-Federation server. Once the certificate is sent back to you, import it back into HelloID with the new name of "SharePoint WS-Federation". Ignore any certificate errors.
Application Setup
Add the SharePoint WS-Federation Application
Create a new application in HelloID by navigating to Applications > Applications. Open the Application Catalogue and search for the "Generic WS Federation" template. Select its Add button. Learn more about managing applications here.
General Tab
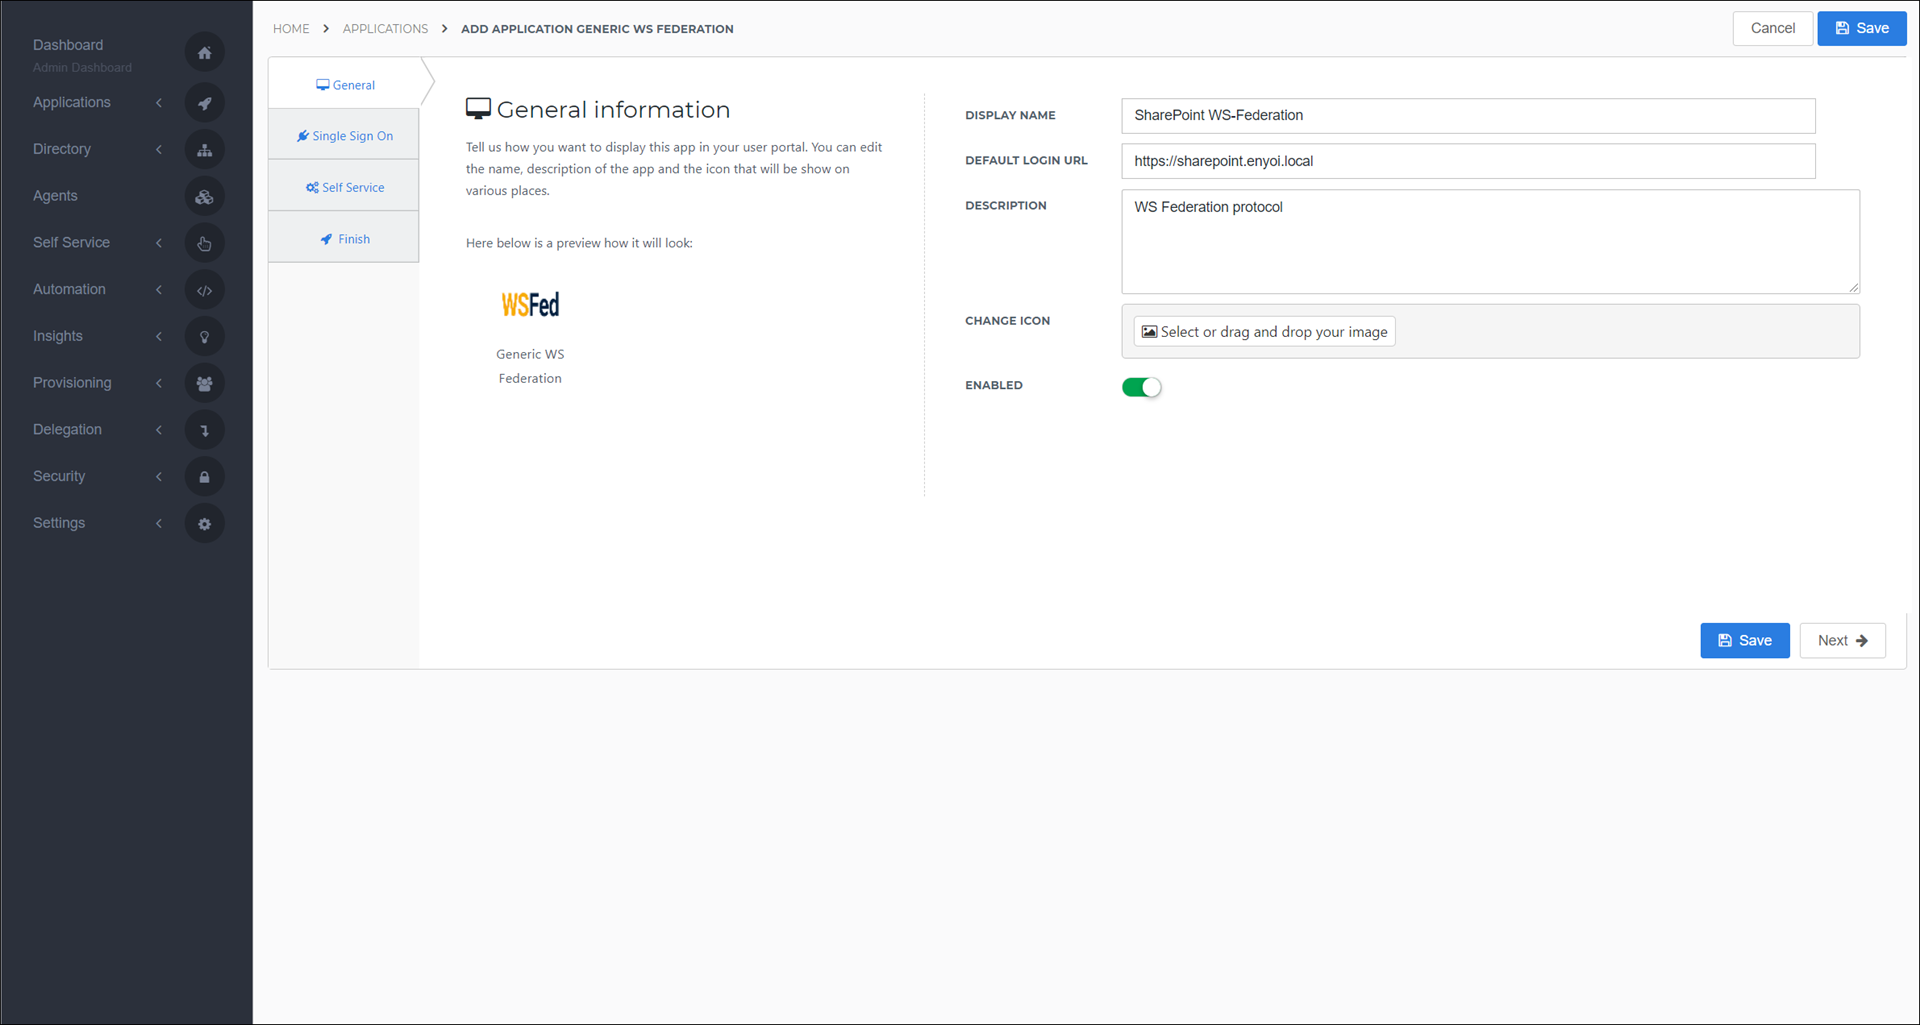
On the General tab, replace the URL in the Default Login URL text box with your SharePoint server's base URL. Name it "SharePoint WS-Federation".
Single Sign On tab
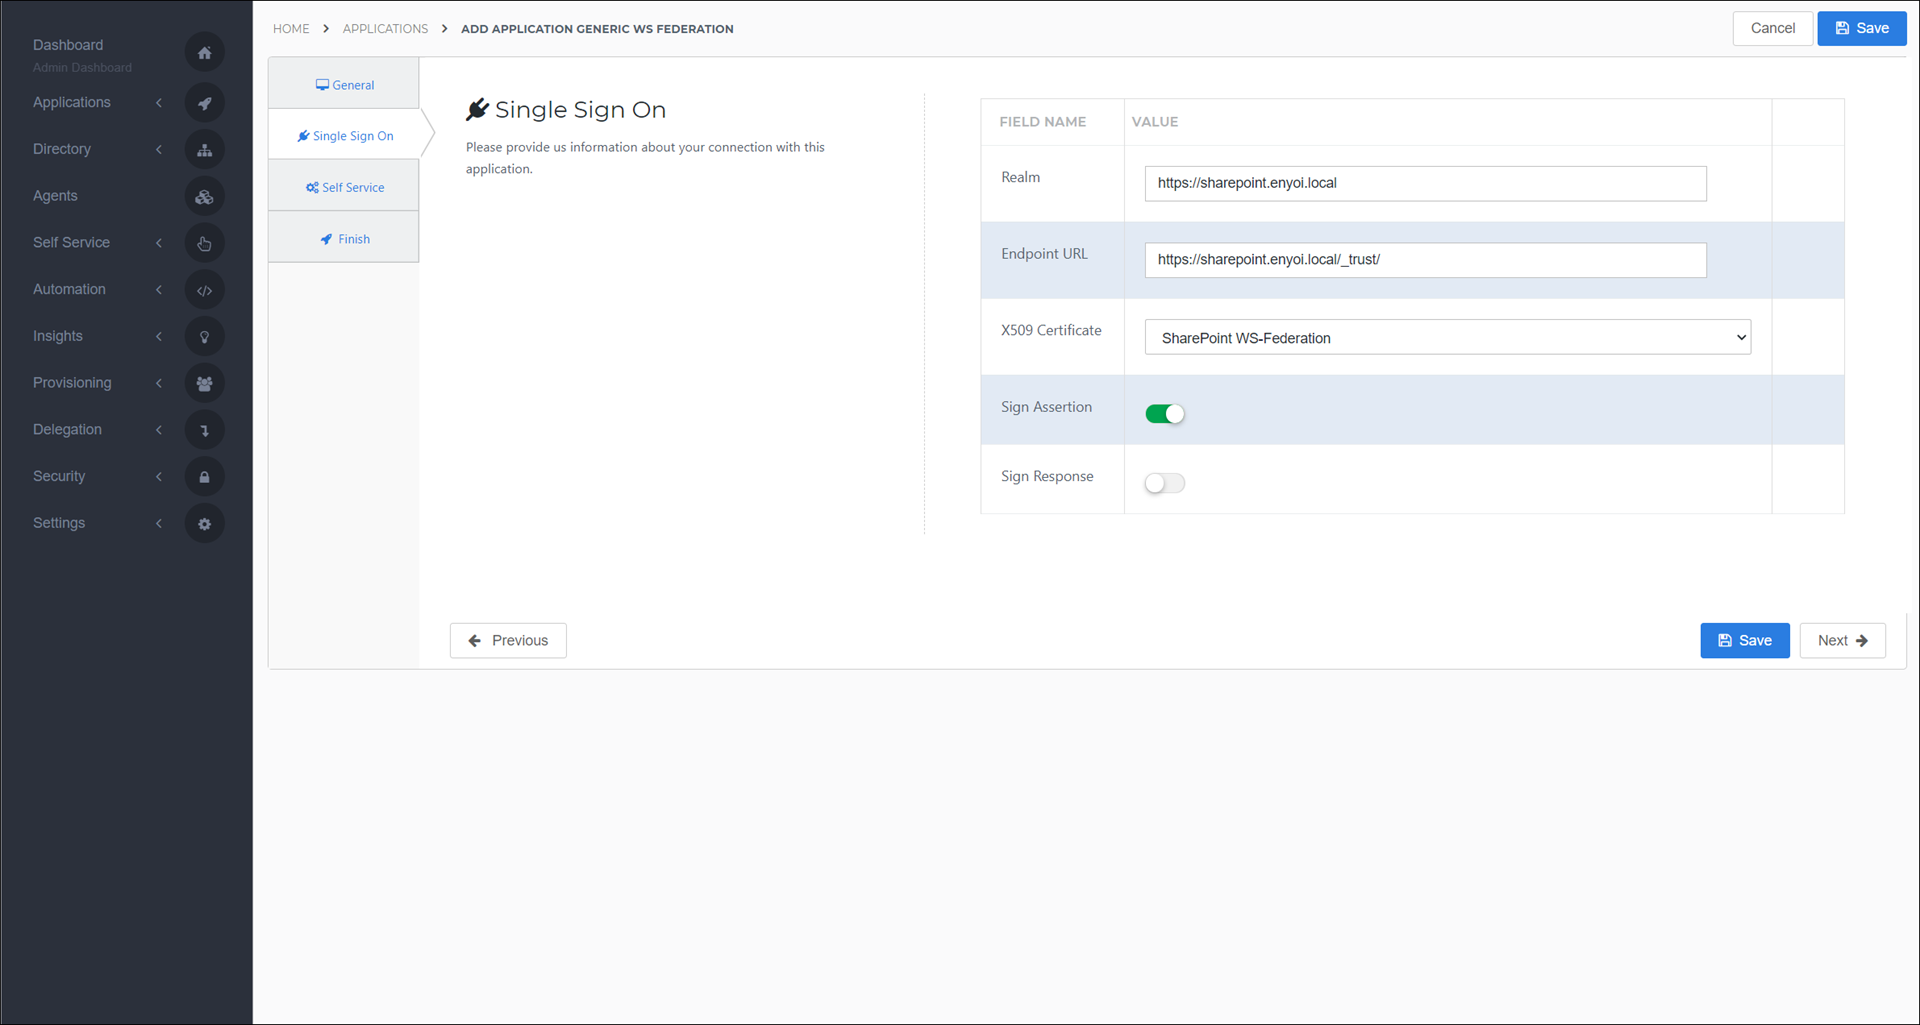
On the Single Sign On tab, make the following changes. When you are finished, click Next.
Realm: Enter your SharePoint URL. This should be the same URL as the Default Login URL from the General tab.
Endpoint URL: Enter the same SharePoint URL as before, with the addition of /_trust/ at the end, as seen in the screenshot below.
X509 Certificate: Choose the "SharePoint WS-Federation" certificate that you imported earlier.
Self Service Tab
On the Self Service tab, accept all defaults and click Next.
Finish Tab
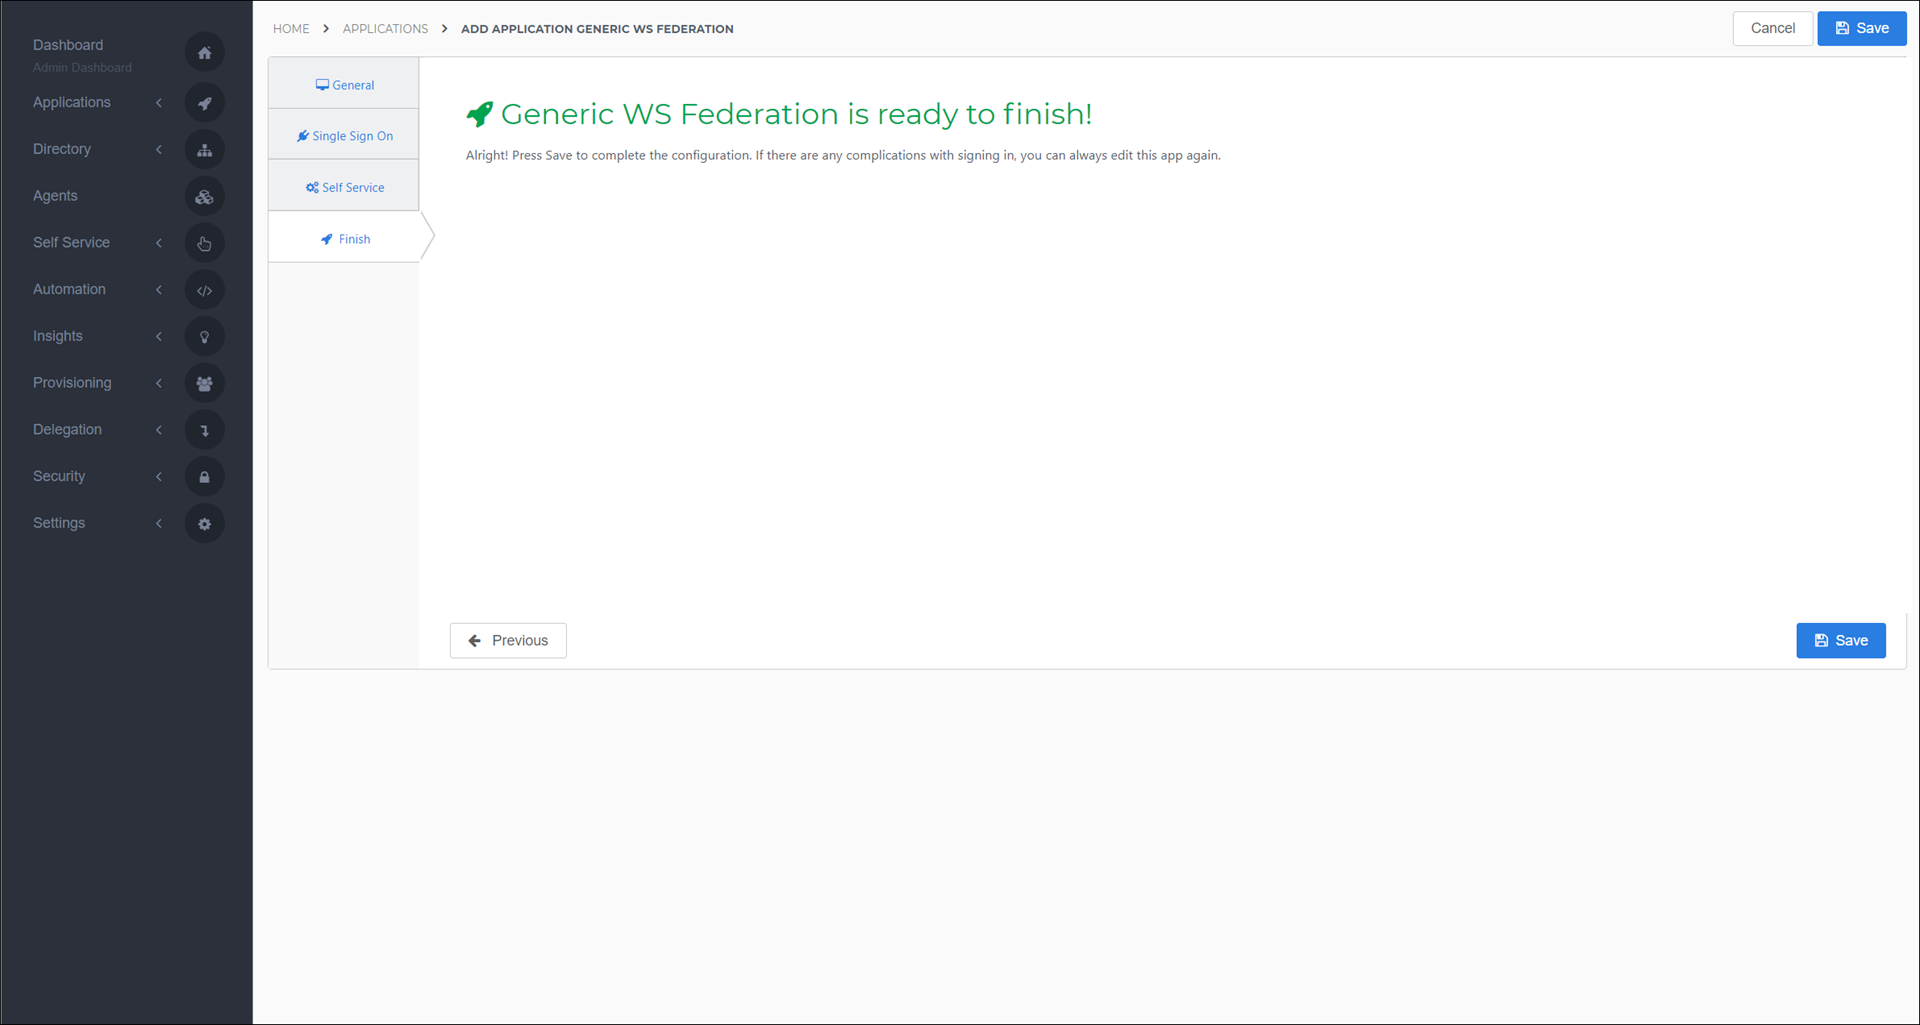
On the Finish tab, click the Save button to add the application to your HelloID instance.
Mapping Changes
Once you've added the SharePoint application, navigate to Directory > Mapping Sets. Find the mapping set for your SharePoint application, and click Edit.
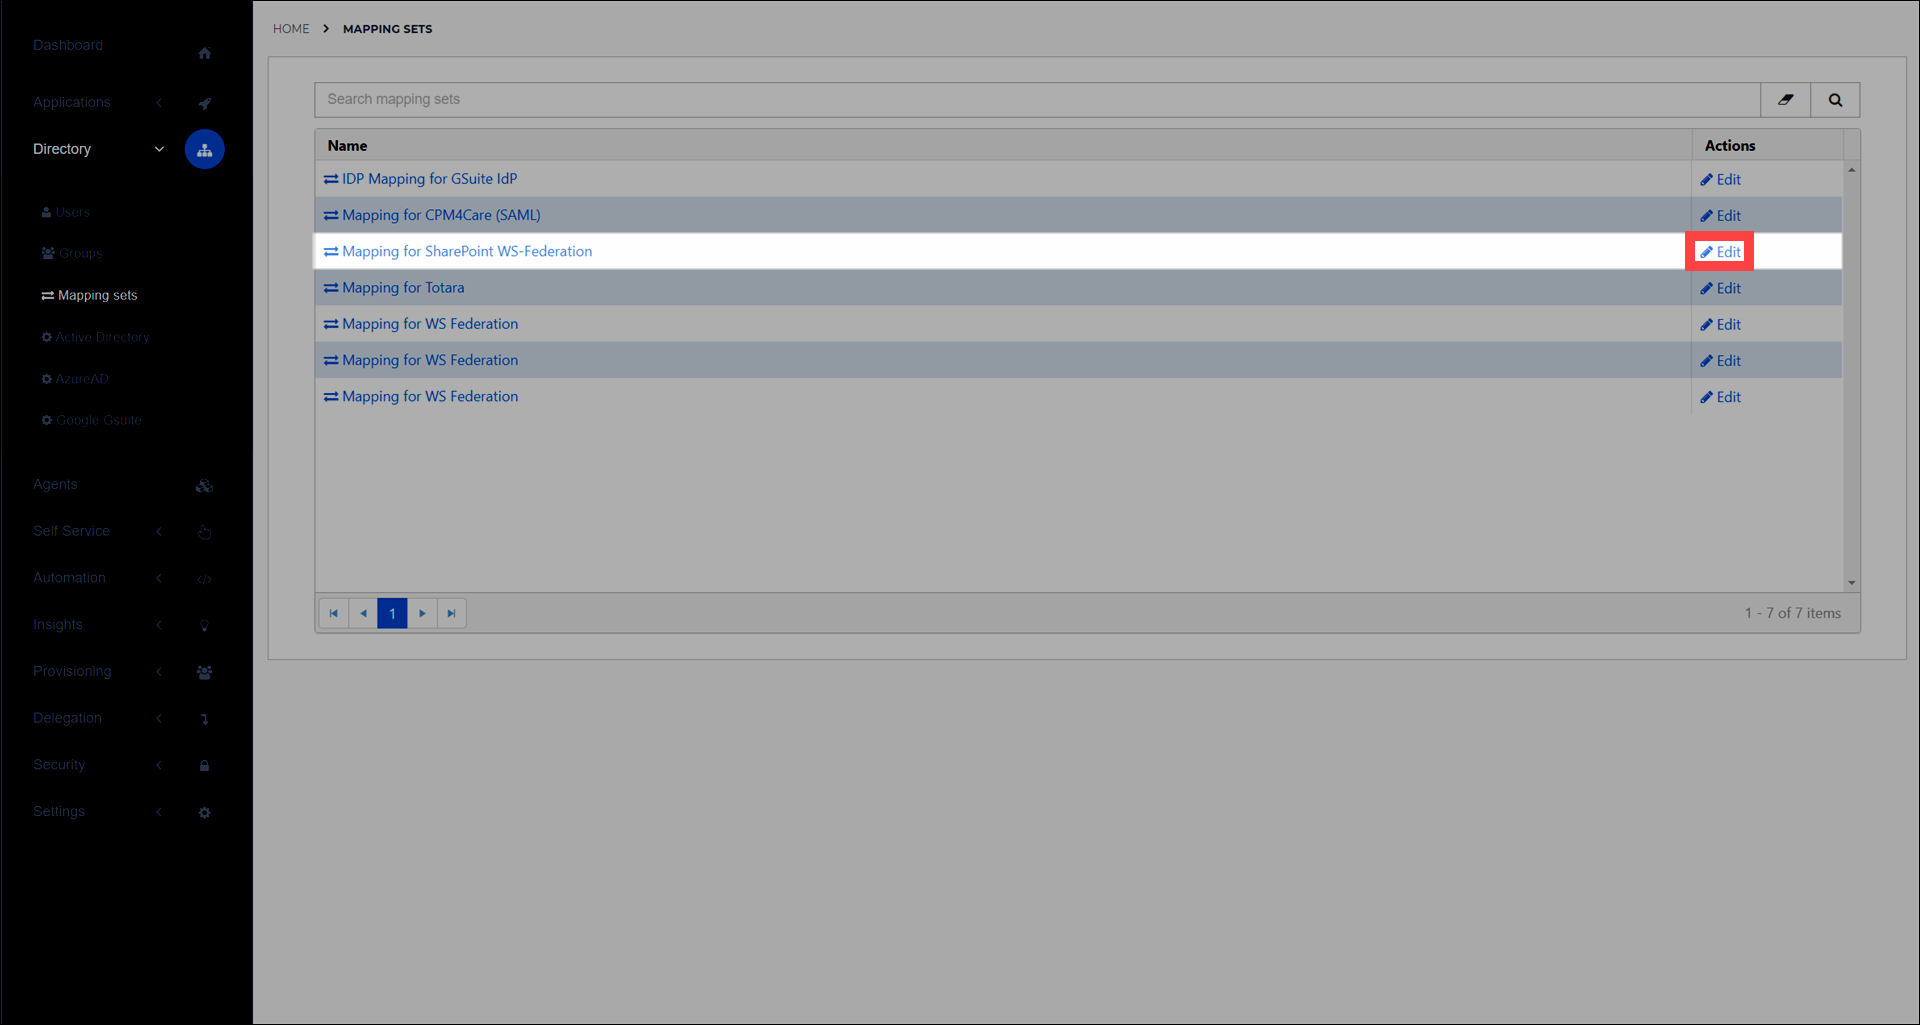
This will bring you to the configuration screen for the application's mapping set. Click on Set identifier.
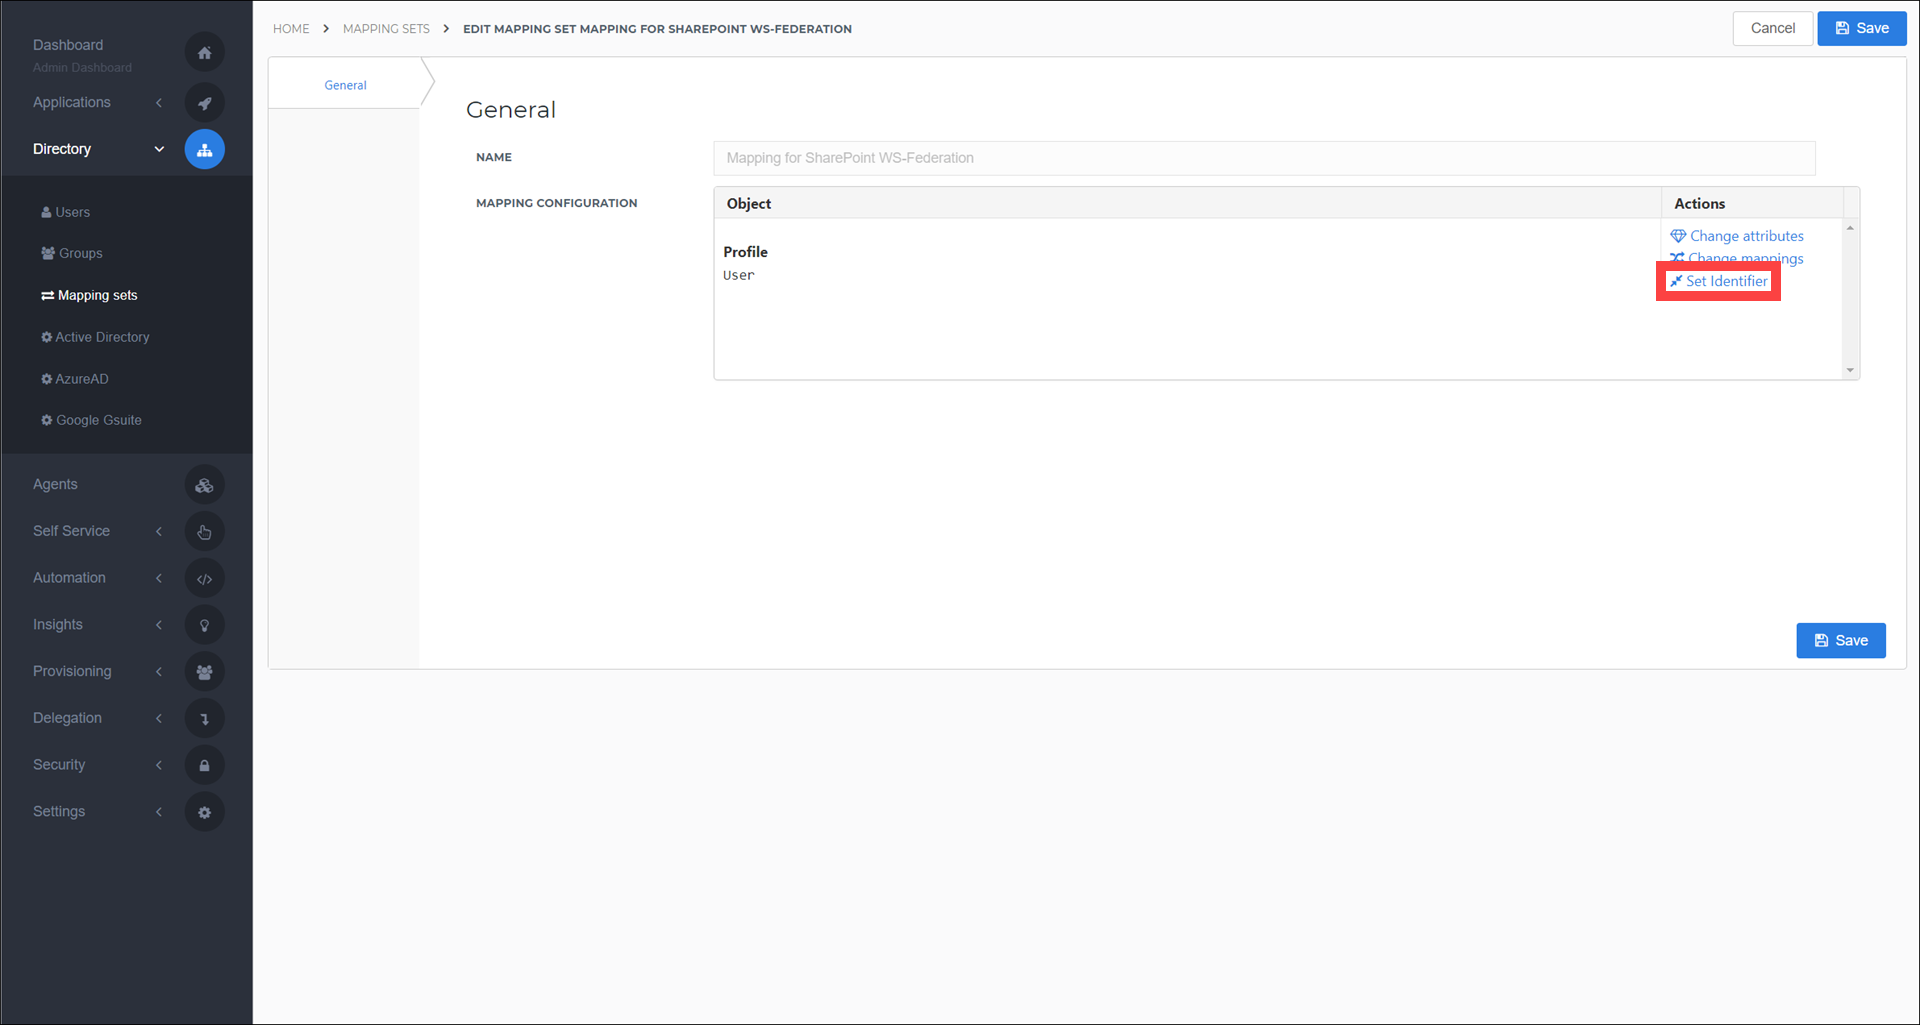
Ensure that the user's contact email (assuming that is their SharePoint username) will be sent as the Name ID, and then click Close. Click the Save button to commit your changes.

SharePoint Server Configuration
Certificate Import
Contact HelloID support to request your
$signinUrl.Log on to your SharePoint application server and open the SharePoint Admin PowerShell Console. Run the following script after you've replaced the variables in the configuration area with values that are relevant to you.
Note: To find the application GUID value, navigate to Applications > Applications, and edit your SharePoint application. Its GUID will be present in the URL, as shown below. Copy the GUID value and paste it in between the curly braces in the script.

# Begin Configuration
$certificatePath = "<File path to self-signed certificate>"
$stsRealm = "<Your SharePoint URL>"
$applicationGuid = "{<GUID of HelloID SharePoint Application>}"
$signinUrl = "<URL provided by Tools4ever>" # NO ending slash
# End Configuration

$stsName = "HelloID IDServ"
$stsDesc = "HelloID Claims Provider"
$signinUrlFull = $signinUrl + "/" + $applicationGuid

$cert = Get-PfxCertificate $certificatePath

New-SPTrustedRootAuthority -name $stsName -certificate $cert

$nameIdClaimMap = New-SPClaimTypeMapping -IncomingClaimType "http://schemas.xmlsoap.org/ws/2005/05/identity/claims/nameidentifier" -IncomingClaimTypeDisplayName "NameId" -LocalClaimType "https://identityserver/name"

$emailClaimMap = New-SPClaimTypeMapping -IncomingClaimType "http://schemas.xmlsoap.org/ws/2005/05/identity/claims/emailaddress" -IncomingClaimTypeDisplayName "Email" -SameAsIncoming

New-SPTrustedIdentityTokenIssuer -Name $stsName -Description $stsDesc -Realm $stsRealm -ImportTrustCertificate $cert -ClaimsMappings $nameIdClaimMap,$emailClaimMap -SignInUrl $signinUrlFull -IdentifierClaim $nameIdClaimMap.InputClaimType -UseWReply
Enable the Identity Provider
Open your SharePoint admin console and find the site for which you want to enable SSO. Once there, click on the Authentication Providers icon.
Next, select the zone that you wish to configure, and enable the trusted identity provider that was created by the script you ran previously. Optionally, you may disable other identity providers.

Click Save to confirm your changes and close the Authentication Providers screen. You may now test the authentication configuration by navigating to your SharePoint website.
If users have problems logging in, they may yet not exist in your SharePoint site. If that is the case, invite the user, assign relevant permissions, and have them try again