CPM4Care SAML application setup
Introduction
This article demonstrates how to set up HelloID and CPM4Care for single sign-on using the SAML protocol. The configuration takes place in HelloID and requires you to send information to CPM4Care.
If you have additional non-production environments, we suggest setting them up as Shortcuts.
Requirements
HelloID environment
CPM4Care environment
Create or import a certificate
If there is no certificate yet, a certificate must be imported or created. For this tutorial, we will use a self-signed certificate. Create one before proceeding and name it
CPM4CareSelfSigned.
Application setup
Add the CPM4Care application
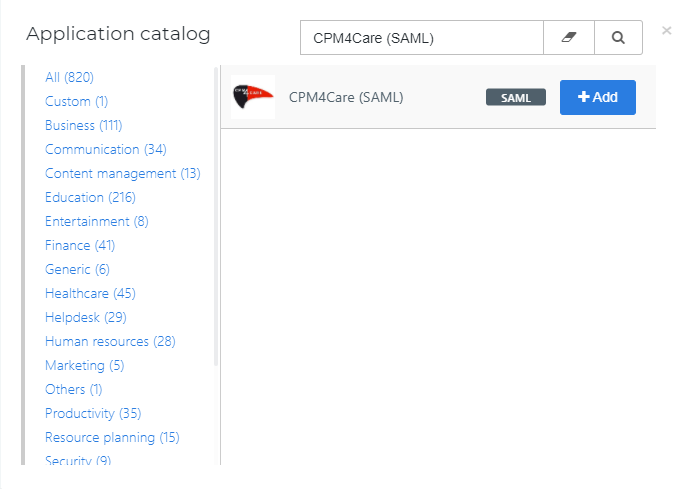
Go to Applications > Applications and select the Open application catalog button. Find the template for CPM4Care (SAML) and select its Add button. Learn more about managing applications here.
General tab
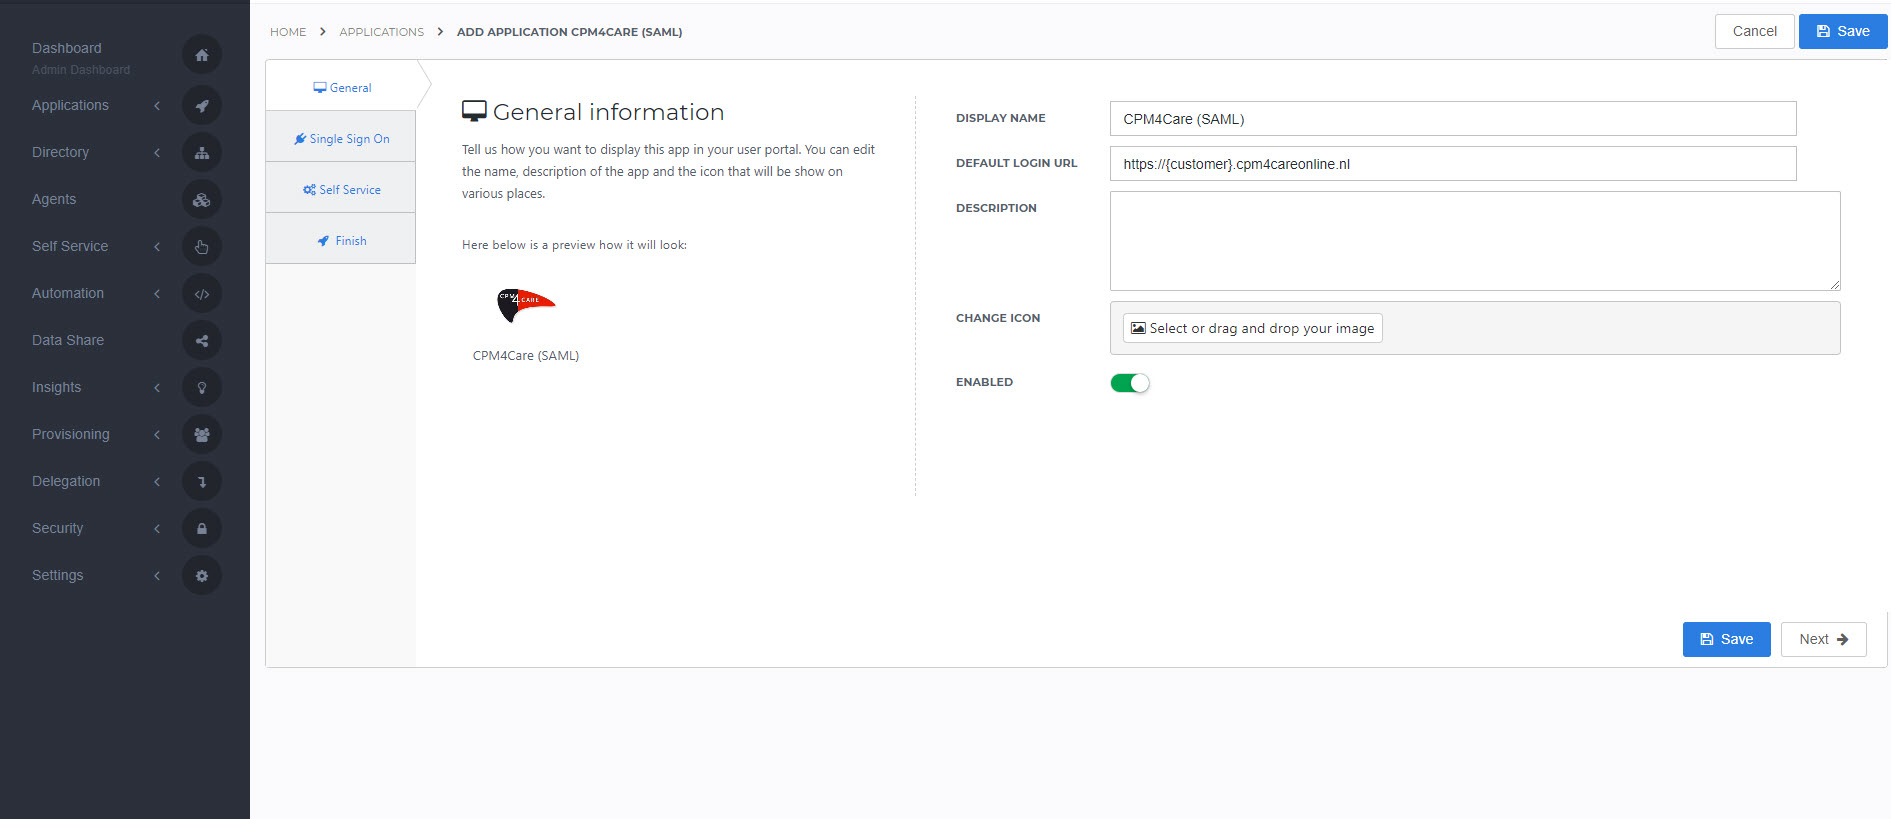
On the General tab, replace the Default Login URLwith your CPM4Care environment URL. This is in the format https://{customer}.cpm4careonline.nl.Optionally, add a description.
Single Sign-on tab
Select the Next button.
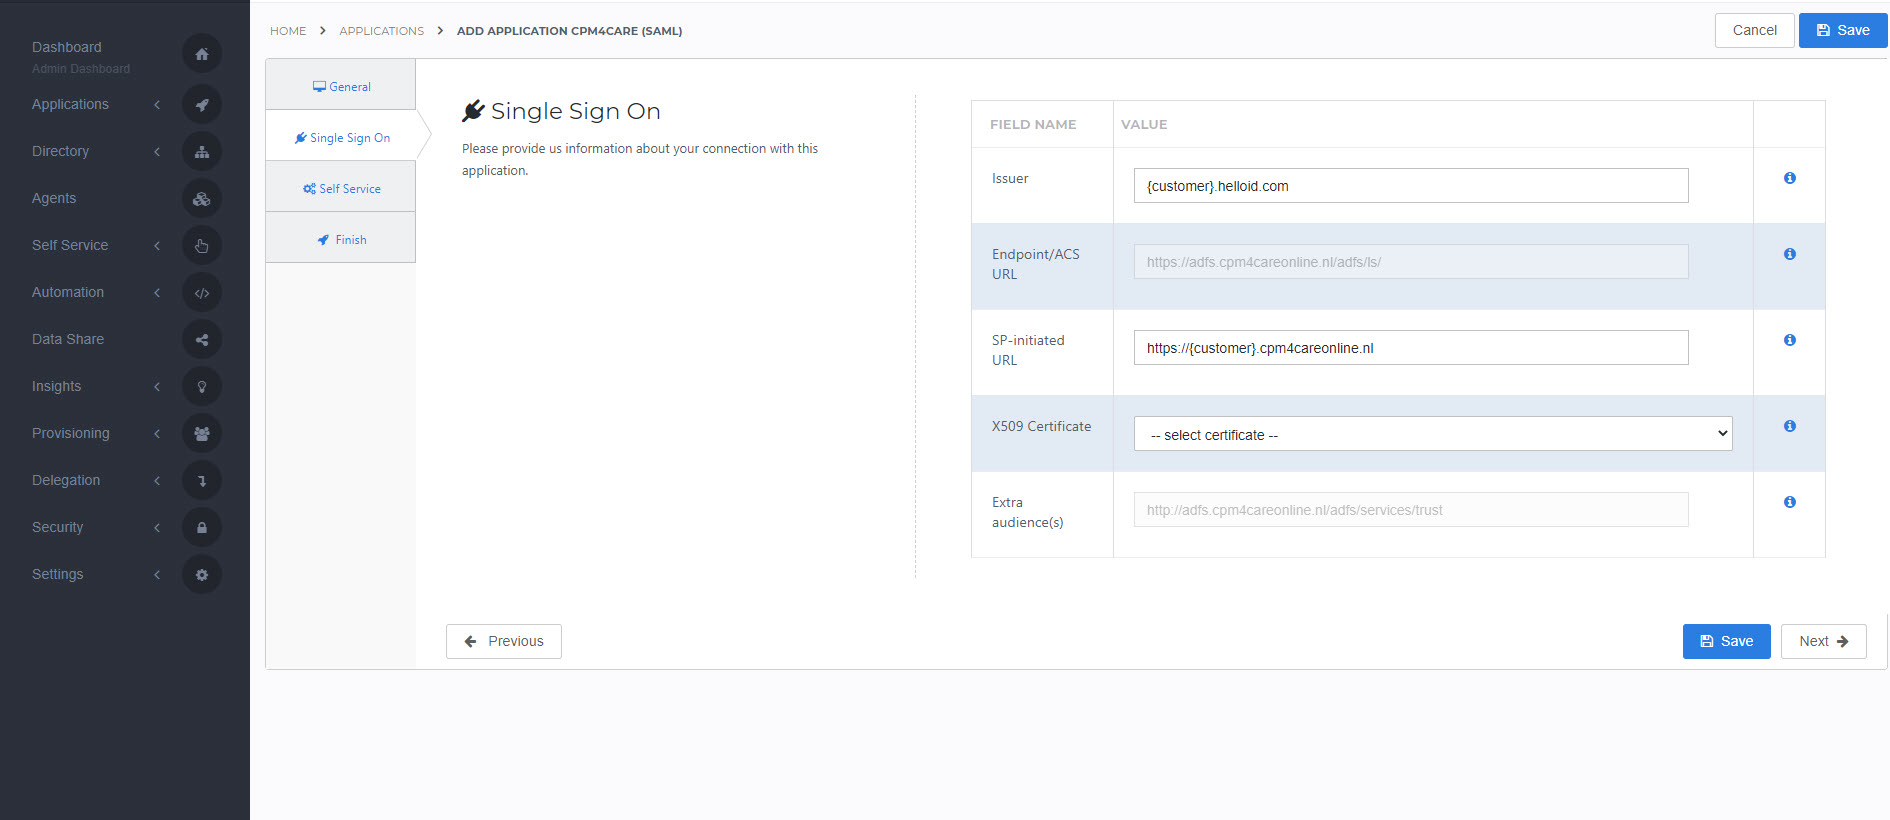
On the Single Sign-On tab, perform the following steps:
Issuer
Enter your HelloID domain in the format
{customer}.helloid.com.SP-initiated URL
Enter your CPM4Care environment URL in the format
https://{customer}.cpm4careonline.nl.X509 CertificateSelect the
CPM4CareSelfSignedcertificate that you previously imported or created.
Self service tab
Select the Next button.
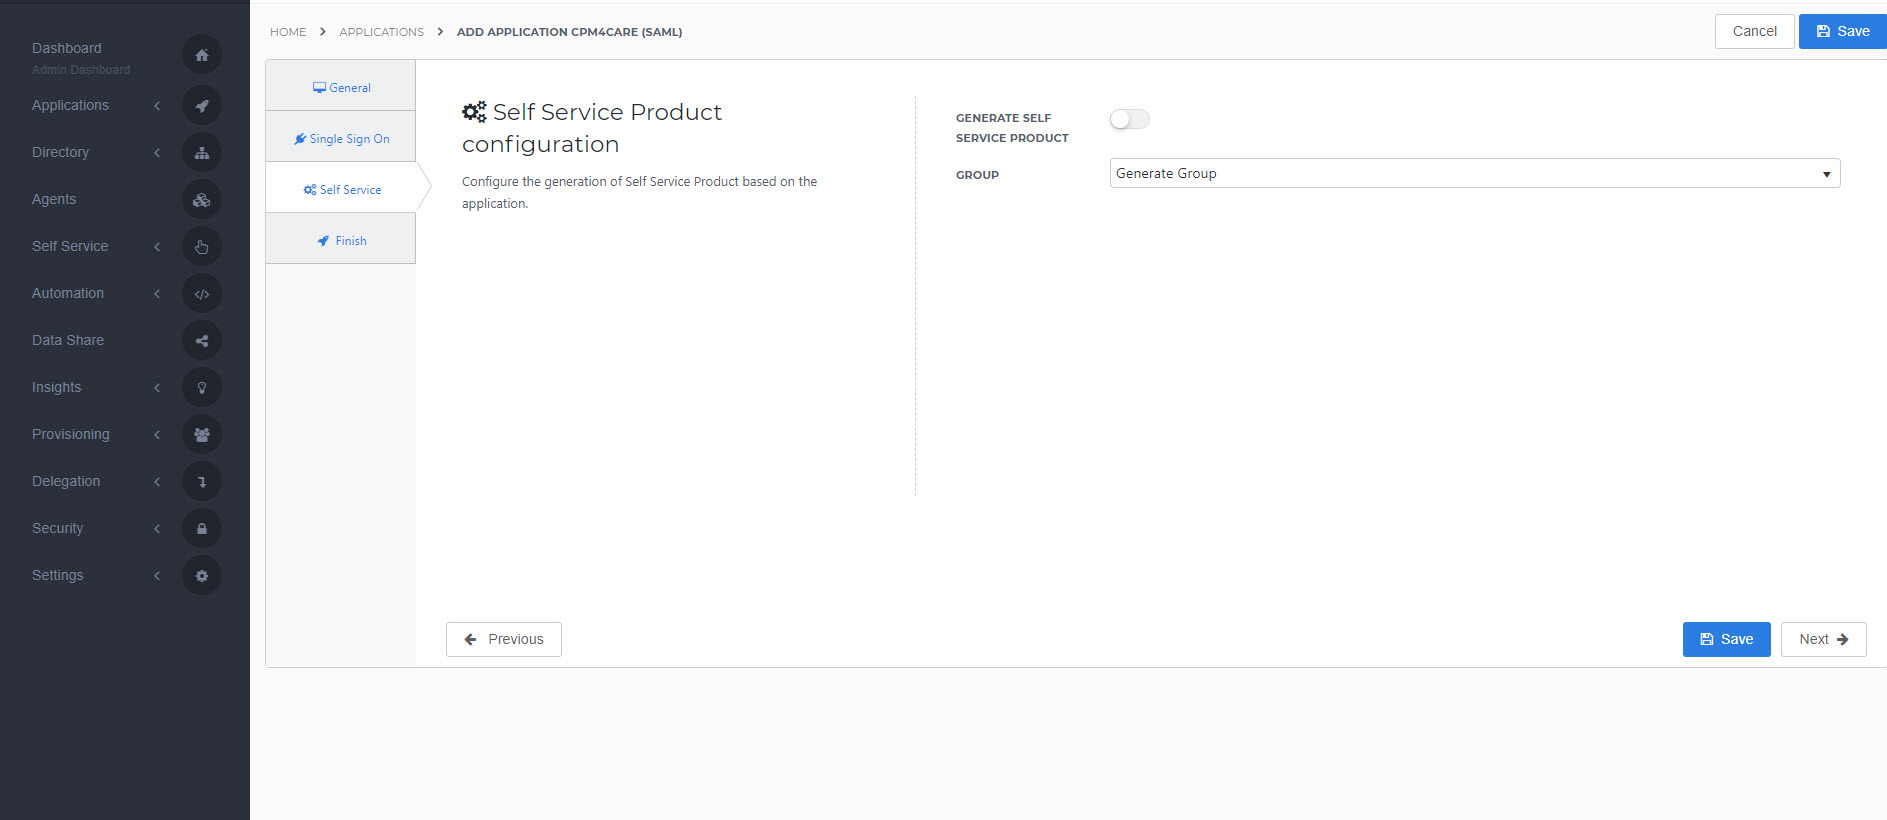
On the Self Service tab, choose whether to generate a Self Service product, which makes the application requestable. Optionally, choose a group to control access to the application.
Finish tab
Select the Next button.
On the Finish tab, select the Save button to add the CPM4Care application to HelloID.

Configure the mapping set
By default, the user's HelloID {{user.userGUID}} attribute is sent as the NameID, which is used as the unique identifier. To change mapping settings, see Mapping - Overview.
Supplier-side configuration
The HelloID side of the configuration is now finished, but CPM4Care needs to add the connection on their side.
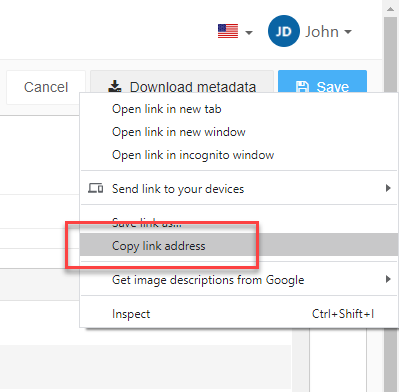
Note that they will need the Metadata URL. To retrieve this value, go to Applications > Applications. Locate your newly-added CPM4Care application and select its Edit link. Right-click the Download metadata button and select Copy link address. This will be in the format https://{customer}.helloid.com/metadata/download?ApplicationGUID={guid}
Send this value to CPM4Care and request that they complete the connection.
Finish up
The CPM4Care application has been added to HelloID, and a trust has been configured between CPM4Care and HelloID. You are now free to assign the application to users within your organization and begin testing it and using it. See Applications - Overview and its related articles for more information.