MobileKeys OIDC application setup
Introduction
This article demonstrates how to set up the MobileKeys application for single sign-on. The configuration takes place in HelloID and requires you to send information to MobileKeys.
Tip
For more information about managing applications, see Applications.
Requirements
MobileKeys environment
HelloID environment
Application setup
Step 1: Add a certificate
If there is no certificate yet, a certificate must be imported or created. This can be done in the HelloID Administrator Portal under Settings > Certificates. For this tutorial, we will use a self-signed certificate. Learn more about certificates here.
Go to Settings > Certificates.
Click Create Self-Signed Certificate.
Set the following fields:
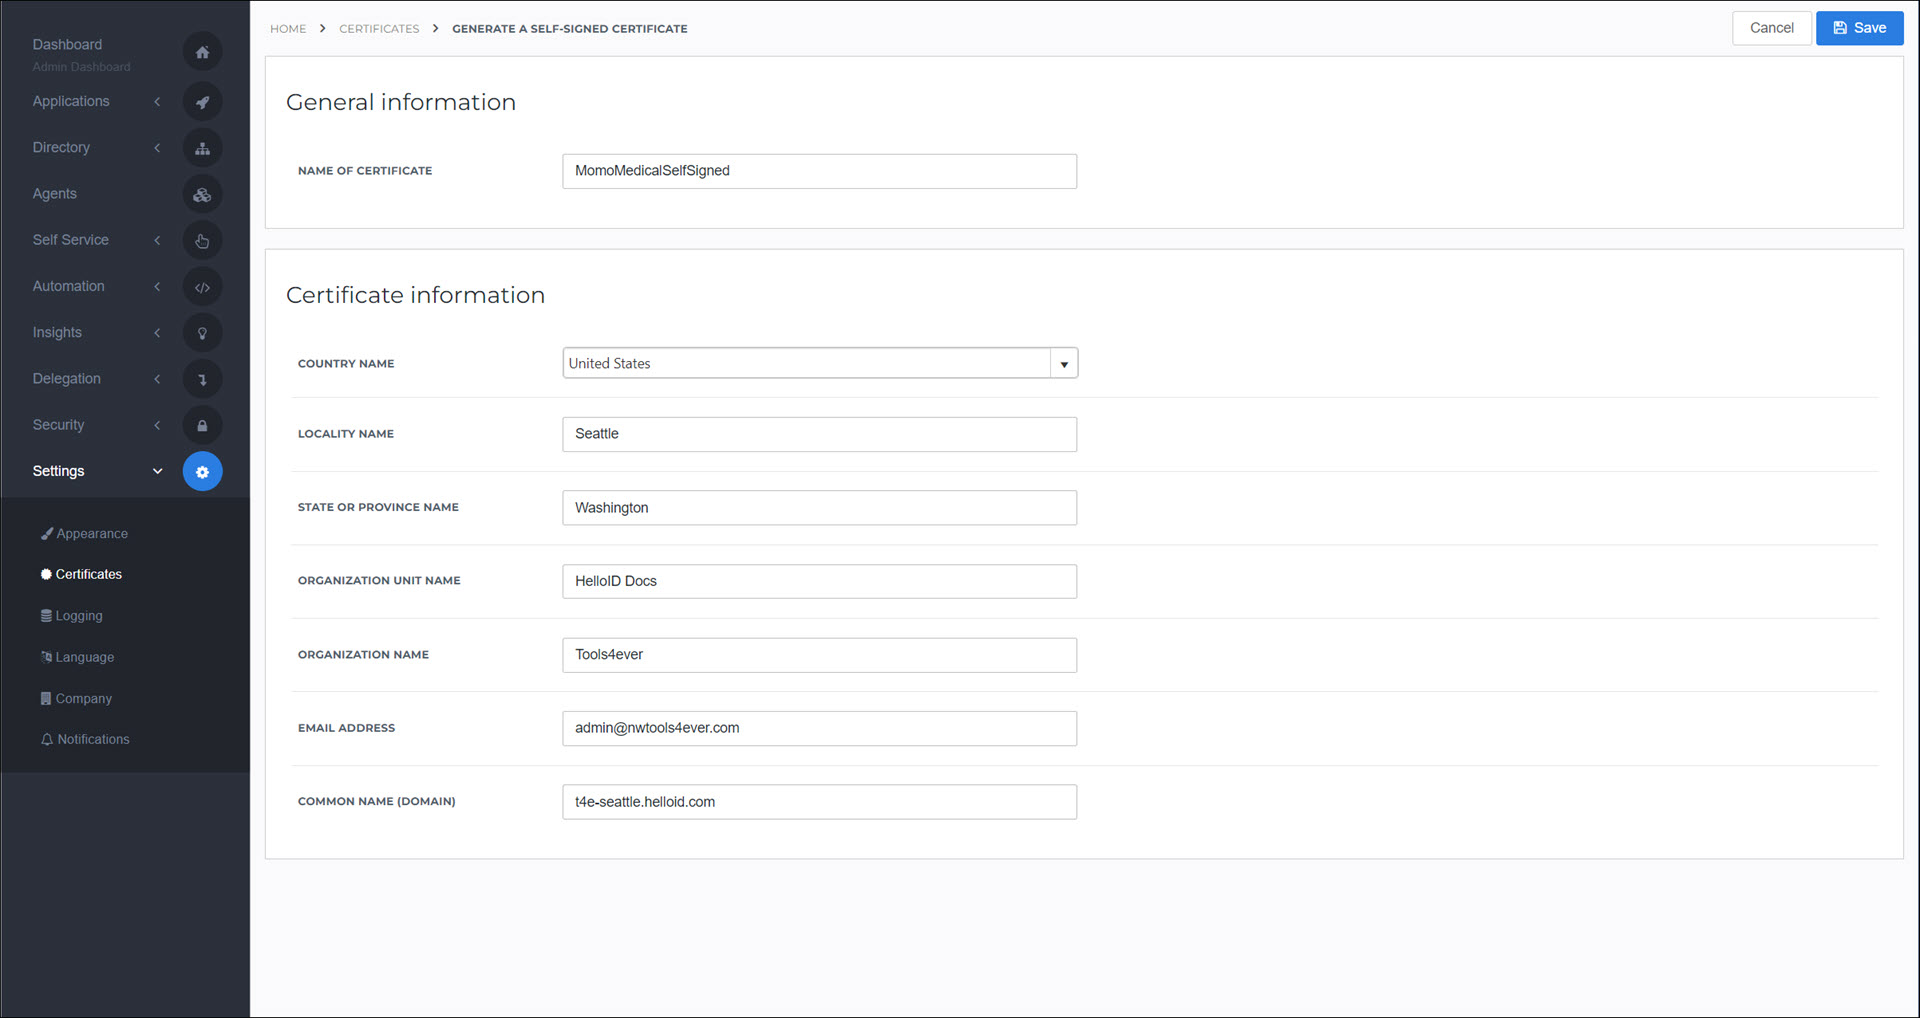
Name Of Certificate:
MobileKeys SelfSignedCommon Name (Domain):
<yourcustomerid>.helloid.comAll other fields: set according to your organization's requirements.
Click Save.
Step 2: Add the application
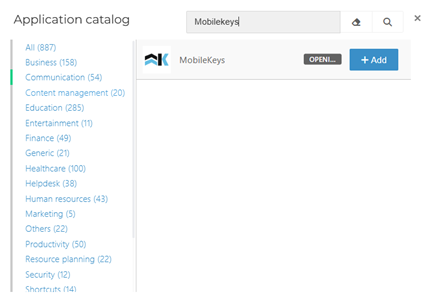
Go to Applications > Applications.
Click Open Application Catalog.
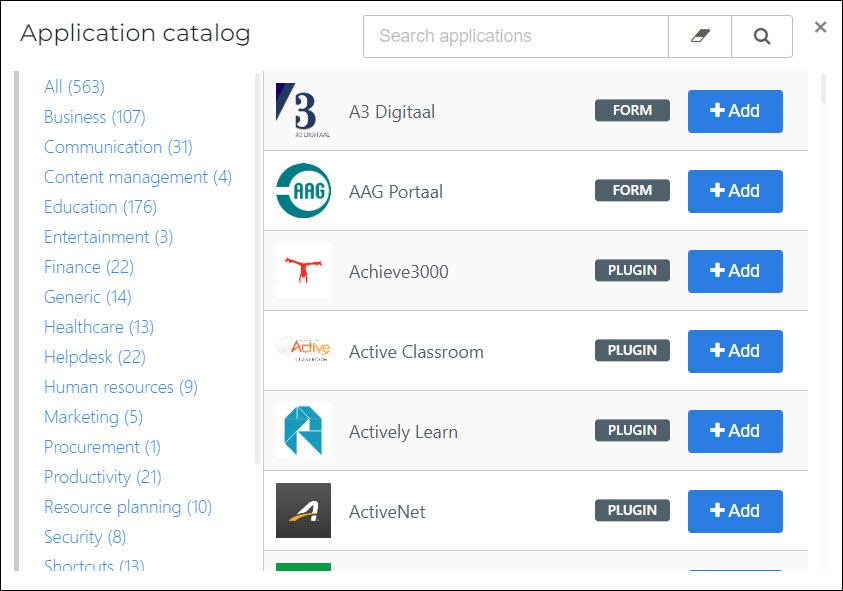
Search for the MobileKeys app template, and click Add.
Step 3: Setup
Tip
For details on all available fields, see the Application settings reference.
No changes on the General tab are required yet. After supplying the HelloID information to MobileKeys you will receive the correct default login URL from them.
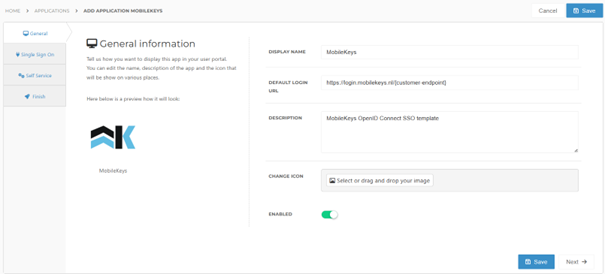
Click Next.
On the Single Sign On tab, set the following fields:
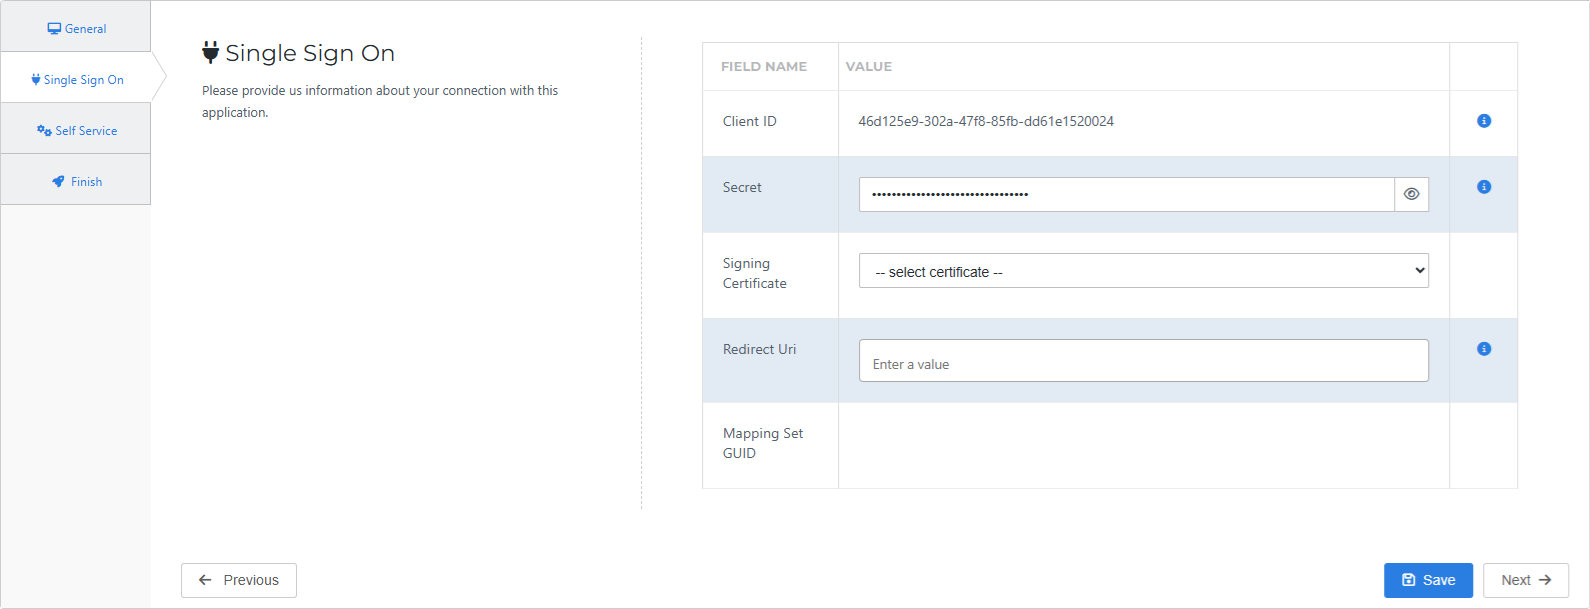
- Secret
Accept the default value, or optionally, enter a custom secret. If you use a custom value, we suggest a string of at least 52 characters with uppercase characters, lowercase characters, and numbers. The secret cannot contain special characters.
- Signing Certificate
Select the certificate that you imported or created previously.
- Redirect Uri
Enter the Redirect Uri provided by MobileKeys.
Click Next.
Optional: On the Self Service tab, choose whether to generate a Self Service product, which makes the application requestable. If you do, select the group that will have access to the product.
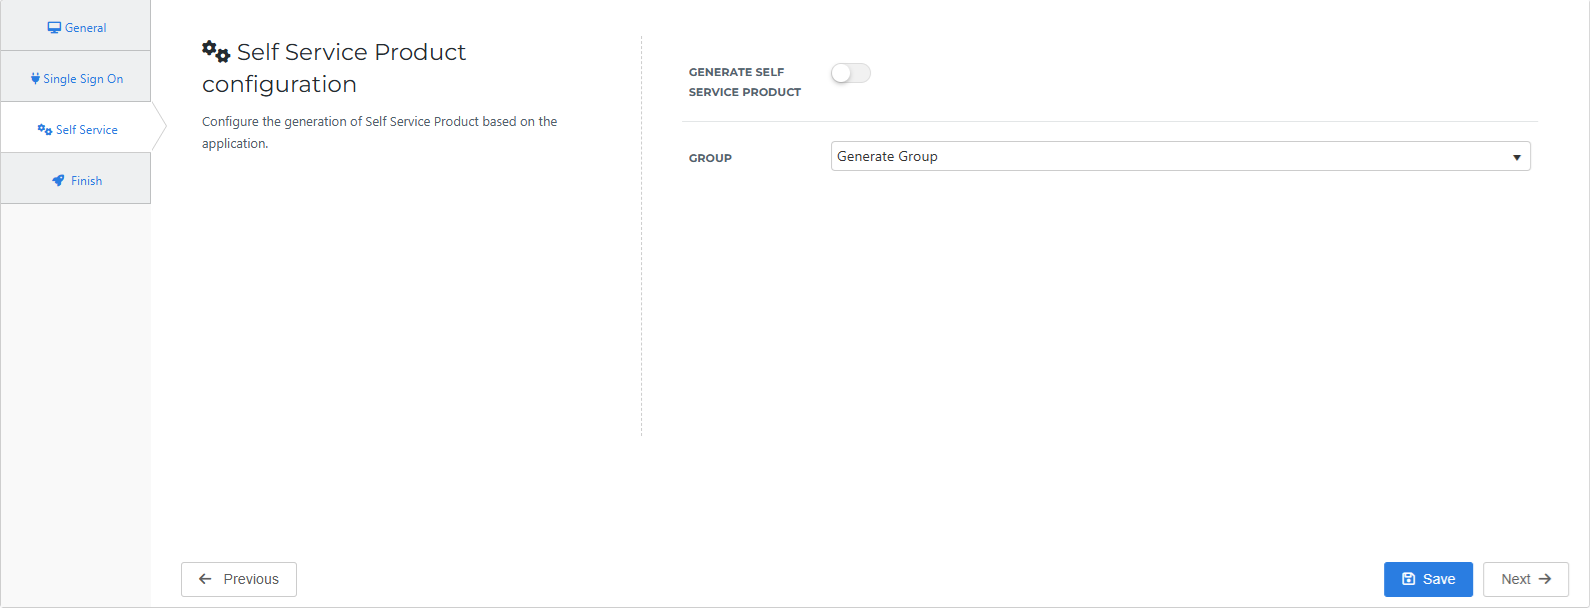
Click Next.
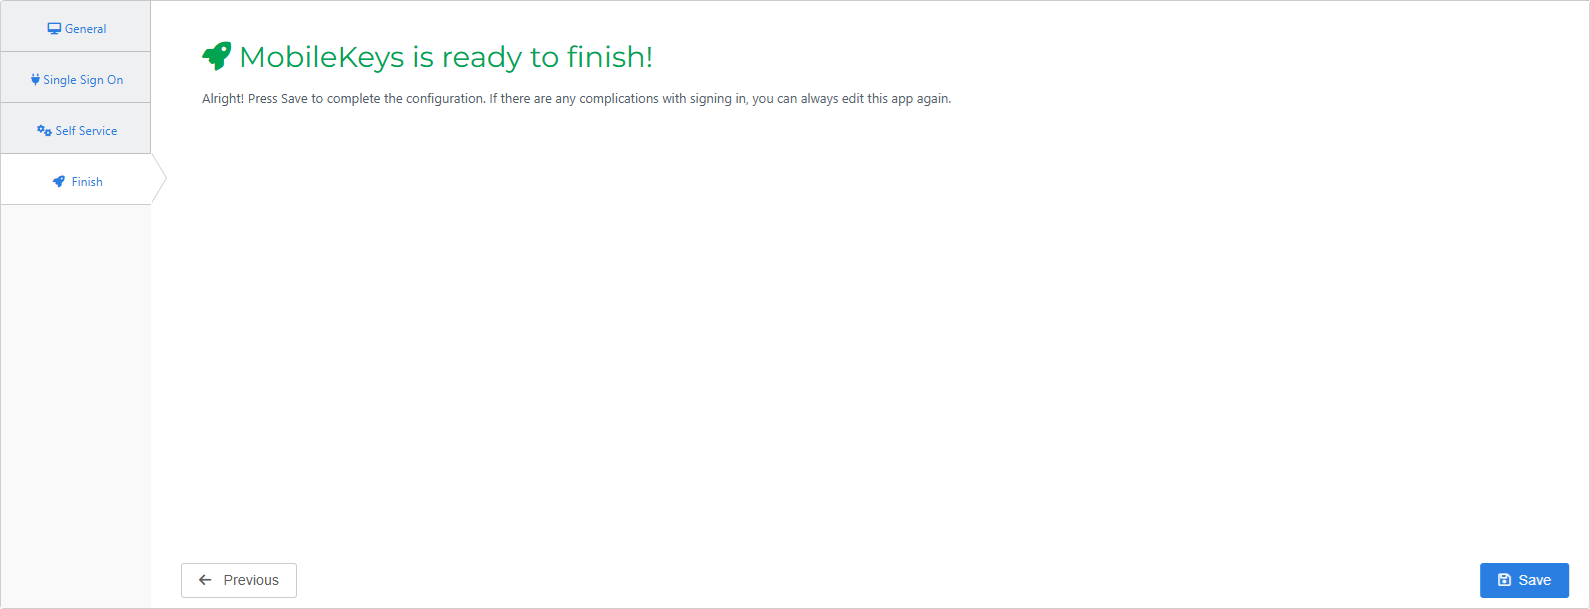
On the Finish tab, click Save to add the application to HelloID.
Step 4: Mappings
This application has been verified to work with the default mappings.
To check the mappings:
In the applications overview, click Edit for the MobileKeys application. This will open its properties page.
Go to Configuration > Configure Mapping Set.
Click Change Mappings for the Profile: User object. The default mappings are displayed in the table below.
User | HelloID Claim Set |
|---|---|
{{user.userguid}} | Subject |
{{user.firstname}} {{user.lastname}} | Name |
{{user.contactemail}} |
Supplier-side configuration
The HelloID side of the configuration is now finished. To connect, MobileKeys needs to add the connection on their side. Contact them to request this. Send them the following information:
Discovery document URL
Client ID & Client Secret
Discovery document URL
Edit the MobileKeys application.
Right-click the View discovery document button
Select Copy link. The link will look like this:
https://enyoi.helloid.com/oauth2/v2/e6e741f5-a469-4849-93f7-fe2e259a339f/.well-known/openid-configuration/.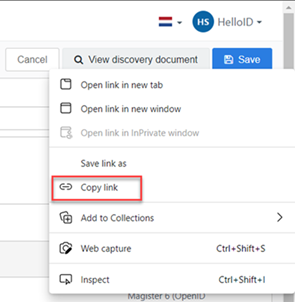
Client ID & Secret
Edit the MobileKeys application.
Go to the Configuration tab.
Copy the Client ID.
Select the "eye" button to reveal the Secret, and copy the value.
Final steps
Enter the URL
After MobileKeys configured their side of the Single-Sign-On you will receive the application URL. The URL will look like this: https://login.mobilekeys.nl/{customer-endpoint}. Add this URL to the application configuration:
Edit the MobileKeys application in HelloID.
Enter the given URL on the General tab.
Test the application
The Single-Sign On configuration is now complete and can be tested. Using a HelloID account that has access to the application, go to Applications for users on the user dashboard, and launch the application to test it.
Grant access
The application has been added to HelloID, and a trust has been configured. You may now want to do the following:
To grant additional group(s) access to this application, Grant a group access to an application.
If you generated a product that grants access to this application, Link a product to a group to make the product requestable for additional users.