Roxit SAML application setup
Introduction
This article demonstrates how to set up single sign-on for Roxit. The configuration takes place in HelloID and requires you to send information to Roxit.
Requirements
HelloID environment
Roxit environment
Create or import a certificate
If there is no certificate yet, you must create or import one. For this tutorial, we will create a self-signed certificate. Name it RoxitSelfSigned.
Application setup
Add the Roxit application
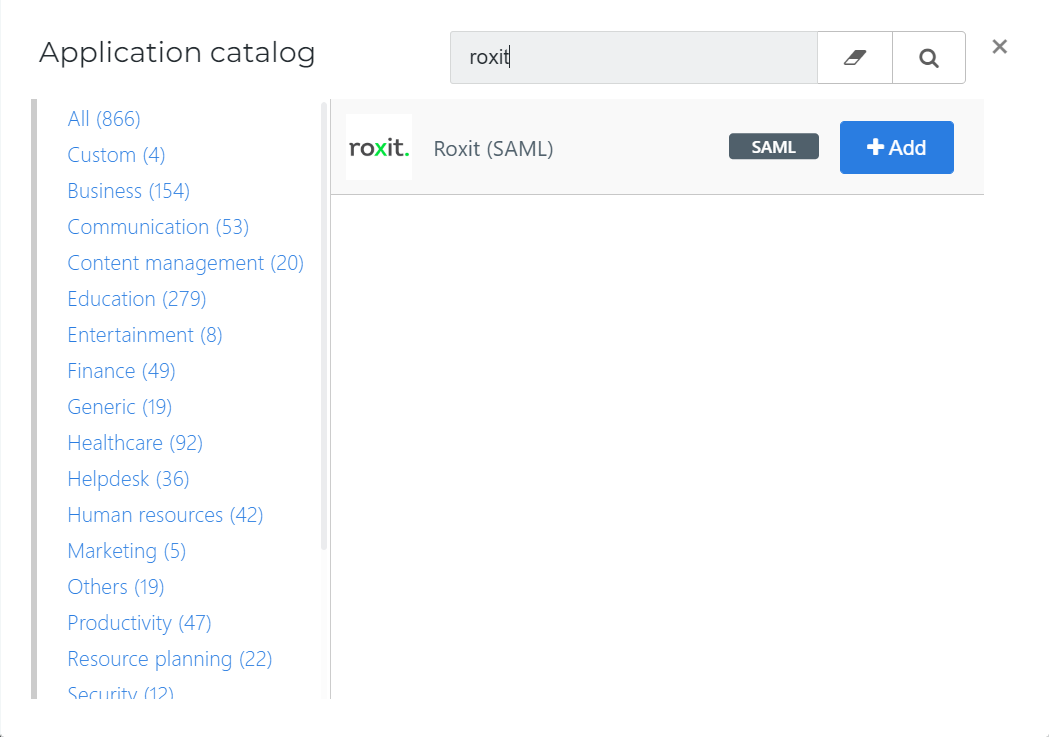
Add a new application.
Find the template for Roxit (SAML).
Select its Add button.
General tab
Change the following settings:
Default Login URLRoxit PreProduction ADFS URL:
https://fs-acc.roxit.nlRoxit Production ADFS URL:
https://fs.roxit.nl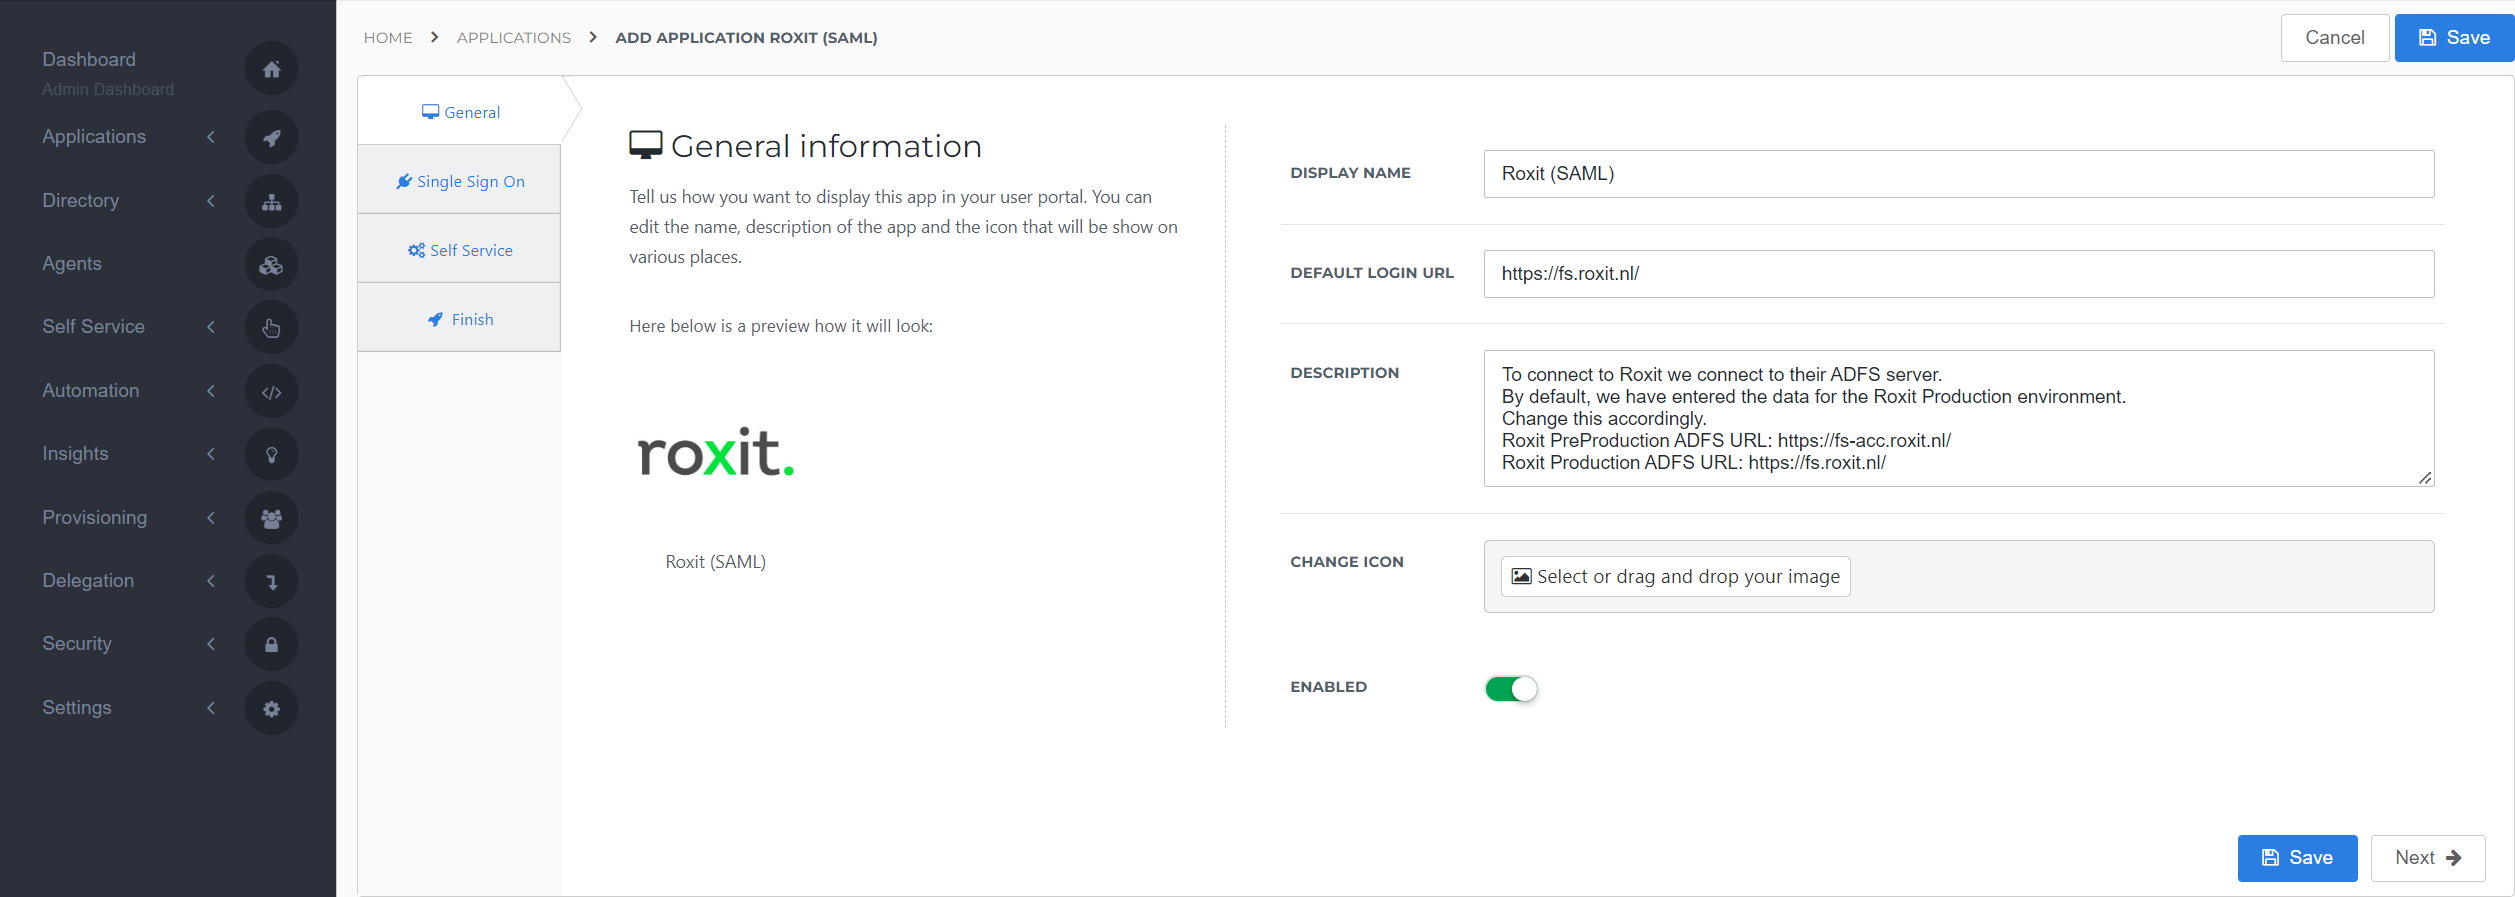
Select the Next button.
Single Sign-On tab
Change the following settings:
SP-initiated URL
Roxit PreProduction ADFS authentication URL:
https://fs-acc.roxit.nl/adfs/lsRoxit Production ADFS authentication URL:
https://fs.roxit.nl/adfs/lsX509 CertificateSelect the certificate that you previously imported or created.
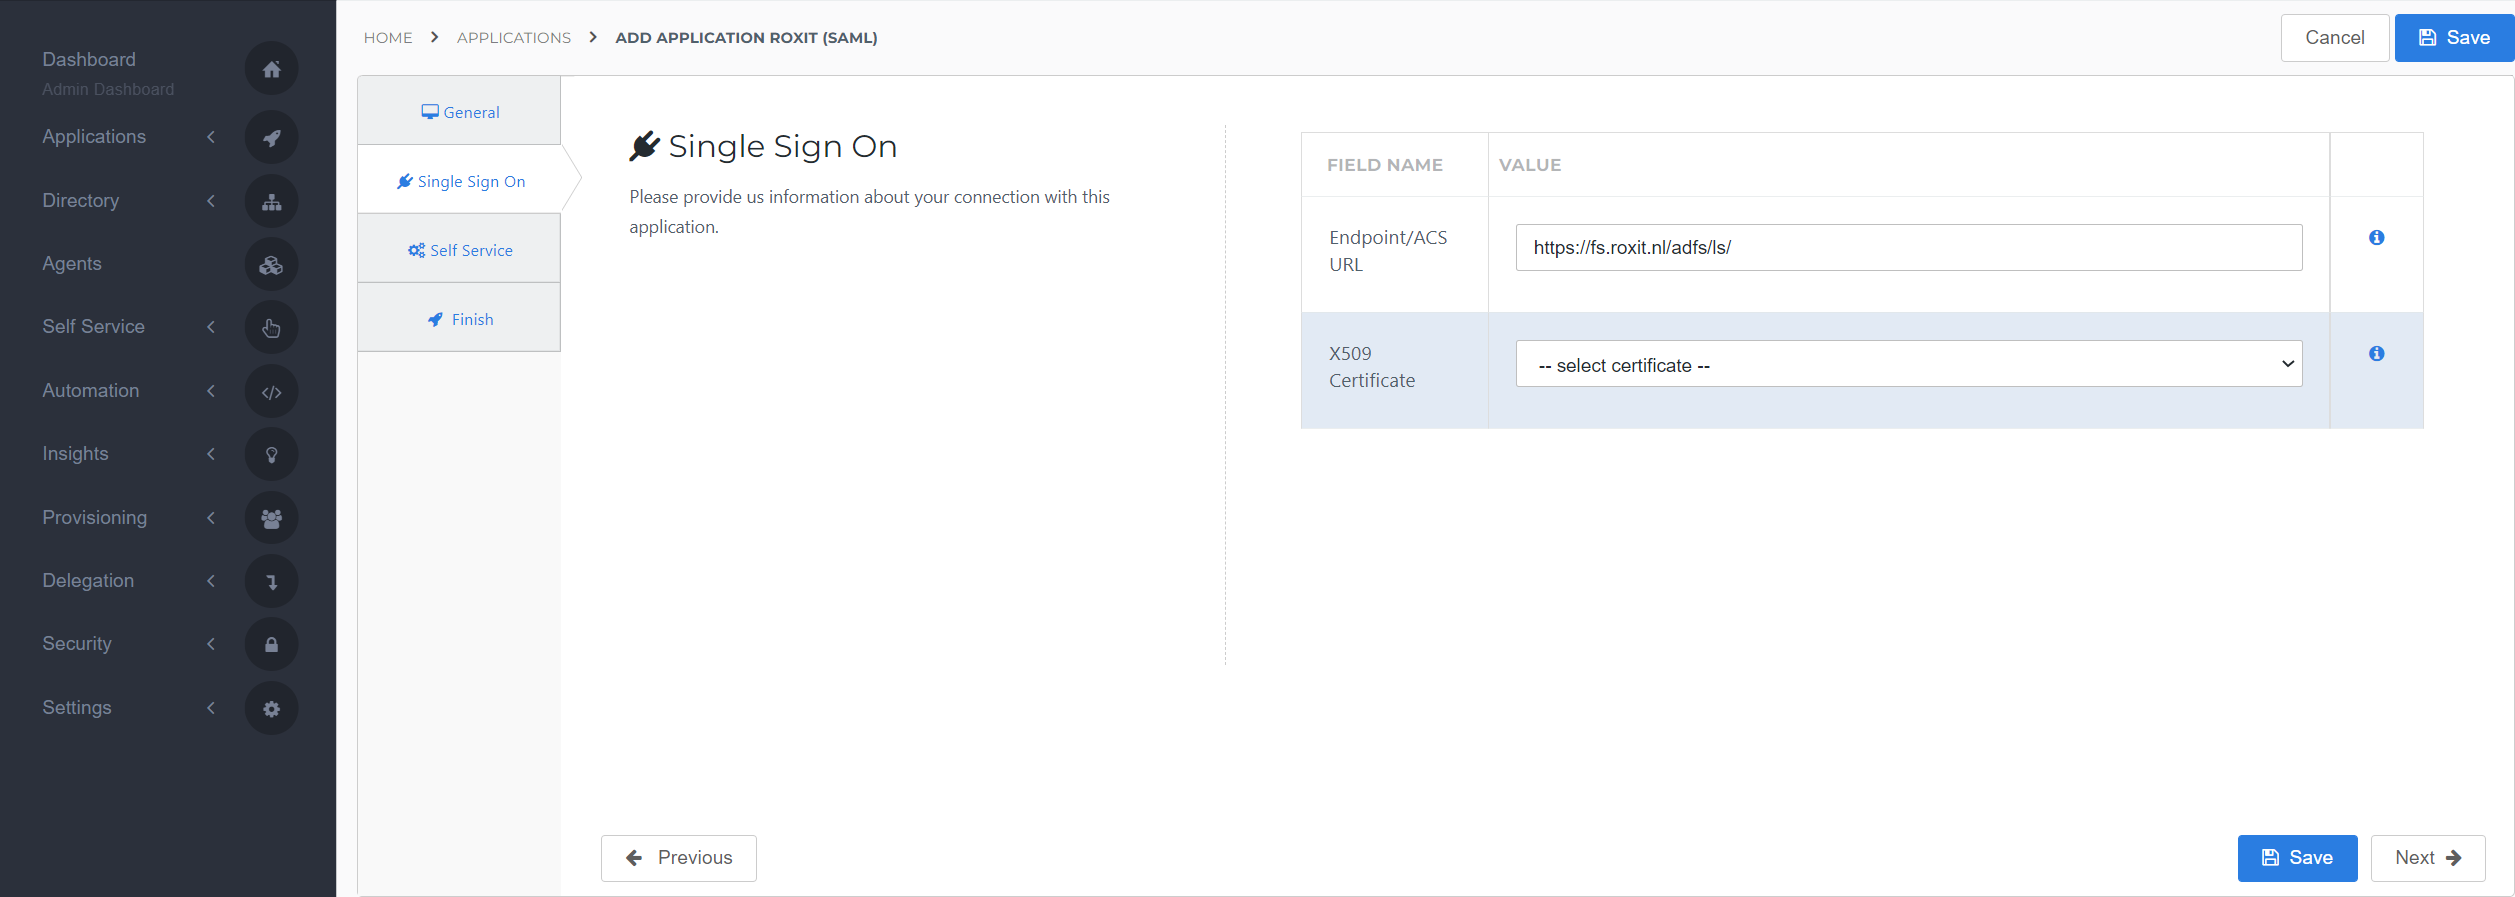
Select the Next button.
Self Service tab
Optionally, generate a Self Service product, which makes the application requestable. Select a group which will have access to the product.
Select the Next button.
Finish tab
On the Finish tab, click Save to add the application to HelloID.
Additional configuration
Mapping
By default, the user's HelloID {{user.username}} attribute is sent as the SAML attribute claim http://schemas.xmlsoap.org/ws/2005/05/identity/claims/emailaddress. This configuration requires the emailaddress in Roxit to match the username in HelloID (by default, this is the userPrincipalName when syncing AD users to HelloID).
If you want to use a different attribute, see Mapping - Overview.
Supplier-side configuration
The HelloID side of the configuration is now finished. To connect, Roxit must add the connection on their side. Contact Roxit to request this. Send them the following information:
Metadata URL
Metadata URL
Go to the Applications overview.
Select the Edit link for the newly-added Roxit application.
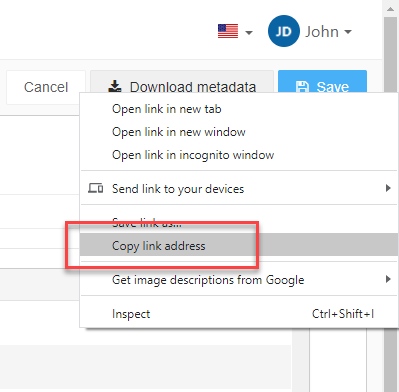
Right-click the Download metadata button
Select Copy link address. It will resemble:
https://enyoi.helloid.com/metadata/download?ApplicationGUID=e6e741f5-a469-4849-93f7-fe2e259a339f.
Finish up
After Roxit adds the connection, the application is ready for use. Go to the HelloID User Dashboard and launch the application. You should be authenticated into the Roxit application without being prompted for credentials.
You are now free to test the application and assign it to users within your organization. Be sure to assign the application shortcut you created, rather than the original application. See Applications - Overview and its related articles for more information.