Add, edit, or remove an application access rule
Add an application access rule
Go to Security > Policies > Application Access Rules.
Click Add Access Rule.
Apply your desired settings on the relevant tabs, which are described below.
Click Save.
The access rule has been added, and if enabled, will be applied according to its priority.
Perform Action
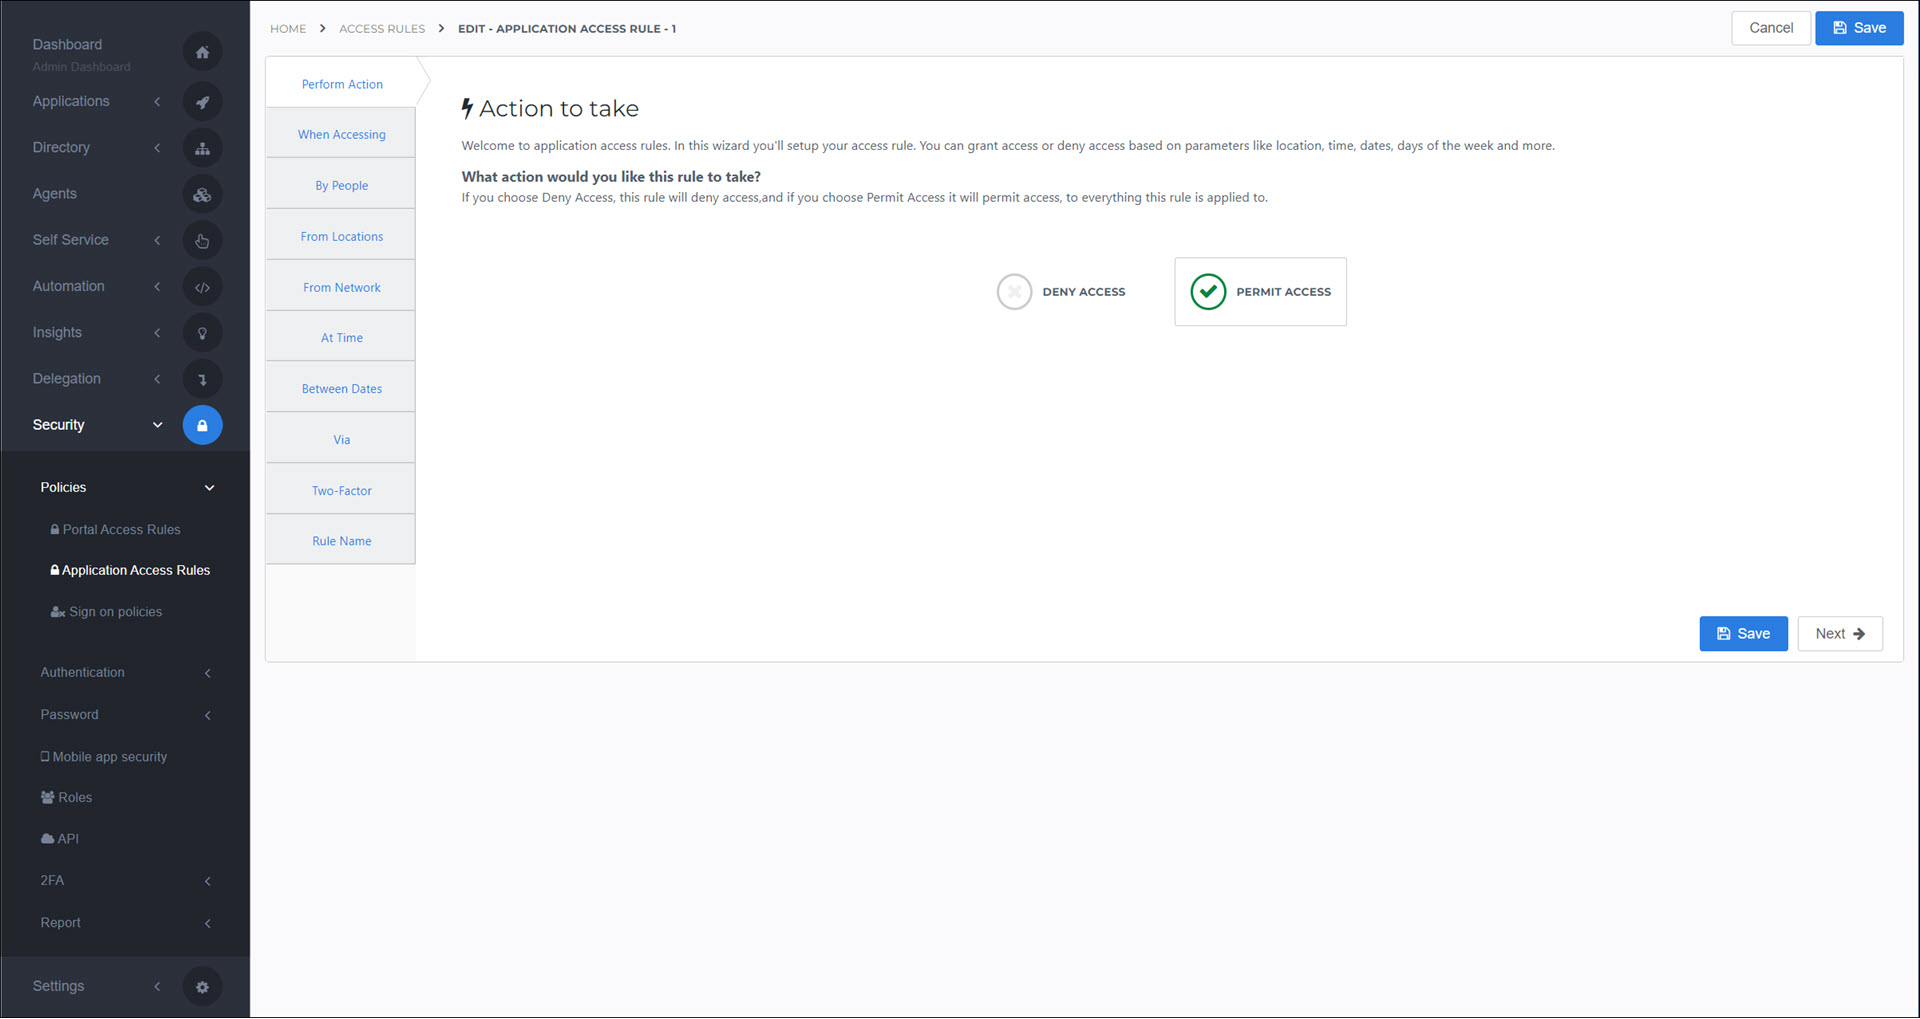
This option changes the behavior of the entire access rule—it specifies whether the subsequent conditions should be interpreted as permit or deny conditions.
- Permit Access
Uses will be granted access only if they meet all of this rule's conditions.
- Deny Access
User will be denied access if they fail to meet any of this rule's conditions.
When Accessing
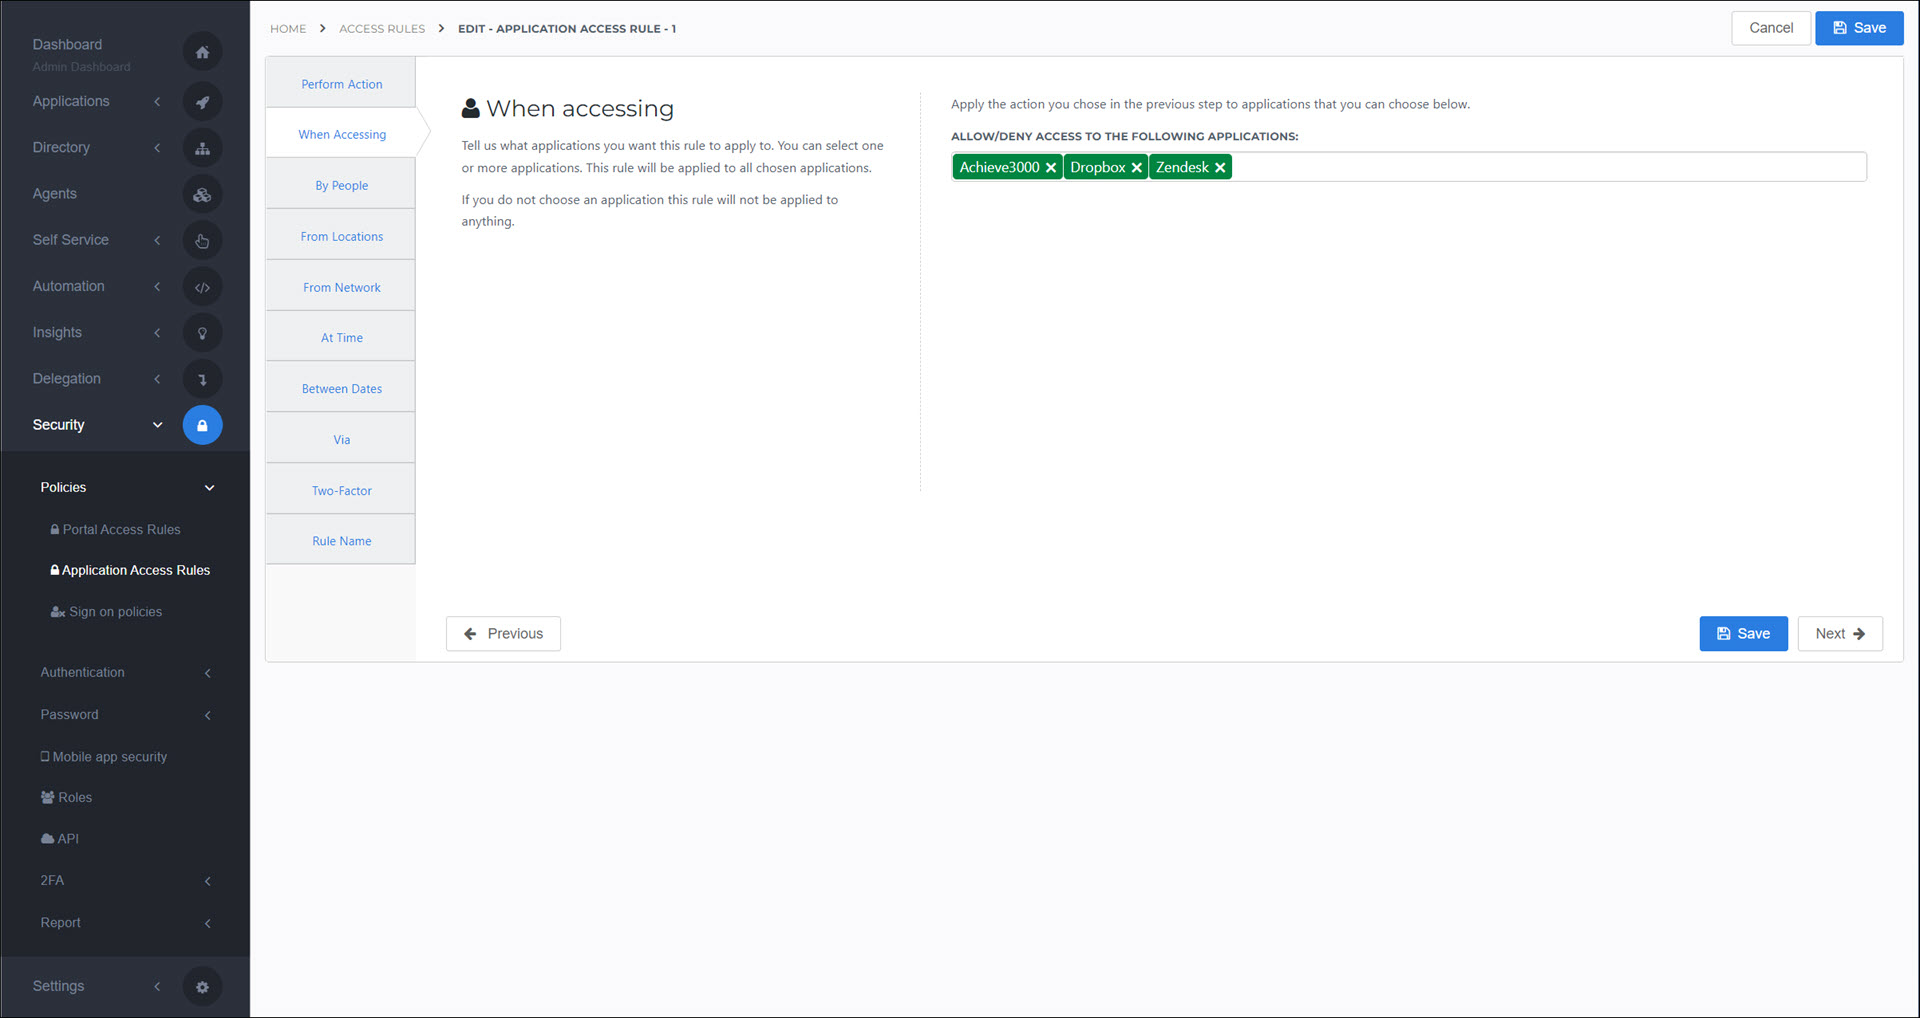
Apply this rule to one or more Identity providers (IdPs).
By People
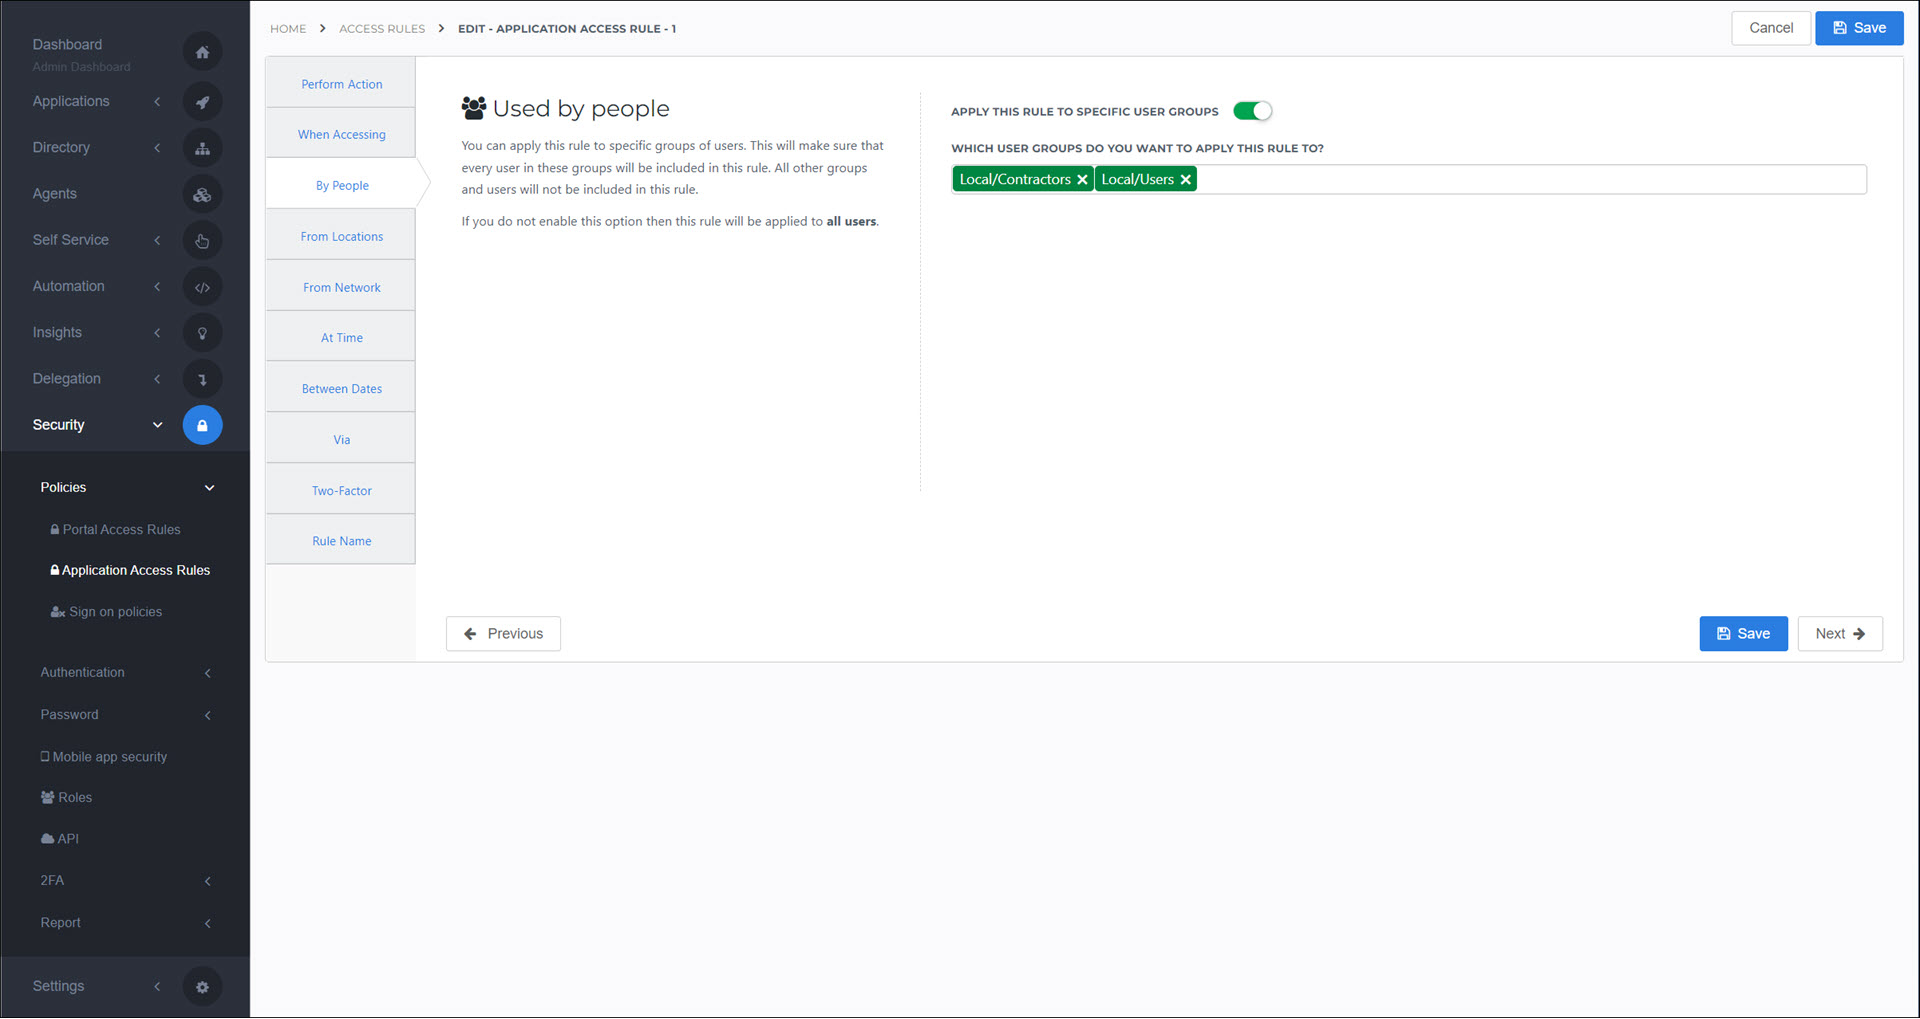
Apply this rule to one or more Groups.
From Locations
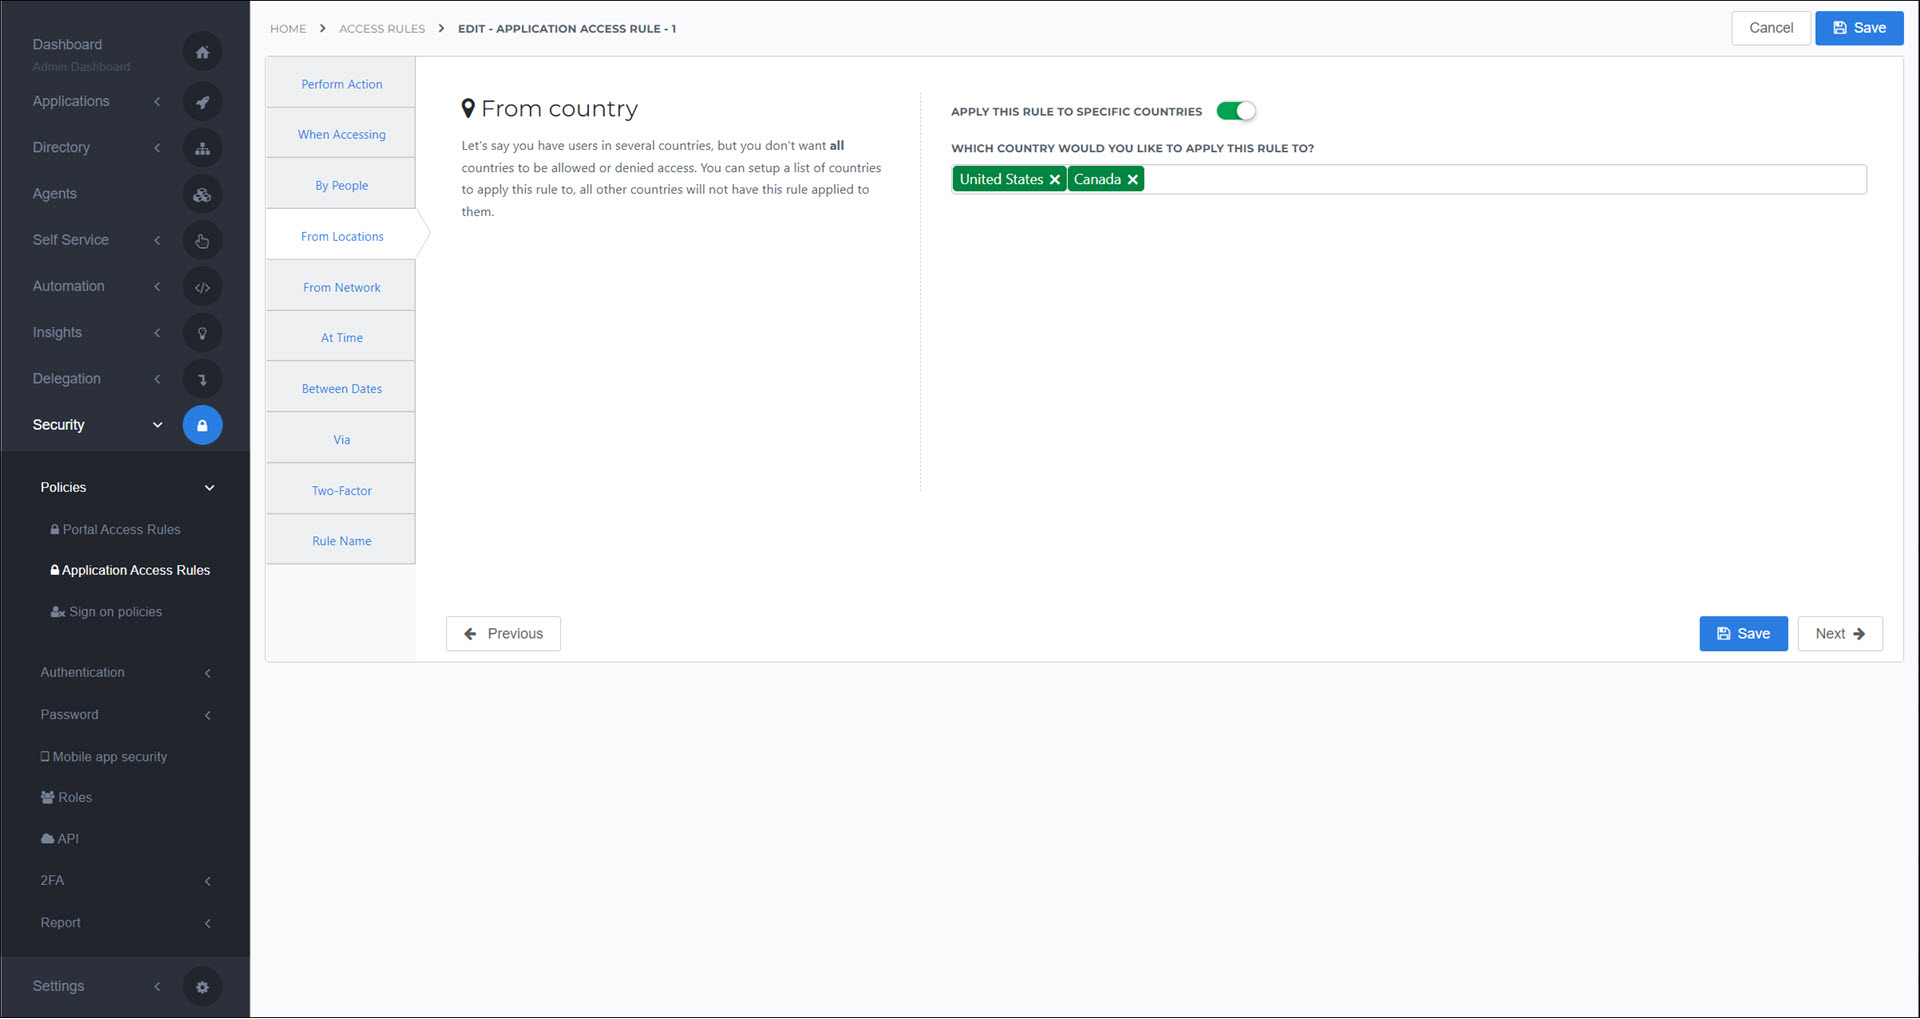
Apply this rule to one or more countries.
From Network
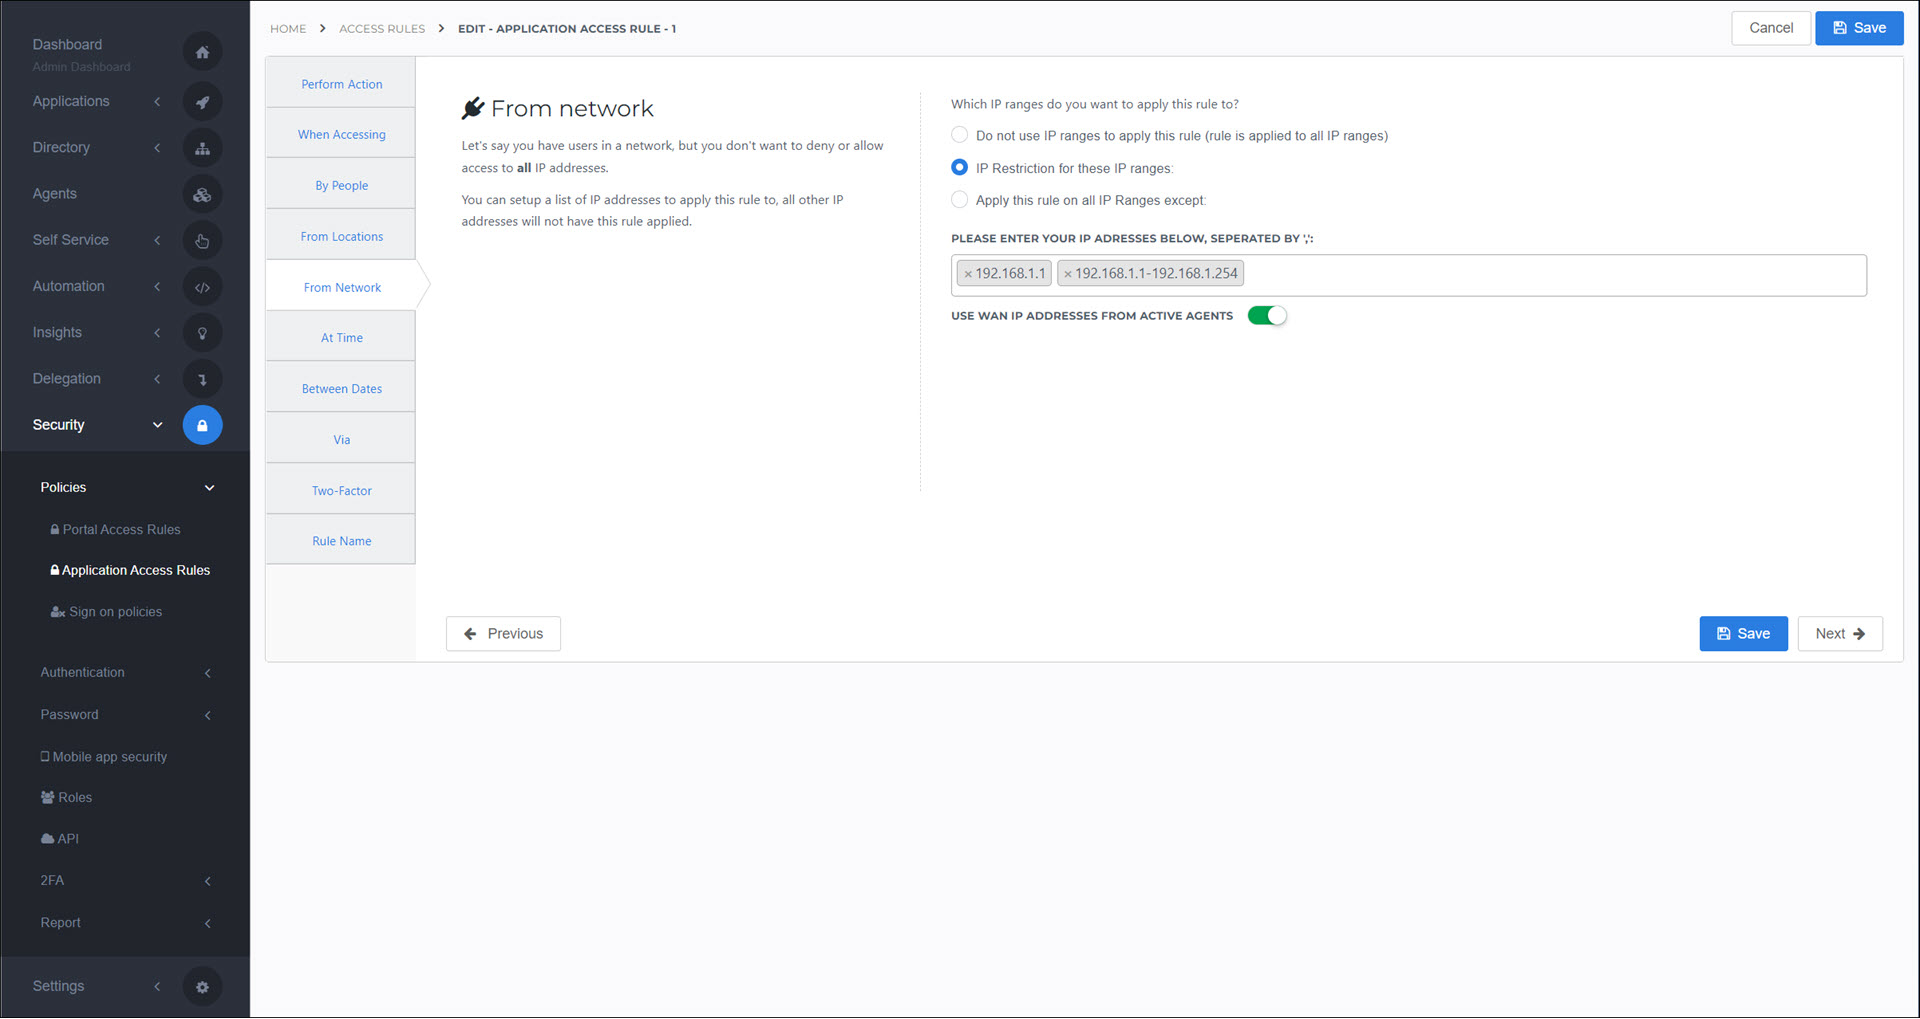
Apply this rule only to certain IP addresses or IP ranges.
In the text field, enter the IP addresses (e.g., 192.168.1.1) or IP address ranges (e.g., 192.168.1.1-192.168.1.254) to which this rule will apply, separated by semicolons.
- Do Not Use IP Ranges To Apply This Rule
This rule will apply to all IP addresses (i.e., IP filtering is disabled).
- IP Restriction For These IP Ranges
This rule will apply only to the IP ranges you enter in the text field.
- Apply This Rule On All IP Ranges Except
This rule will apply to all IP ranges except the ones you enter in the text field.
- Use WAN IP Addresses From Active Agents
Dynamically specifies the IP addresses of all HelloID Agents (see Agent) which were active in the last 24 hours. This feature obeys the IP range logic you've configured. Agent IPs are combined with any manually entered IPs using OR logic. This option is useful if your HelloID Agents share a WAN IP address with users in an office. For example, you can use it to create an access rule that bypasses 2FA for on-site users.
Note
Agent IPs included by this setting are not displayed on this screen. To manually check which Agent IP addresses are being used, go to the Agents overview and check the IP column. All IP addresses (for all Agents in all Agent Pools) which were active in the last 24 hours are included.
At Time
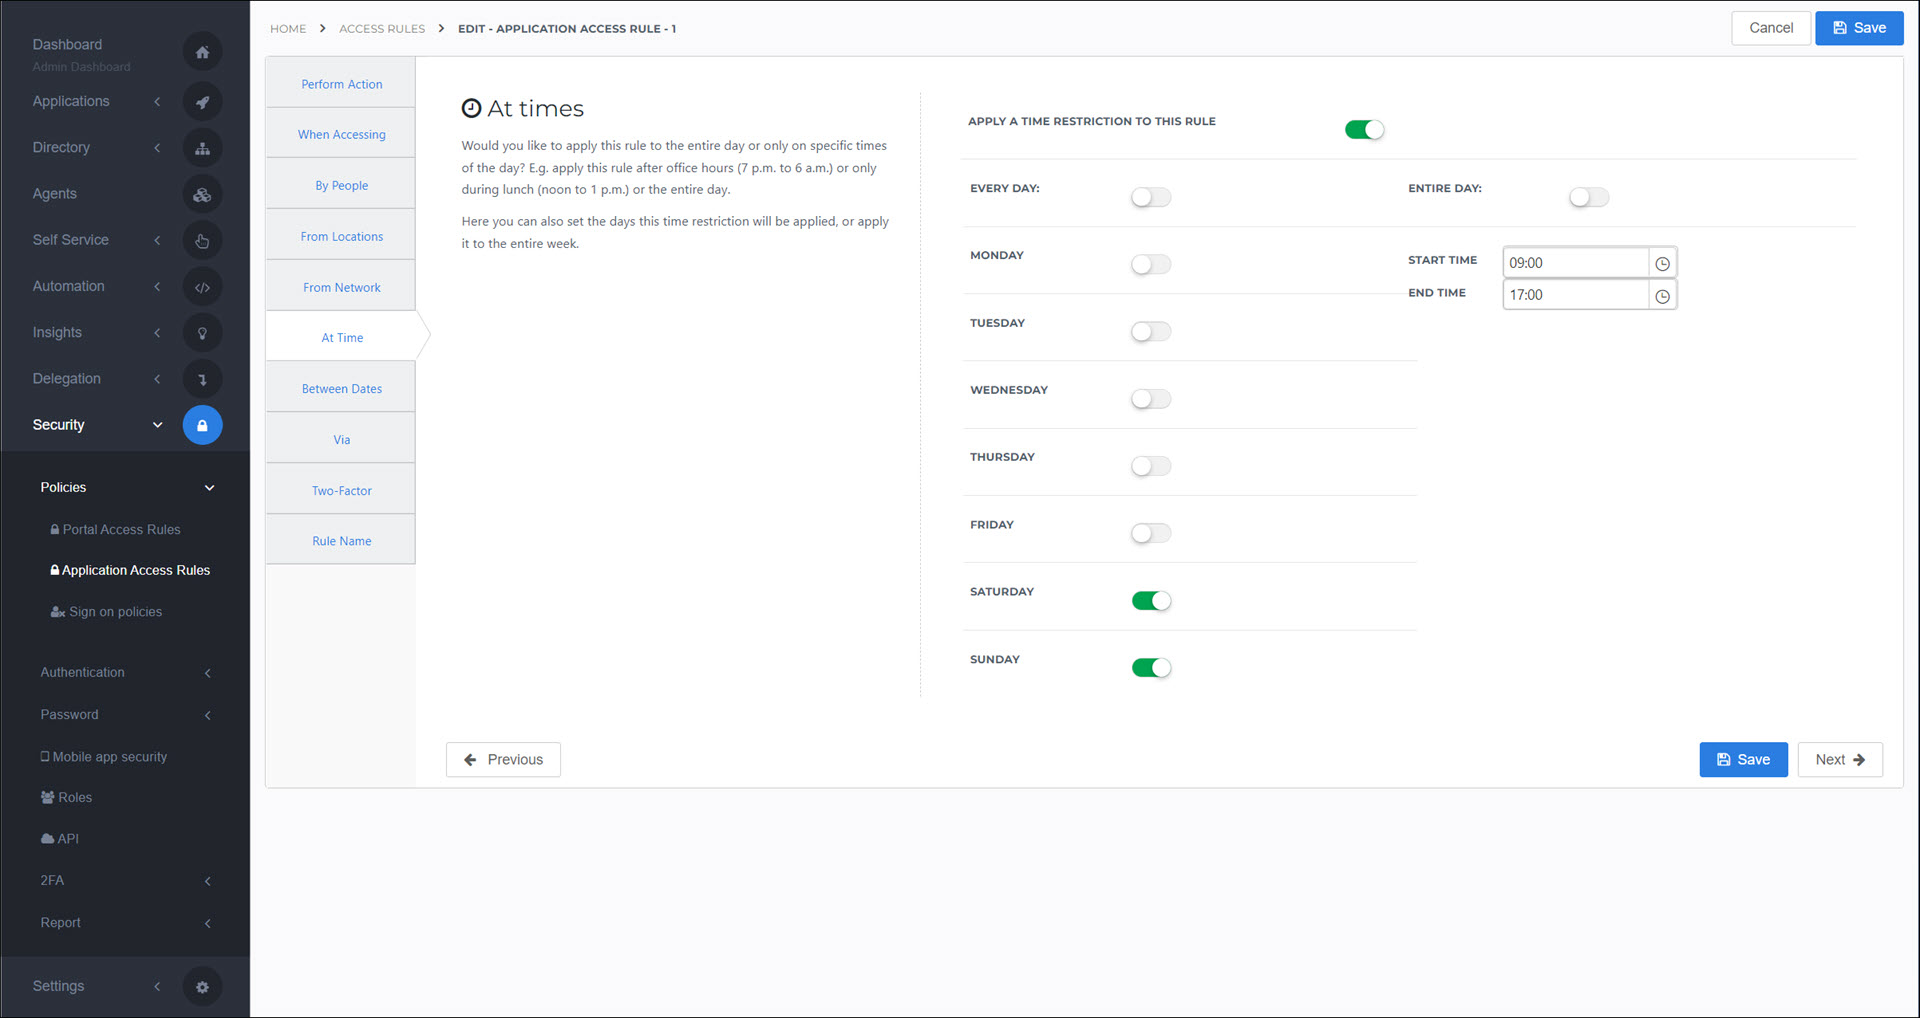
Apply this rule only to certain daily time frames. For example, you may want to only permit access during regular business hours M-F. Uses the Time Zone setting.
Between Dates
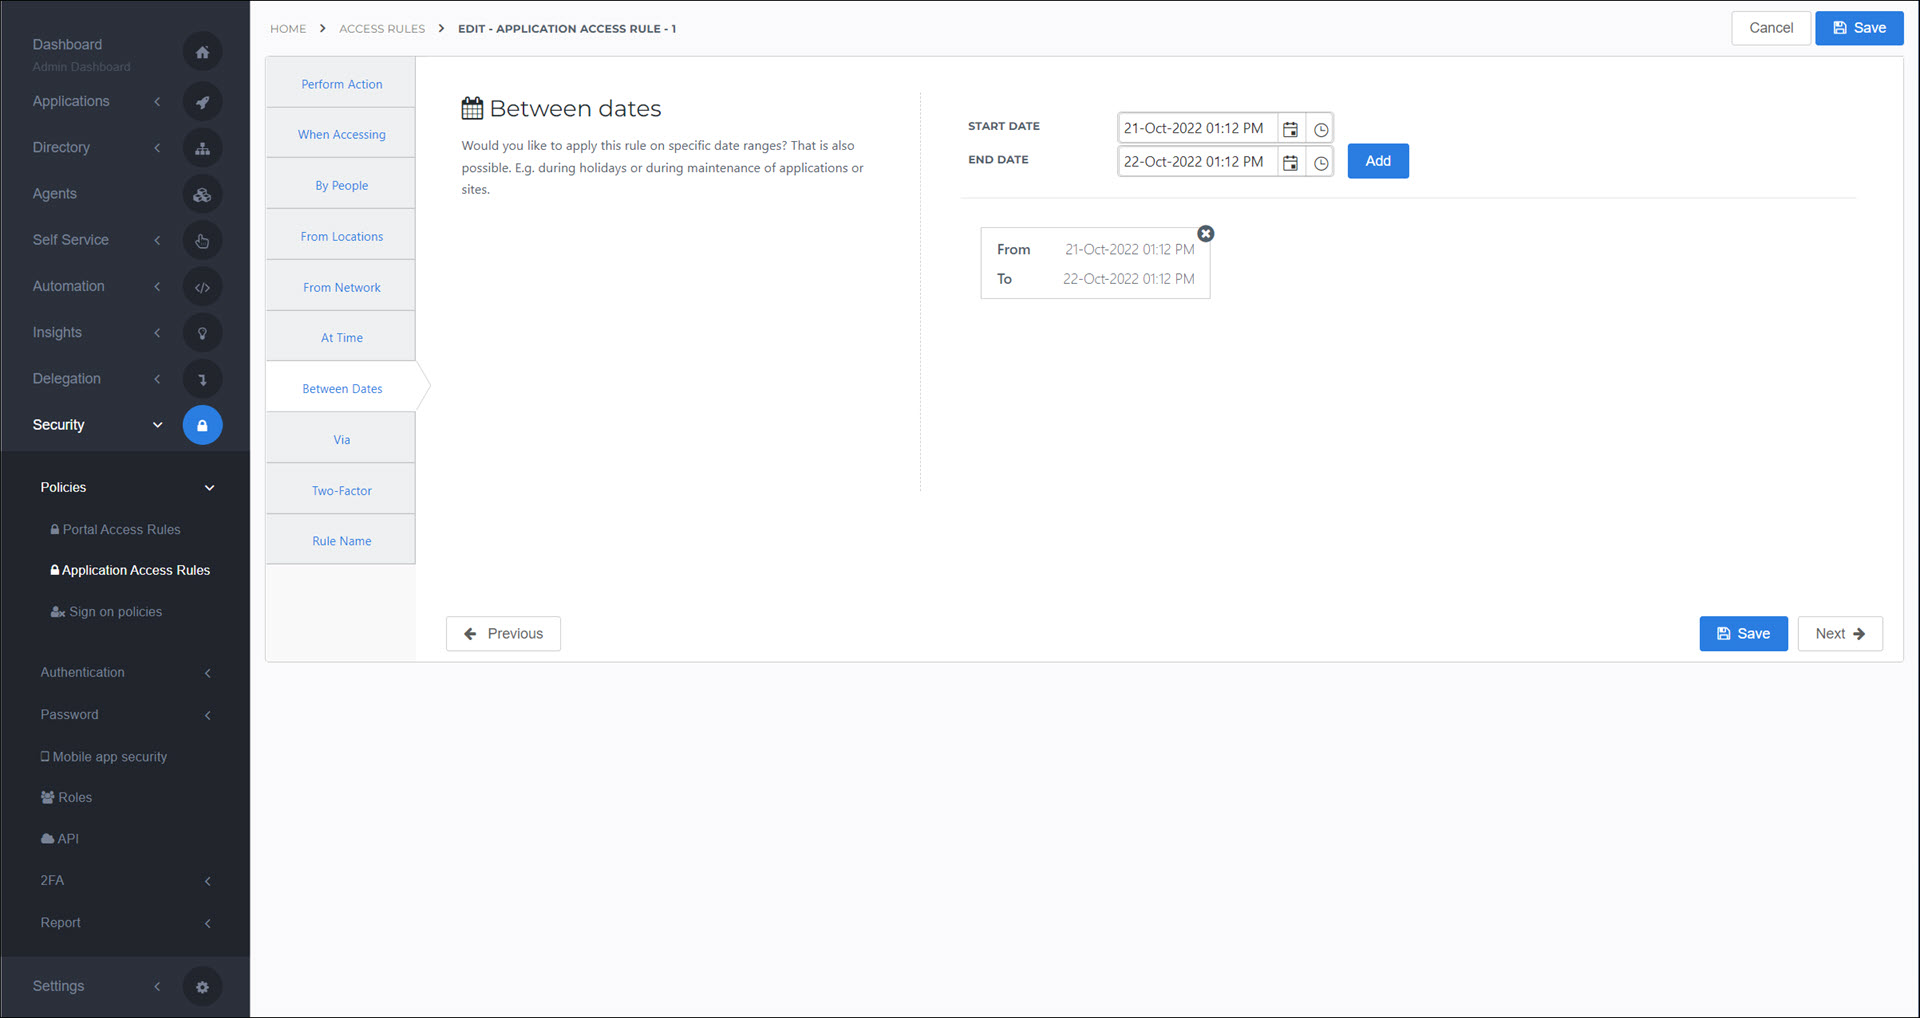
Apply this rule only to certain date range(s). For example, you may wish to deny access during holidays or maintenance windows.
Via
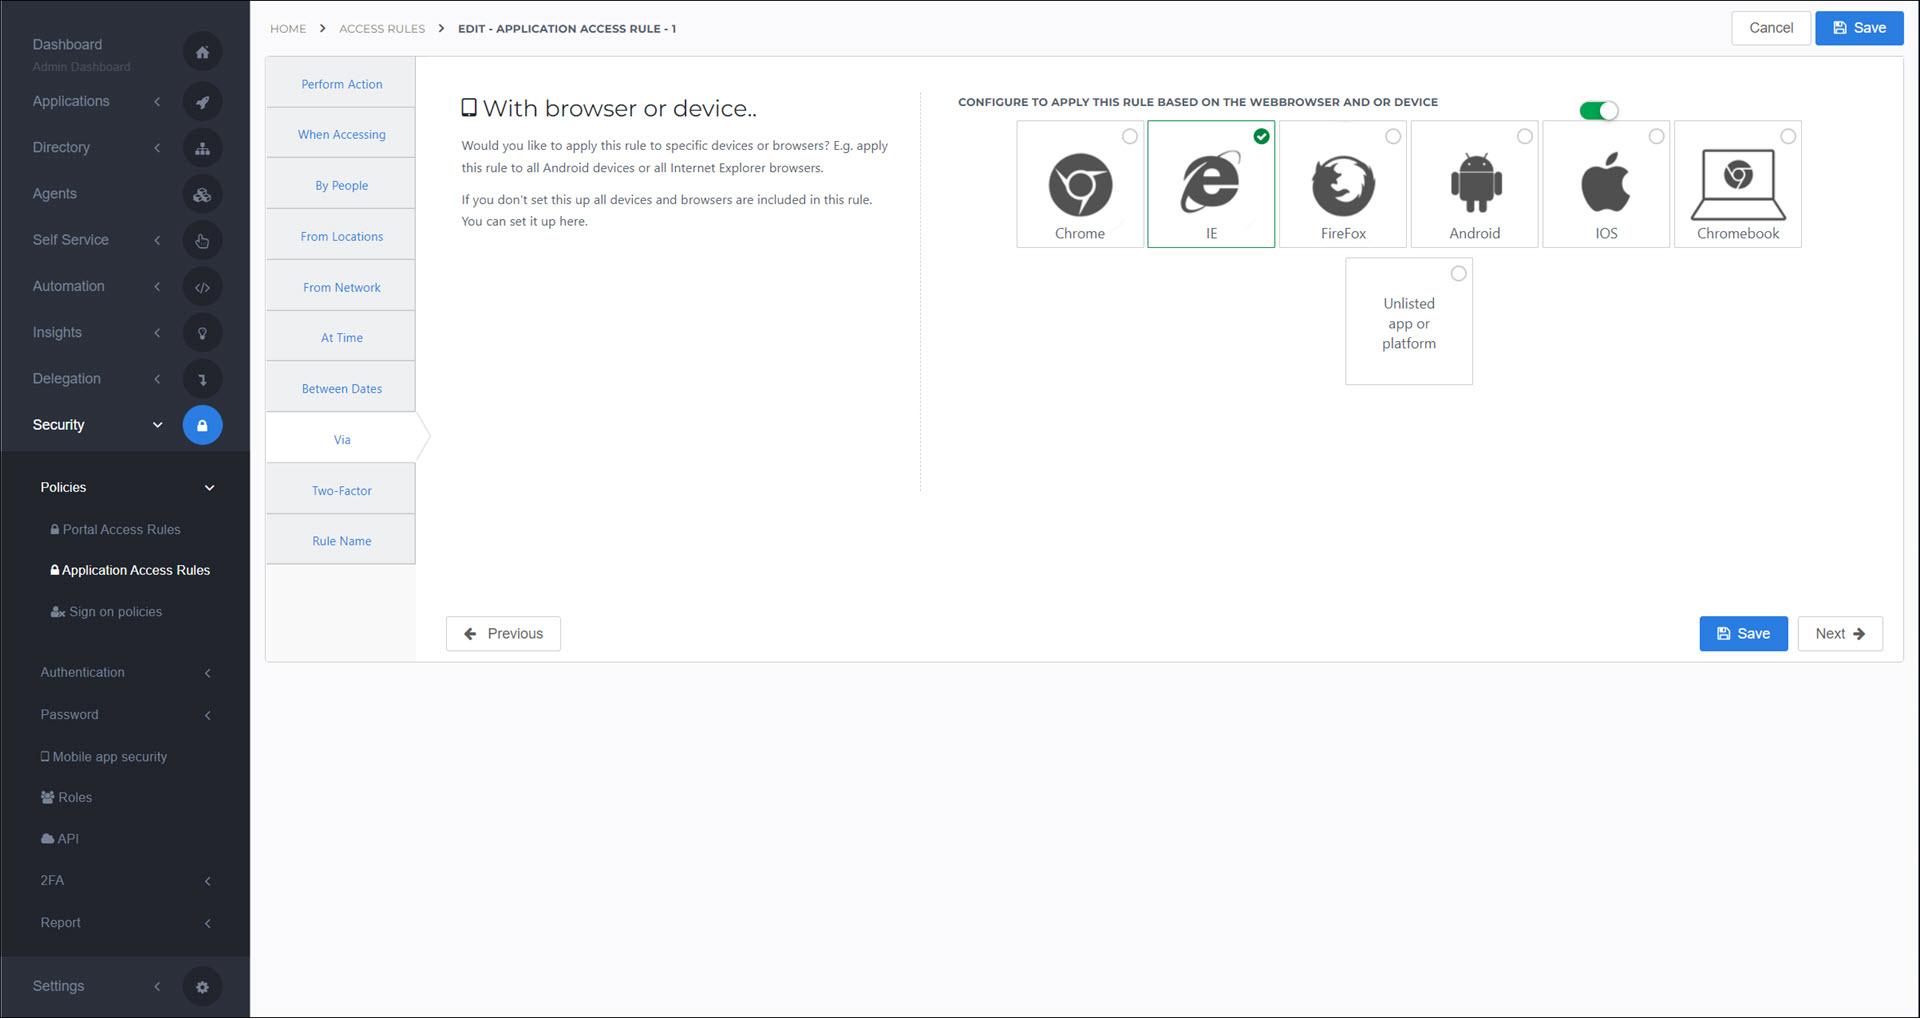
Apply this rule only to certain browser(s) or device(s).
Two Factor
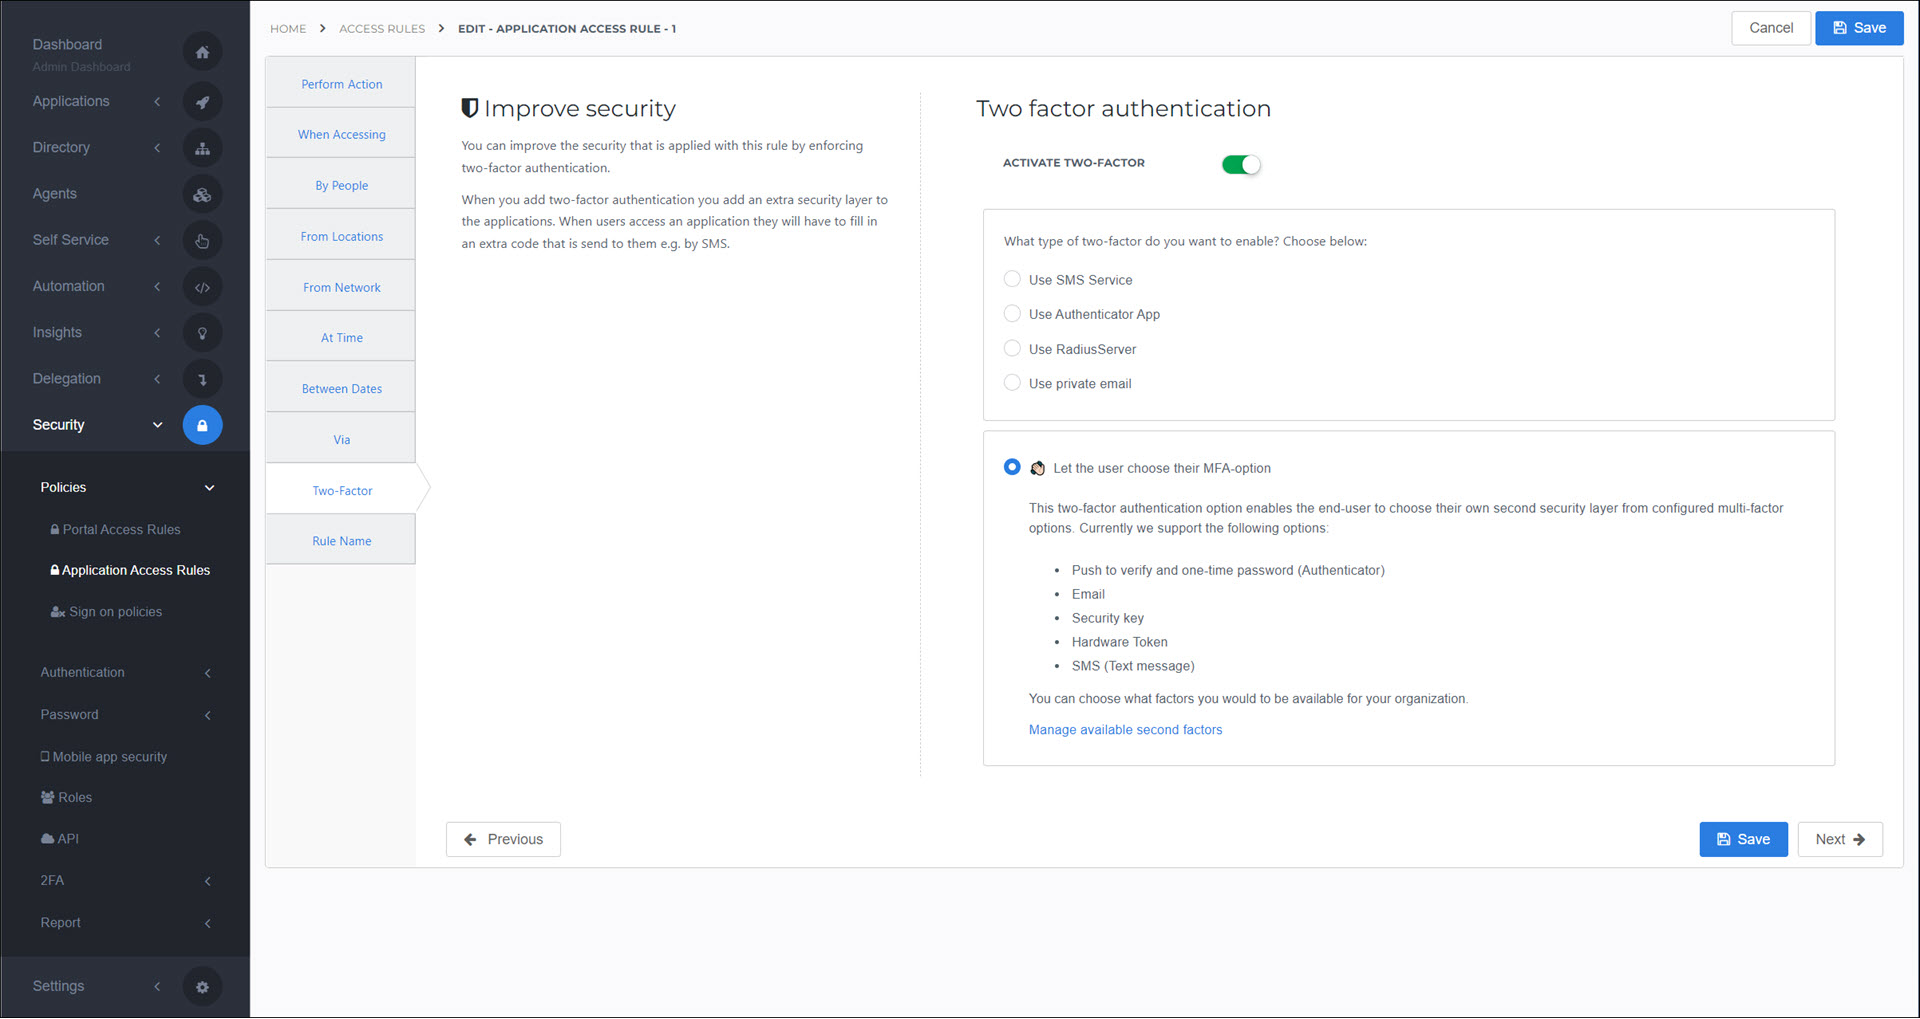
Enforce 2FA for all access attempts matching this rule. This setting is only relevant for Permit Access rules.
Tip
After configuring 2FA in an access rule, enable/disable the specific factor types that will be available to users in Security > 2FA > Management.
Tip
If you're using an Azure AD (OIDC) IdP, you can enable AMR claims in Azure to override redundant 2FA challenges in application access rules.
Fixed vs. dynamic 2FA
In portal access rules and application access rules, there are two 2FA options: 1) fixed vs. 2) dynamic.
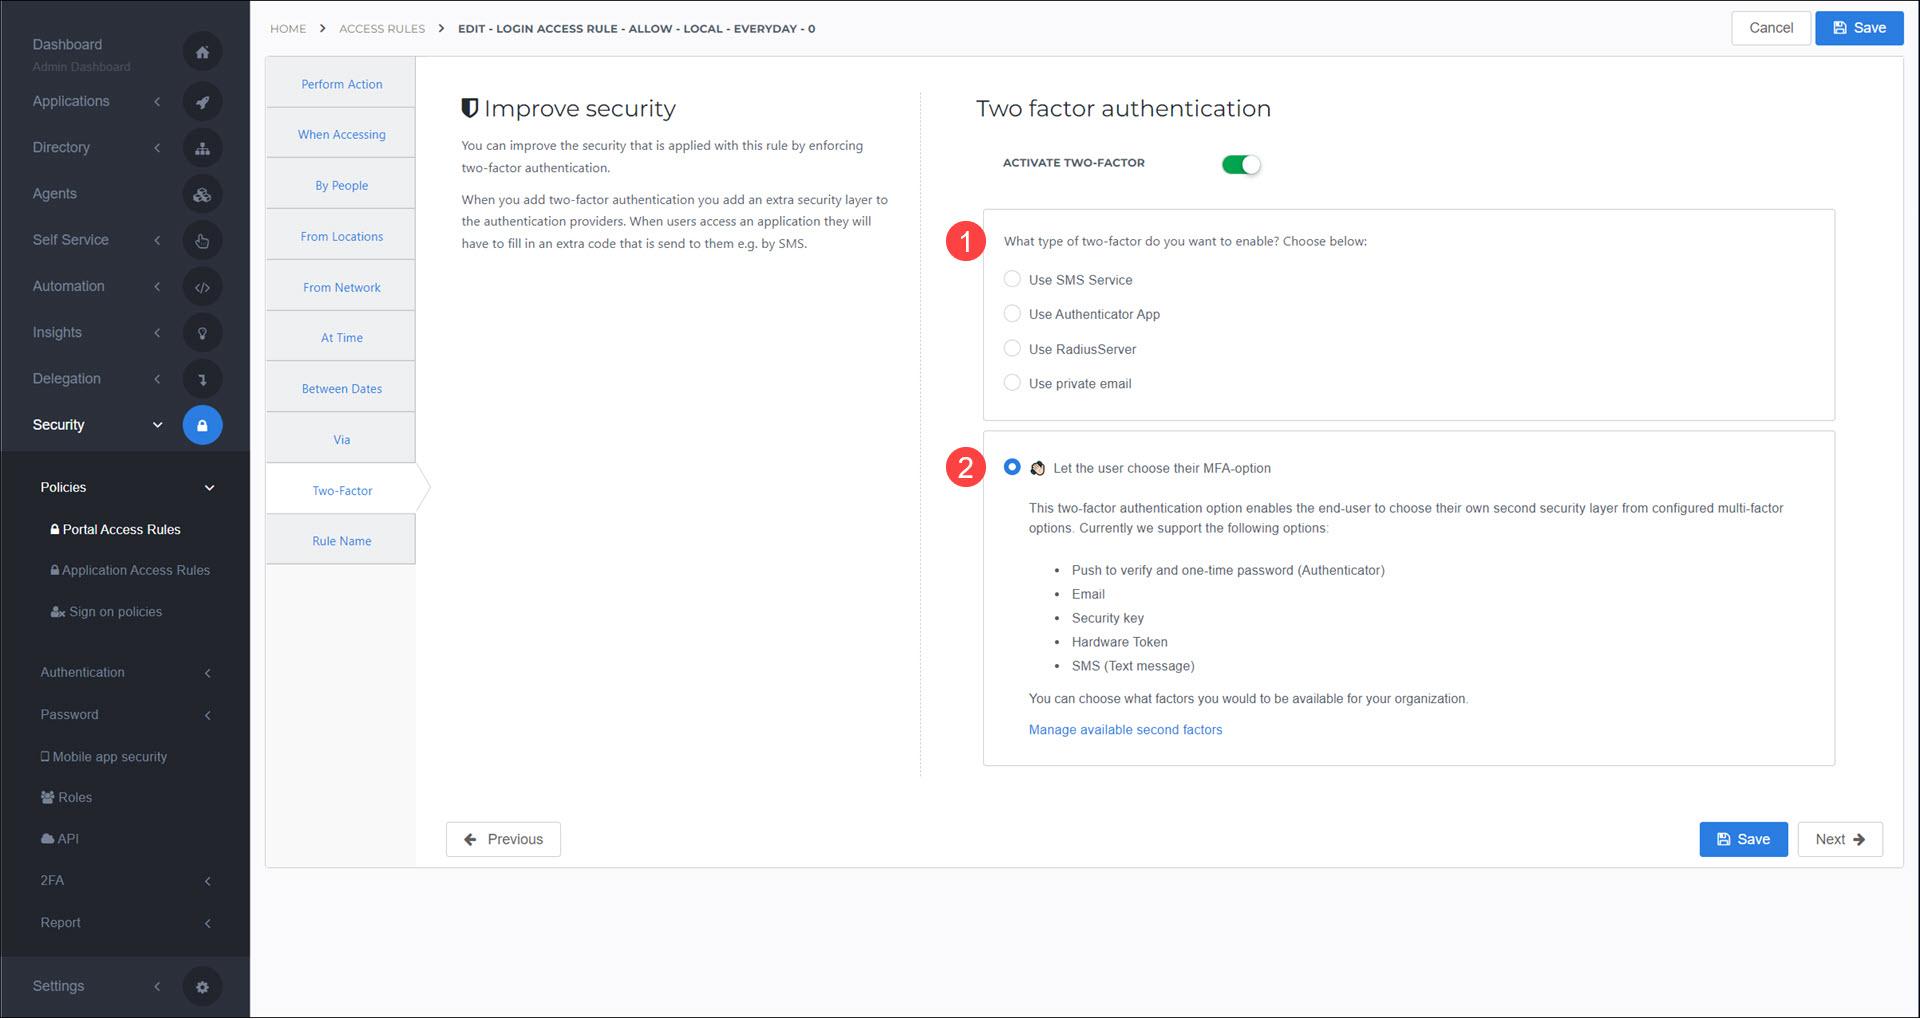
Fixed: The upper pane (What type of two-factor do you want to enable?) enforces a single factor type chosen by the administrator.
Dynamic: The lower pane (Let the user choose their MFA option) lets each user select their own factor type, from among the types you've enabled in Security > 2FA > Management.
Tip
Unless you have a specific reason to use the fixed 2FA option, we recommend using the dynamic option.
Rule Name
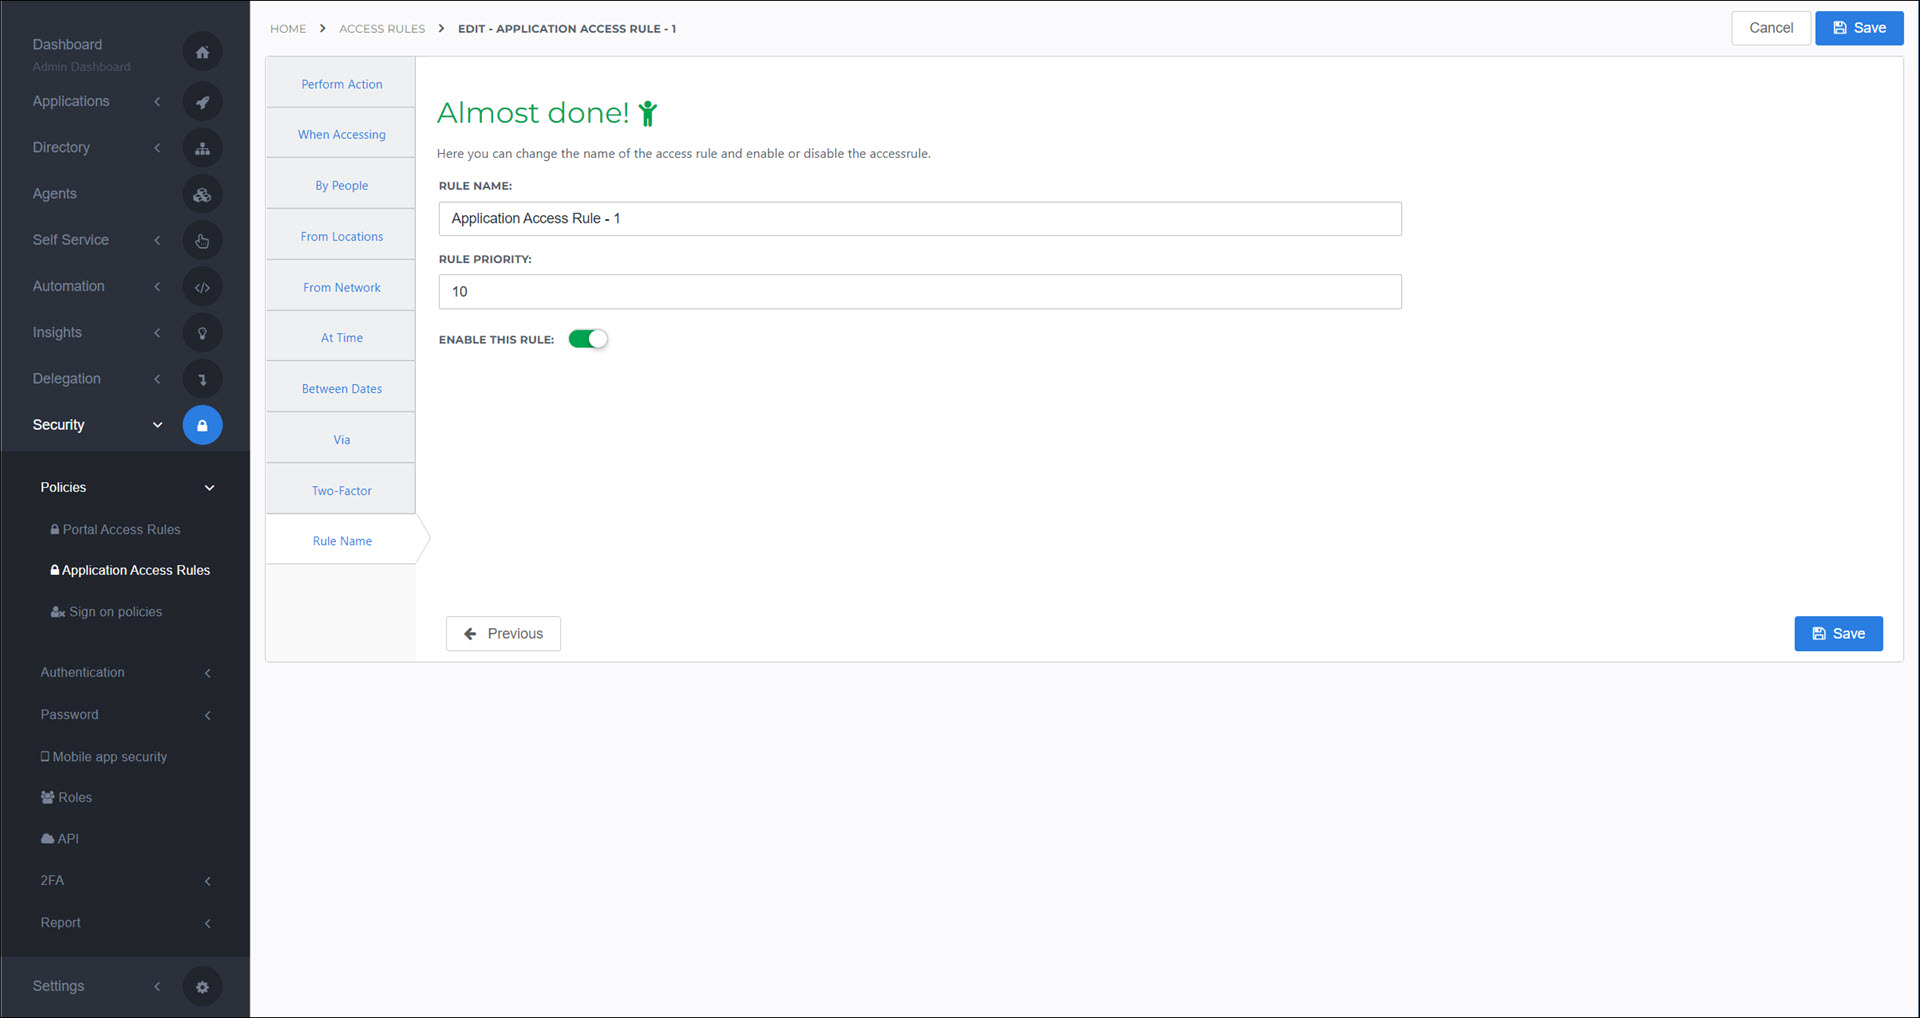
- Rule Name
The name of the rule shown in the admin dashboard. For example:
Login Access Rule - Allow - Local - EveryDay - 0.- Rule Priority
- Enable This Rule
Disabled rules are not used.
Go to Security > Policies > Application Access Rules.
For the relevant rule, click Edit.
Continue by following the instructions in Add an application access rule.
Go to Security > Policies > Application Access Rules.
For the relevant rule, click Delete.
To confirm, click Delete.