Add, edit, or remove a notification (Provisioning)
Go to Notifications > Configurations.
Click
 Add.
Add.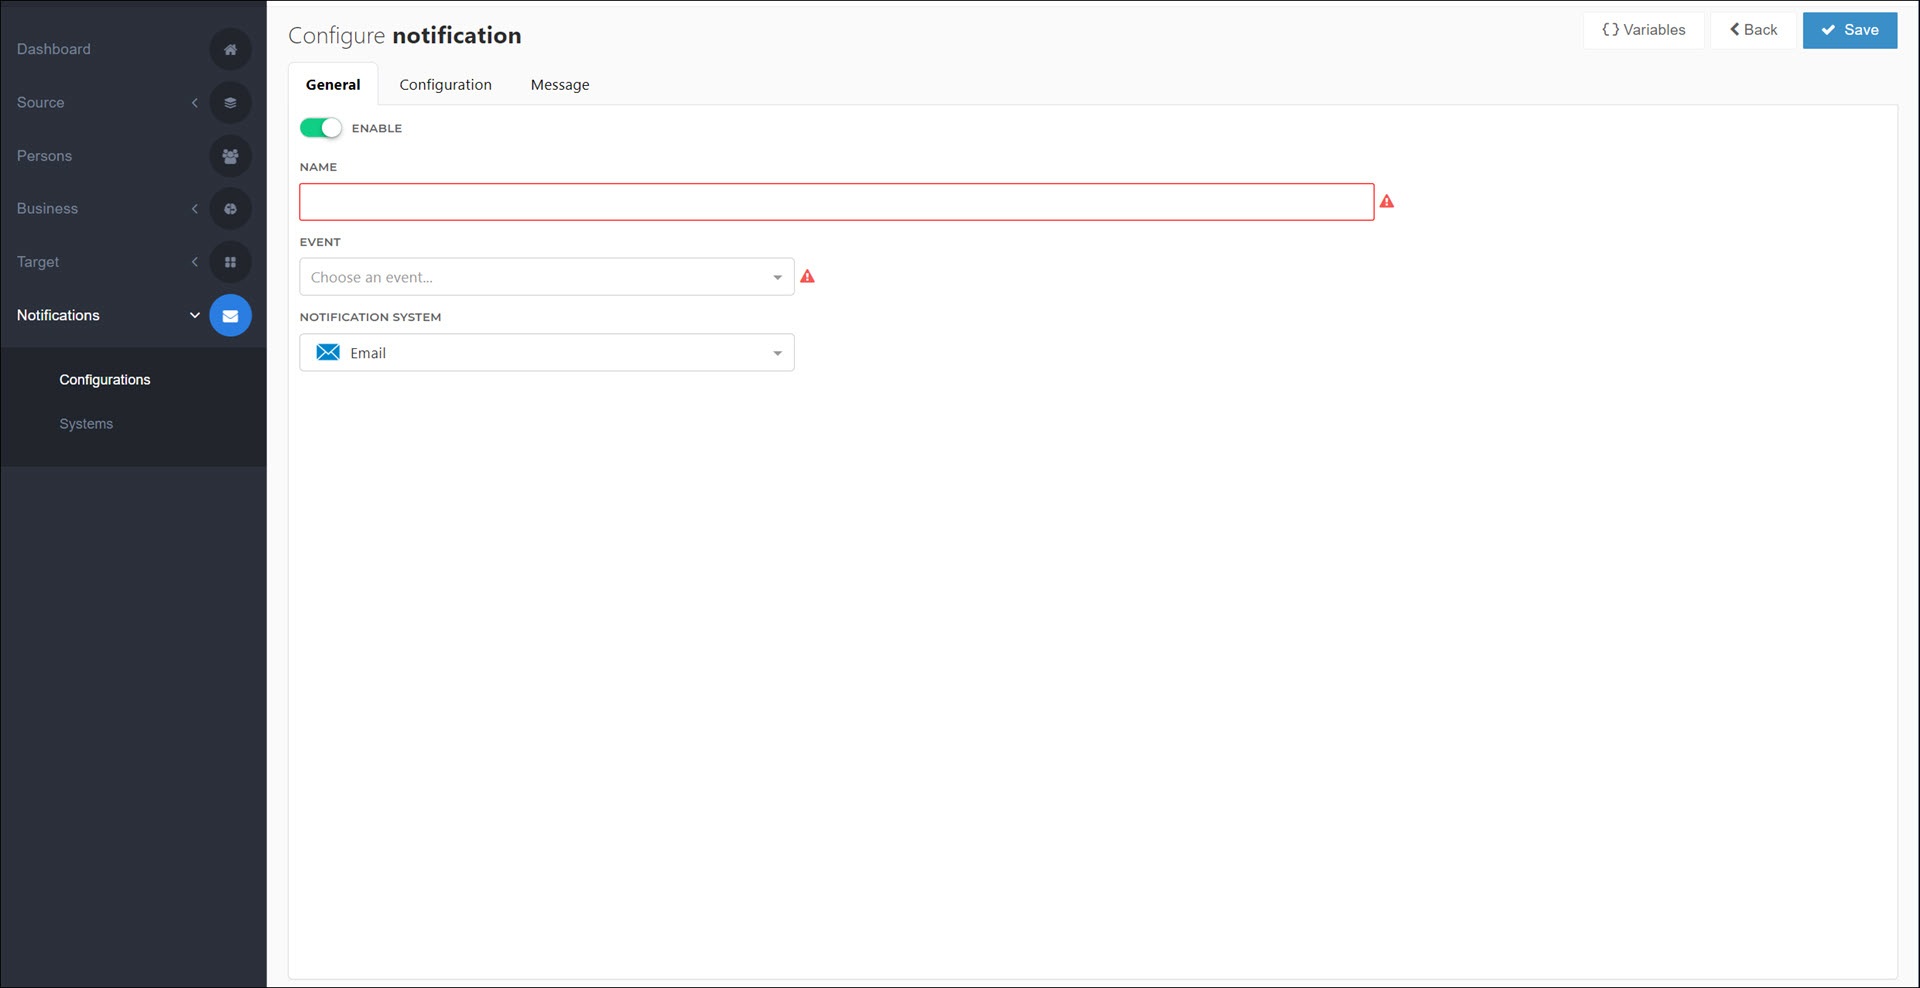
Enter values for the fields on the General tab.
- Enable
Turn off to stop this notification from being processed during enforcement.
- Name
The display name of the notification. Only seen by HelloID administrators.
- Event
Which of the Notification events that this notification will be sent for.
- Target System
Which of your Target systems that this notification will be sent for. Some notification types such as the Evaluation Summary aren't tied to a specific target system. Not displayed if the selected event is system-independent.
- Notification System
Which of your Notification systems that this notification will be routed into.
Tip
Several fields support notification variables. See the Notifications variable reference.
For this example, we'll enter the following values:
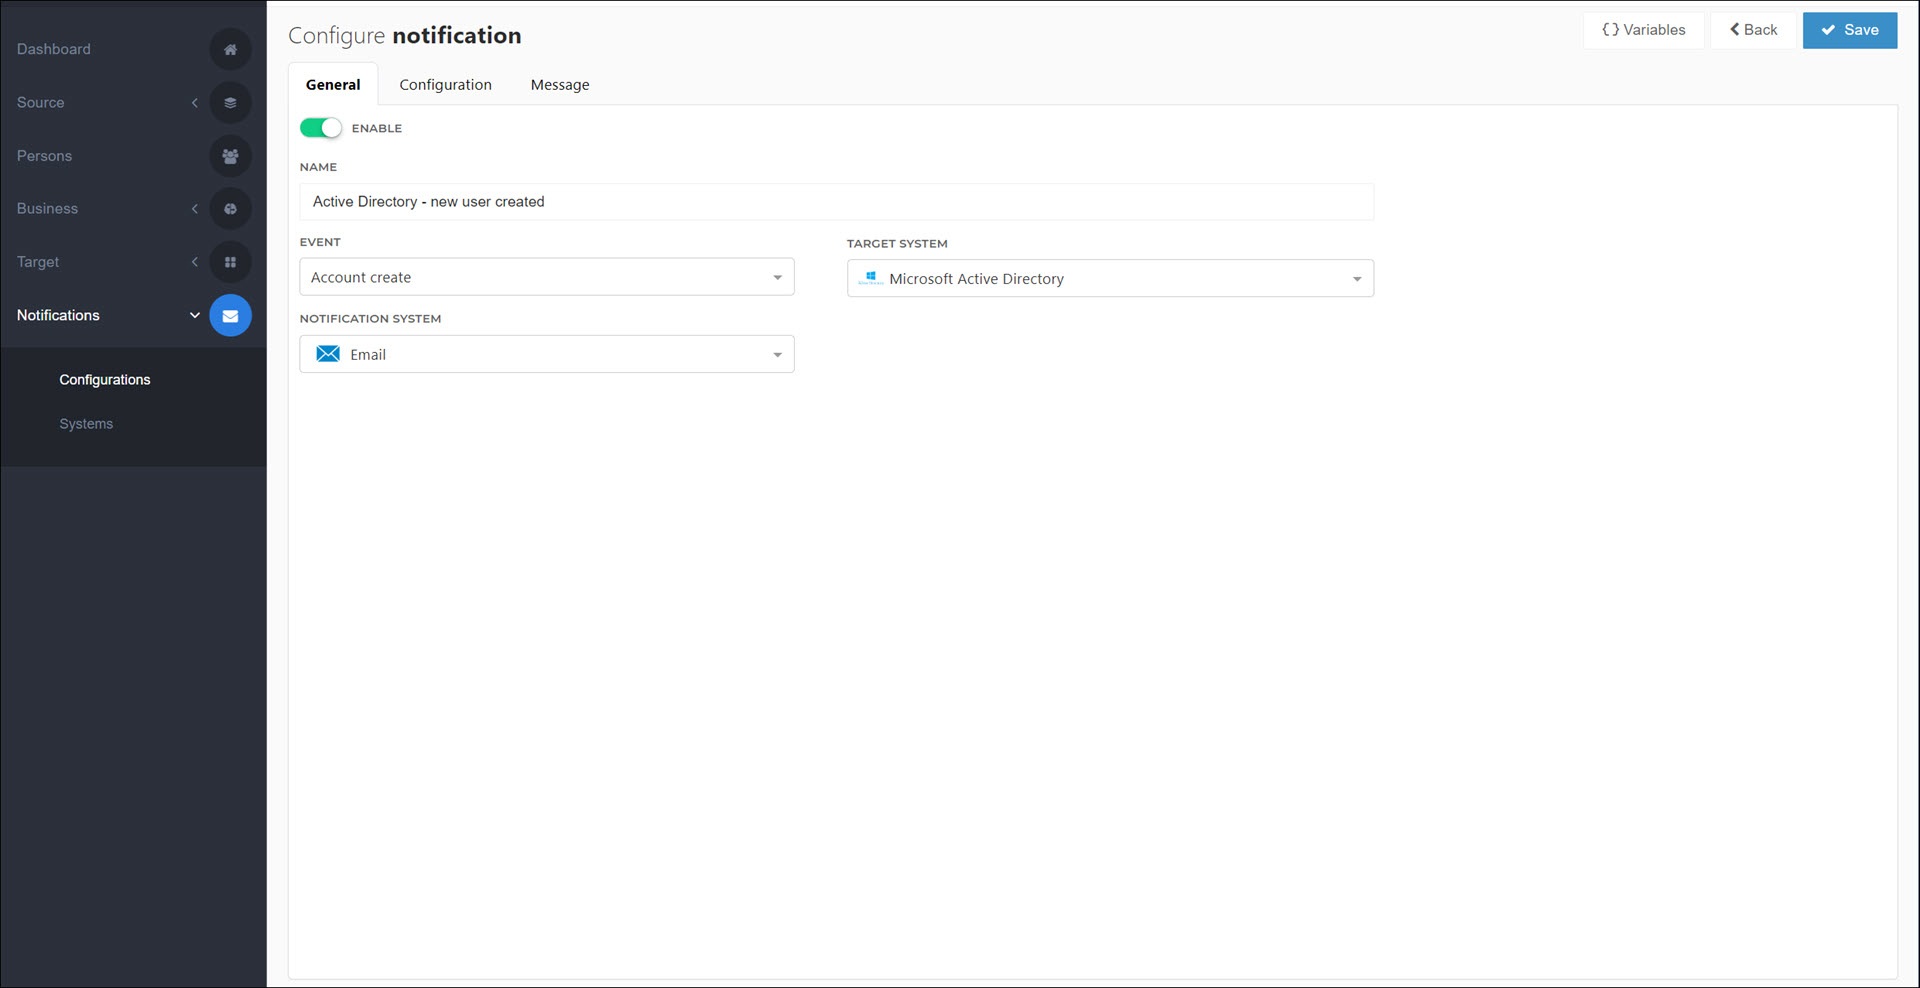
Enable: On
Name:
Active Directory - new user createdEvent: Account create
Target System: Microsoft Active Directory
Notification System: Email
Go to the Configuration tab.
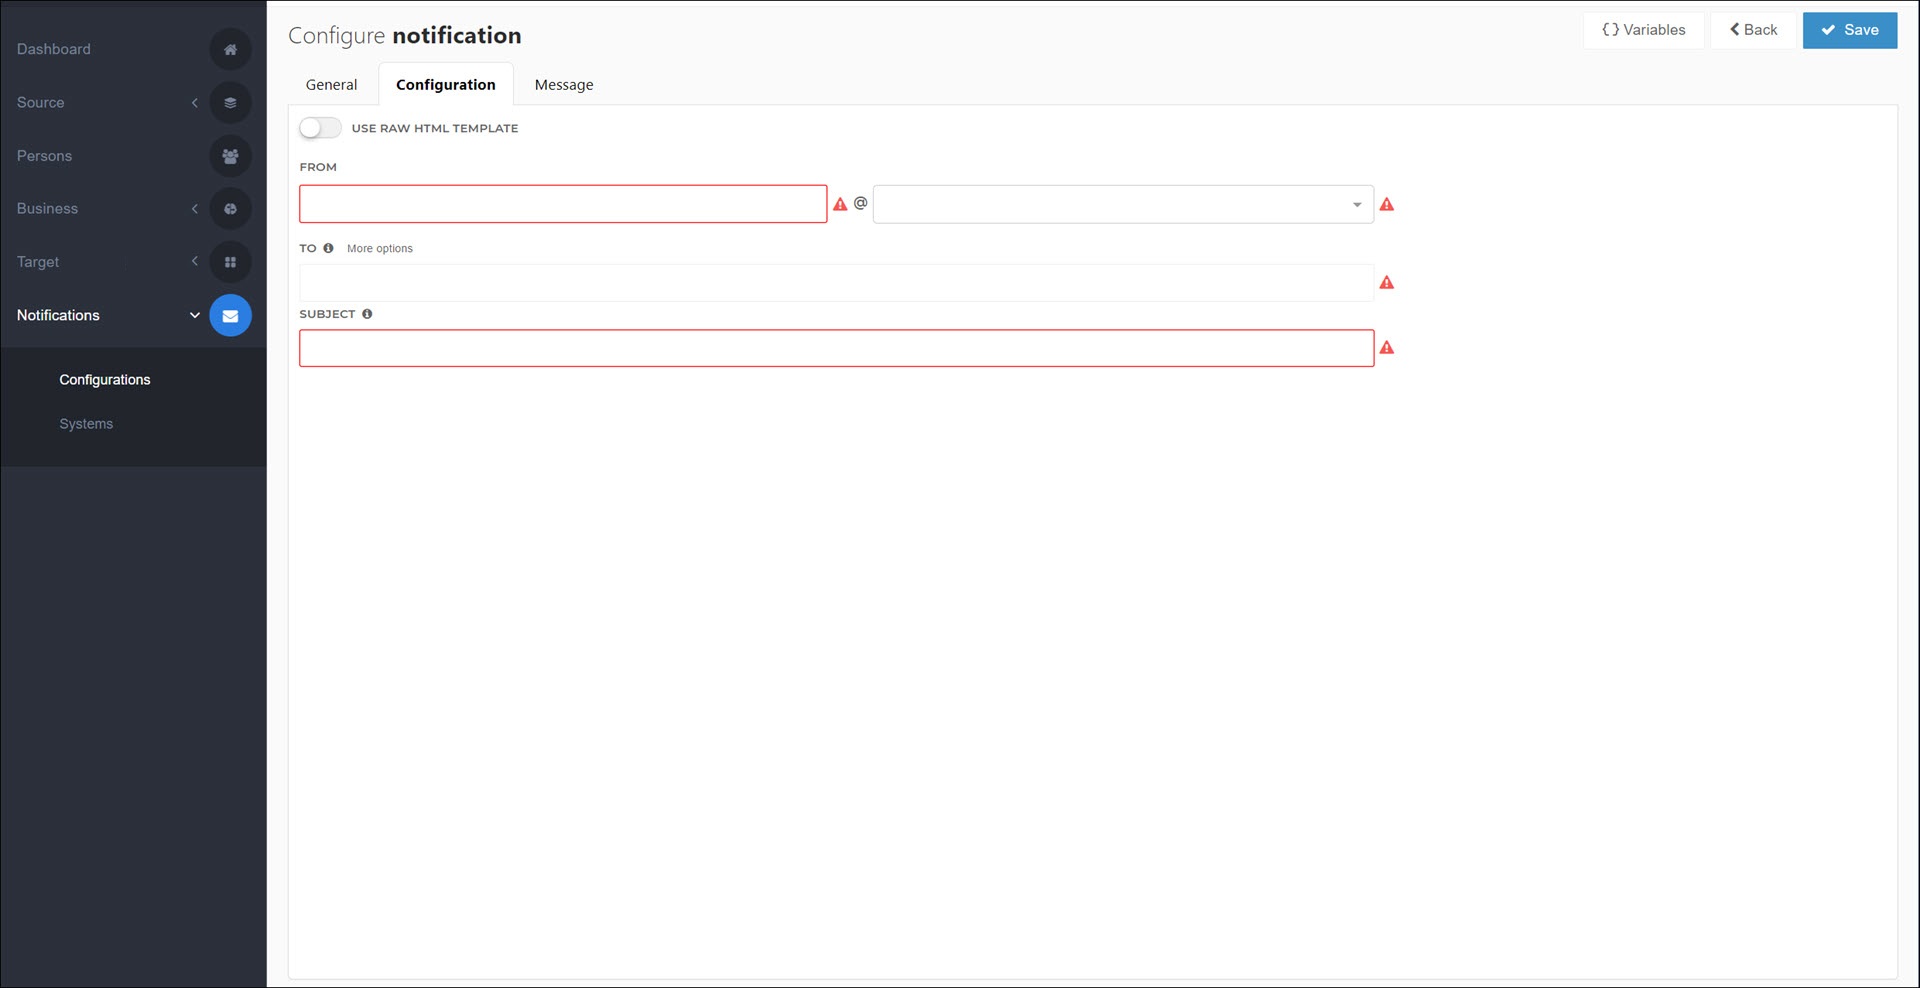
Enter values for the following fields:
- Use Raw HTML Template
Edit the email's raw HTML in the Message tab, instead of using the WYSIWYG editor. Internet Explorer users must use this option.
- From
The email address from which notification emails are sent. Can be a static username coupled with a domain selected from the dropdown menu, or a notification variable.
Important
If you use a variable, ensure that the domain is one of the verified domains listed in the dropdown menu. The value is not checked until emails are sent, at which time unverified domains will fail.
See Configure a custom 'from' address for emails to verify new domains.
- To
The address to which notification emails will be sent. Can be a notification variable such as
{{Person.Contact.Personal.Email}}, or a value pulled using the Account Data From Other Systems feature.Tip
To send to multiple email addresses, separate the addresses with semicolon characters (
;).- CC
Click More Options to show this field. Works the same as the To field.
- BCC
Click More Options to show this field. Works the same as the To field.
- Subject
The subject of the email. Can combine both static text and notification variables, e.g.,
A new account has been created for {{Person.DisplayName}}, or a value pulled using the Account Data From Other Systems feature.
For this example, we'll enter the following values:

Use Raw HTML Template: Off
From: admin@helloid.com
To: docs@tools4ever.com
Subject: Active Directory - new user created
Click Save.
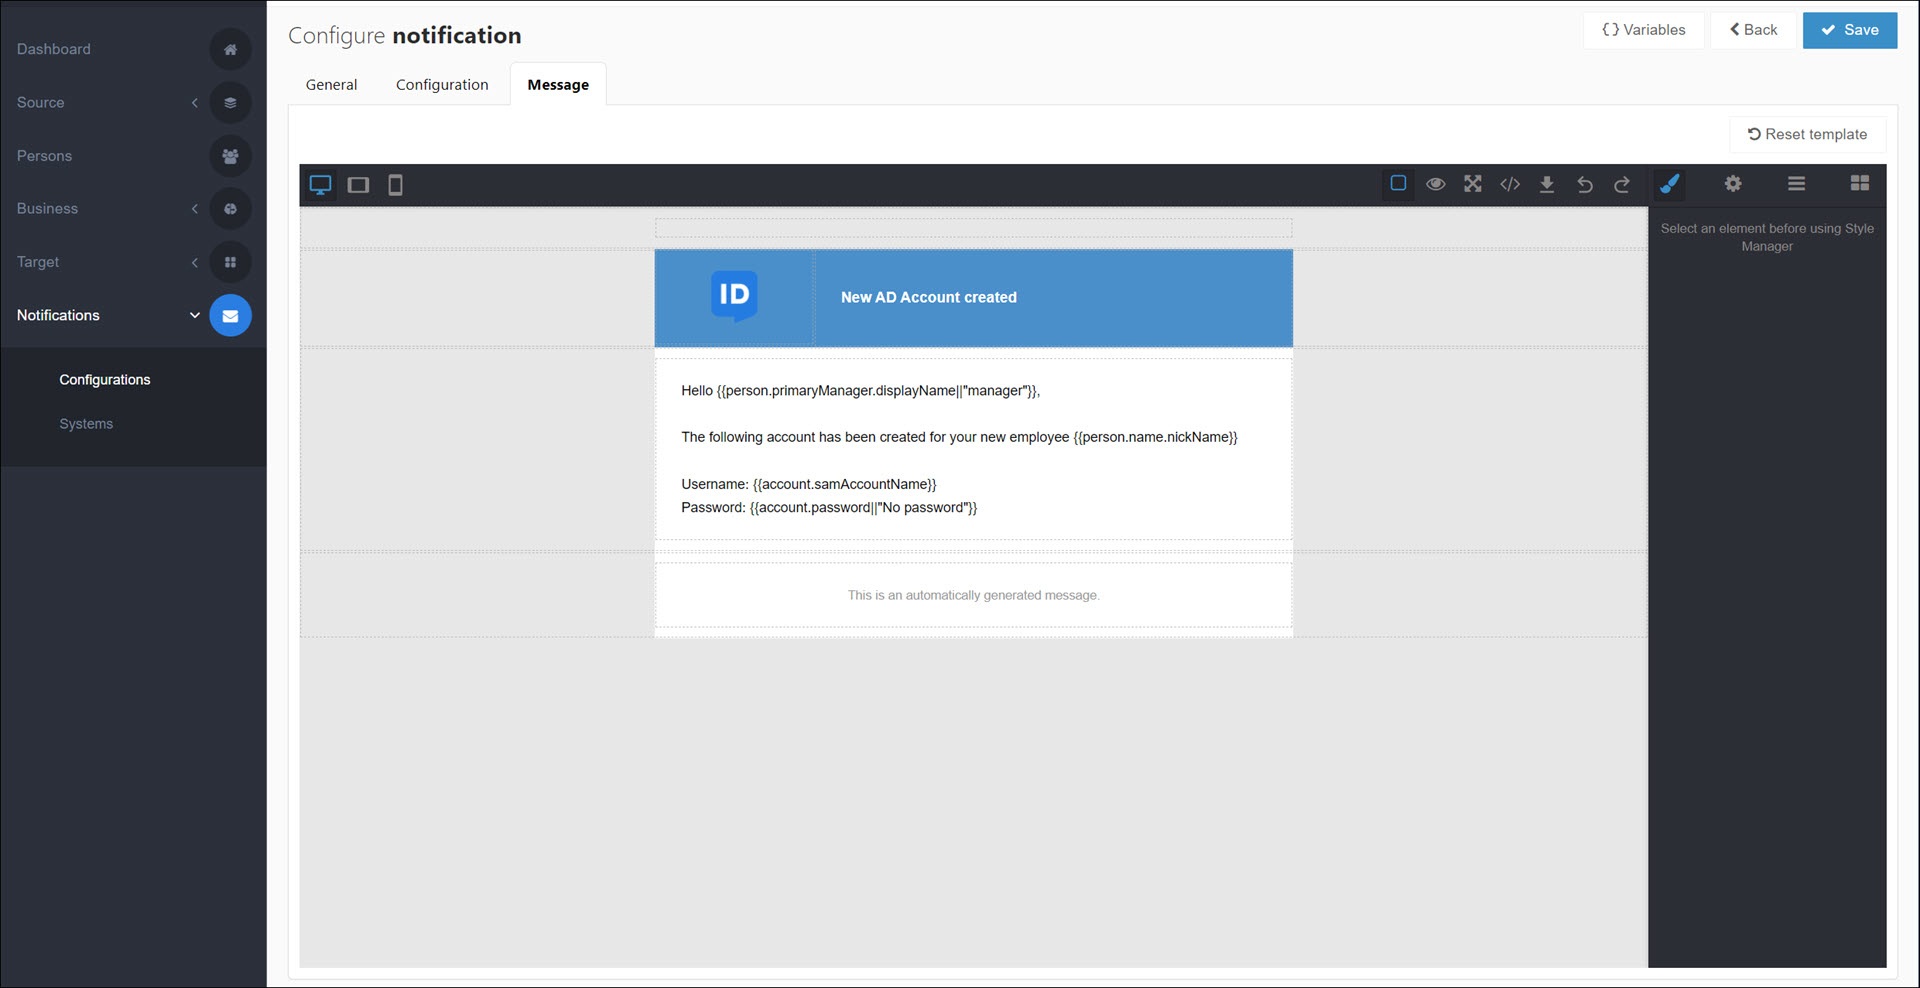
Go to the Message tab.
Proceed according to the setting of the Use Raw HTML Template toggle:
Disabled: Go to the Message tab, and customize the notification using the WYSIWYG editor.
To Notification variable hints for variables you can use in the message body, click the Variables button:
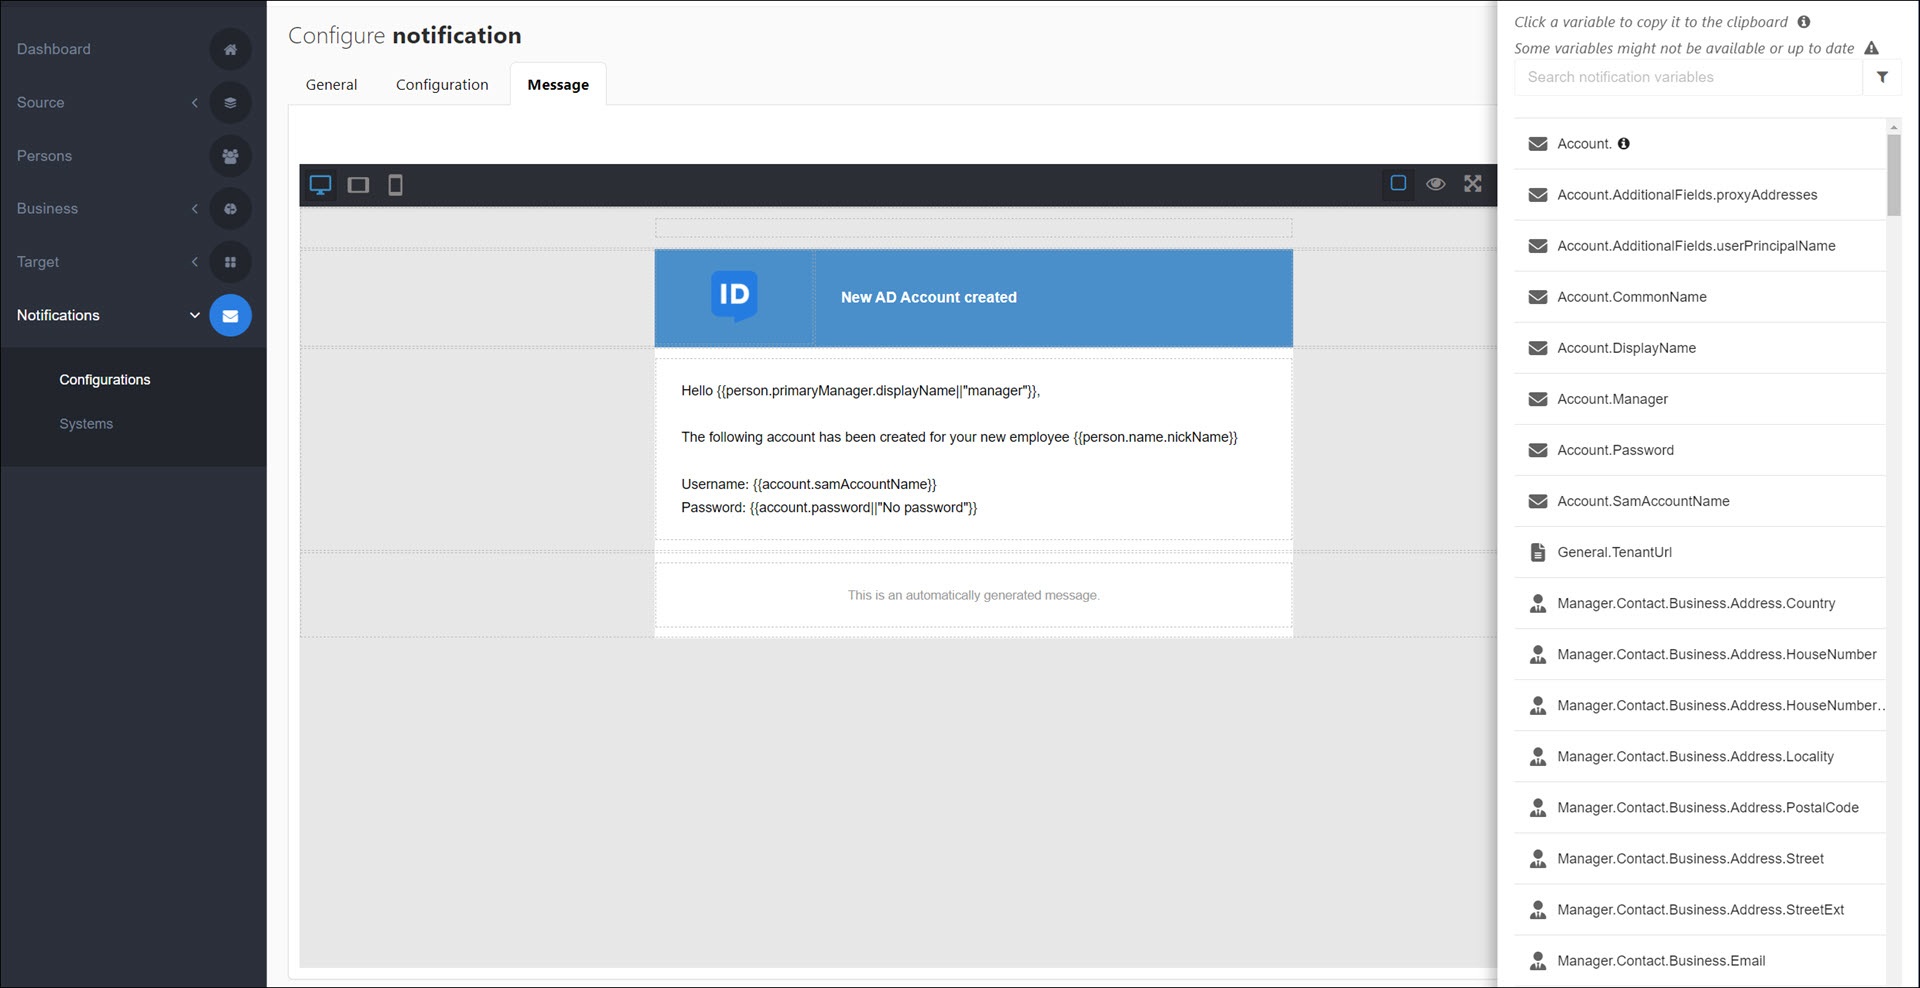
For an overview, see Notifications variable reference.
Enabled: Go to the HTML (Raw) tab, and customize the notification's raw HTML code.
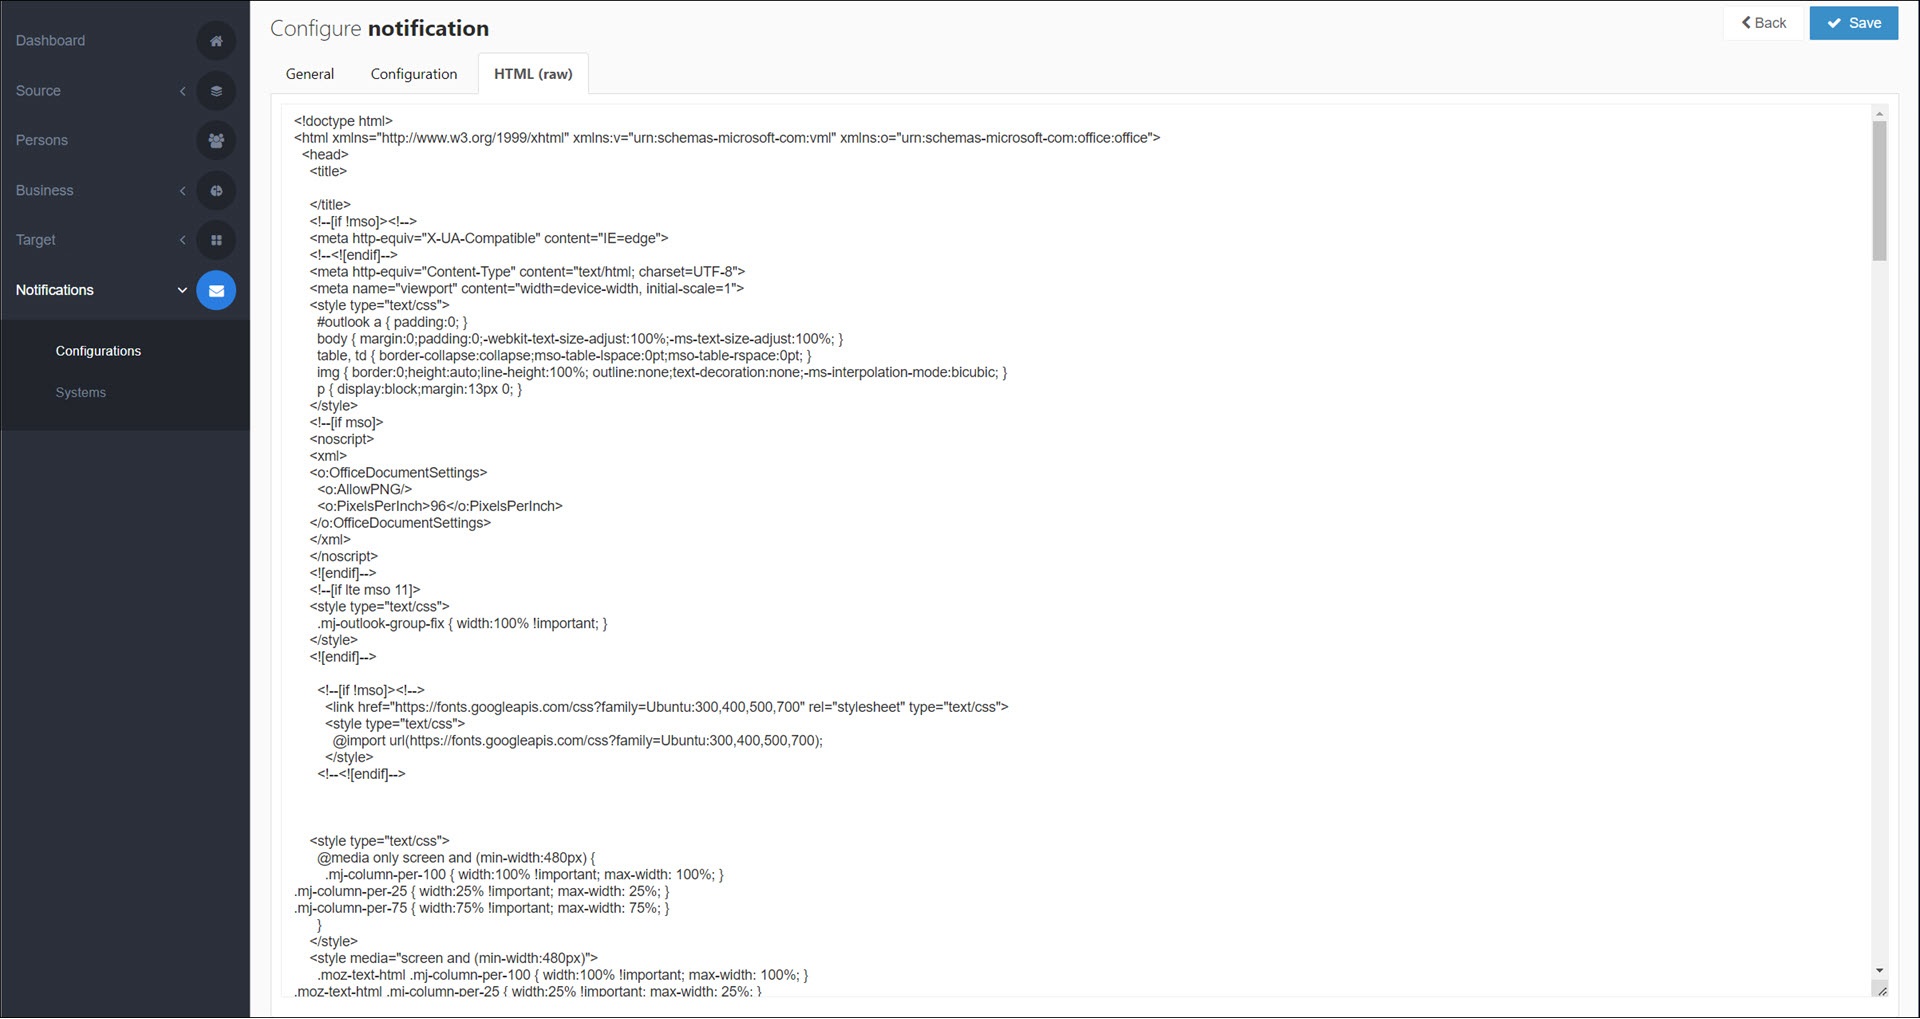
Click Save.
This notification has been added and will run when its associated Event occurs in the associated Target System during enforcement.
Note
Prerequisite: Add a PowerShell notification system
Go to Notifications > Configurations.
Click
Add.Enter values for the fields on the General tab.
- Enable
Turn off to stop this notification from being processed during enforcement.
- Name
The display name of the notification. Only seen by HelloID administrators.
- Event
Which of the Notification events that this notification will be sent for.
- Target System
Which of your Target systems that this notification will be sent for. Some notification types such as the Evaluation Summary aren't tied to a specific target system. Not displayed if the selected event is system-independent.
- Notification System
Which of your PowerShell notification systems this notification will be routed into.
Tip
Several fields support notification variables. See the Notifications variable reference.
For this example, we'll enter the following values:

Enable: On
Name:
Active Directory - new user created - Twilio SMSEvent: Account create
Target System: Microsoft Active Directory
Notification System: Twilio
Notification Template: Twilio SMS
Go to the Configuration tab.
The input form is shown for the Twilio SMS template that we created in the Add a PowerShell notification system tutorial.
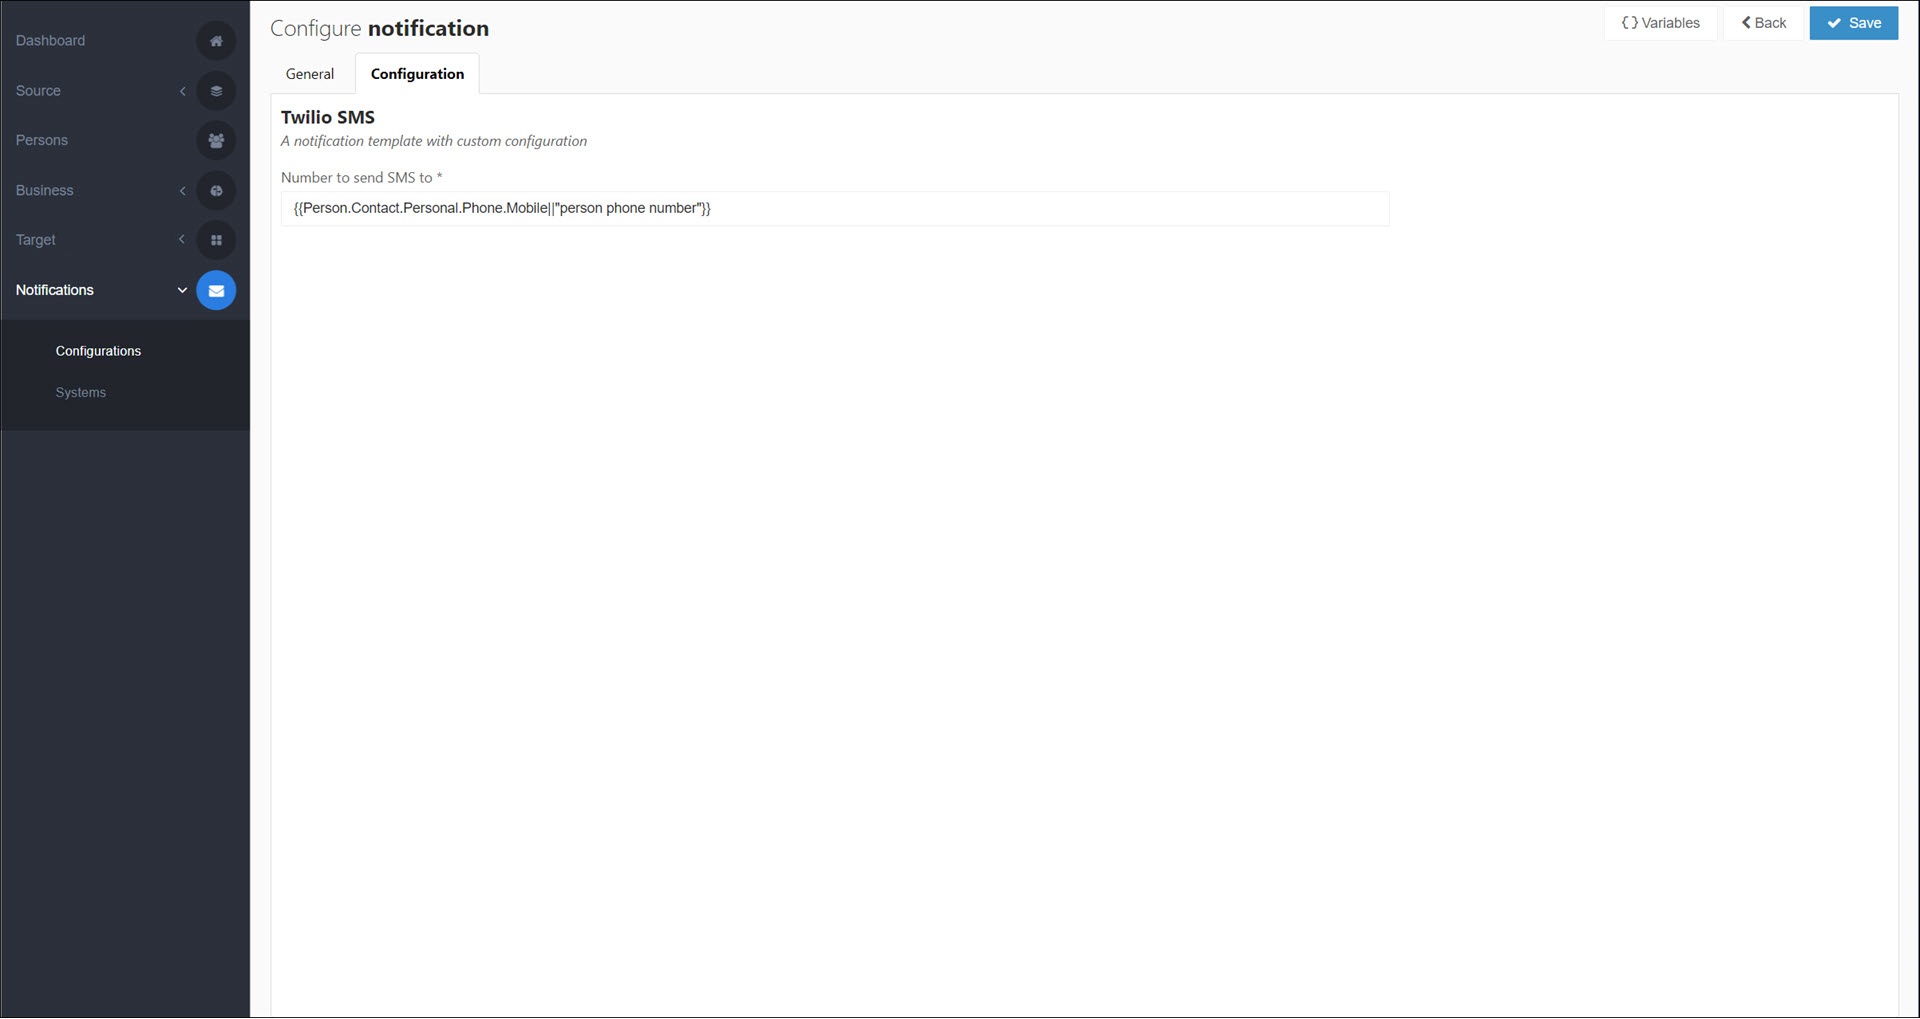
Optional: Override the default values for this template's input form, if needed. These fields will be fed into the notification system's PowerShell script.
To Notification variable hints for variables you can use in these fields, click the Variables button:
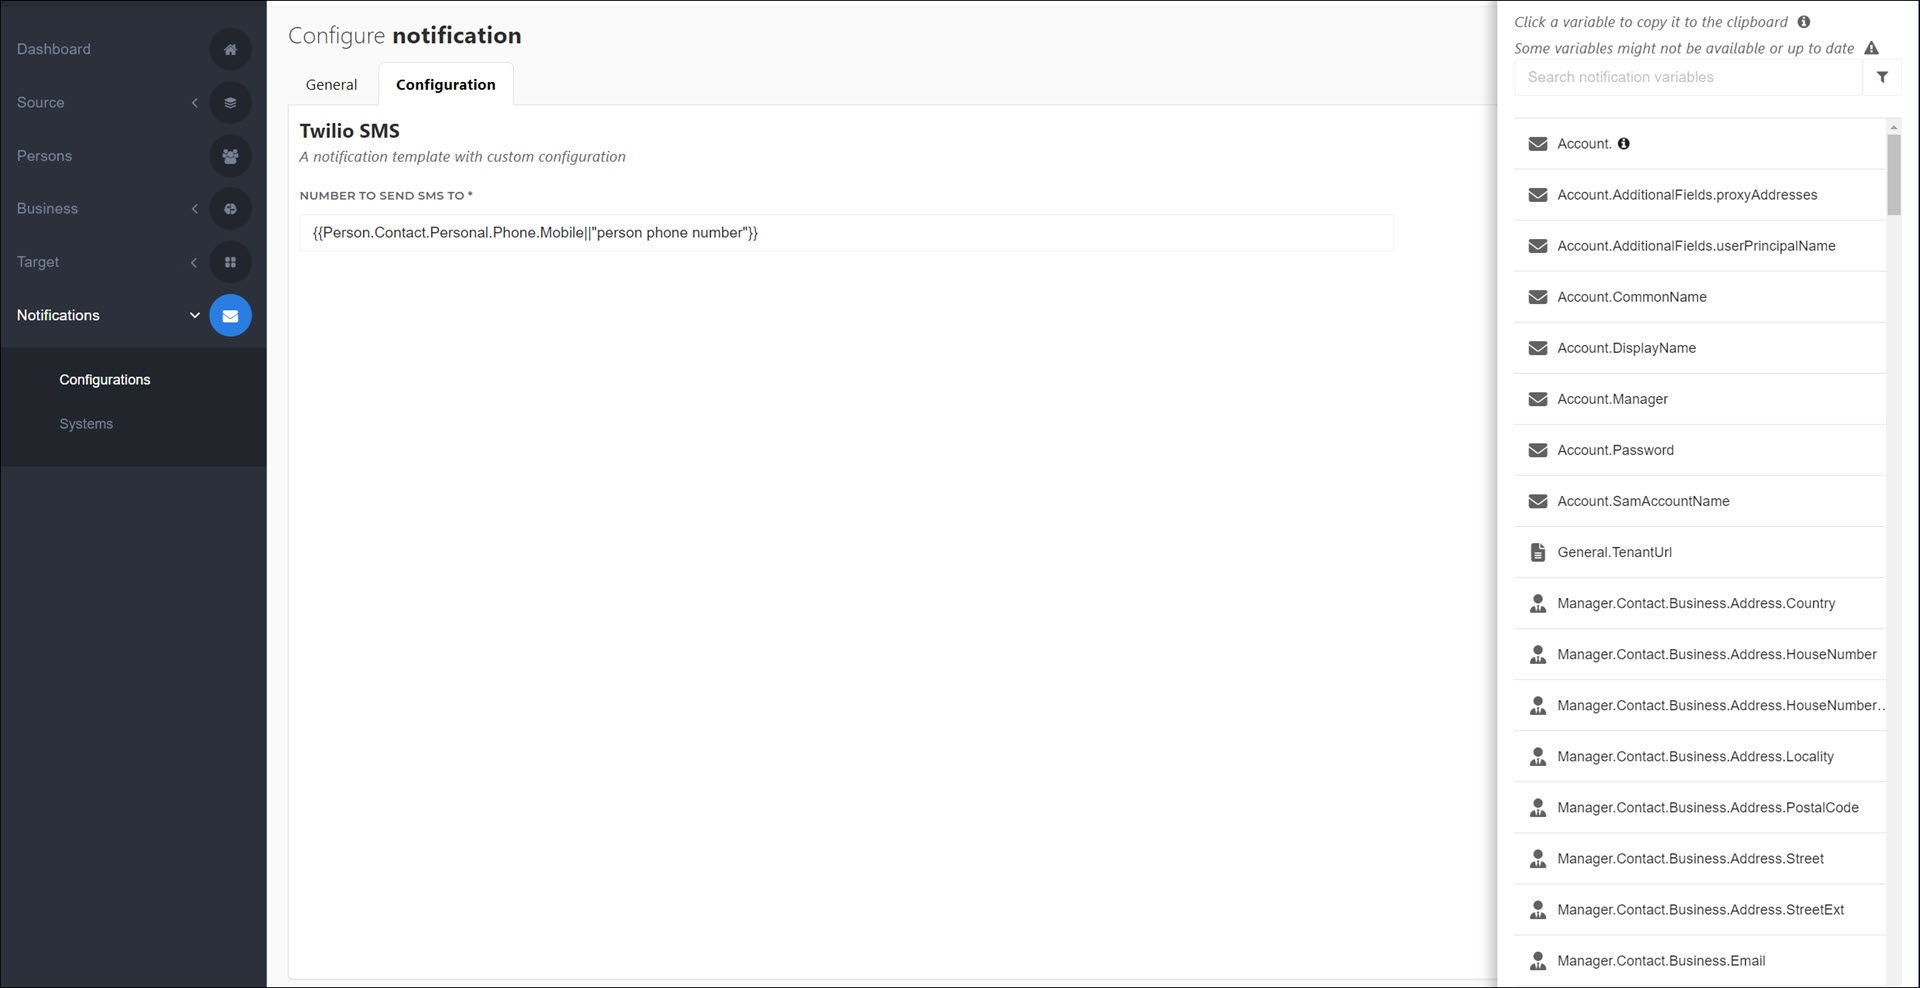
For an overview, see Notifications variable reference.
For this example, we'll leave the default value.
Click Save.
This notification has been added and will run when its associated Event occurs in the associated Target System during enforcement.
Go to Notifications > Configurations.
For the relevant notification, click
 Edit.
Edit.Continue by following the instructions in Add a notification (email).
Go to Notifications > Configurations.
For the relevant notification, click
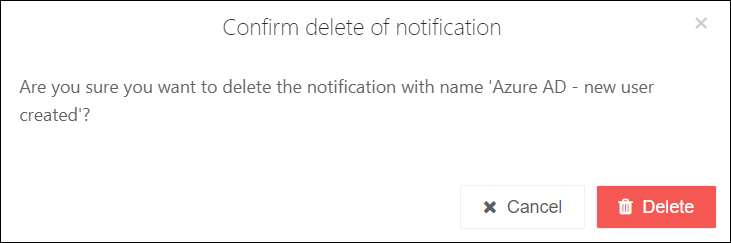
 Delete.
In the dialog box, click Delete to confirm.