Add, edit, or remove a user
Add a local user
Tip
Local users are the only type of user that you can manually add. Synced users must be created in the external directory system and then synced into HelloID via Directory sync.
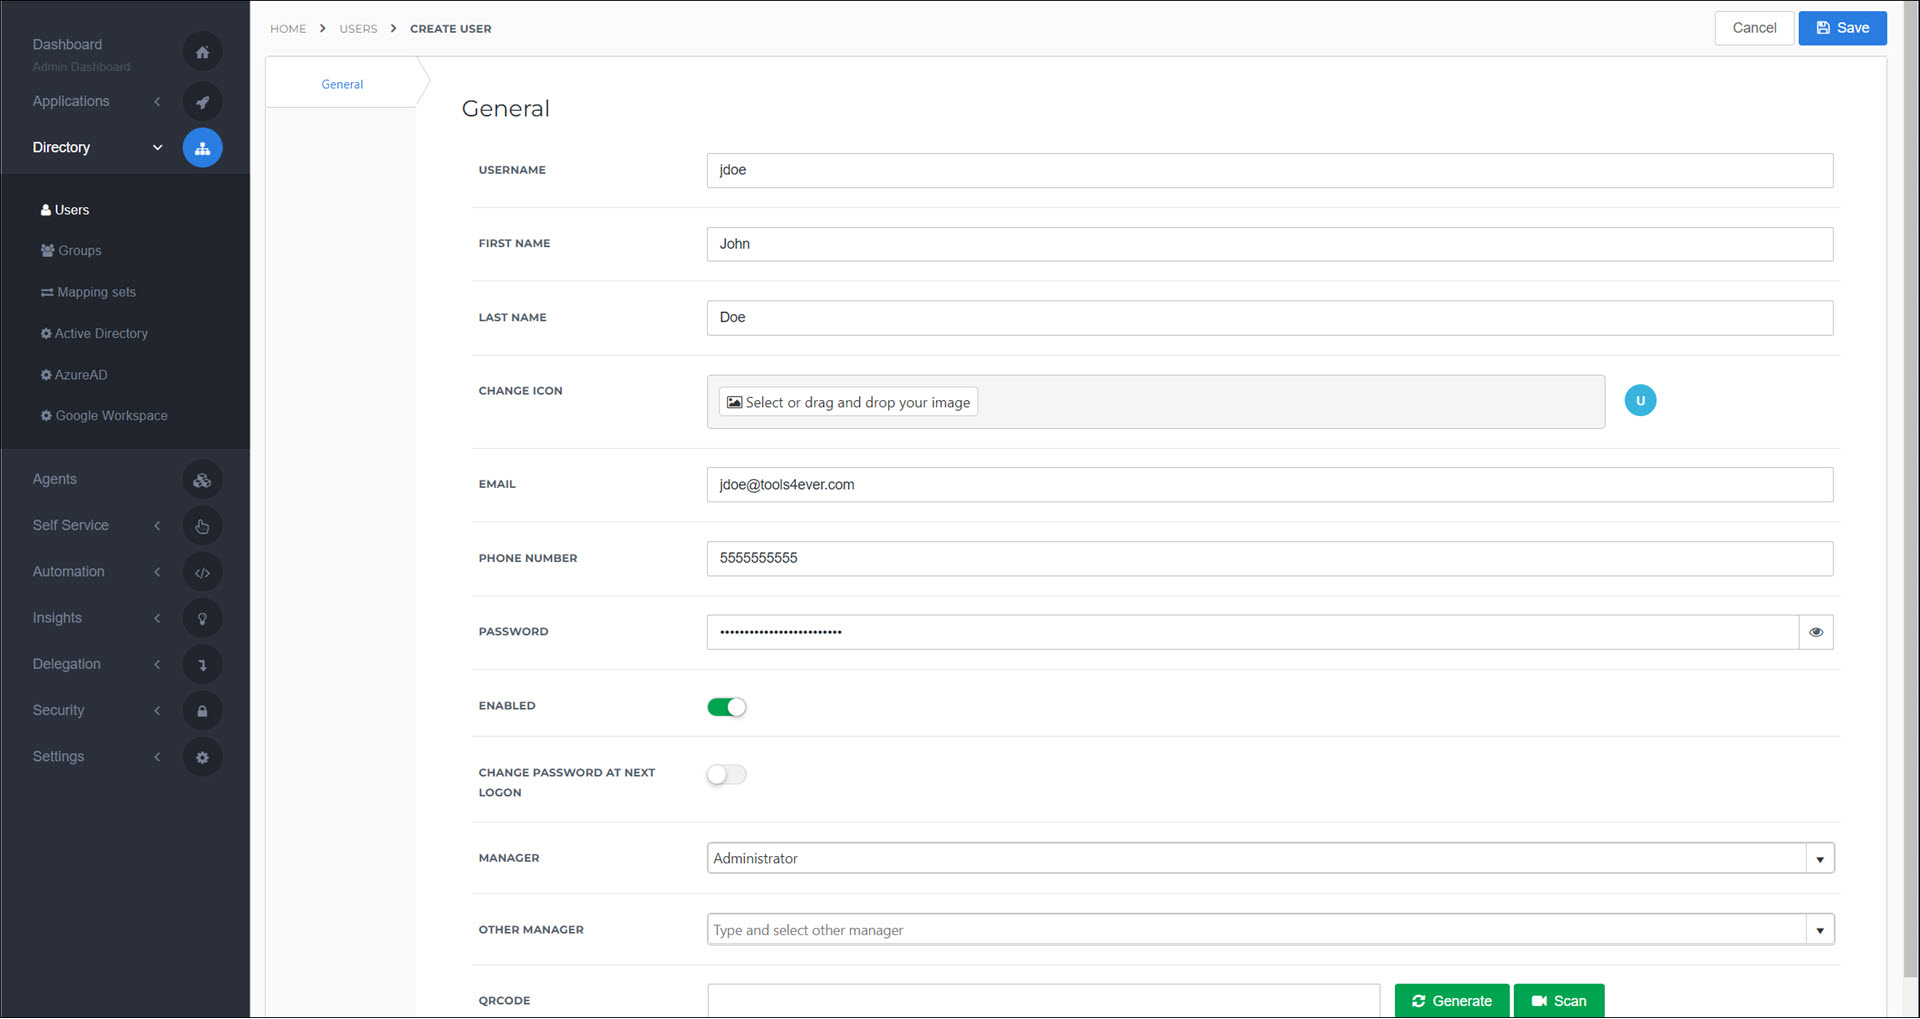
Go to Directory > Users.
Click Create User.
Required: Enter a Username, First Name, Last Name, Email, Phone Number, and Password.
Recommended: Specify a Manager.
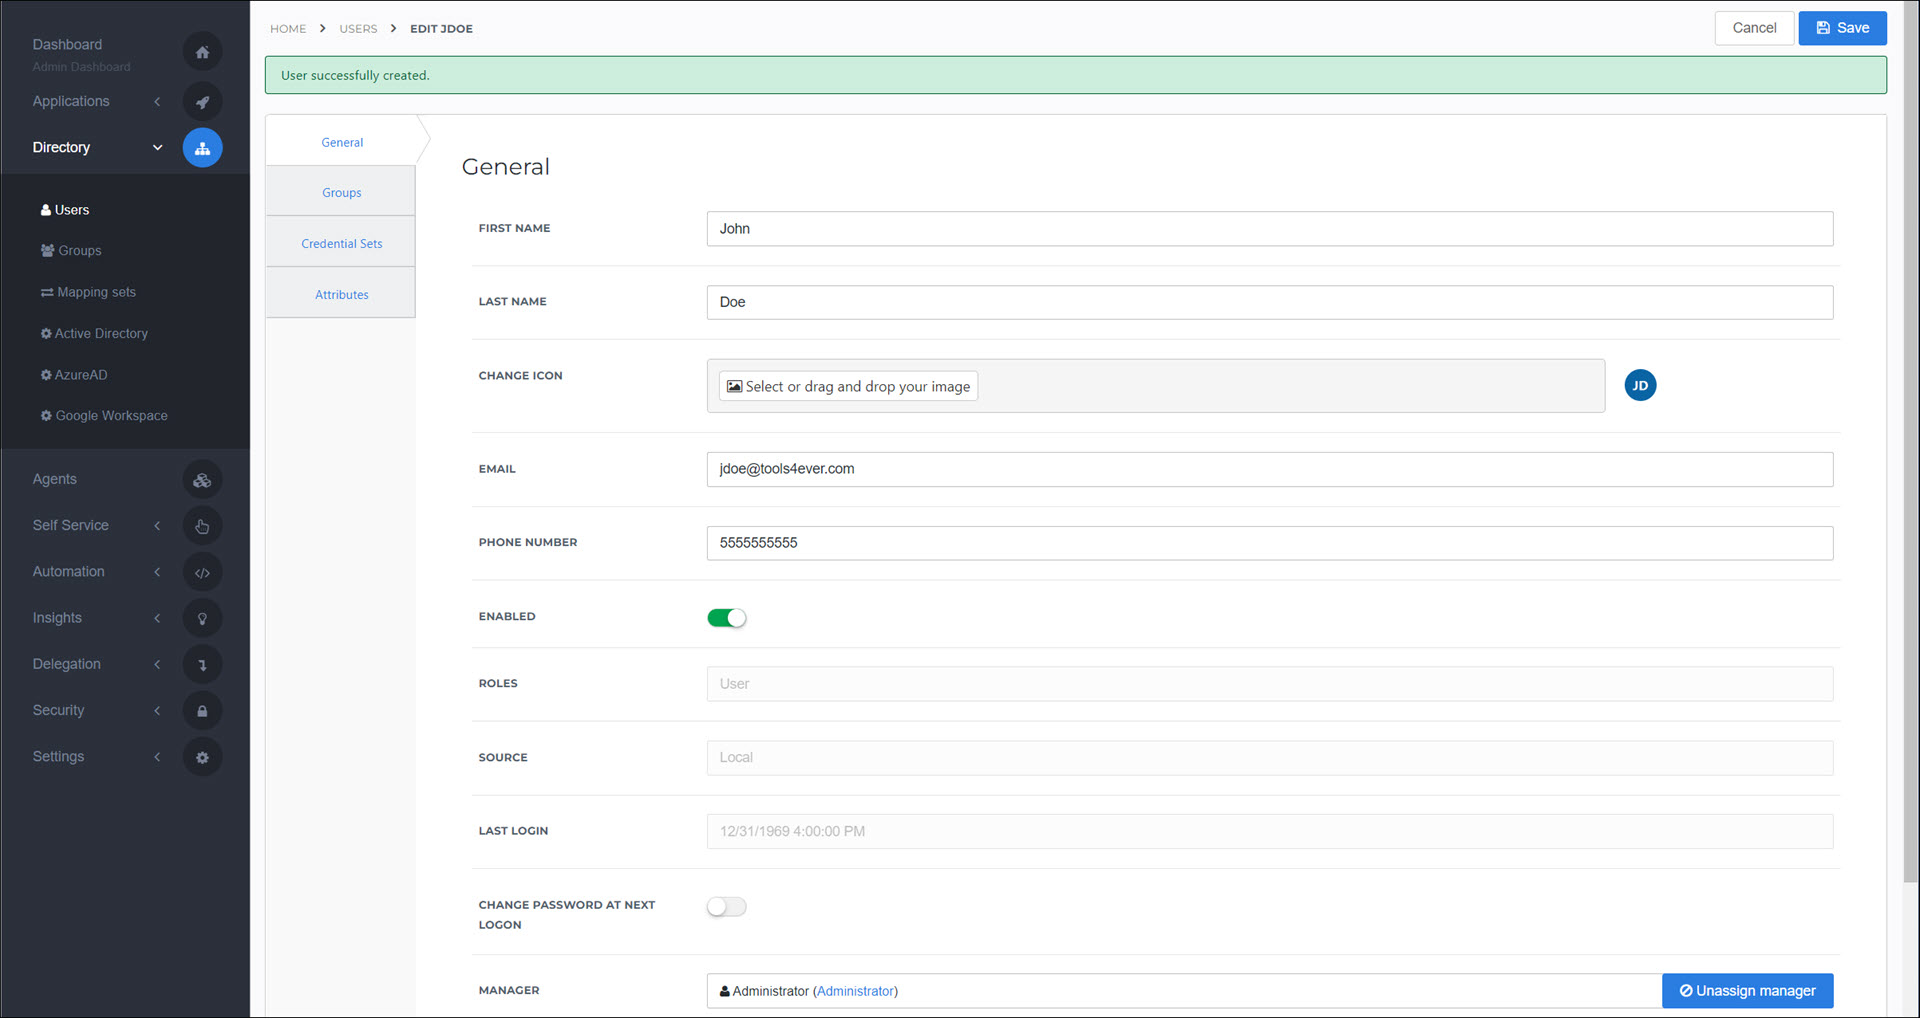
Click Save.

The user has been added. The Groups tab, Credential Sets tab, and Attributes tab are now available.

The next step is typically to Link a group to a user for all relevant groups, to grant the new user access to the appropriate resources in HelloID.
Caution
Although it is possible to edit or remove Synced users, these changes are not written into the external directory system and will be reverted in HelloID during the next synchronization. To permanently edit or remove a synchronized user, you must make the change in the directory system. On the other hand, all changes to Local users are persistent.
Go to Directory > Users.
For the relevant user, click Edit.
Modify the user's settings as needed. See User settings reference.
Caution
Although it is possible to edit or remove Synced users, these changes are not written into the external directory system and will be reverted in HelloID during the next synchronization. To permanently edit or remove a synchronized user, you must make the change in the directory system. On the other hand, all changes to Local users are persistent.
Go to Directory > Users.
For the relevant user, select their checkbox.
Click Delete.
To confirm, click Delete Users.