Add, edit, or remove a product
For more information, see Products.
Add a product
Tip
If the product is an SSO (web) application, instead see Add a product which grants access to an application.
Go to Self Service > Products.
Click Create Product.
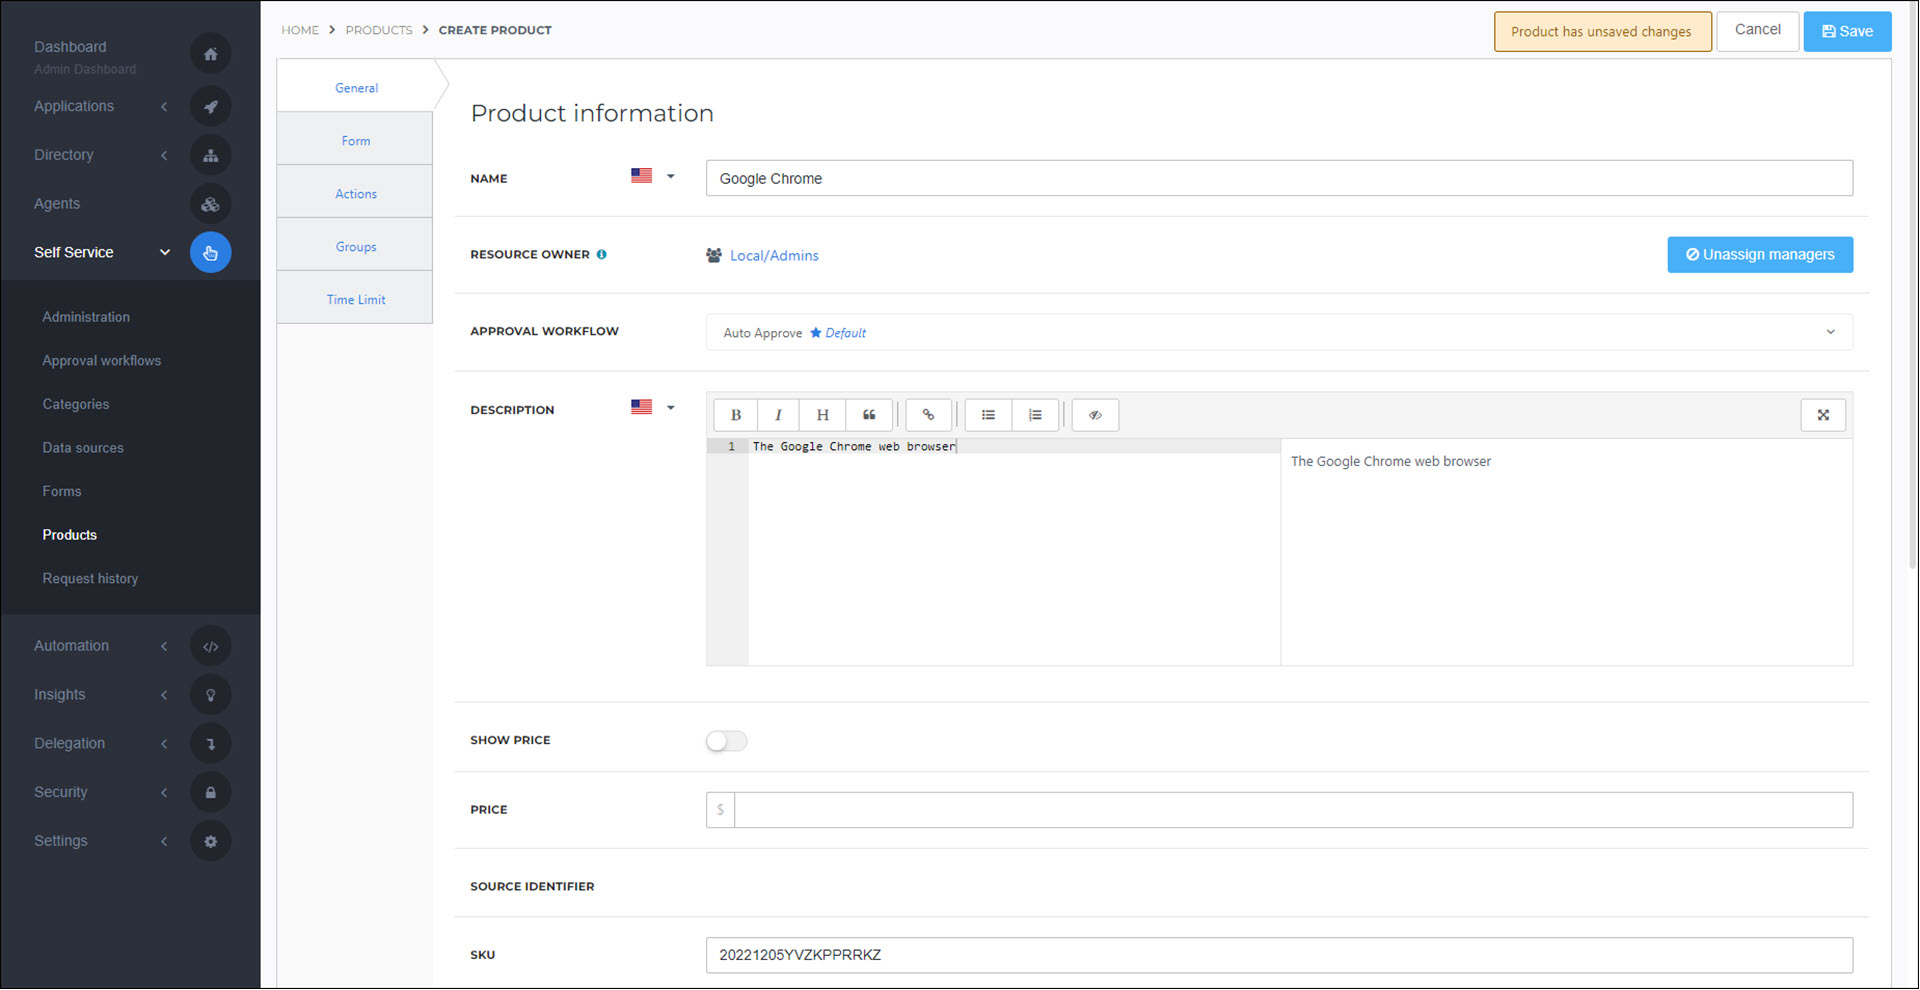
On the General tab, enter values for the product's settings. See the Product settings reference for a full list of available settings.
For this example, we'll create a product for the Google Chrome application, with the following settings:
Name: Google Chrome
Resource Owner: Local/Admins
Approval Workflow: Auto Approve
Description: The Google Chrome web browser
Multiple Requests: Always
Type Of Icon: Use Custom Icon (googlechrome.jpg)
Category: General
All other settings: default
Go to the Groups tab to Link a product to a group. Only the users in the assigned groups will be able to view and request this product on the user dashboard.
For this example, we'll link our Google Chrome product to the Local/Users group.
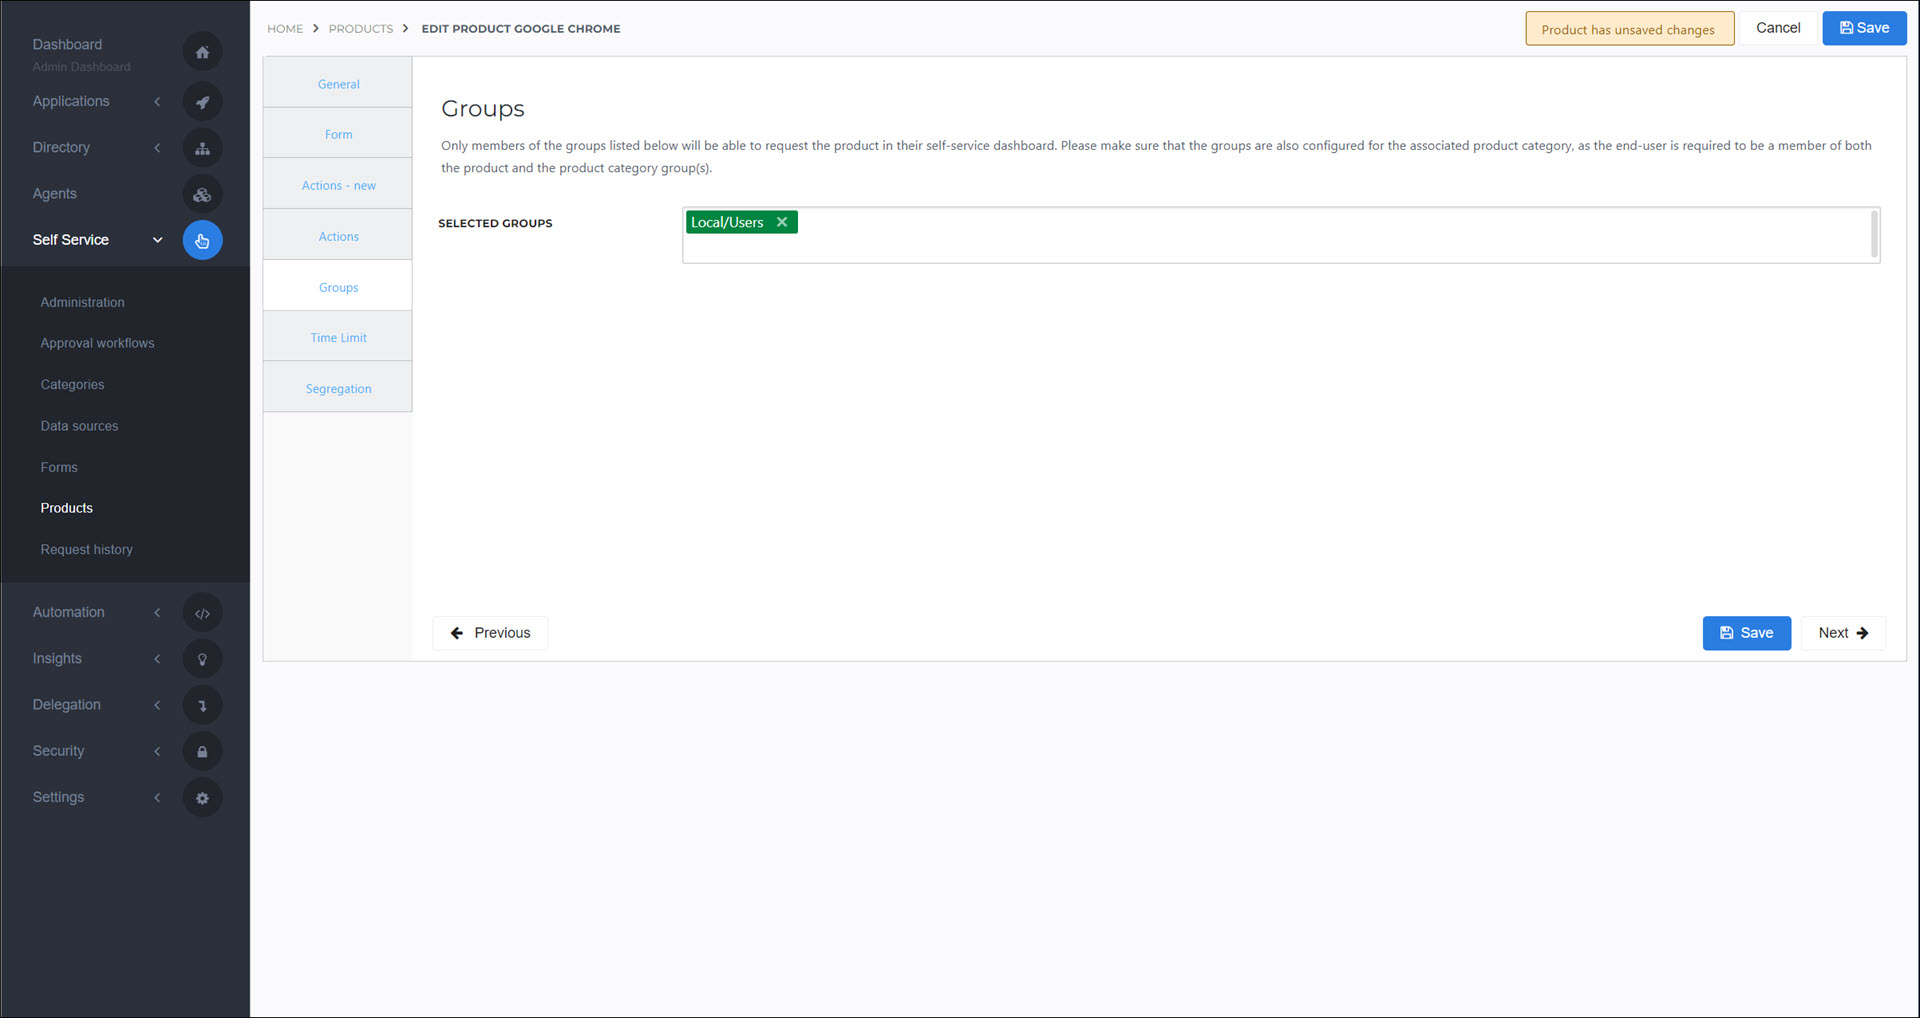
Click Save.
The product has now been created and minimally configured. Users in the linked Groups (who have the necessary Rights) can now Request a product (user dashboard) for this product. However, see below for additional ways that you can customize a product.
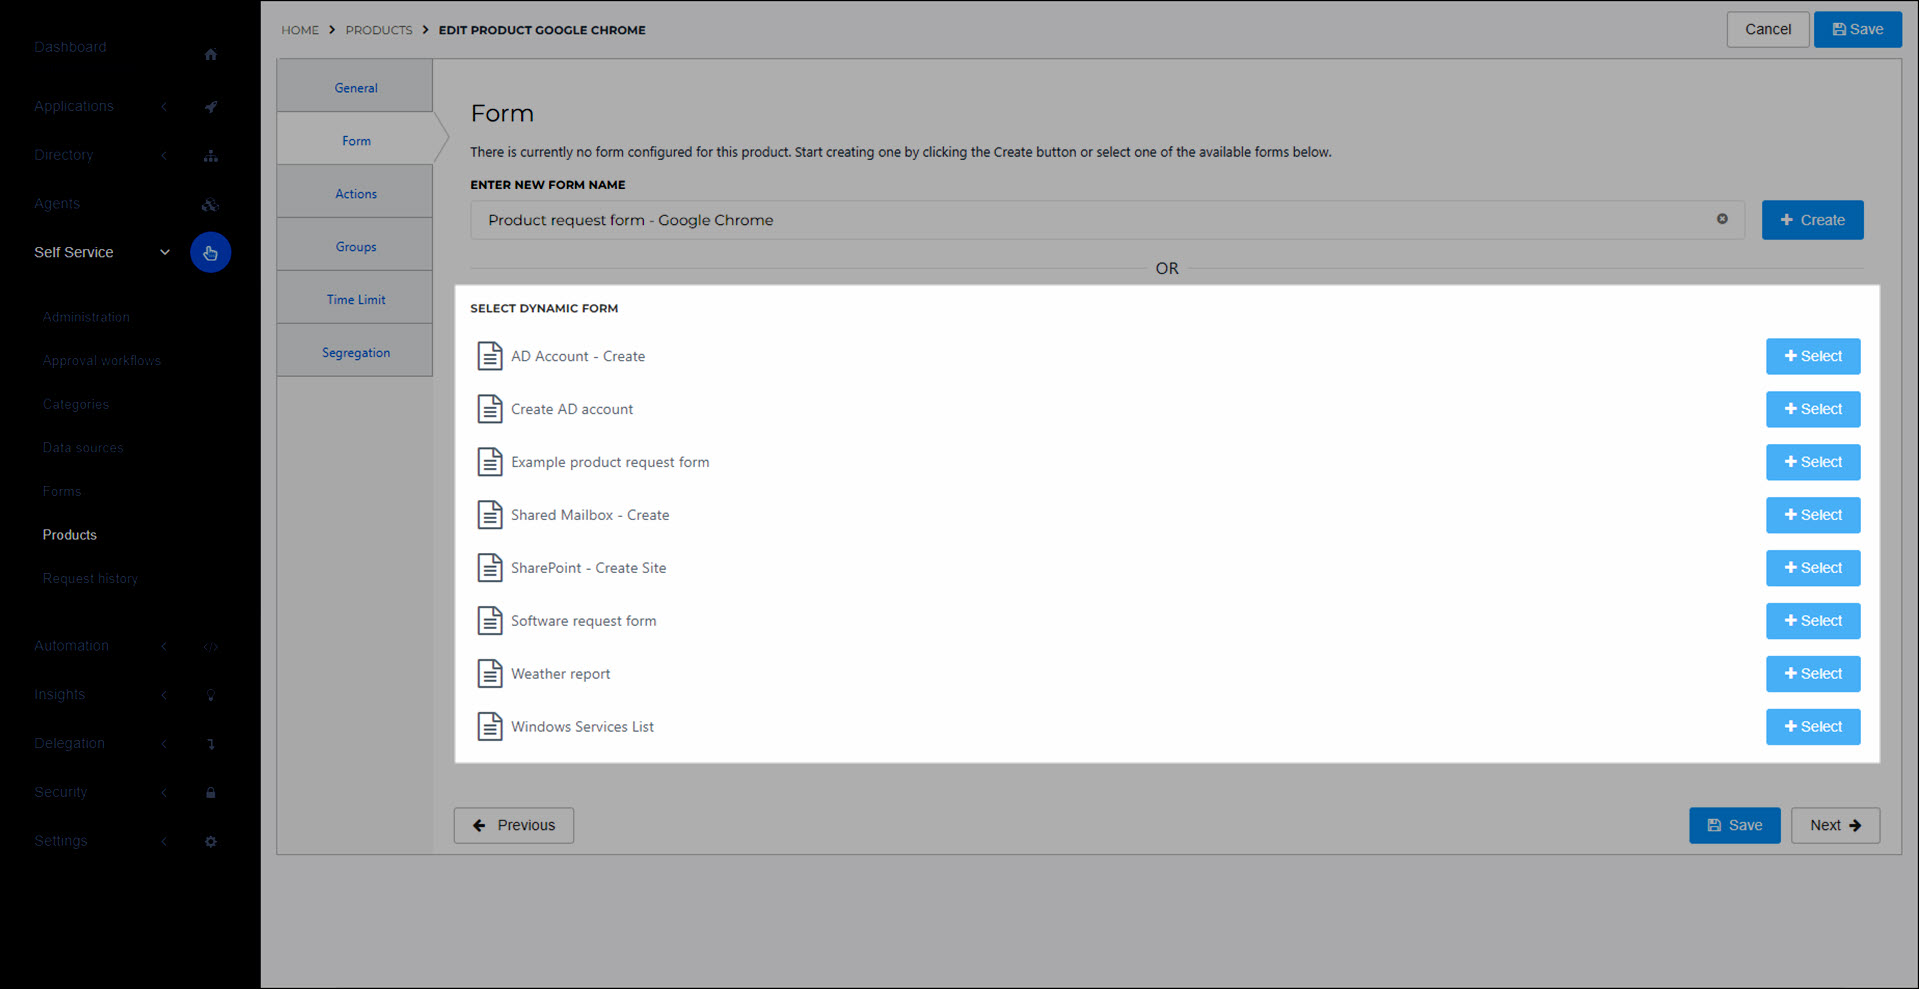
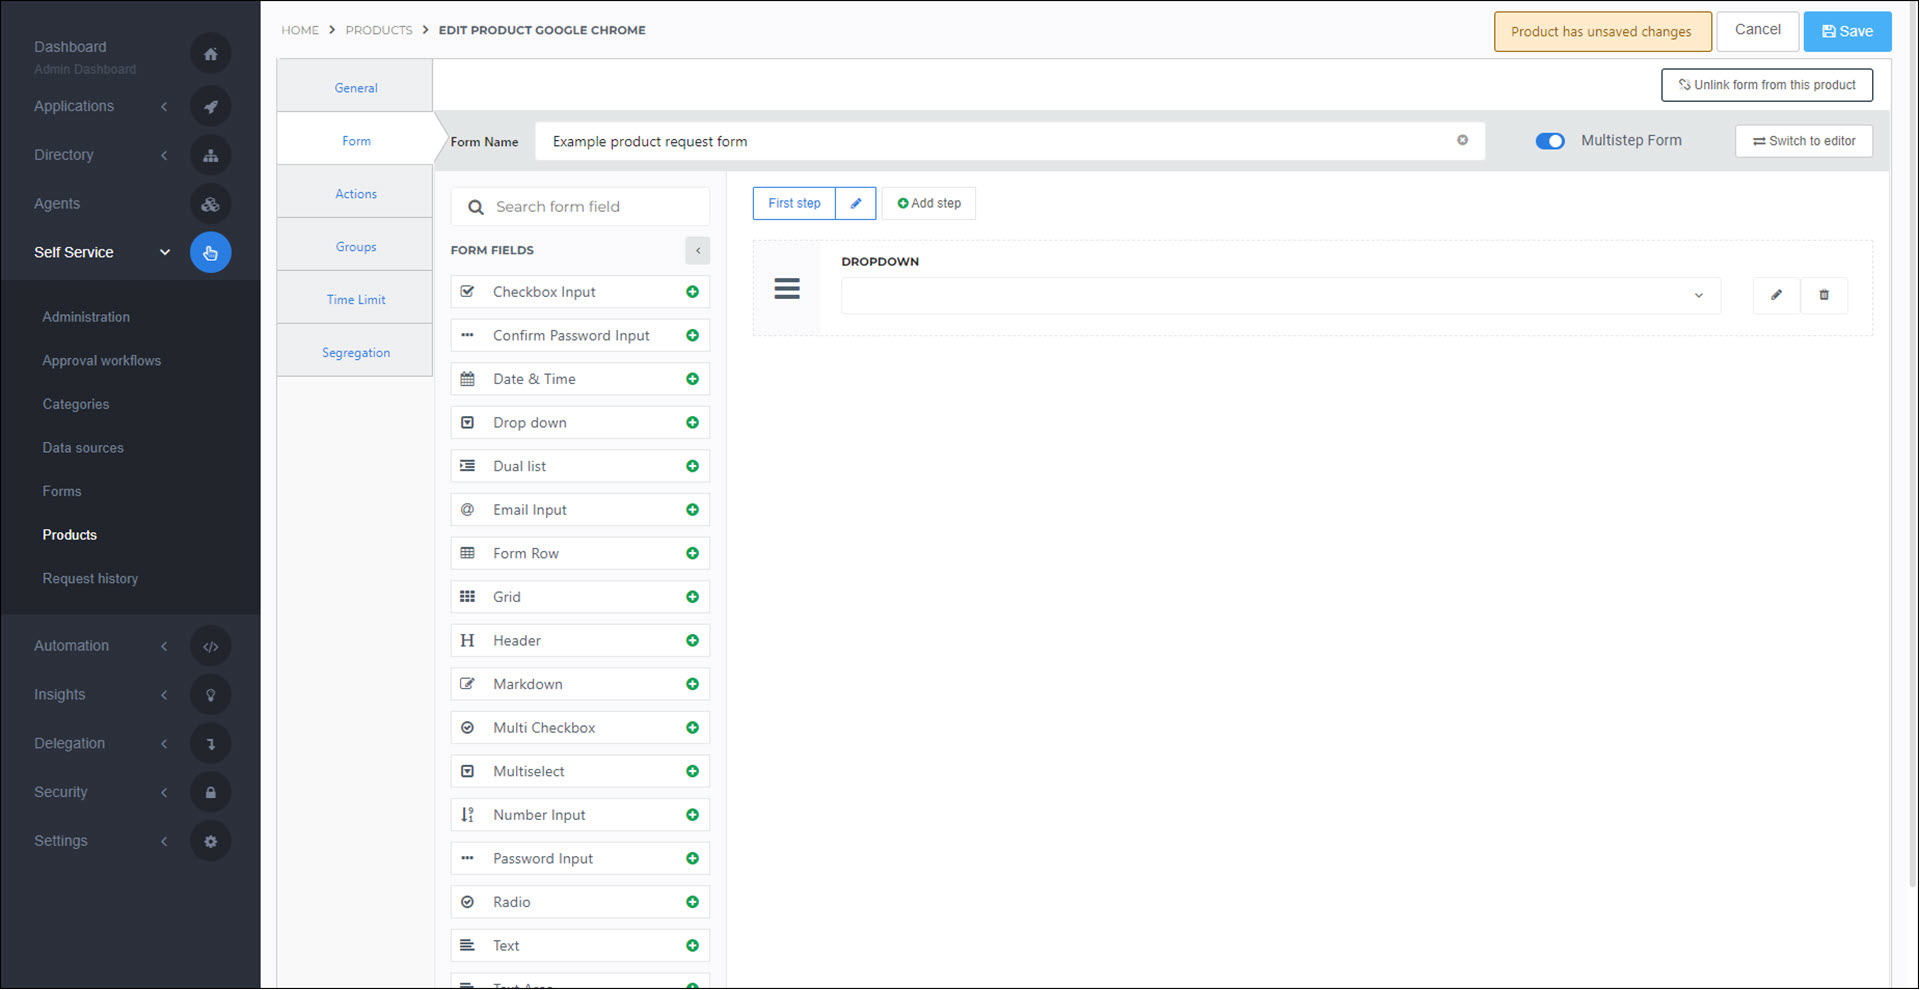
Optional: If you want to collect additional information from users when they request this product, go to the Form tab.
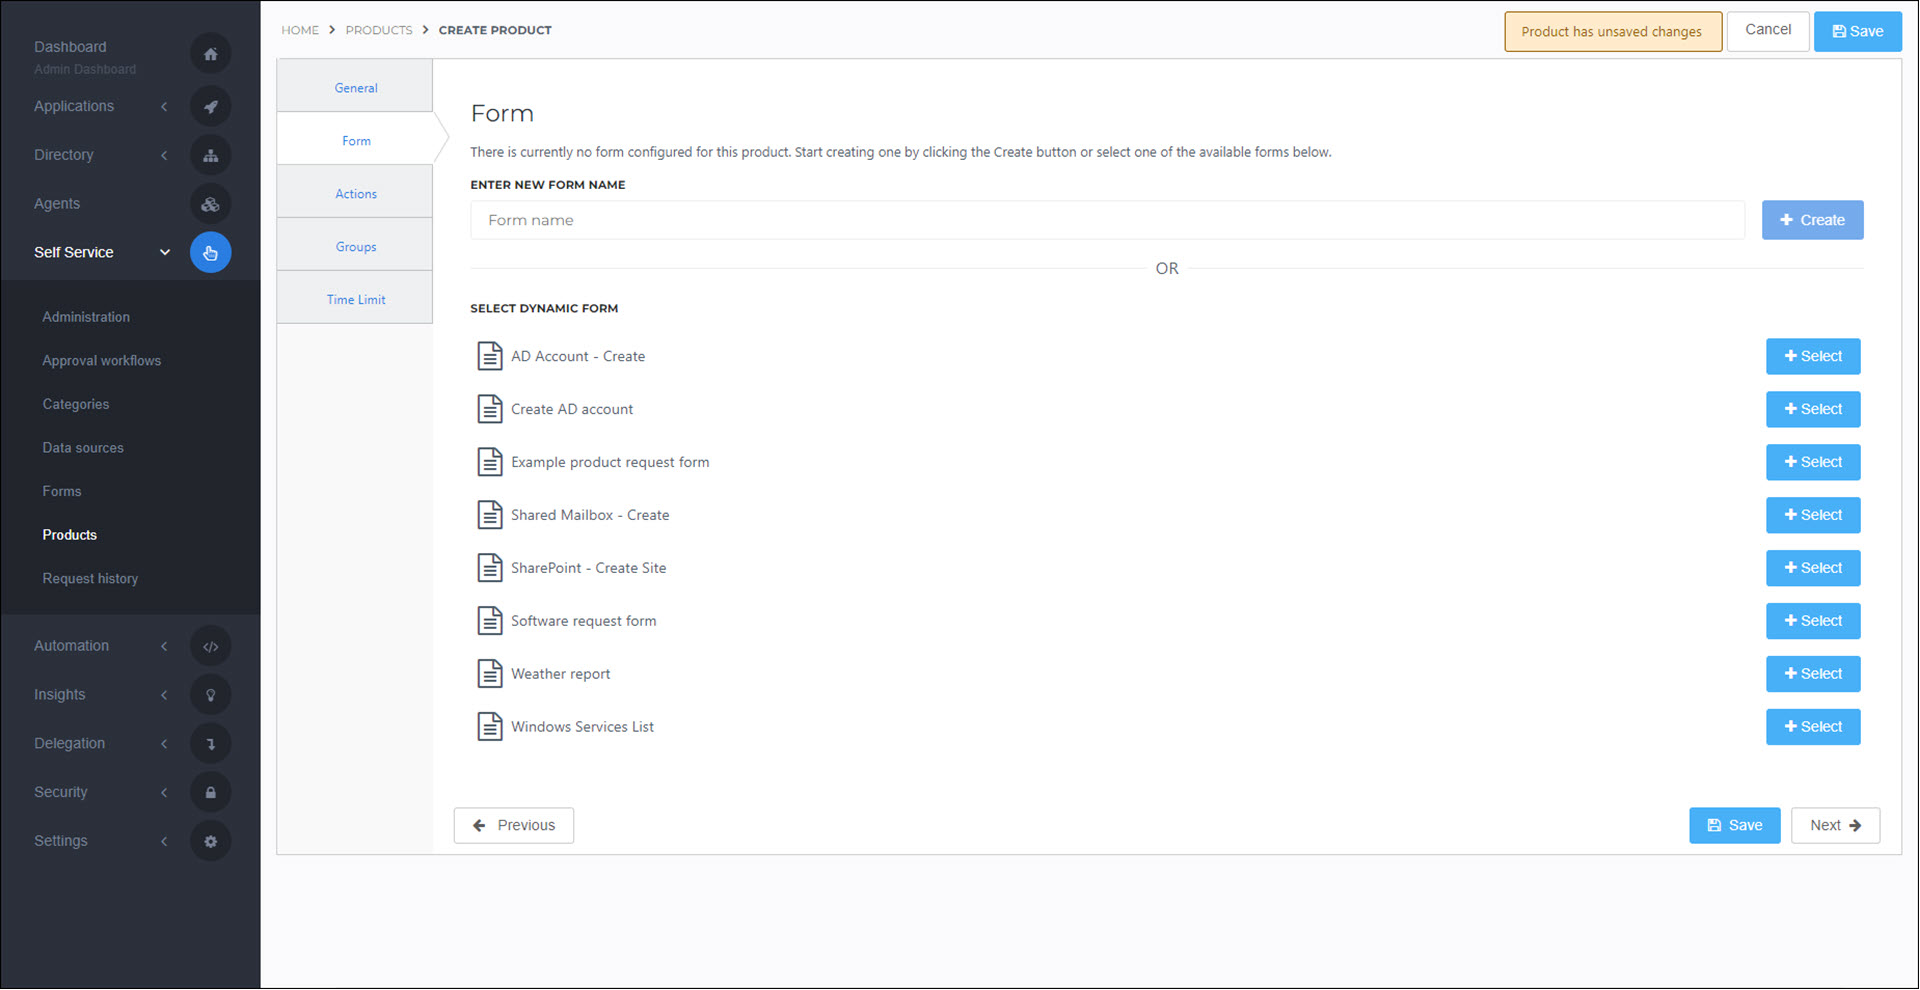
Choose one of the following:
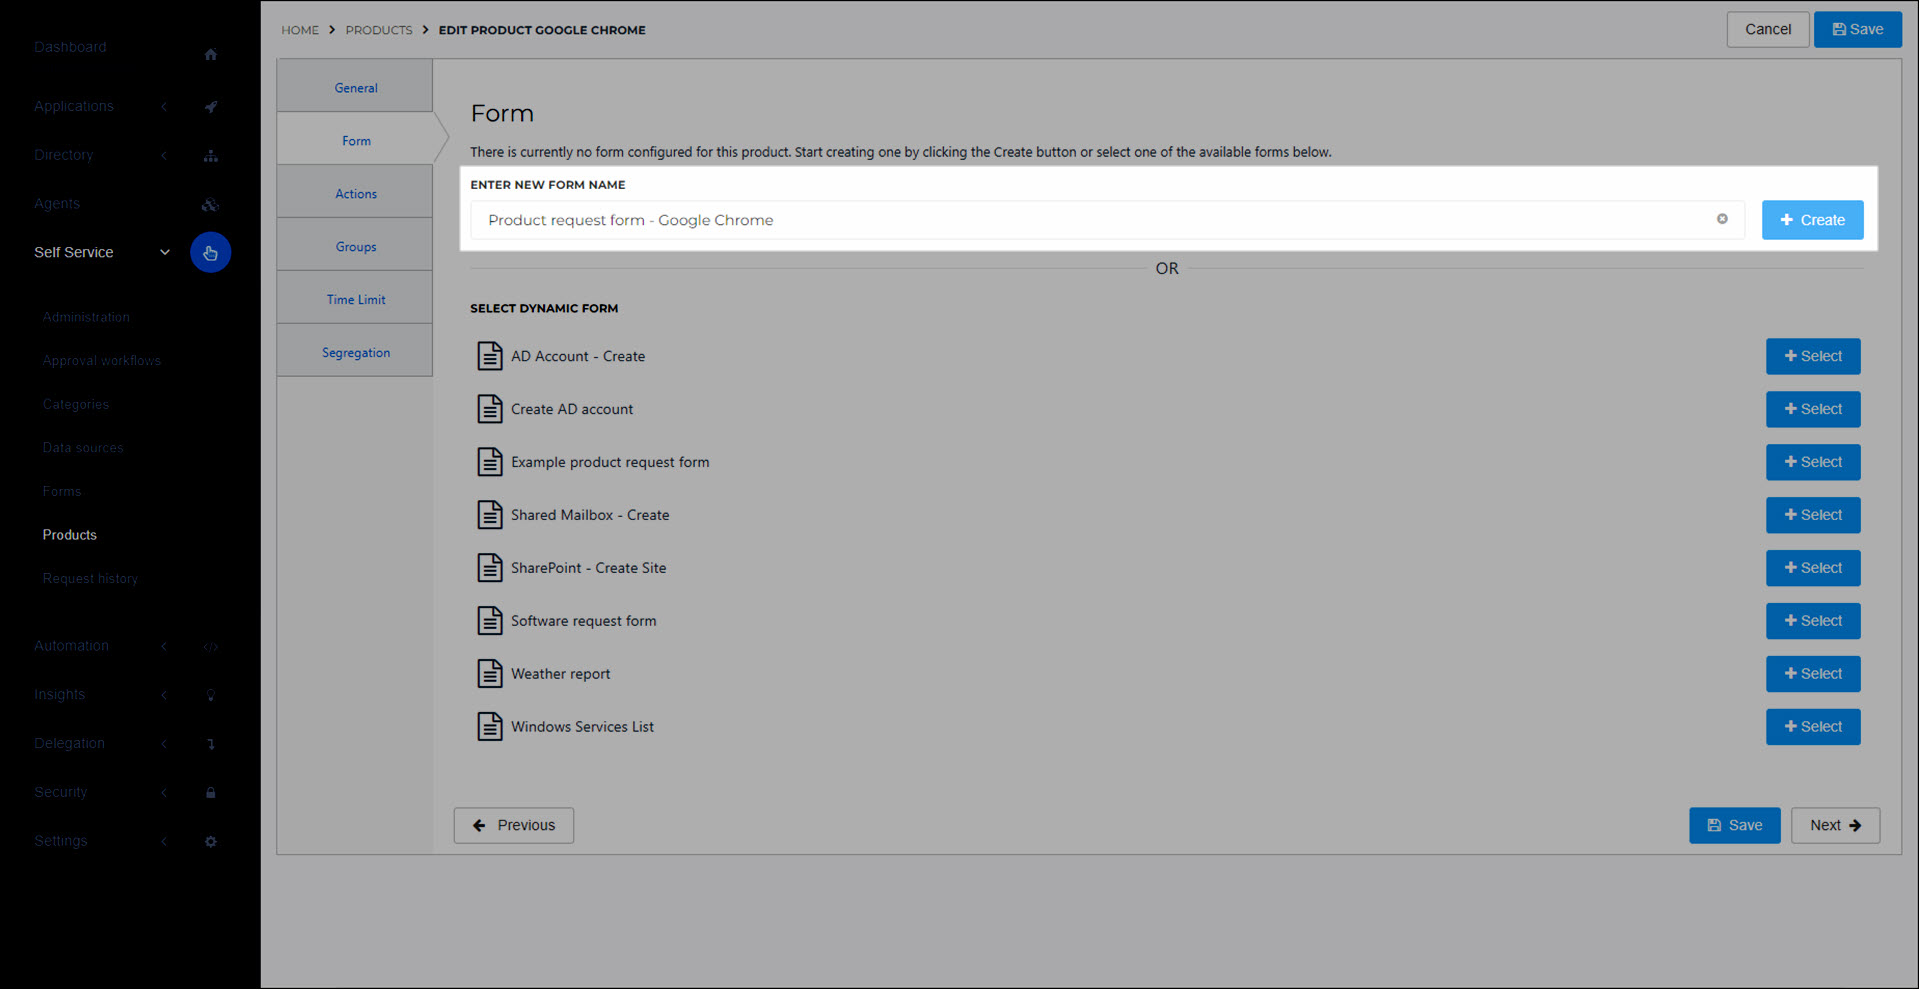
To add a new dynamic form to the product, enter a form Name and then click Create.
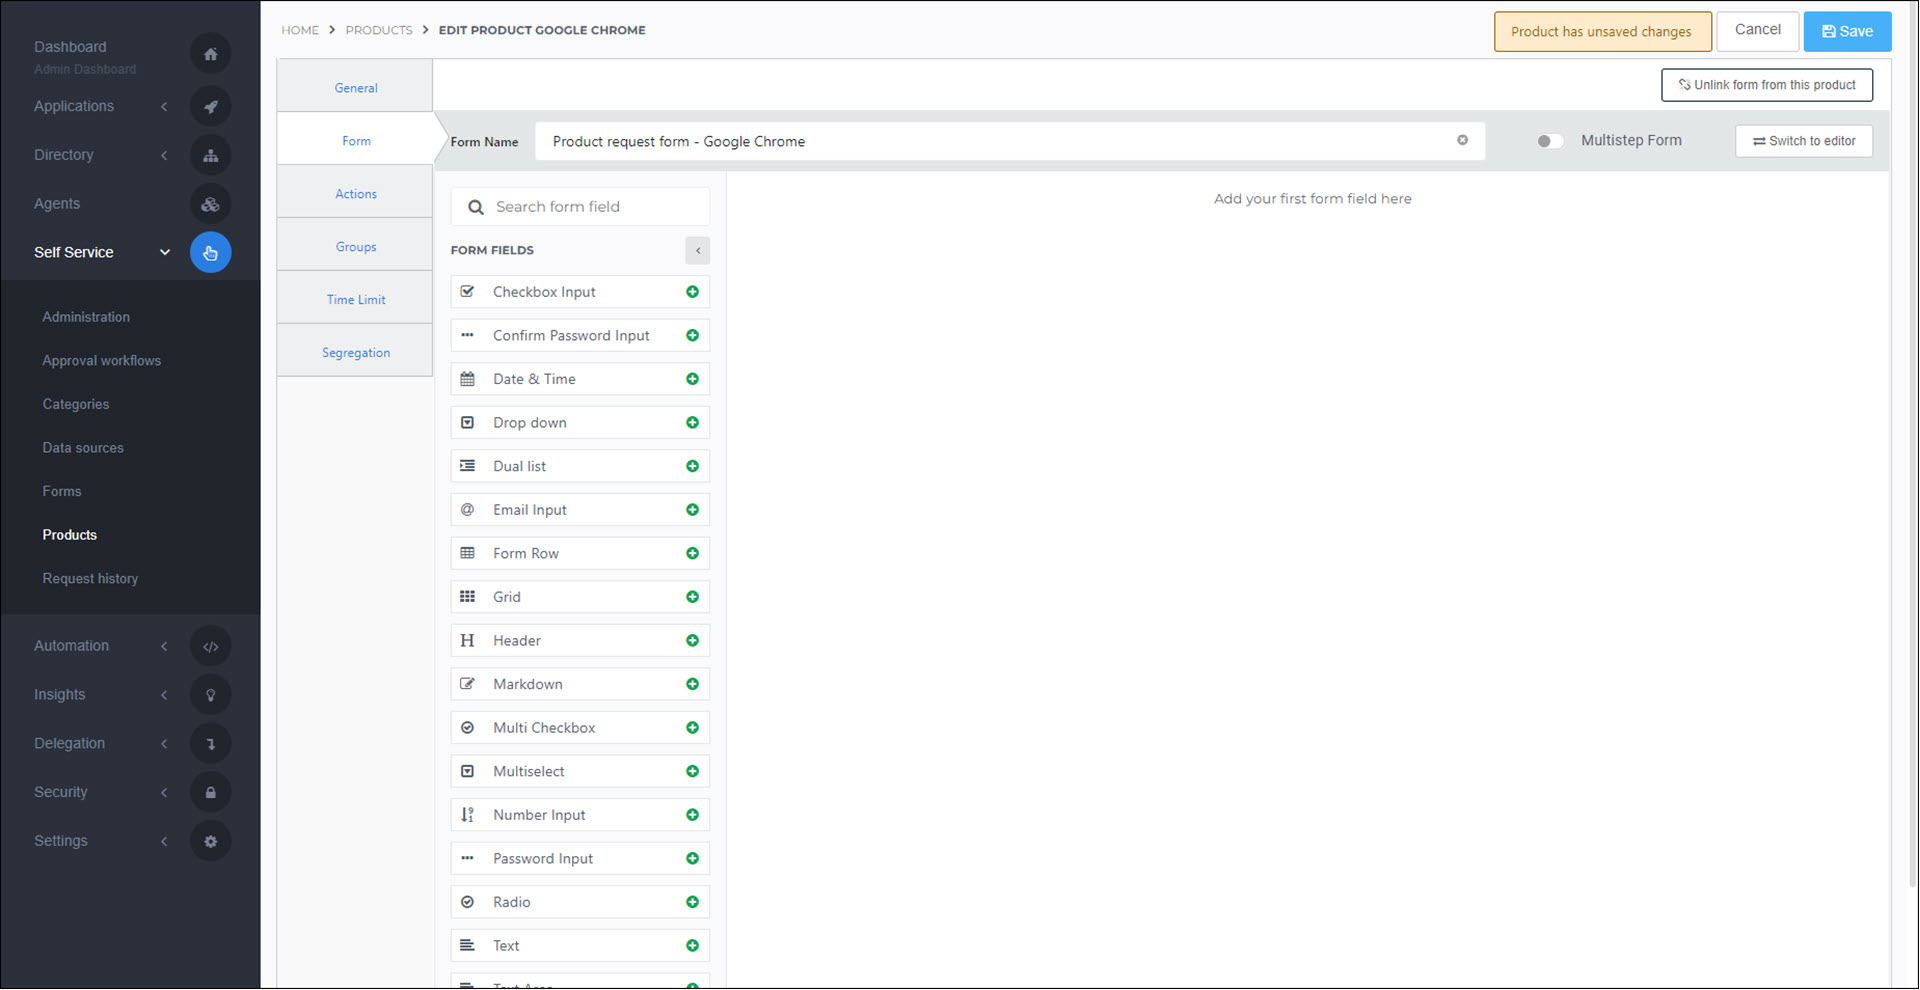
To link an existing dynamic form to the product, click Select for the relevant form, and then click Select This Form to confirm.
Caution
When you select an existing dynamic form for a product, the existing form and any data sources it has are reused in the product (i.e., not cloned). Any edits you make to the form or its data sources will be reflected in other products or delegated forms that the dynamic form is also used in, which may break those objects.
Customize the form as needed. For an example, see Add a dynamic form. For information on the form designer interface, see Form designer.
Optional: To detach the current dynamic form from the product at any time, click Unlink Form From This Product, and then click Unlink Form to confirm.
Optional: Go to the Actions - New tab to add a PowerShell product task that will run during the product request lifecycle. The task can use information submitted on the linked form. For an example, see Add a PowerShell product task.
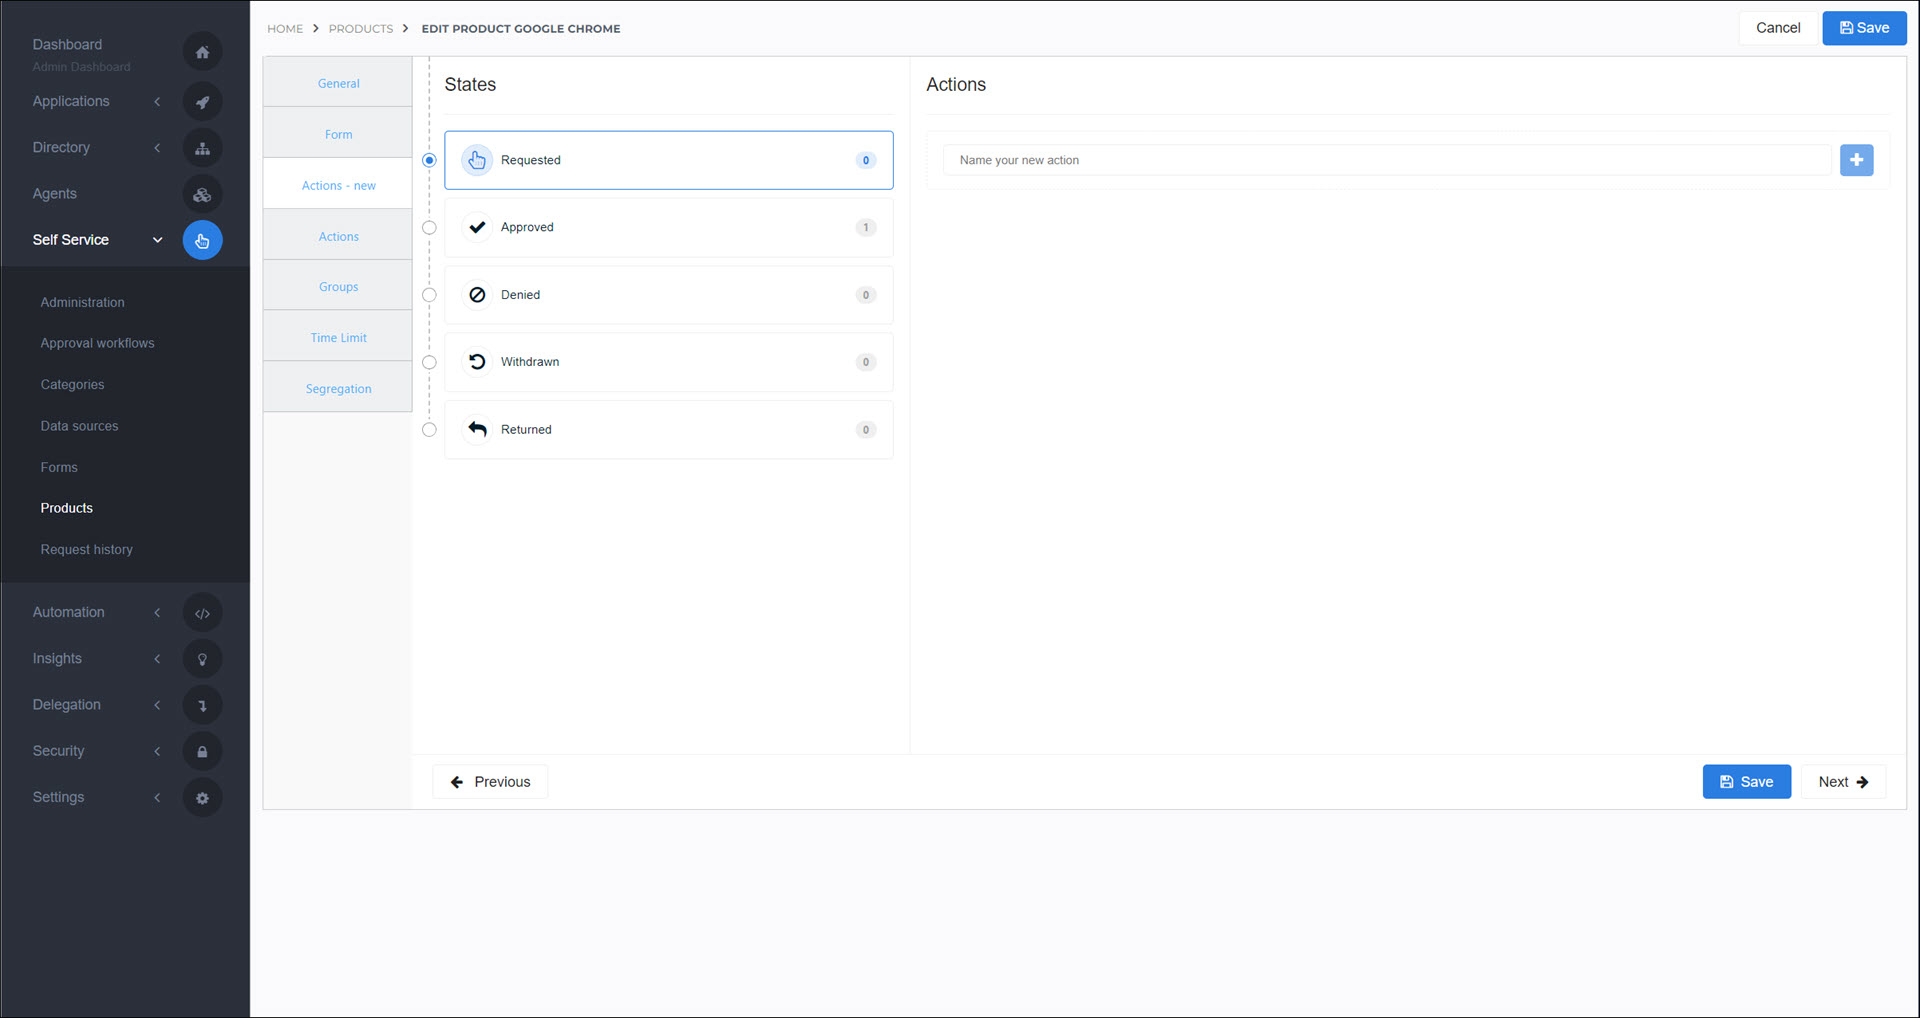
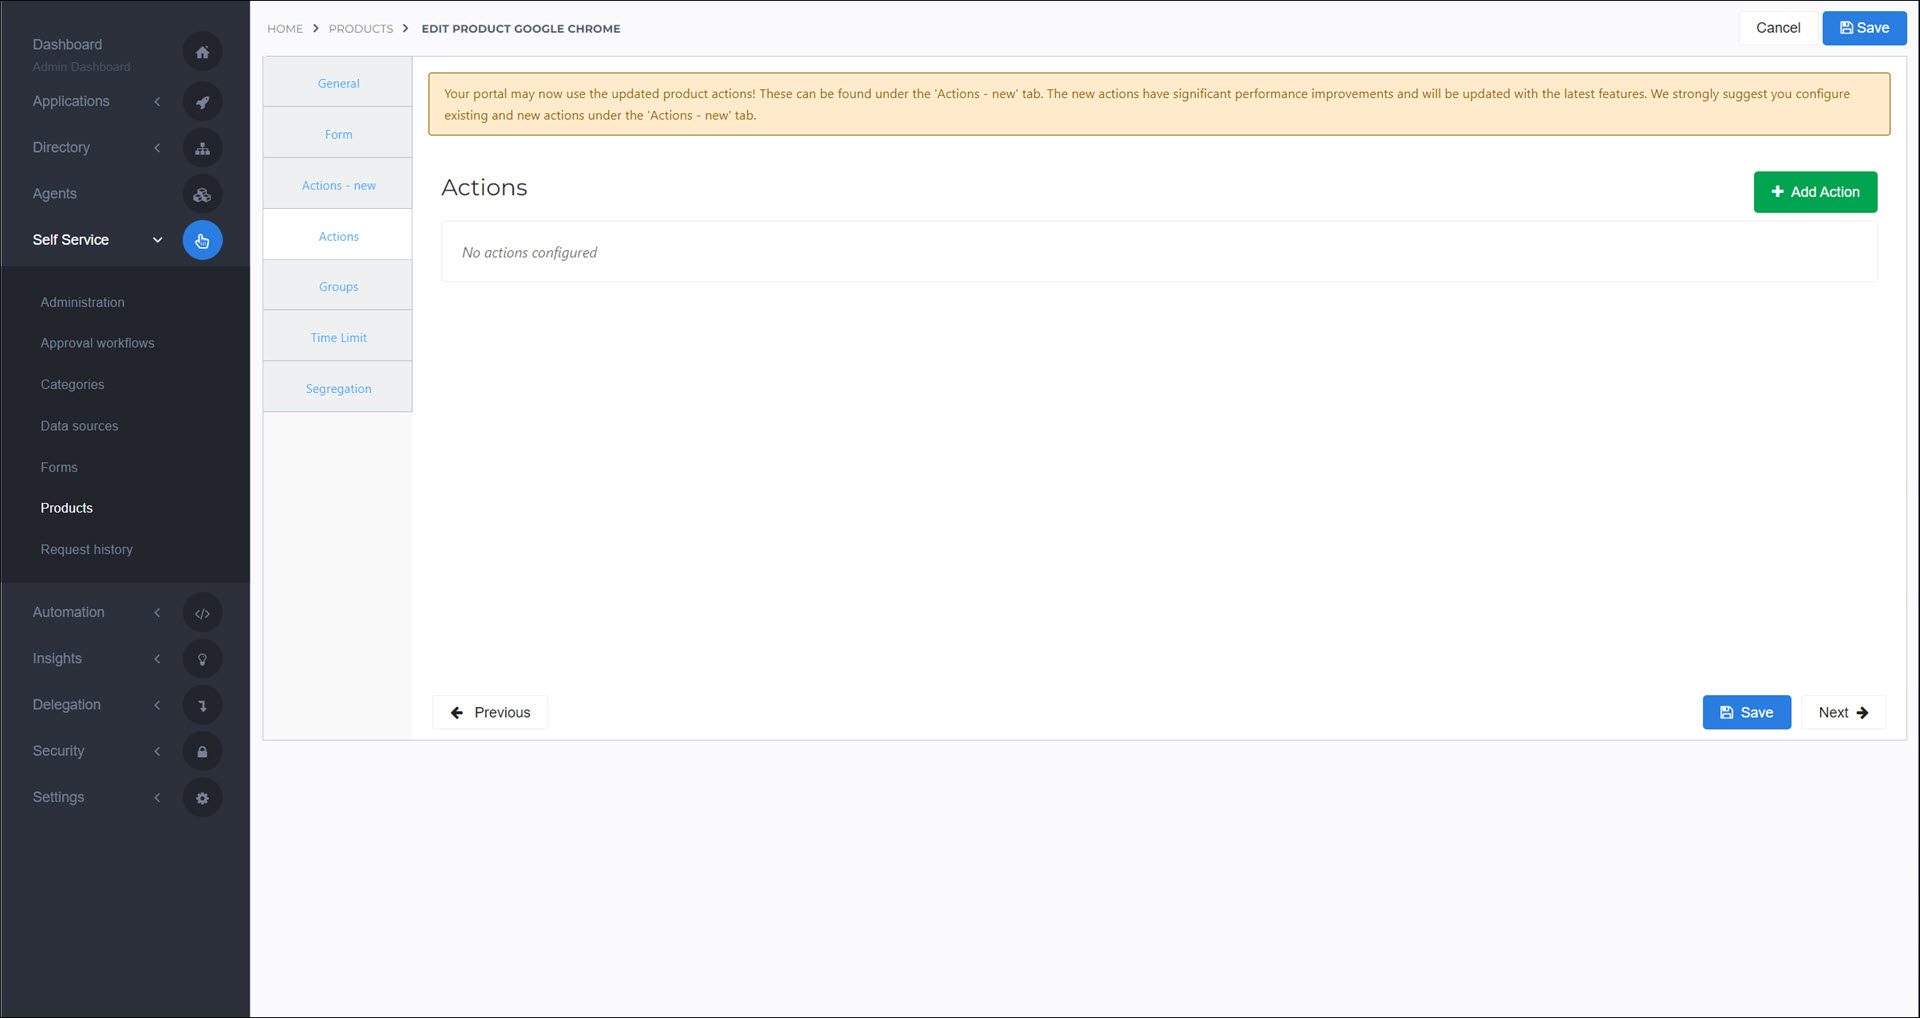
Optional: Go to the Actions tab to Add a pre-defined product task that will run during the product request lifecycle.
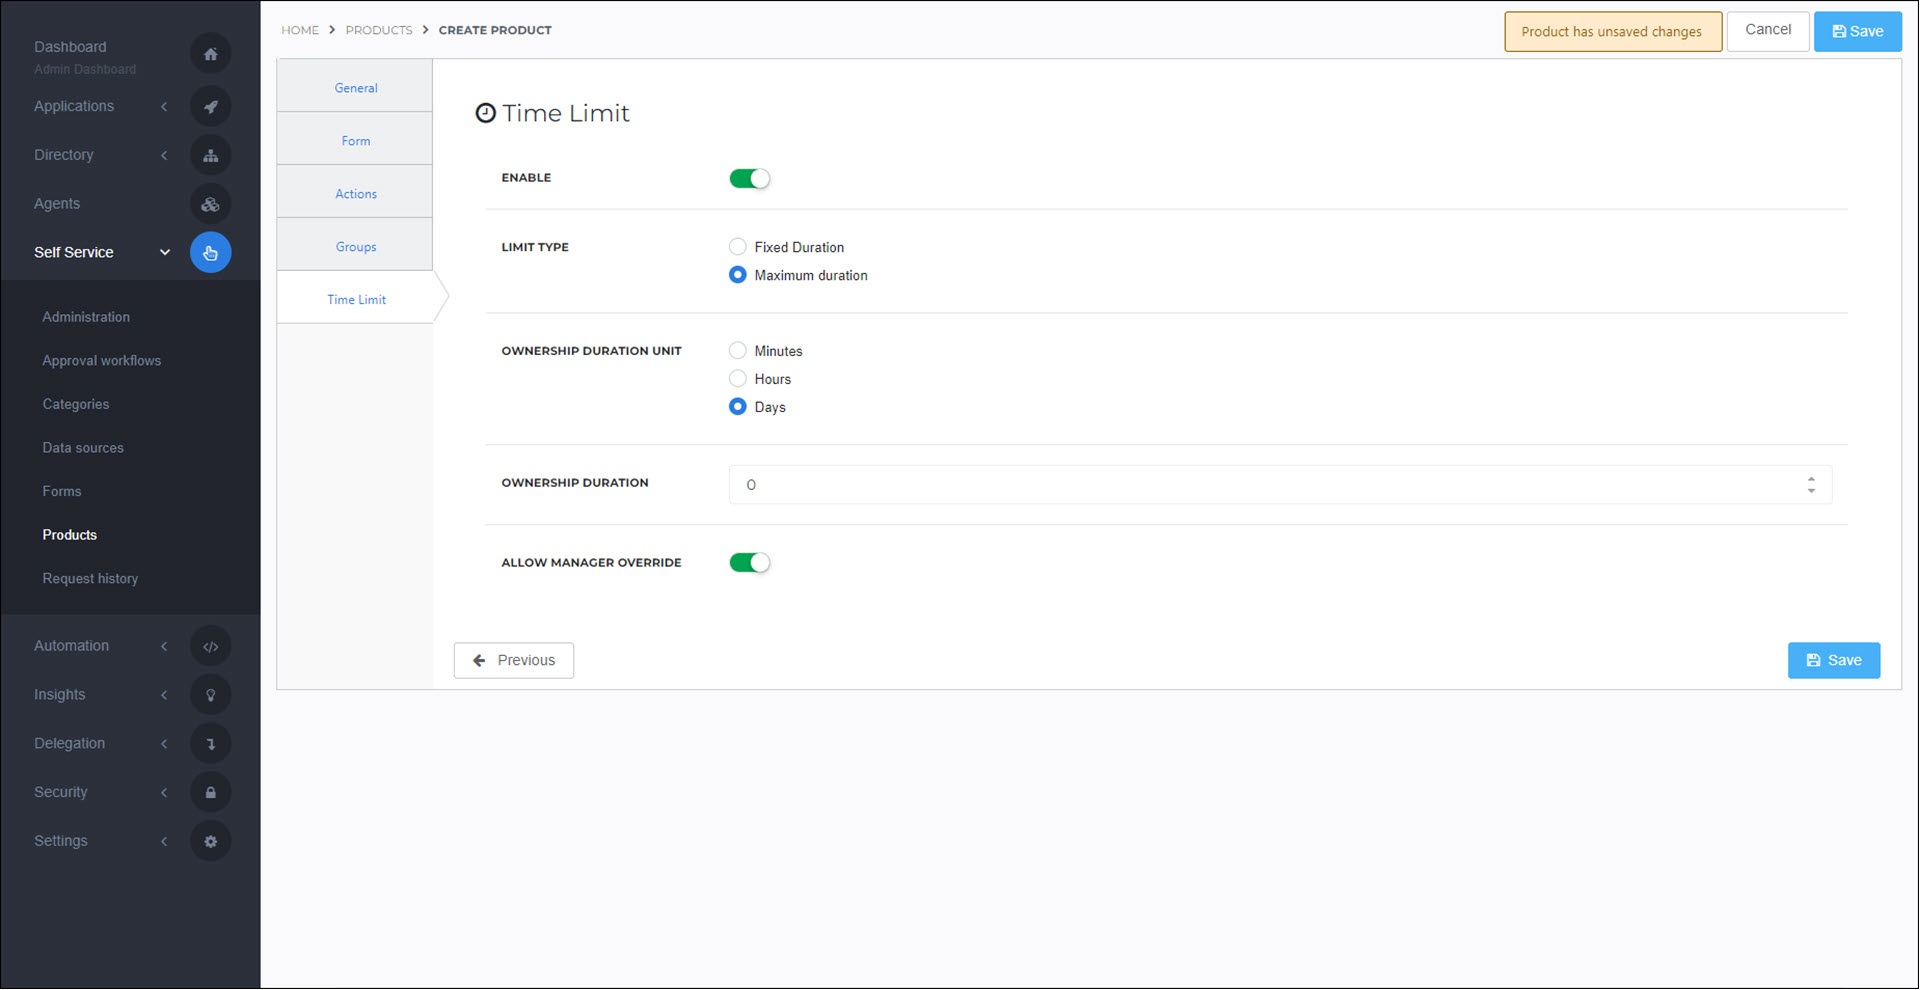
Optional: Go to the Time Limit tab to Set a time limit, which controls how long users are allowed to have a product.
Optional: Go to the Segregation tab to Segregate a product.
Go to Self Service > Products.
For the relevant product, click Edit.
Continue by following the instructions in Add a product.
Go to Self Service > Products.
For the relevant product, click Delete.
To confirm, click Delete.