Add, edit, or remove a delegated form
For more information, see Delegated forms.
Add a custom delegated form
If no suitable Pre-defined forms exist, you will need to create one from scratch.
Note
Prerequisites:
The
Weather reportform from the Add a dynamic form tutorial.The
Weather report static datasourcefrom the Add a static data source tutorial.The
Weather report PowerShell datasourcedatasource from the Add a PowerShell data source tutorial.
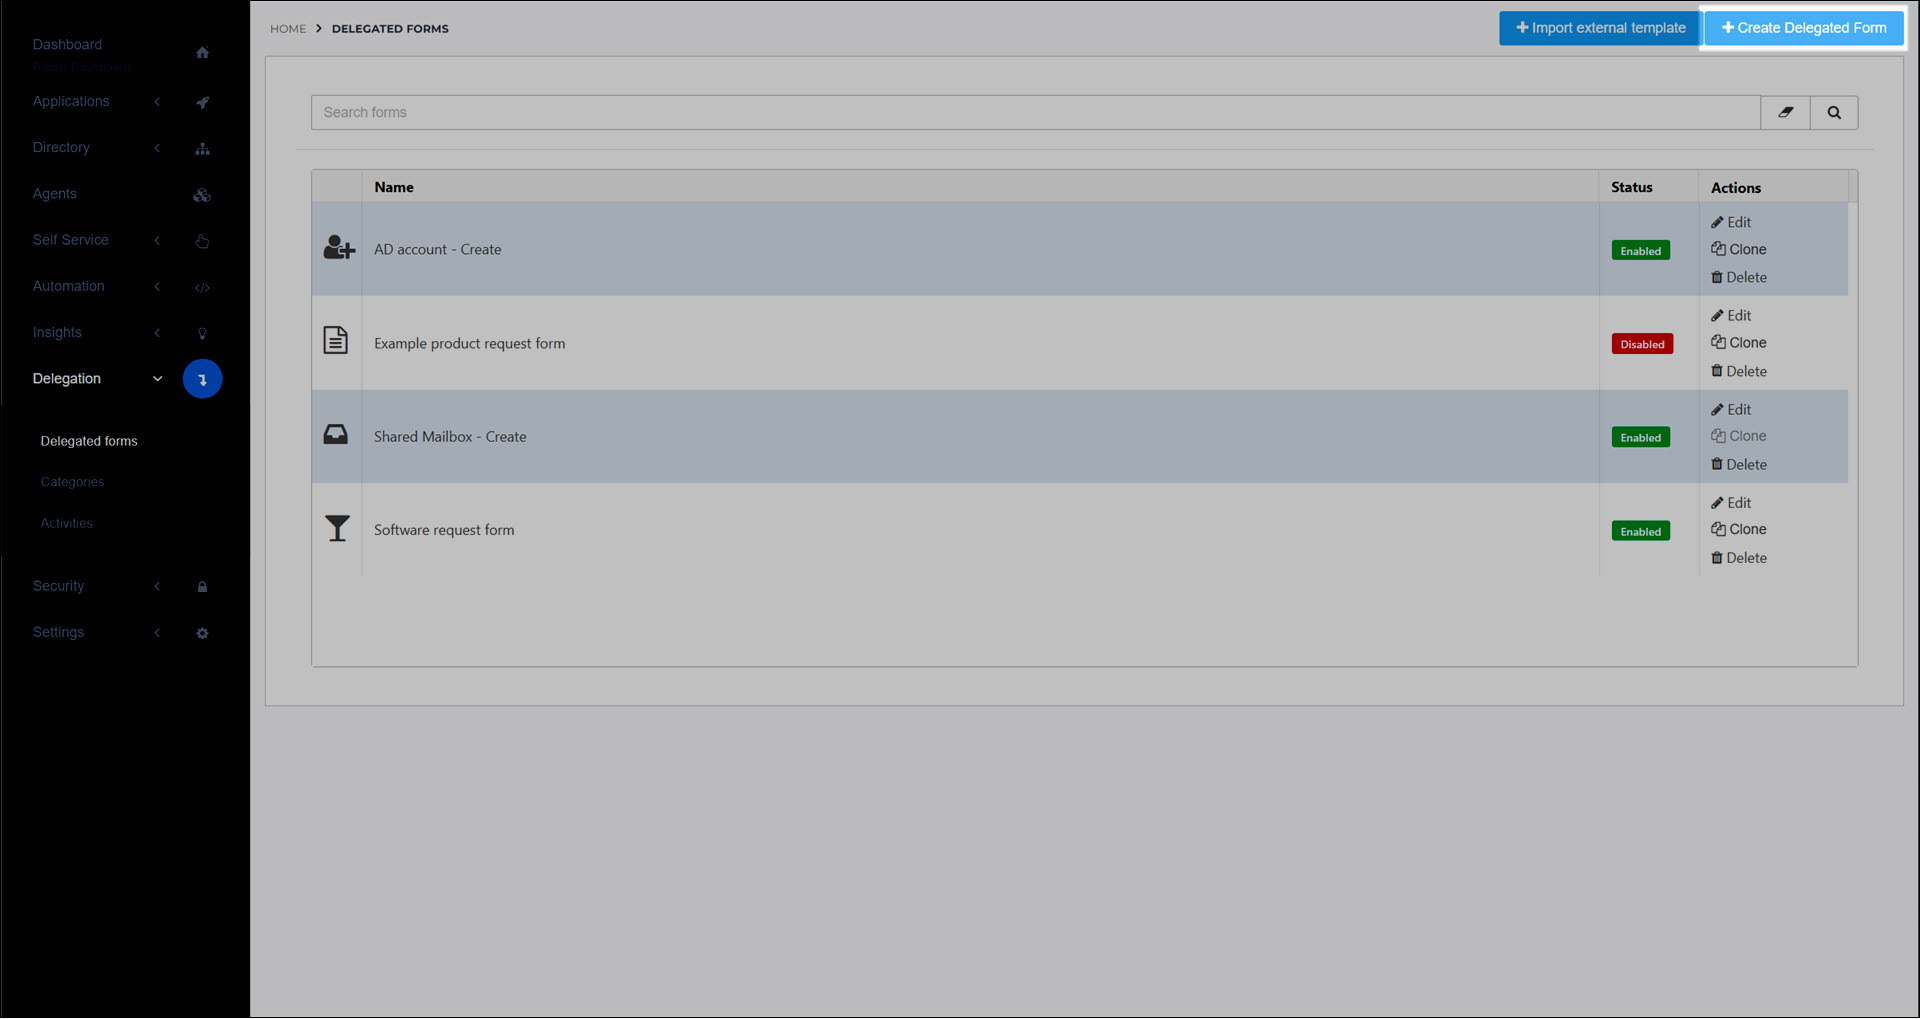
Go to Delegation > Delegated Forms.
Click Create Delegated Form.
Choose one:
Optional: To use one of your existing Dynamic forms as a foundation for this delegated form, click Clone.
Caution
When you add a delegated form based on an existing dynamic form, the dynamic form and any data sources it has are cloned (i.e., not merely reused). The cloned dynamic form and its cloned data sources are completely independent of the originals. Any edits you make to them will not be reflected in other products or delegated forms that the originals are used in.
Alternatively, to create a new form, enter a Name and click Create.
For this example, we'll clone our existing
Weather reportform.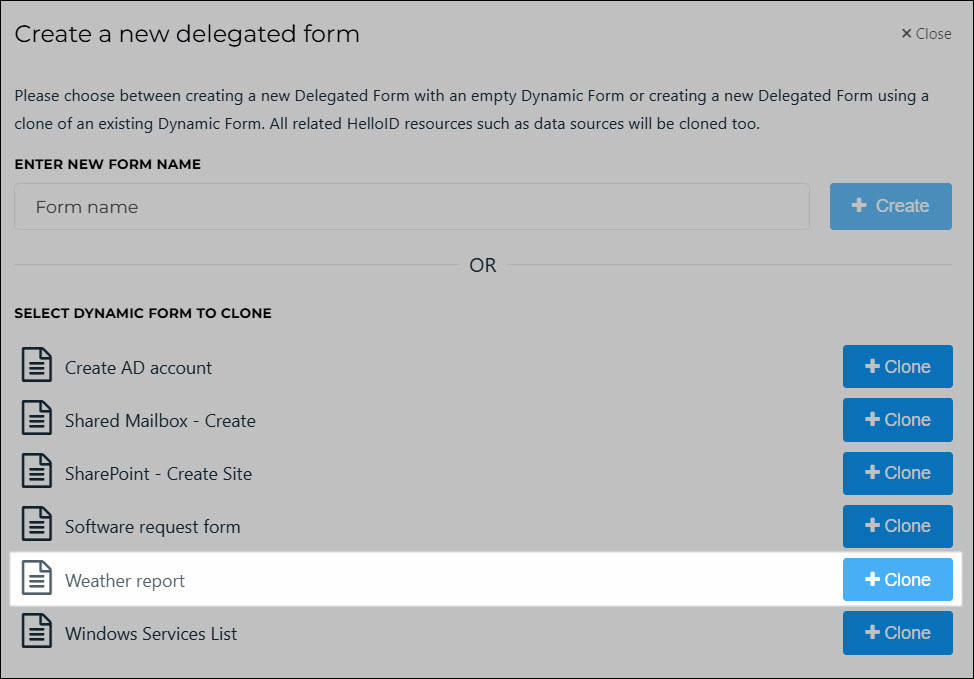
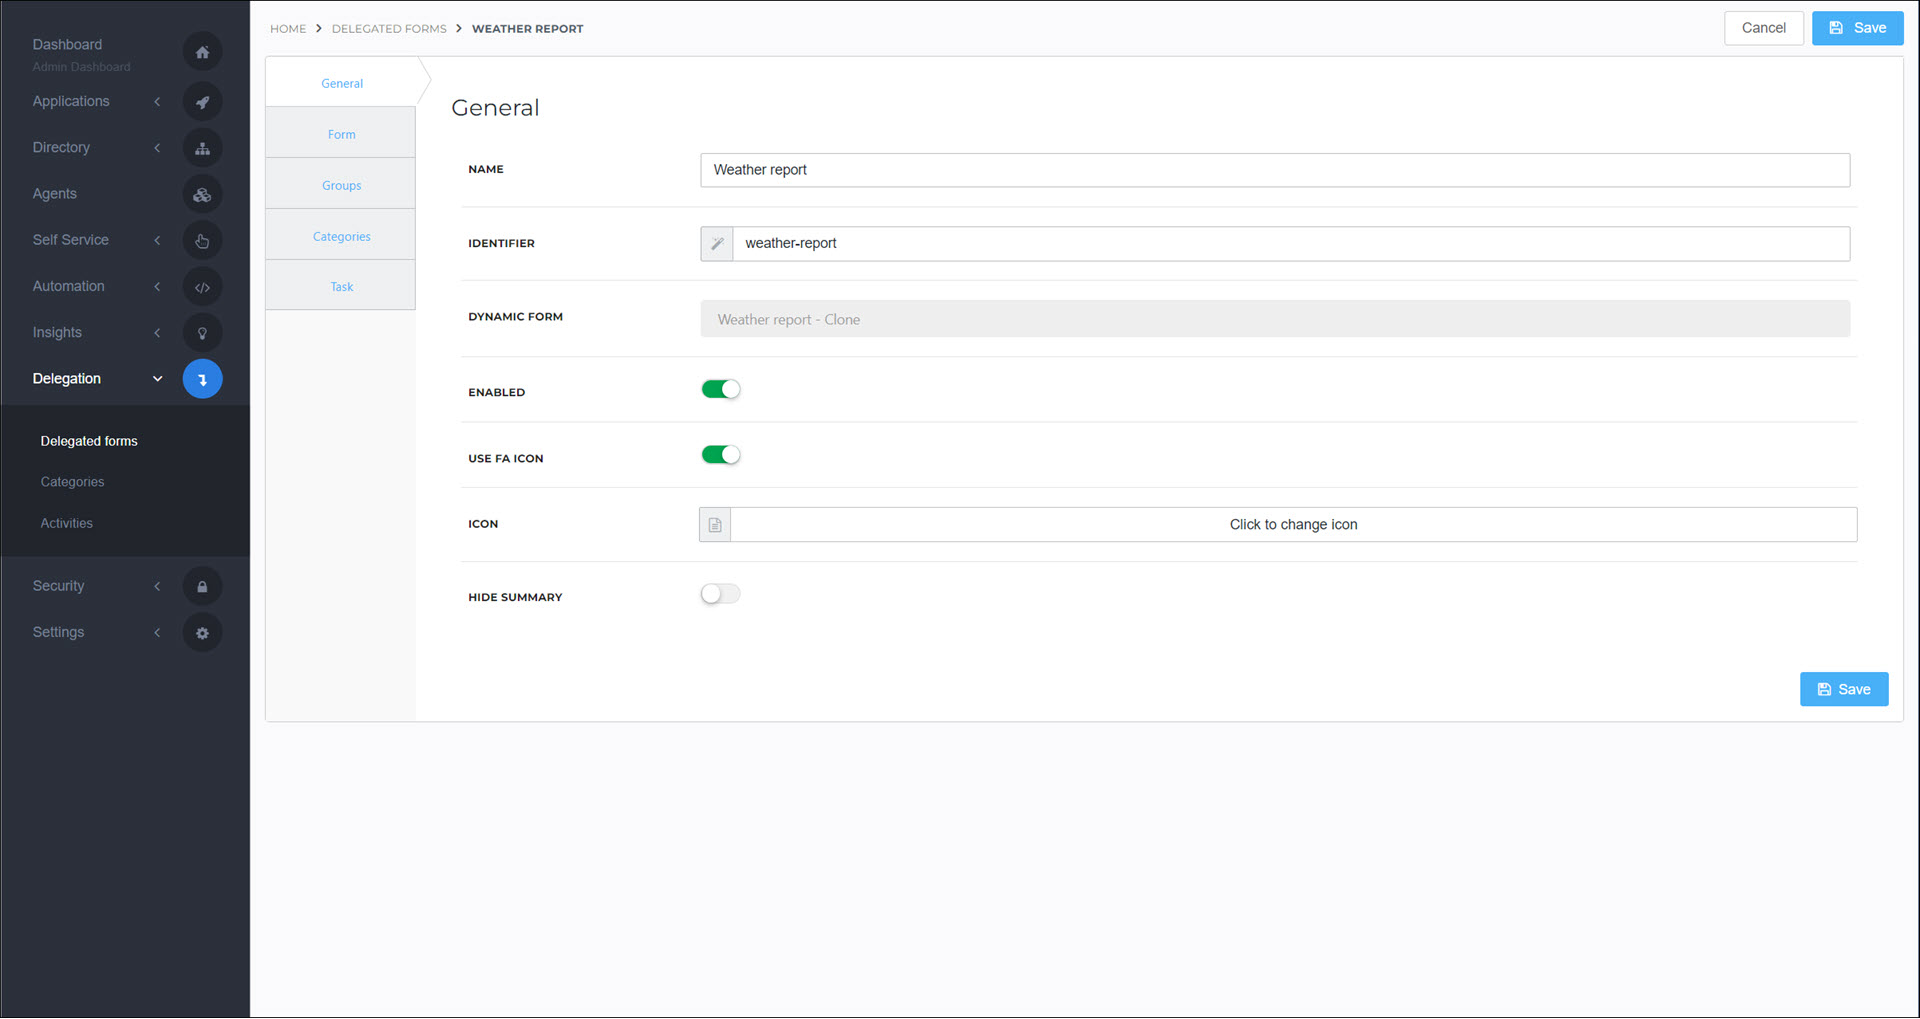
Optional: To use a custom icon, disable the Use FA Icon toggle and click the Icon upload tool. All uploaded images are resized to 64x64 px. For the best results, design and upload an icon that already has these dimensions.
Optional: To hide the form's final summary page from the end user, enable the Hide Summary toggle.
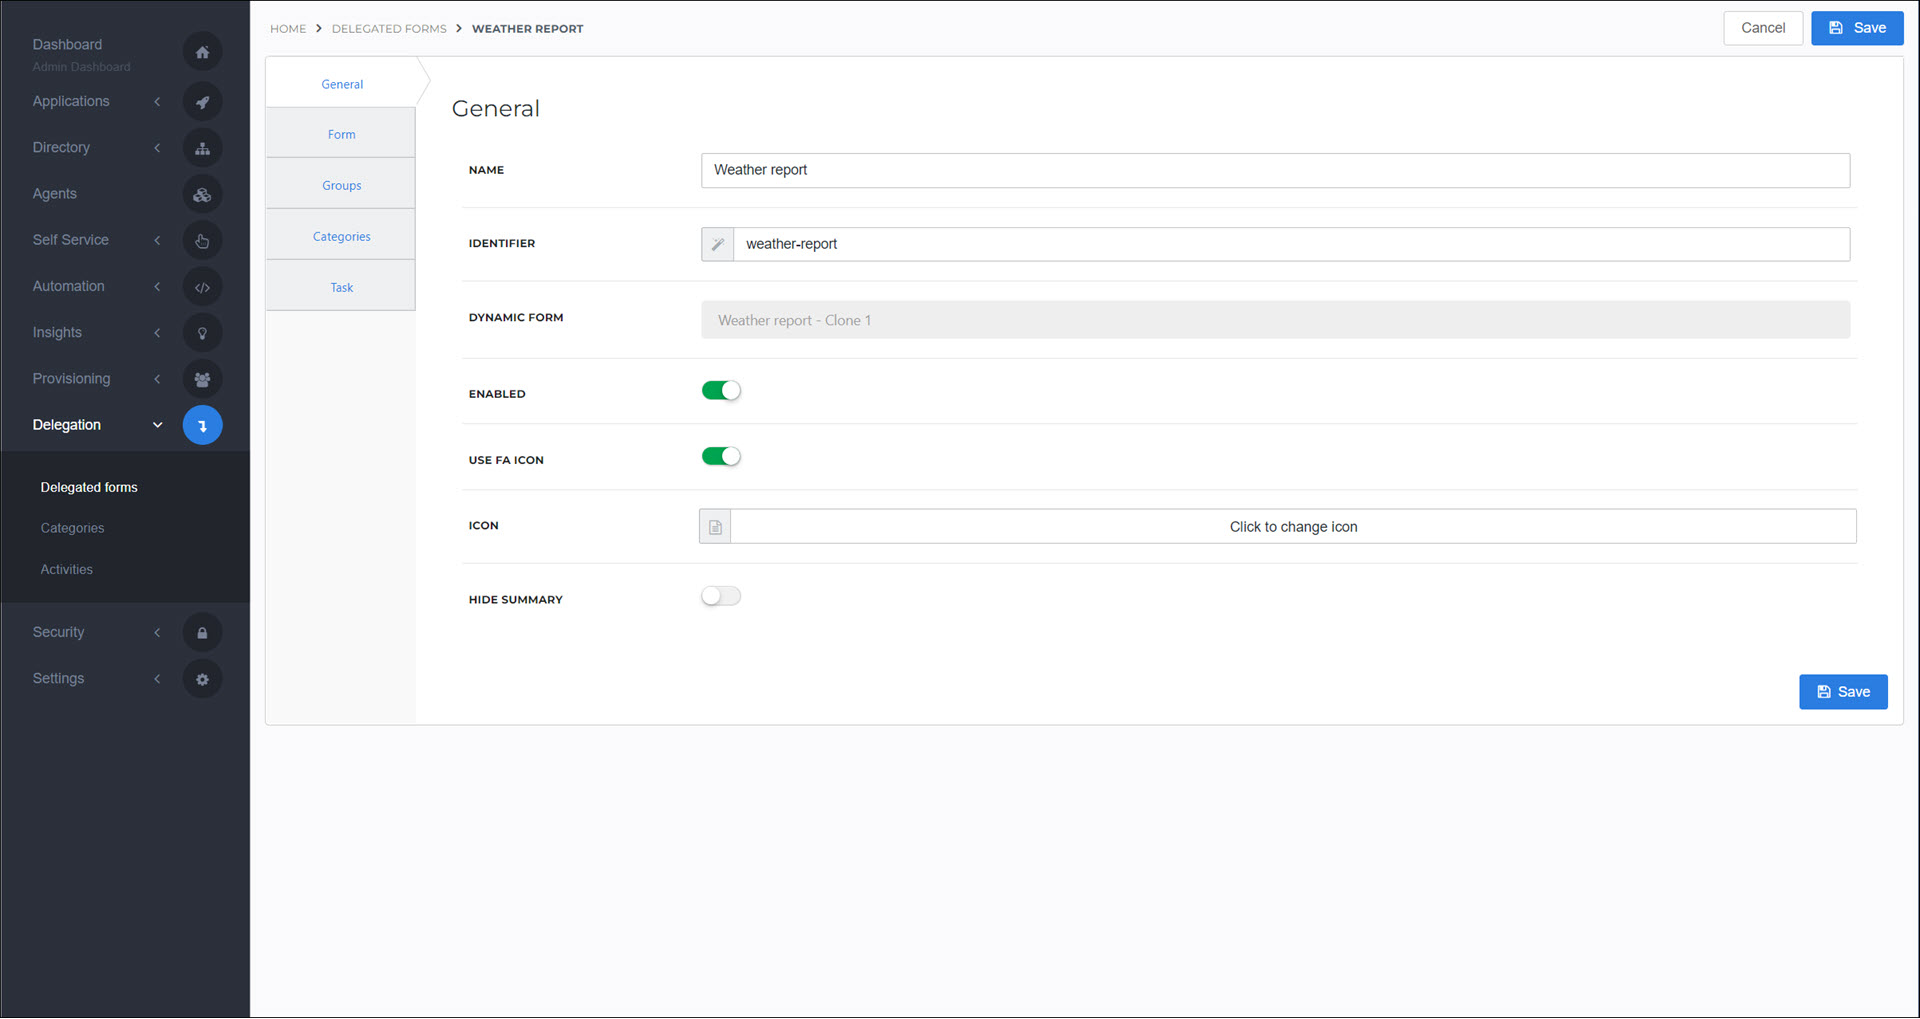
Go to the Groups tab.
Grant a group access to a form for each of your Groups who should have access.
For this example, we'll grant access to the Users group.
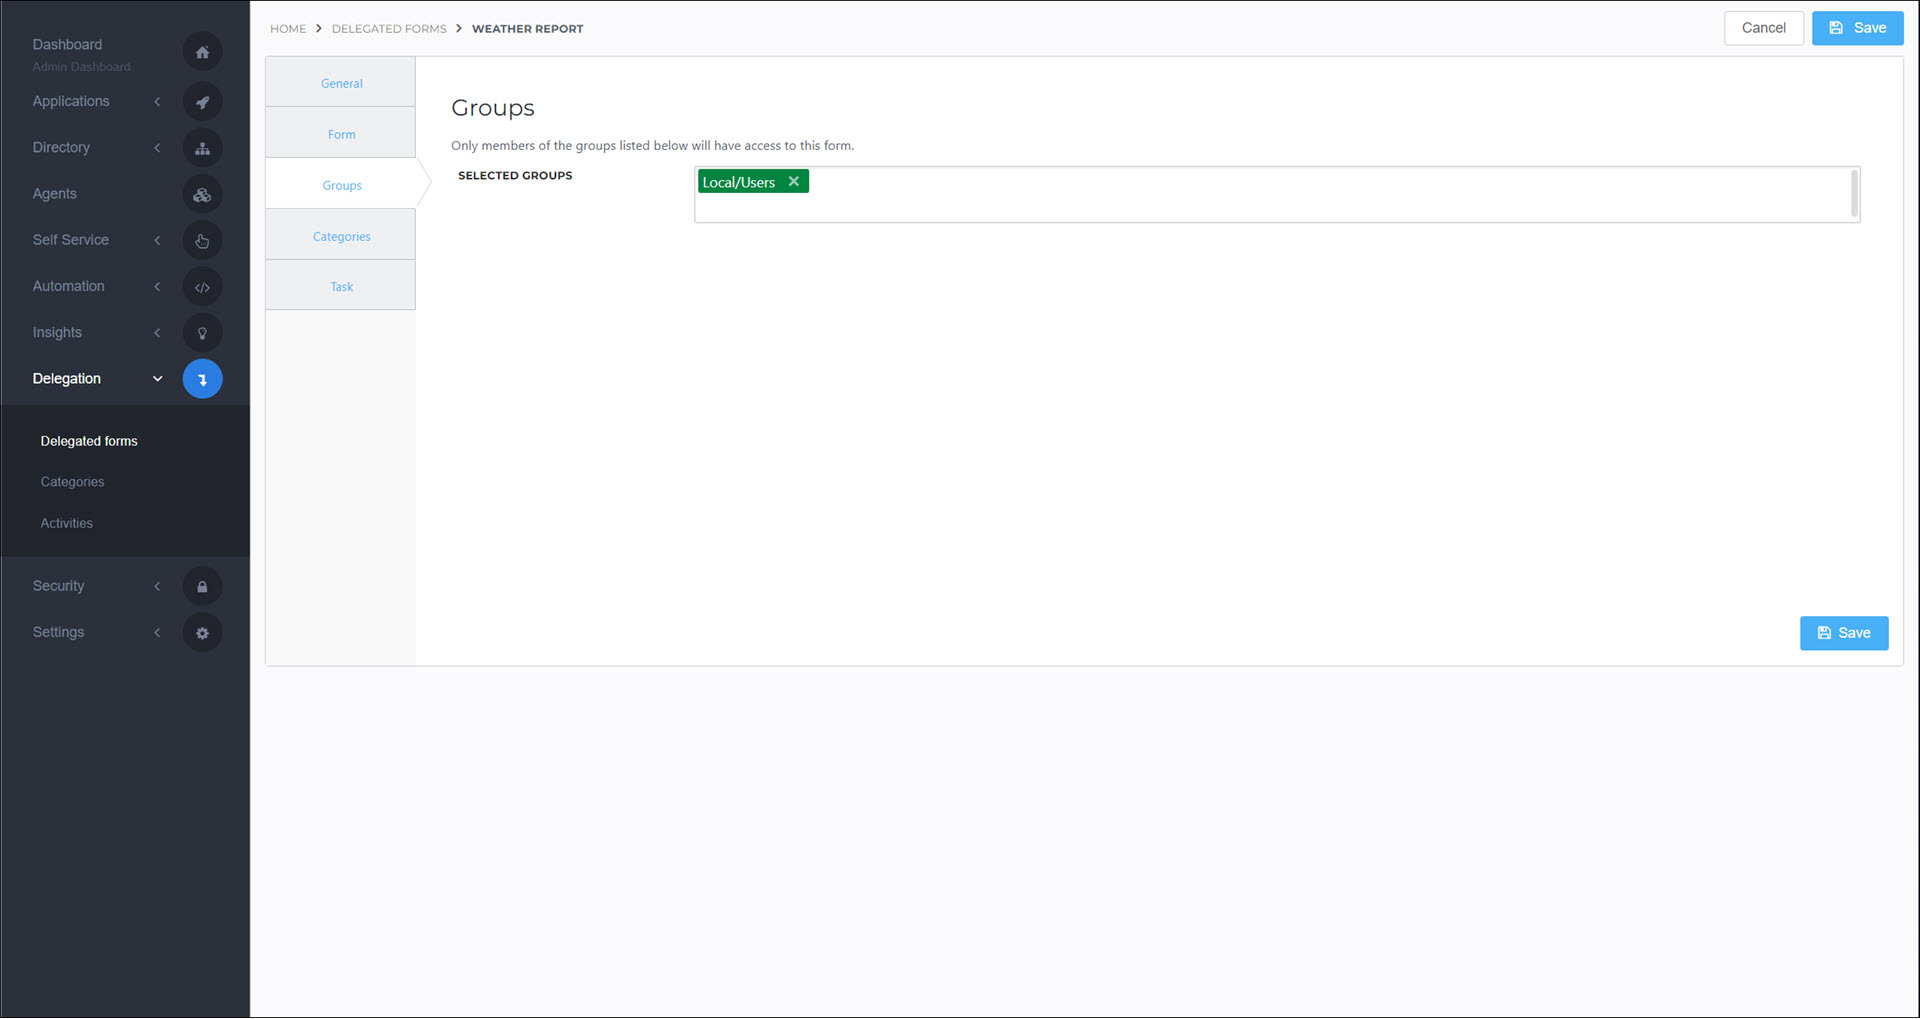
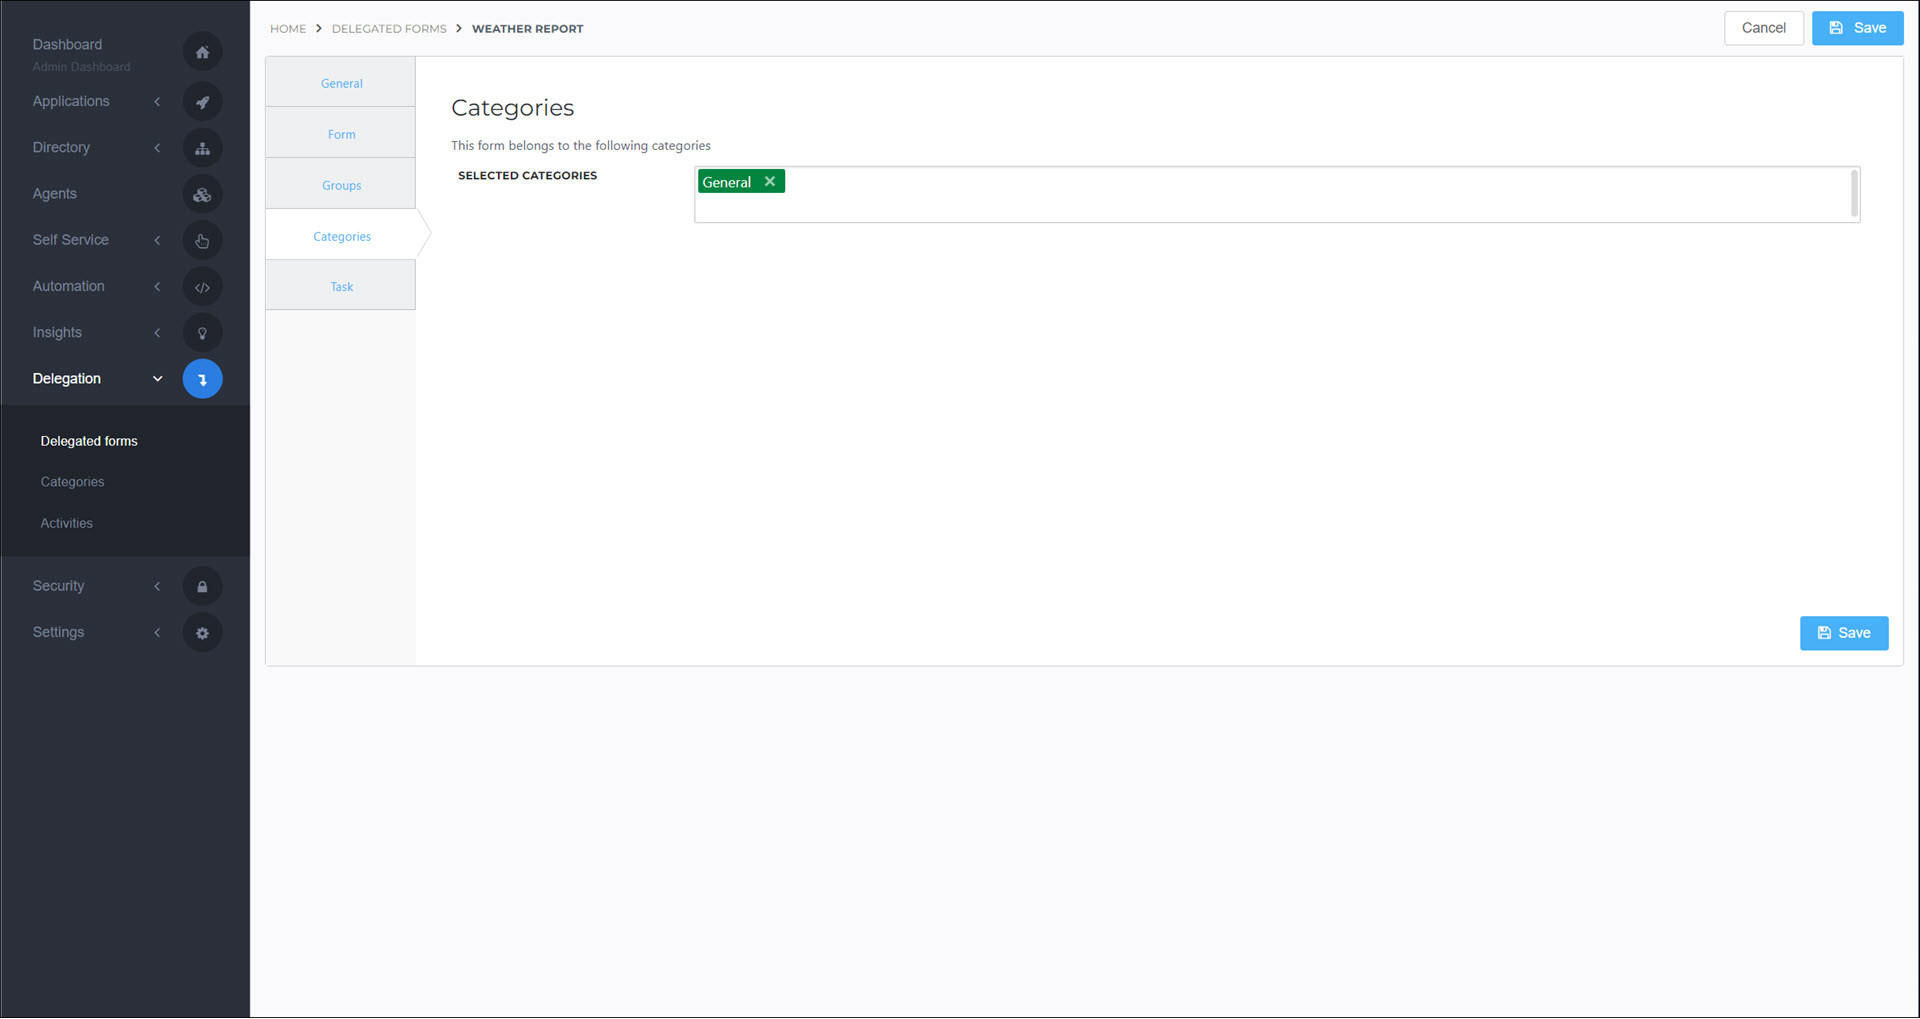
Go to the Categories tab.
In the Selected Categories field, enter the names of the Delegated form categories to add this delegated form to.
For this example, we'll add it to our General category.
Optional: Go to the Task tab to add a PowerShell script that will run upon form submission. An example is provided in the Add a PowerShell script to a delegated form article.
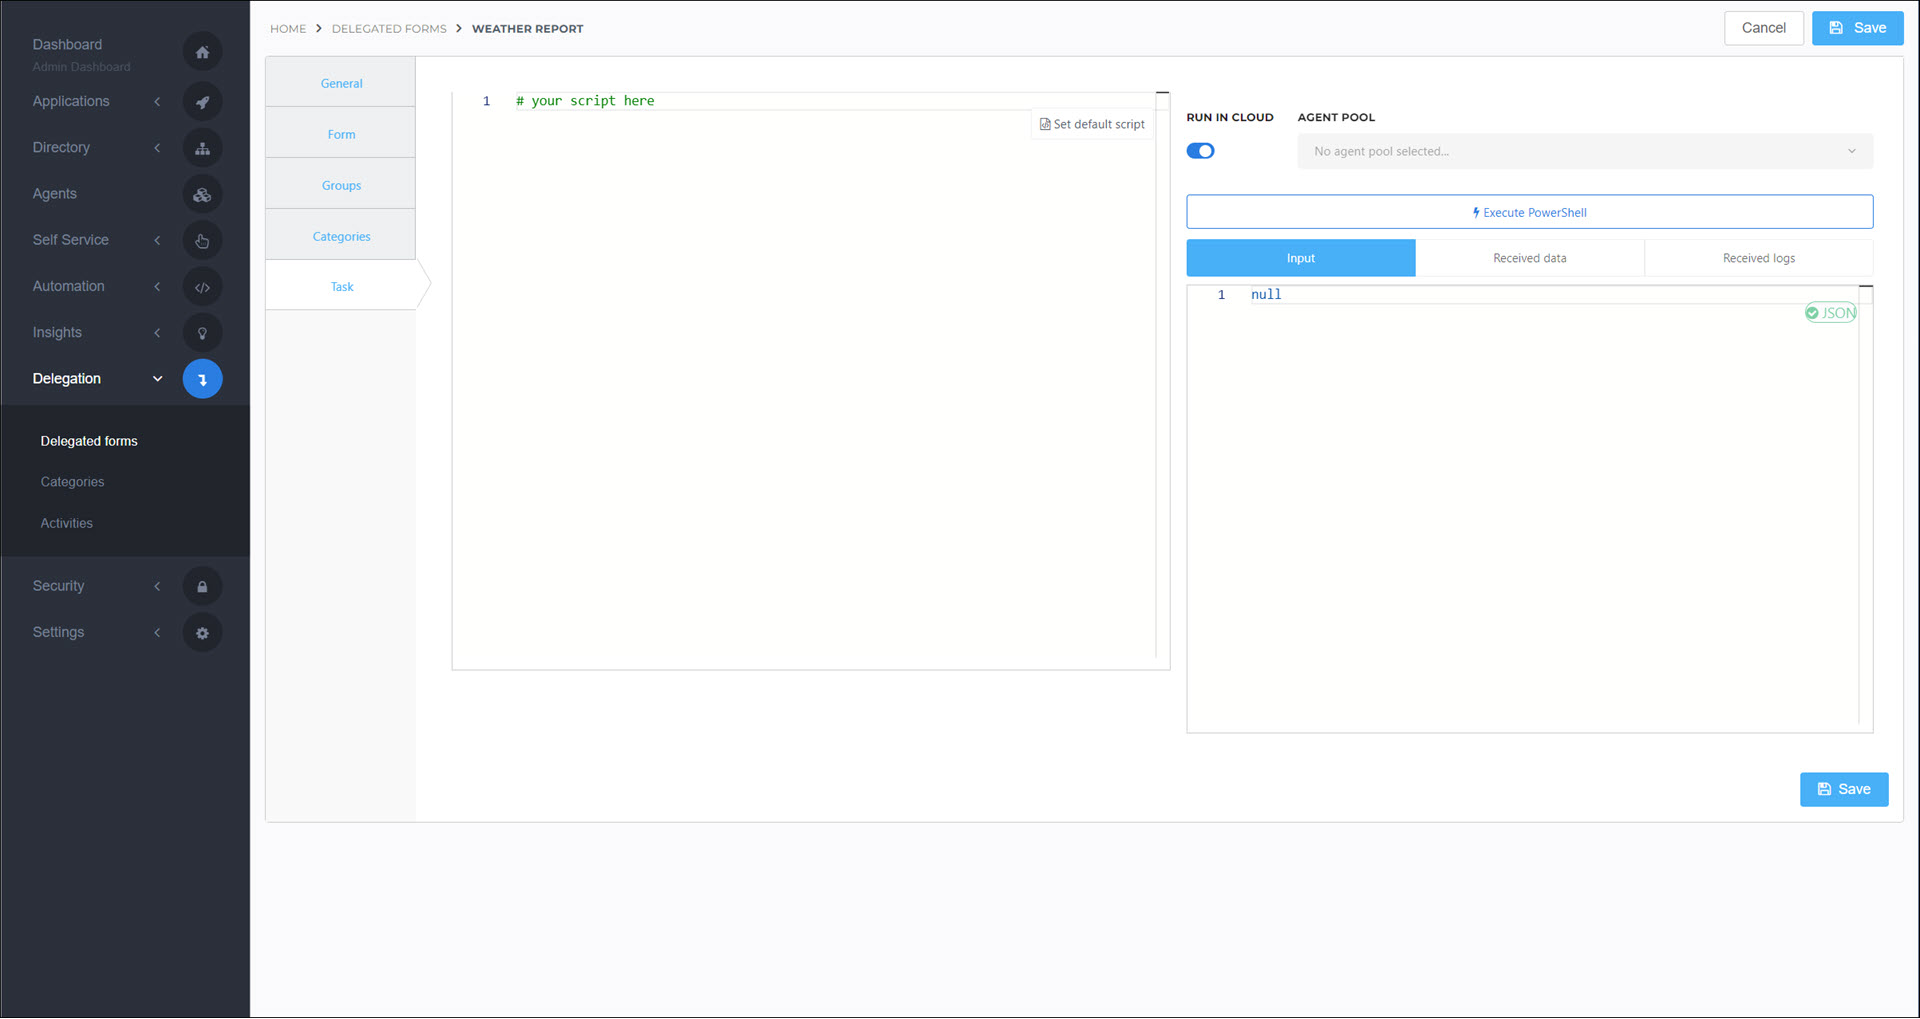
Click Save.
A delegated form is available to users who have the Servicedesk right (see Rights) and are members of a group attached to the form. See Servicedesk for instructions on accessing a delegated form.
To access delegated form submissions in production, see Activities.
Go to Delegation > Delegated Forms.
For the relevant delegated form, click Edit.
Continue by following the instructions in Add a custom delegated form.
Go to Delegation > Delegated Forms.
For the relevant delegated form, click Delete.
Click Yes to confirm.