Add, edit, or remove a role
For more information, see Roles.
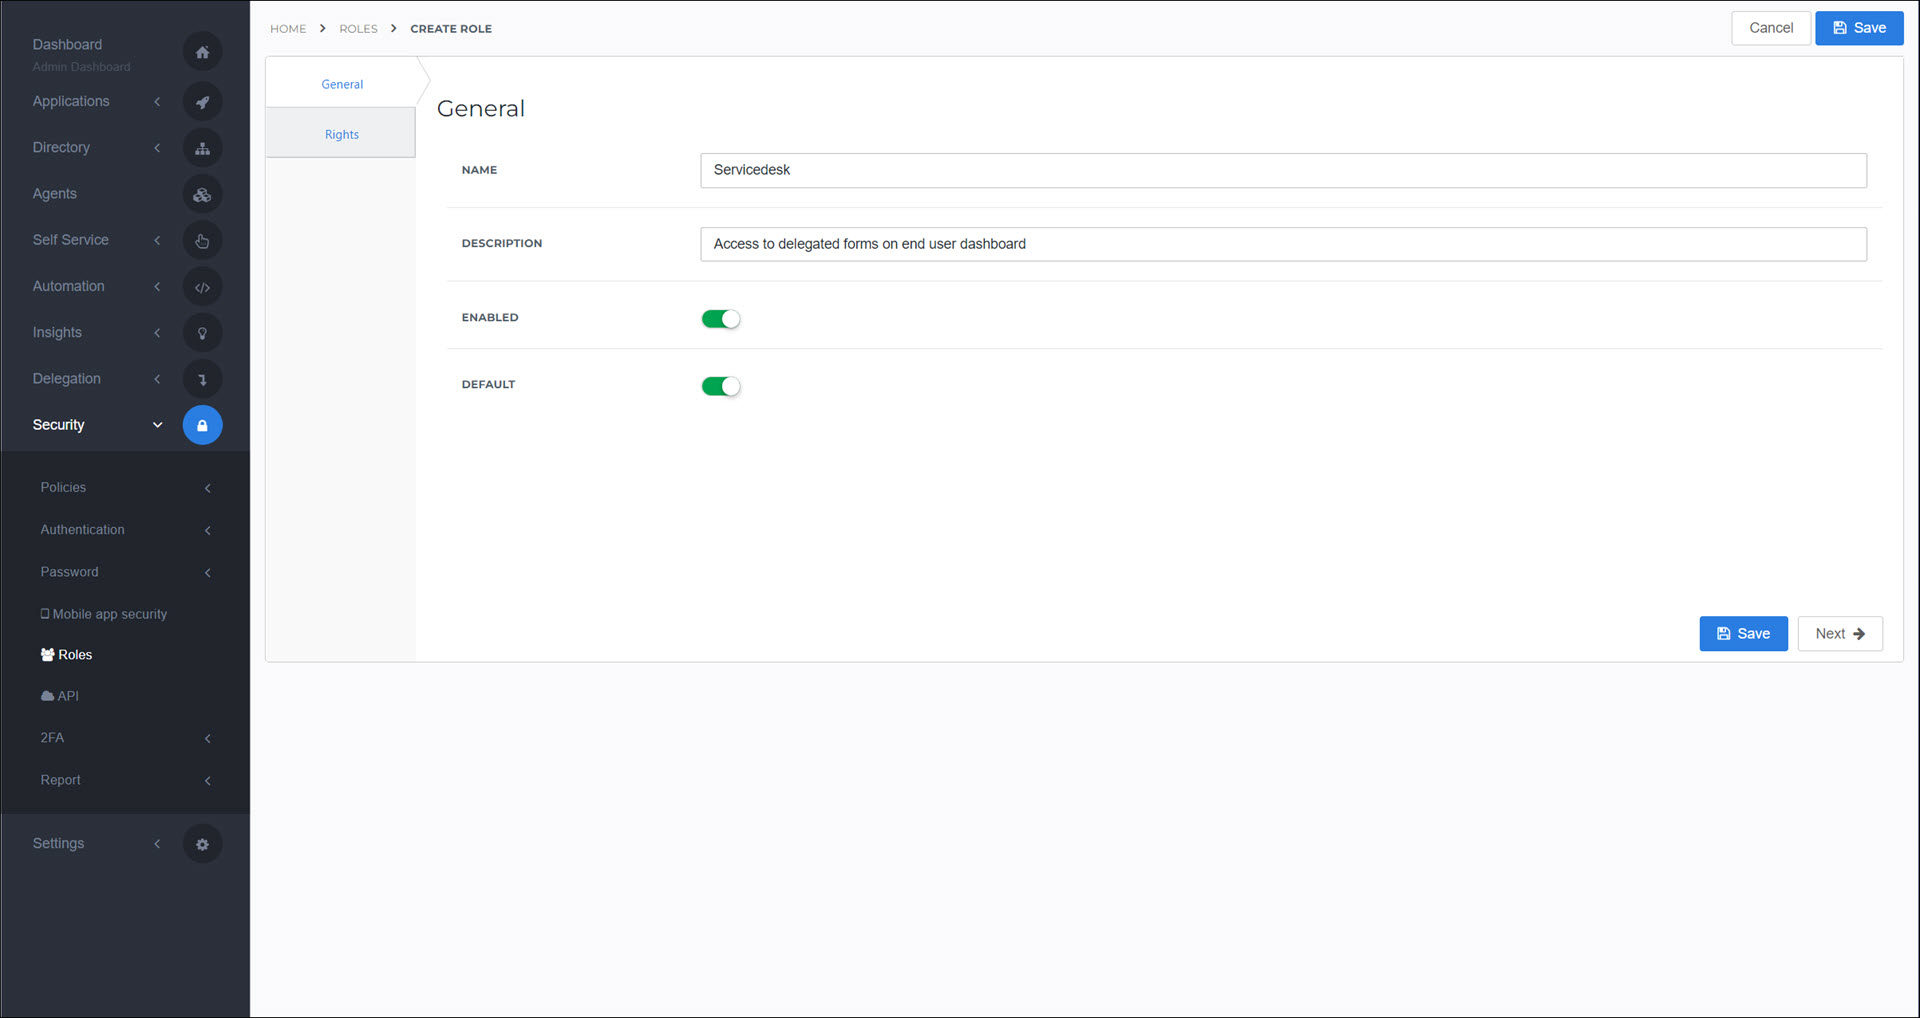
Add a role
Go to Security > Roles.
Click Create Role.
Enter a Name.
For this example, we'll enter
Servicedesk.Required: Enter a Description.
For this example, we'll enter
Access to delegated forms on end user dashboard.Optional: If this role should automatically be assigned to all newly-created users, enable the Default toggle.
Click Save.
The role has been created. Typically, the next steps are to Configure rights for a role and then Link a role to a user and/or Link a role to a group.
Go to Security > Roles.
For the relevant role, click Edit.
Continue by following the instructions in Add a role or Configure rights for a role.
Go to Security > Roles.
For the relevant role, click Delete.
To confirm, click Delete.
The role is removed, and all users & groups in the role lose the Rights they had by virtue of being assigned to the role.