Add, edit, or remove a native data source
For more information, see Native data sources.
Add a native data source
For the relevant dynamic form or delegated form, Edit a dynamic form or Edit a delegated form.
For the relevant form element, click
 Edit form element.
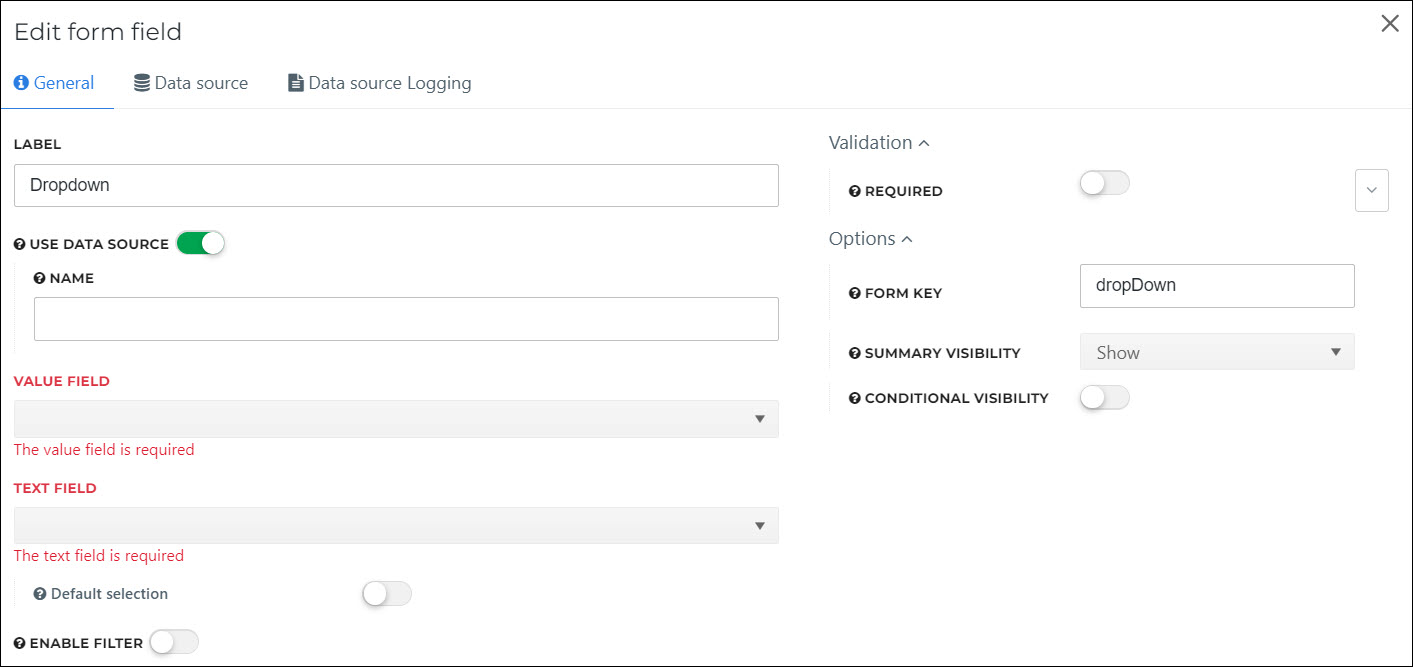
Enable the Use Data Source toggle.
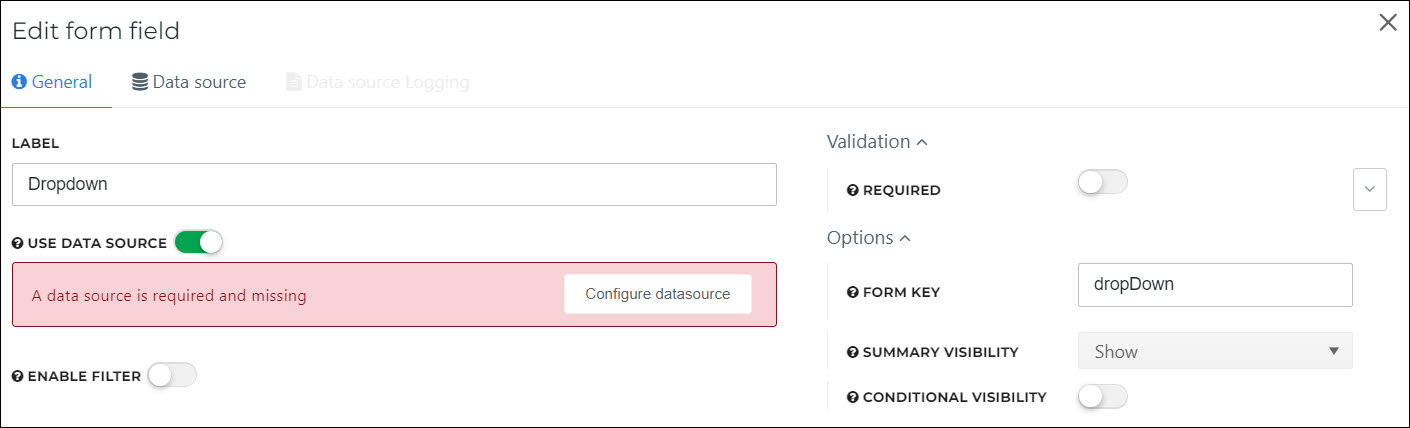
Click Configure Datasource.
Select
Nativeas the Type, andHelloID Usersas the Subtype.
Click Save.
HelloID takes us back to the Edit Form Field dialog.
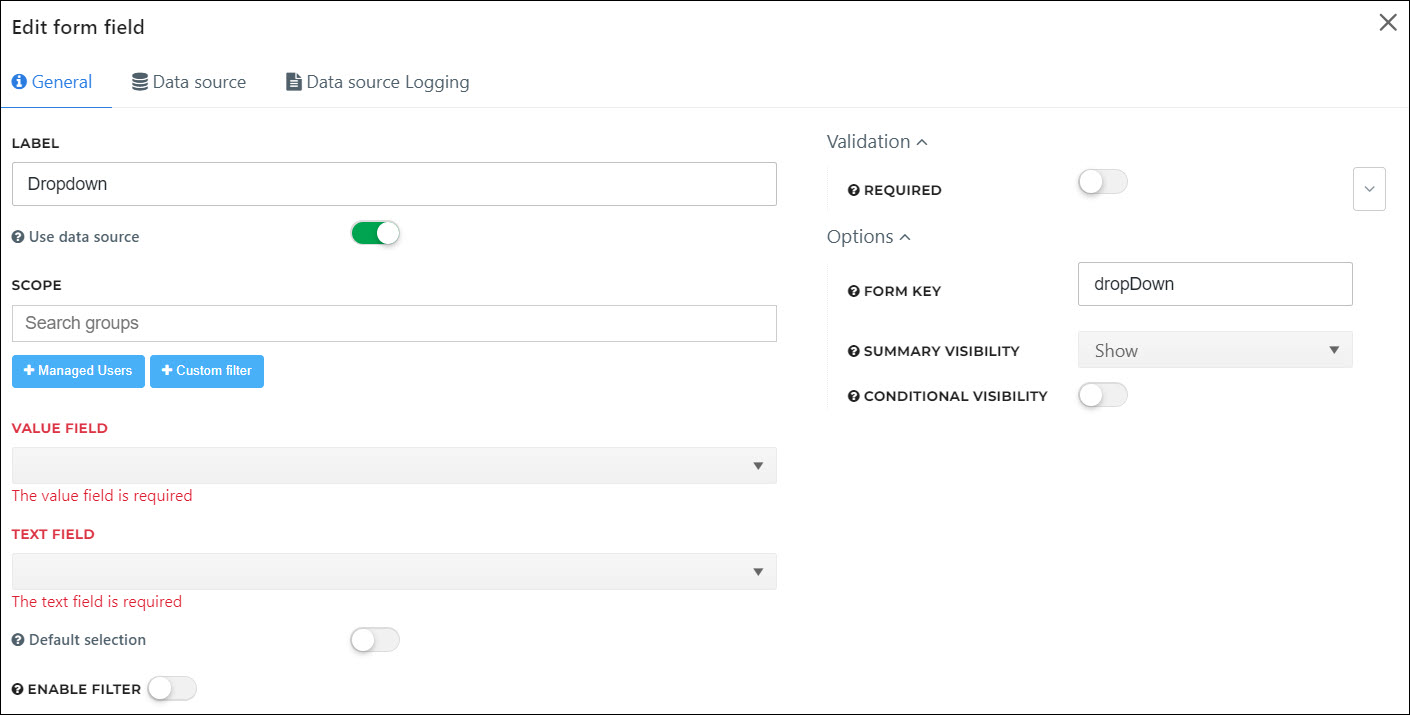
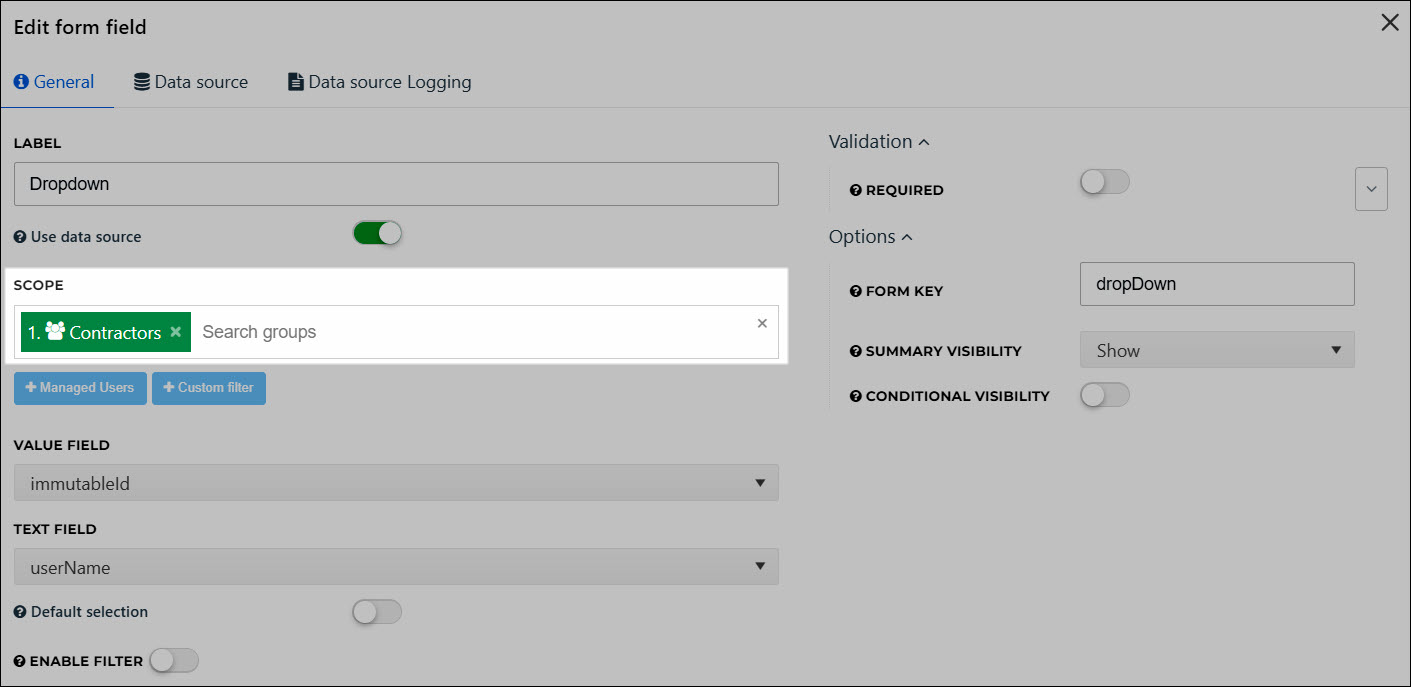
Select a Value Field and a Text Field.
The Value Field dropdown represents the actual data value which will be submitted, whereas the Text Field dropdown represents the label that will be shown to the end user.
For this example, we'll select
immutableIdanduserName, respectively.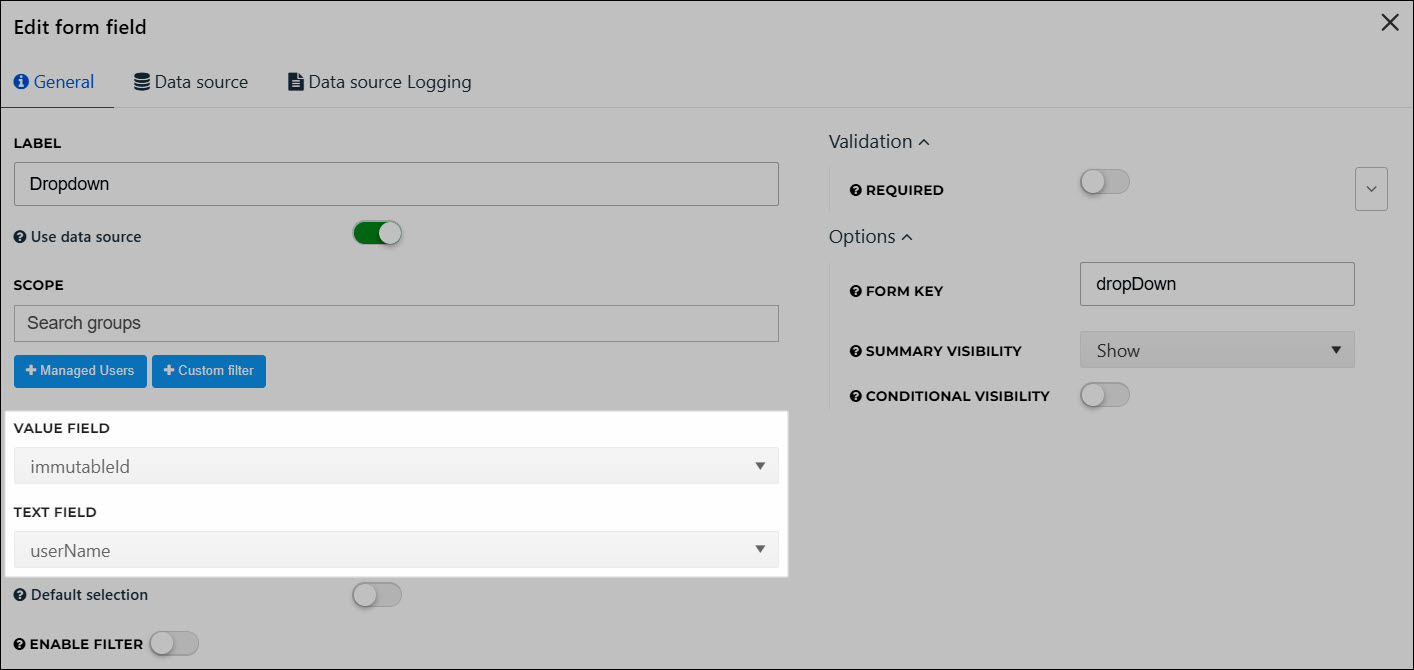
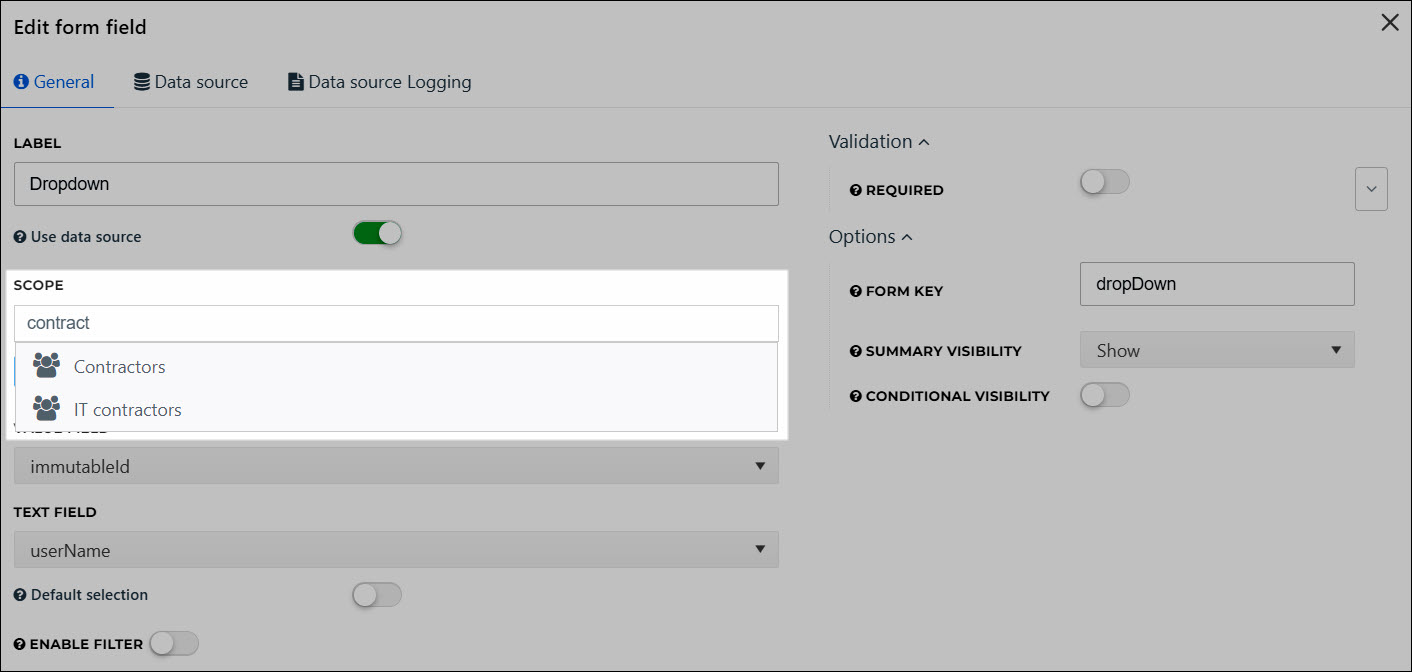
In the Scope field, select which group's users will be in-scope of this data source. For details instructions, see User scope filters.
Click Update Field to close the dialog box.
Click Save to save your form.
When the form is used in production, users in the in-scope groups are returned in the attached form element:

For the relevant dynamic form or delegated form, Edit a dynamic form or Edit a delegated form.
For the relevant form element, click
Edit form element.Enable the Use Data Source toggle.
Click Configure Datasource.
Select
Nativeas the Type, andHelloID Groupsas the Subtype.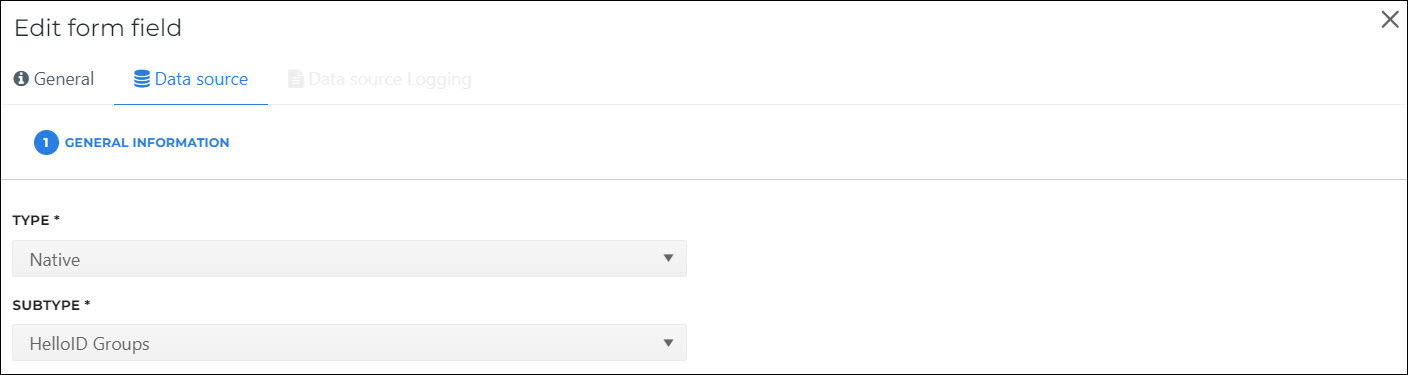
Click Save.
HelloID takes us back to the Edit Form Field dialog.
Select a Value Field and a Text Field.
The Value Field dropdown represents the actual data value which will be submitted, whereas the Text Field dropdown represents the label that will be shown to the end user.
For this example, we'll select
immutableIdandname, respectively.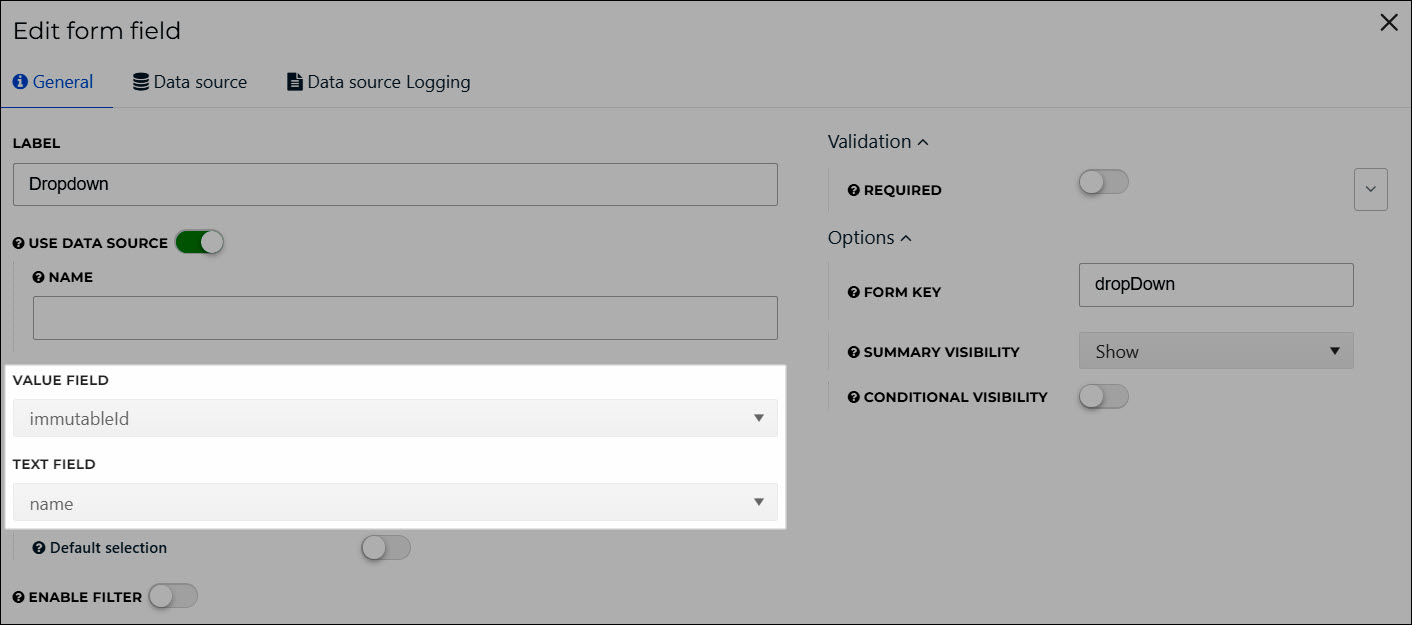
Optional: Pre-filter the groups which will be populated into the attached form element by entering a filter Name. Prepend and/or append
*as a wildcard.For this example, we'll enter
DEPGRP*: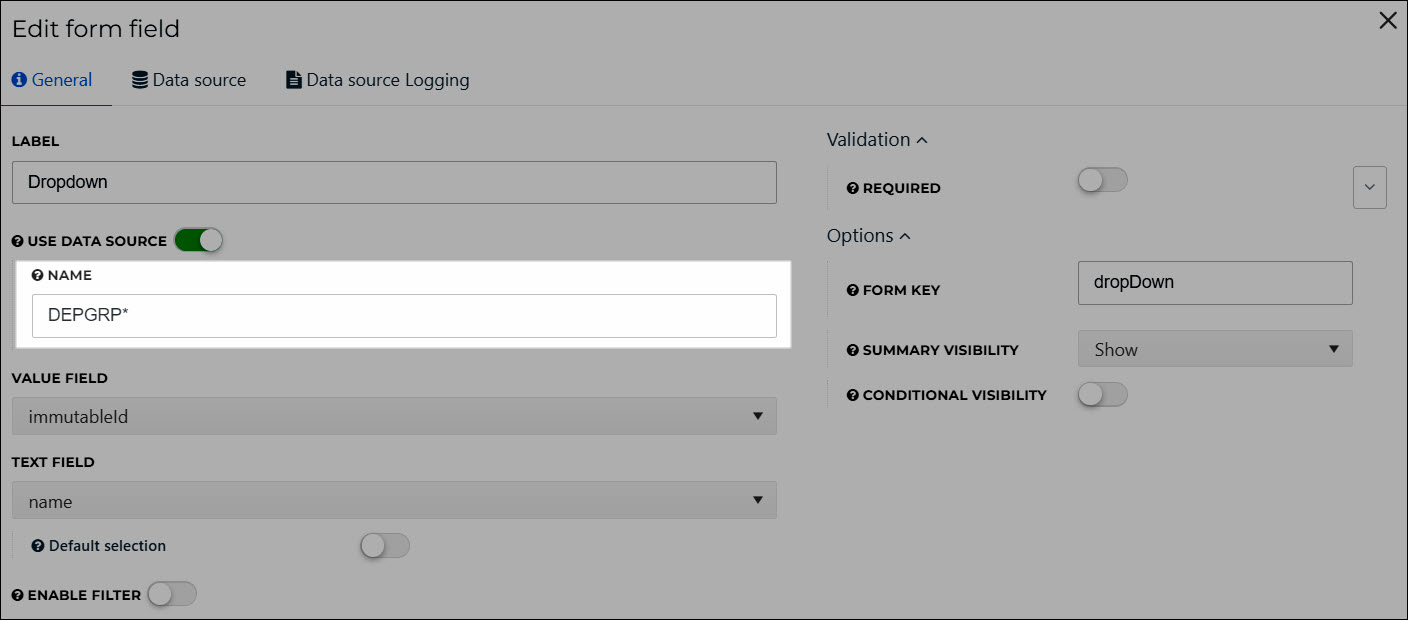
This will filter by groups which begin with
DEPGRP. For this example, it will return 2 groups: DEPGRP_ENG andDEPGRP_HR.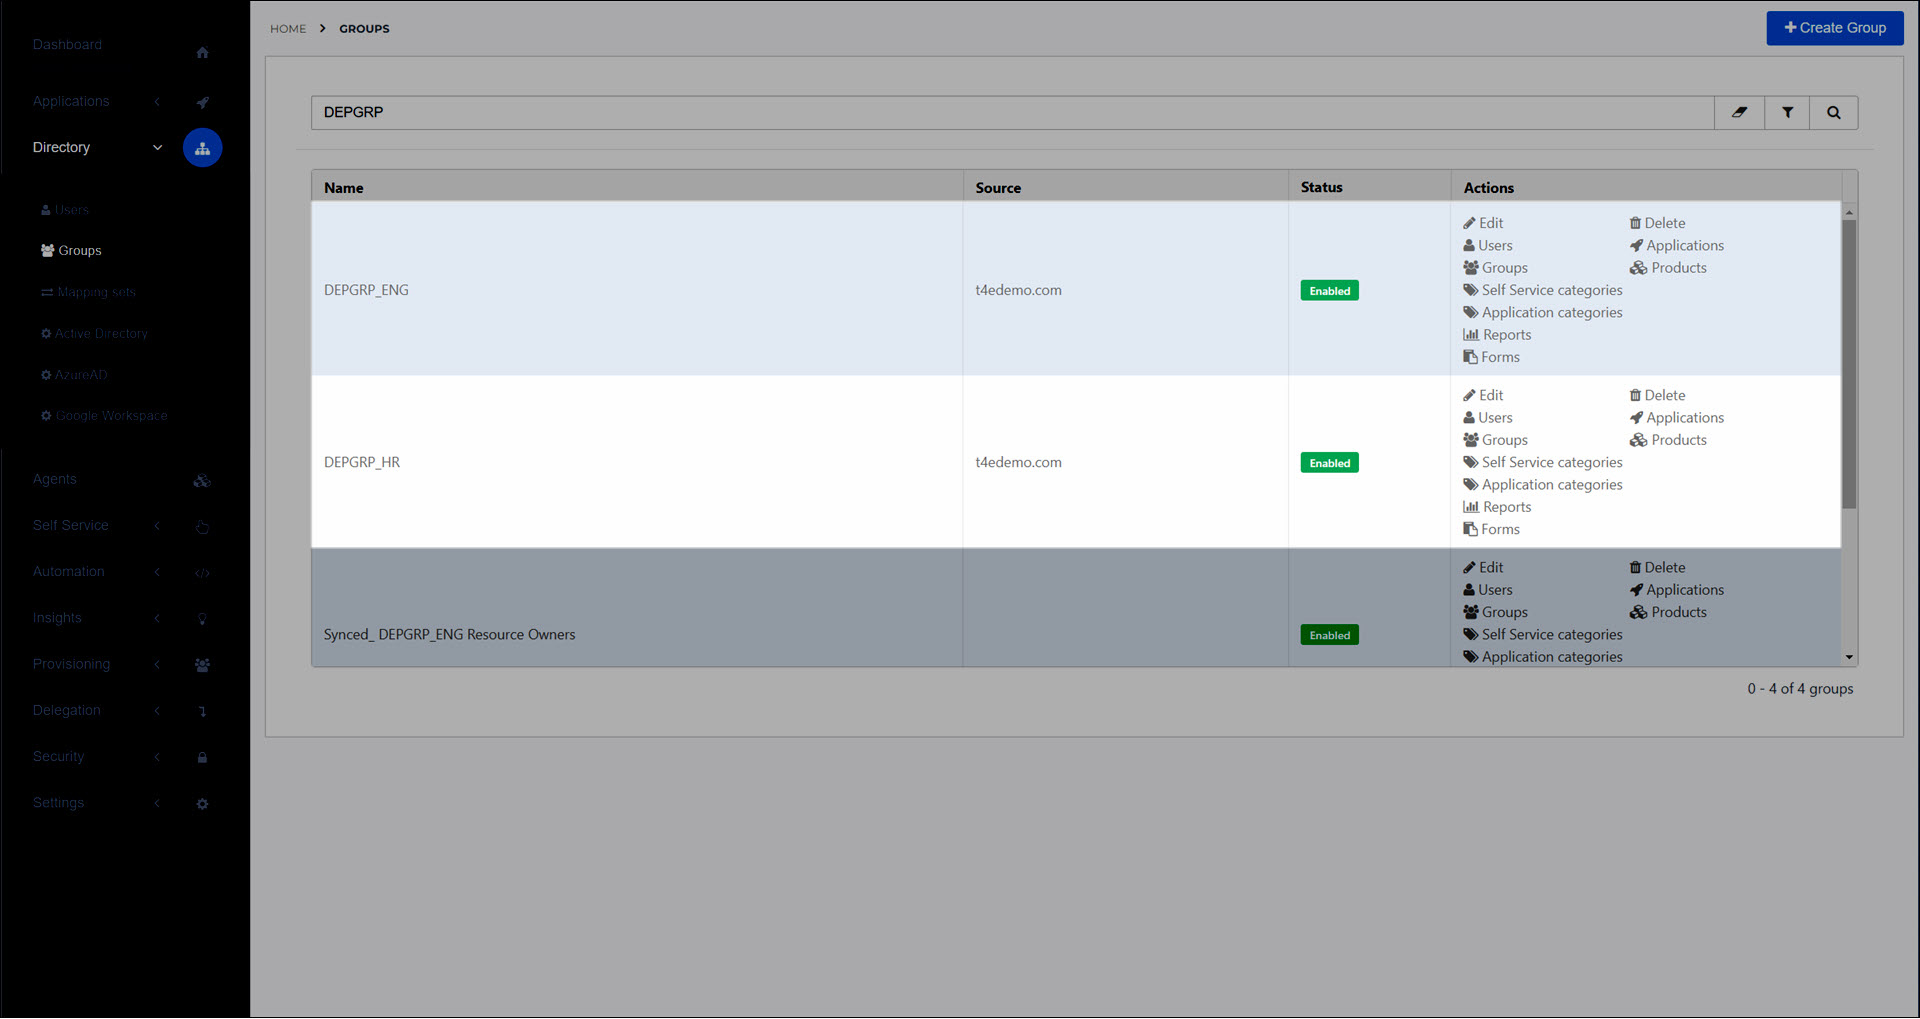
Click Update Field to close the dialog box.
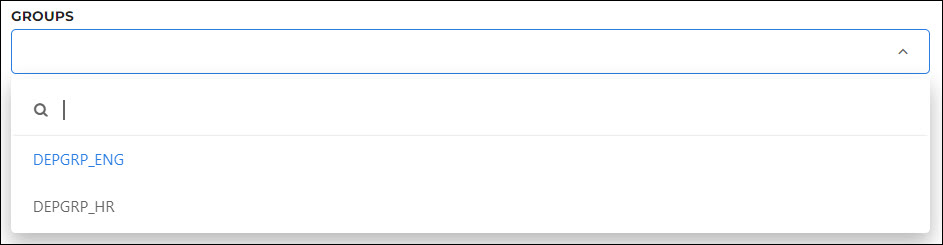
Click Save to save your form.
When the form is used in production, the in-scope groups are returned in the attached form element:
For the relevant dynamic form or delegated form, Edit a dynamic form or Edit a delegated form.
For the form element that contains the data source, click
Edit form element.Go to the Data Source tab.
Continue by following the instructions in Add a native data source.
Go to Self Service > Data Sources.
For the relevant data source, click Delete.
To confirm, click Delete.