Add, edit, or remove a PowerShell notification system
Add a PowerShell notification system (Provisioning)
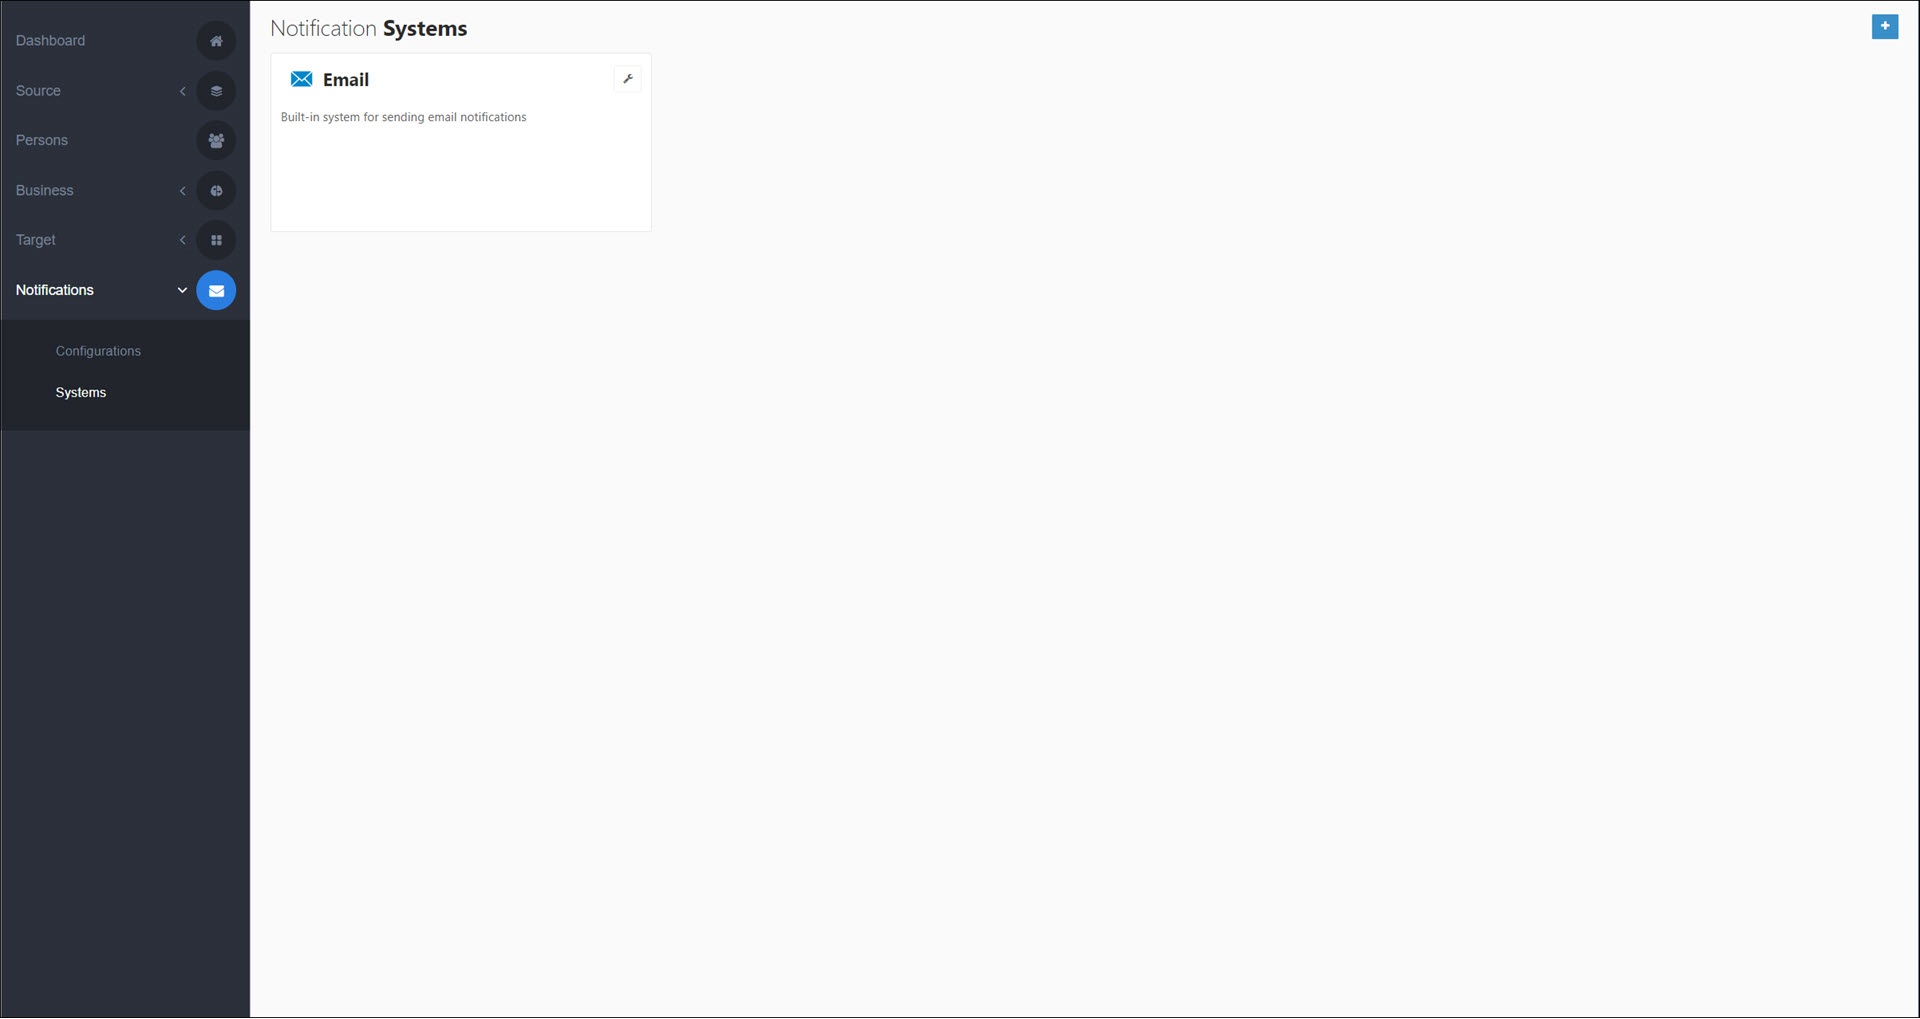
Go to Notifications > Systems.
Click
 Add.
Add.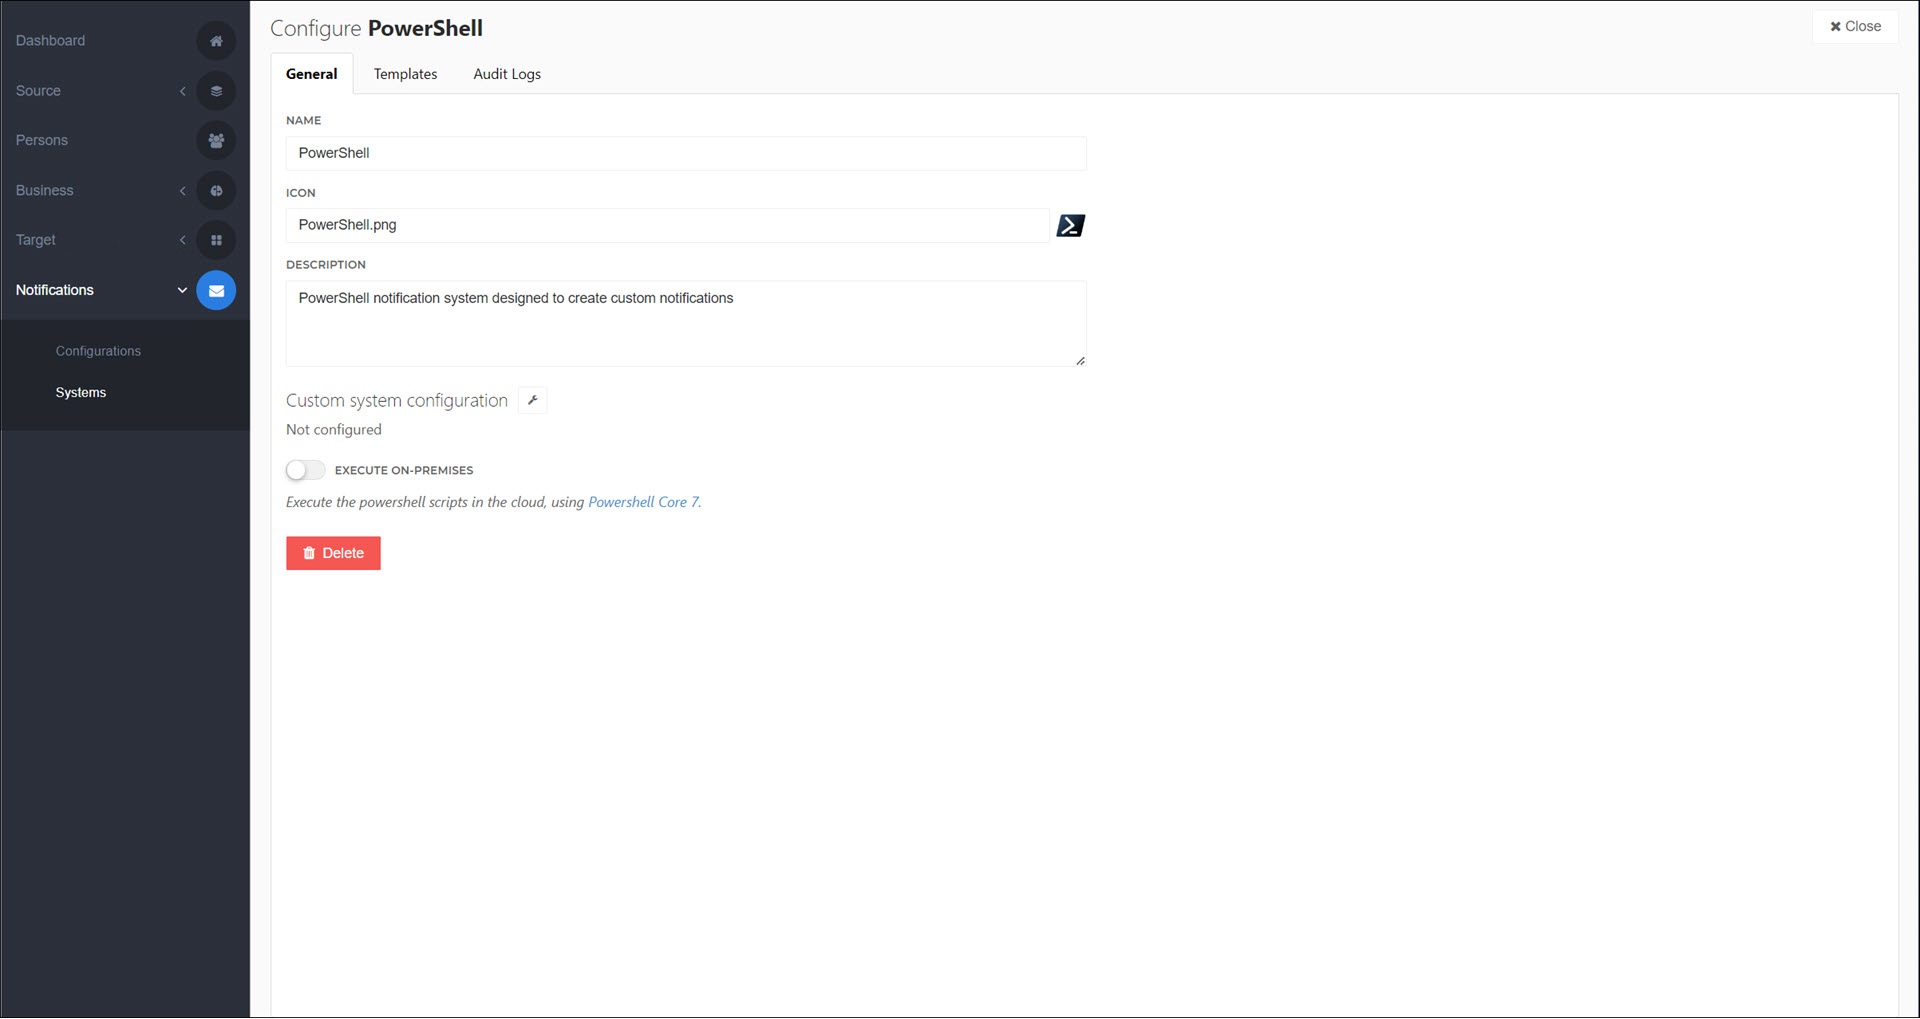
Enter values for the following fields:
- Name
A name for this PowerShell notification system. Only visible to admins.
- Icon
An icon for this PowerShell notification system. Must be the URL of an image (beginning with
https://). Only visible to admins.- Description
A description or note for this PowerShell notification system. Only visible to admins.
- Custom System Configuration
Optional: Configure an input form for this PowerShell notification system. Use it to store credentials and other system-level settings.
- Execute On-Premises
Off: The system will use a Cloud Provisioning Agent.
On: This system will use an On-premises Provisioning Agent.
For this example, we'll enter the following values:
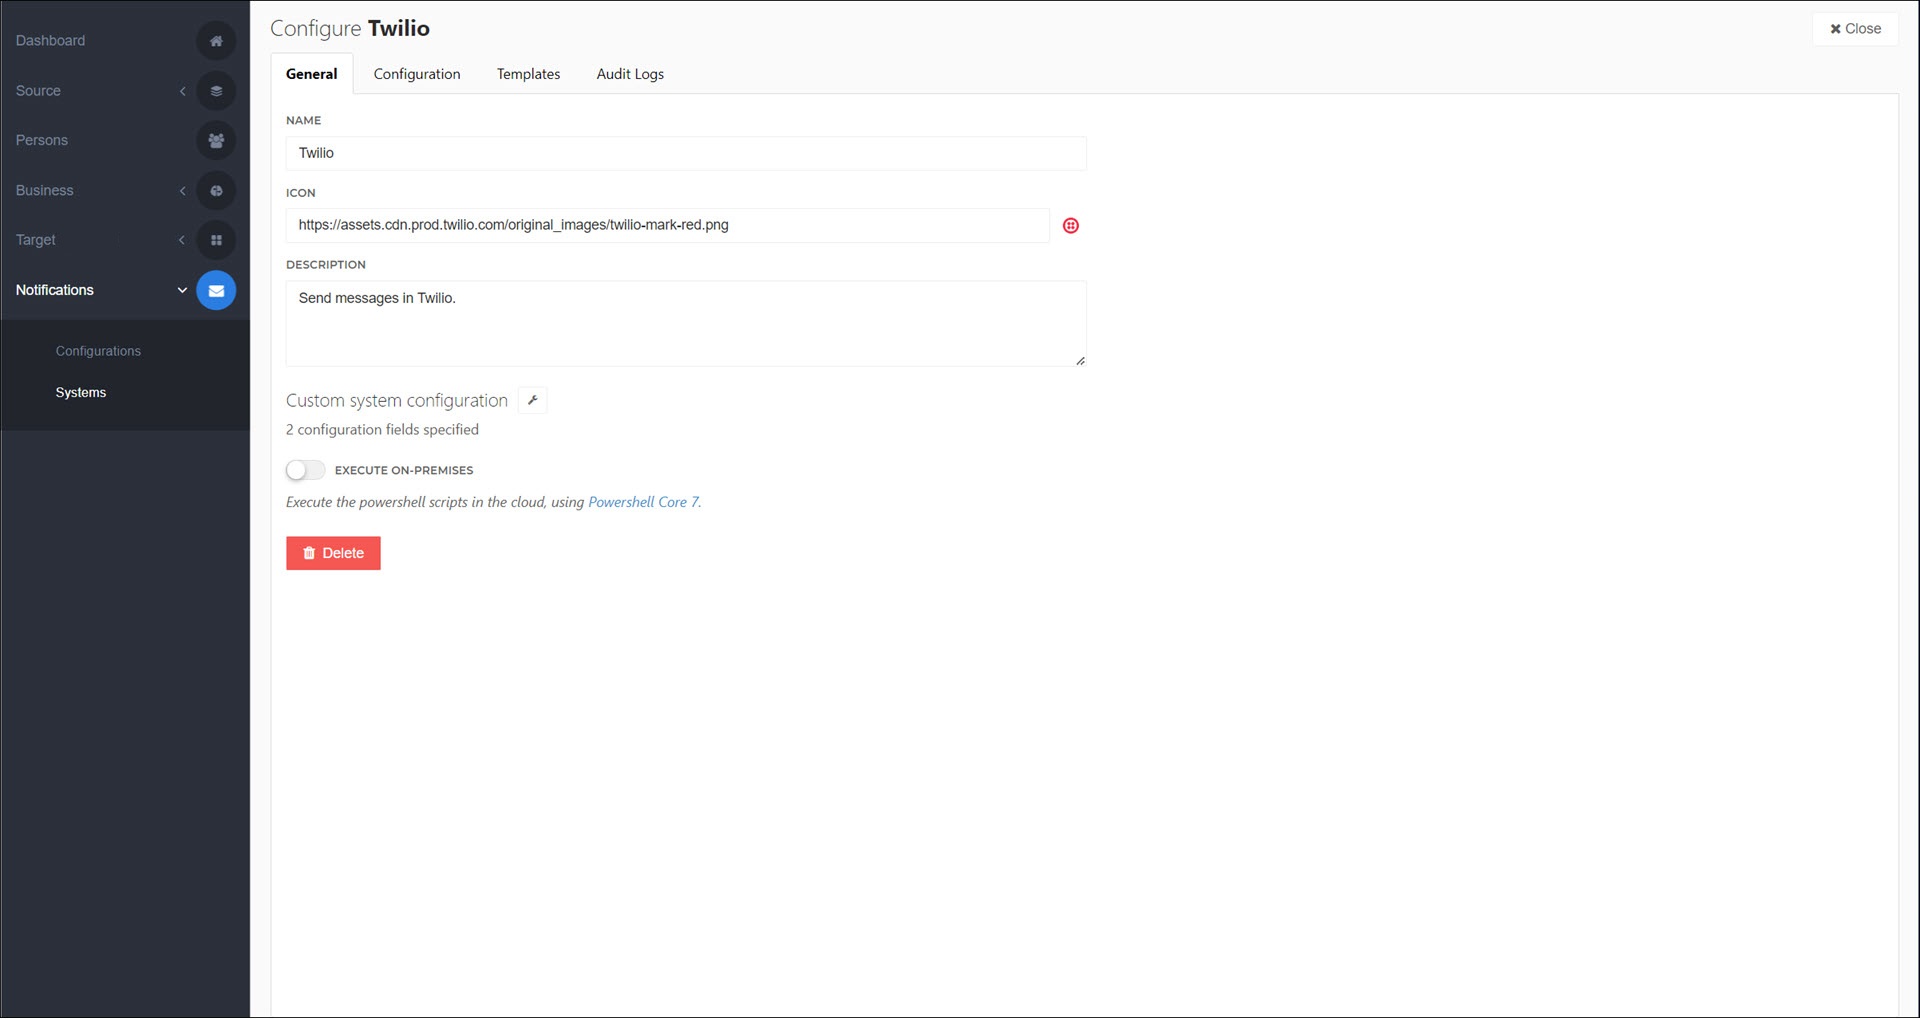
Name:
TwilioIcon:
https://assets.cdn.prod.twilio.com/original_images/twilio-mark-red.pngDescription:
Send messages in Twilio.Custom System Configuration: The following form:
[
  {
    "key": "accountSid",
    "type": "input",
    "defaultValue": "",
    "templateOptions": {
      "label": "Account SID",
      "description": "Your Twilio Account SID",
      "required": true
    }
  },
  {
    "key": "authToken",
    "type": "input",
    "defaultValue": "",
    "templateOptions": {
      "label": "Auth Token",
      "description": "Your Twilio Auth Token",
      "type": "password",
      "required": true
    }
  }
]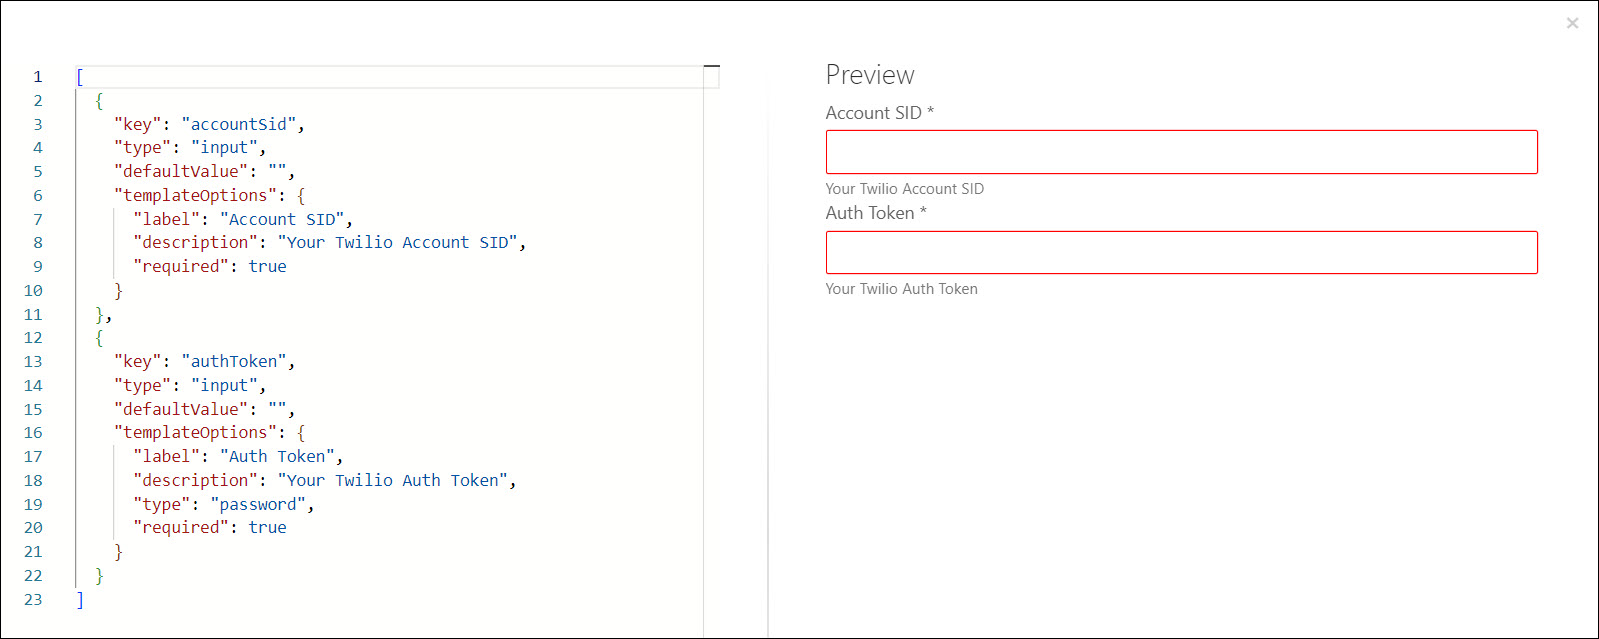
Execute On-Premises: Off
After entering your form JSON, click Apply.
A Configuration tab is added to the system. Go to it.
Enter values for the system-level variables in the input form you designed. These values will be available in the template script, via $actionContext.Configuration..
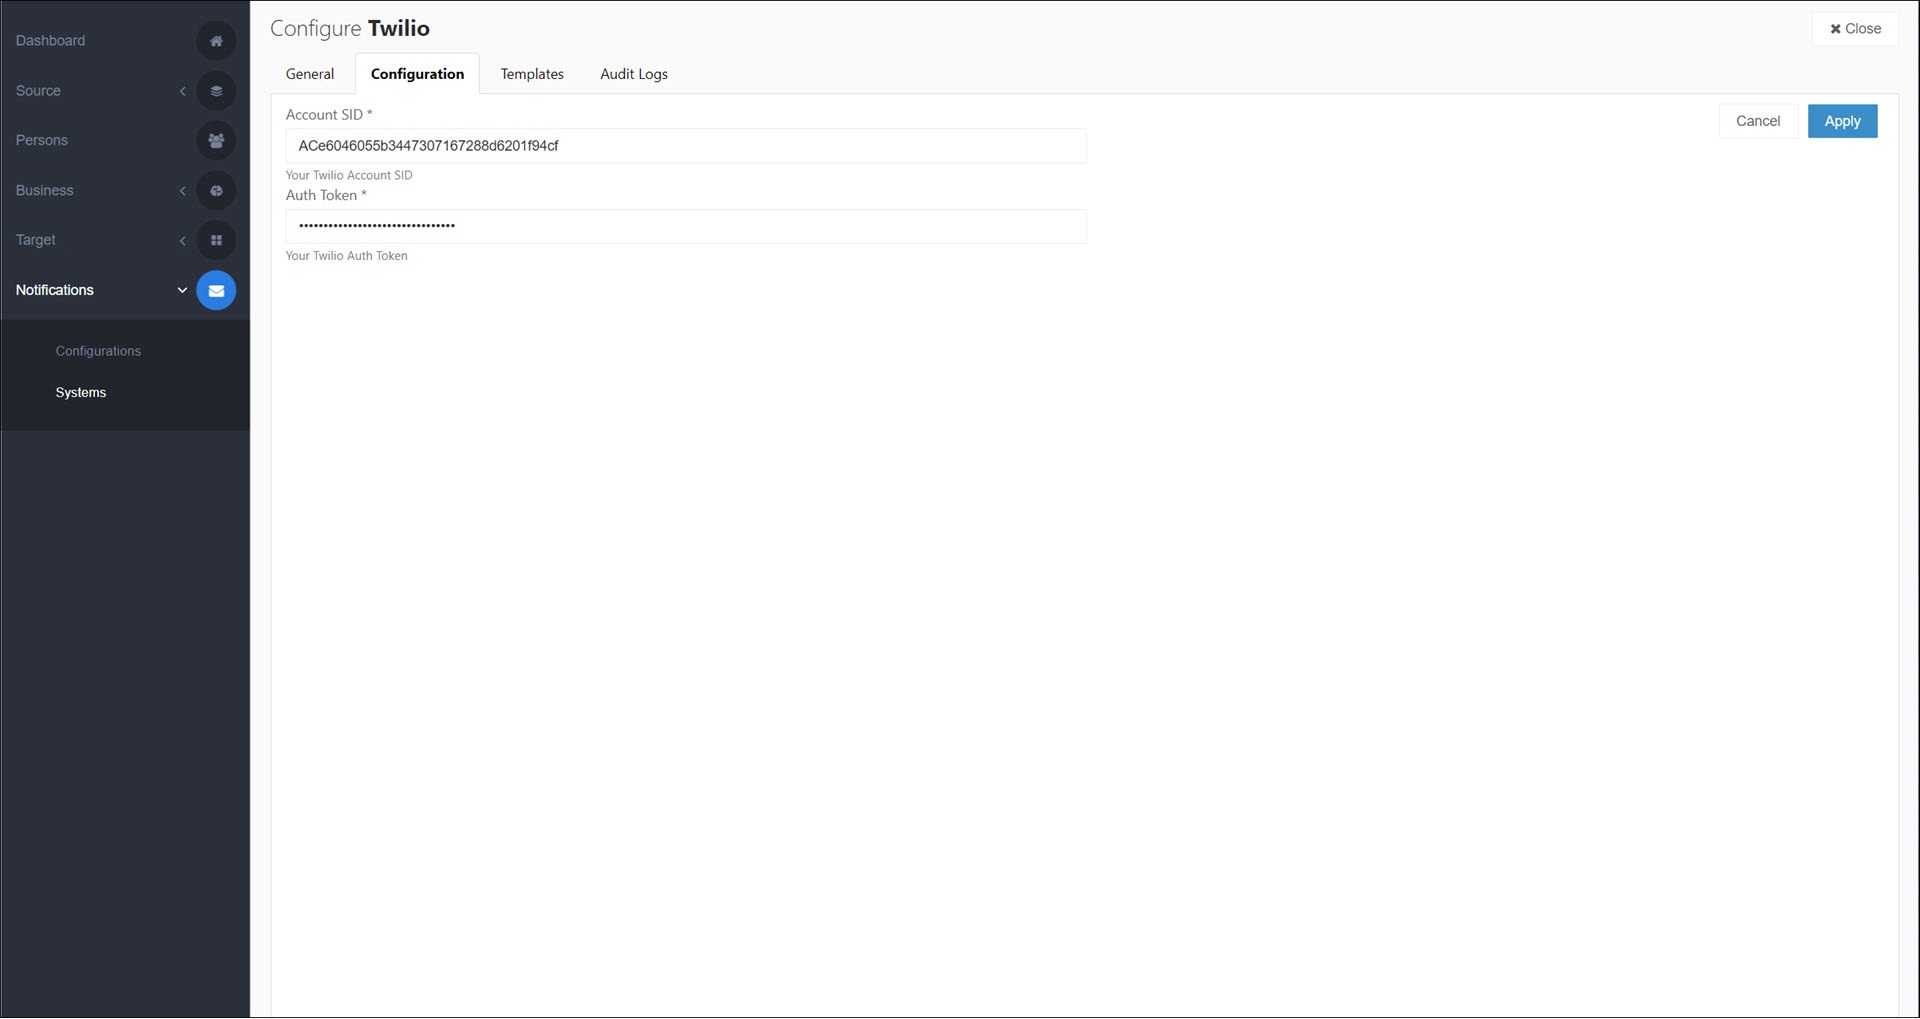
For this example, we'll enter our Twilio Account SID and Auth Token values.
Click Apply to save your changes.
Optional: Go to the Templates tab, where you can add PowerShell notification templates for specific scenarios in this notification system.
For this example, we'll create two templates:
Twilio SMSandTwilio WhatsApp.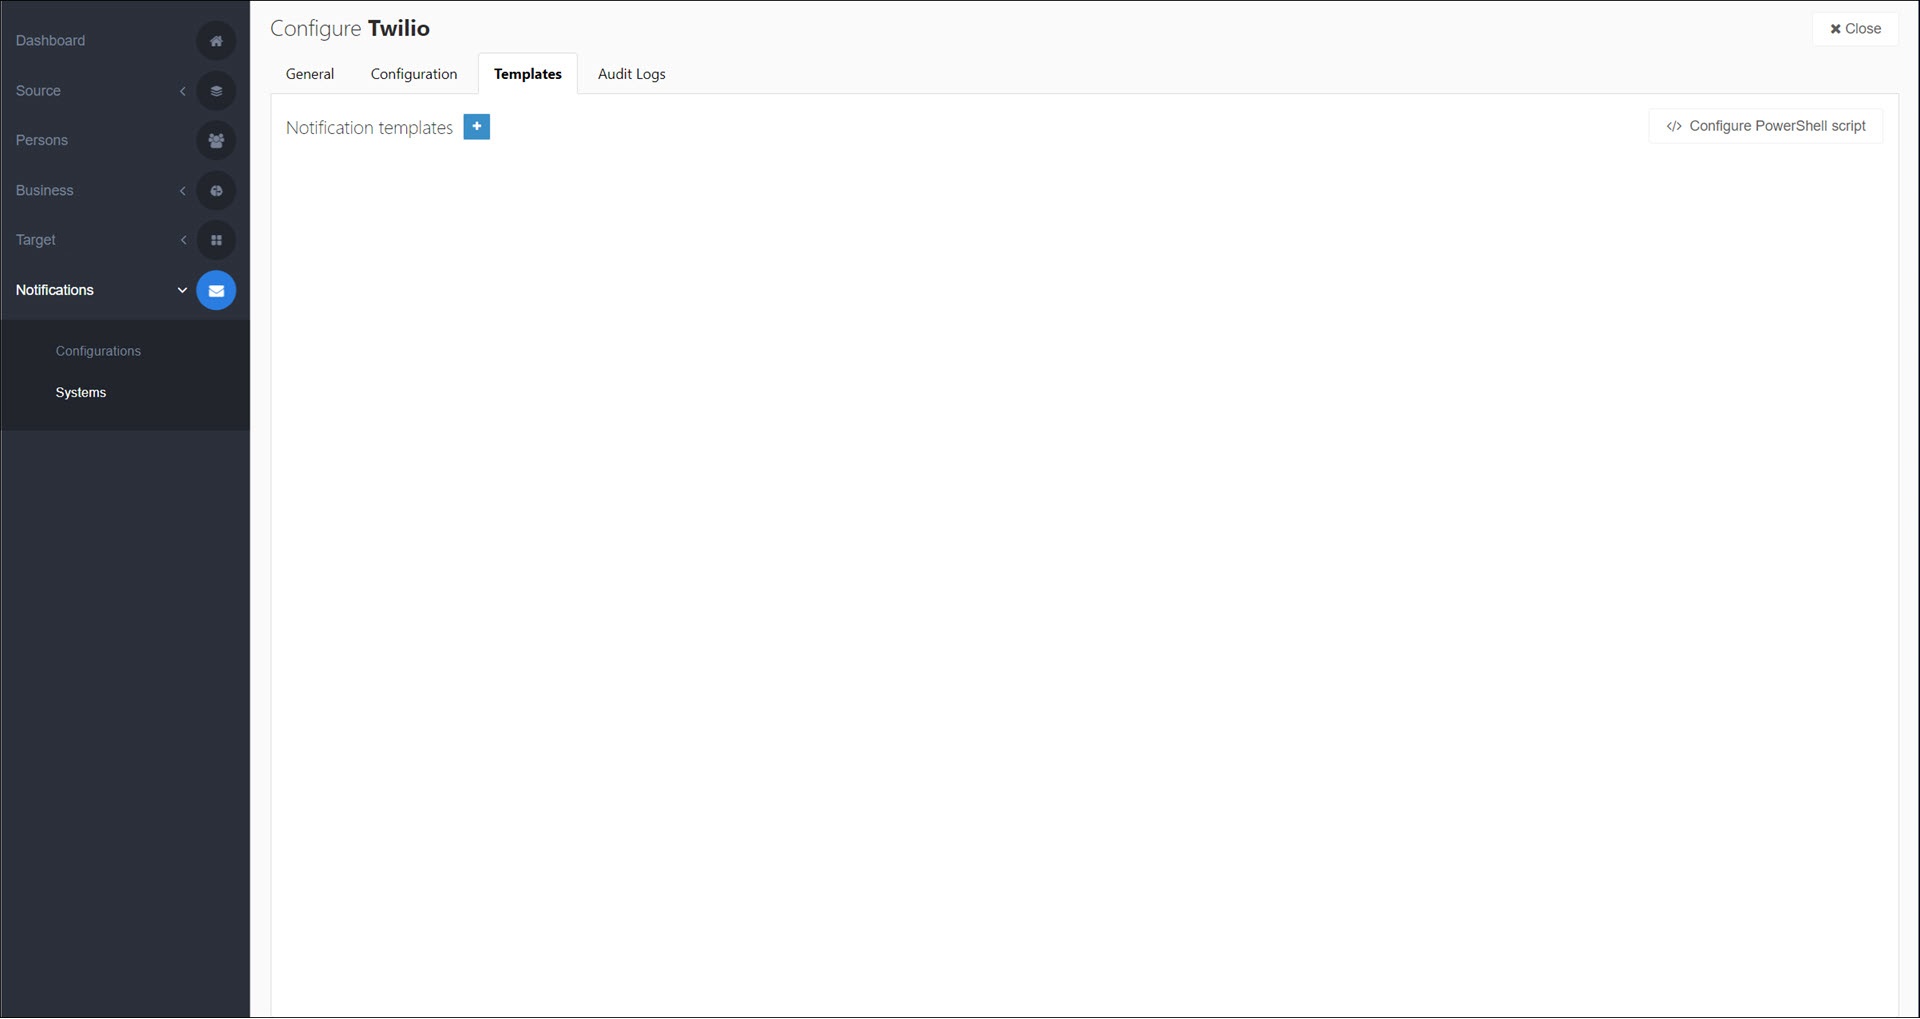
Click
Add to add a new template. Click its name to rename it.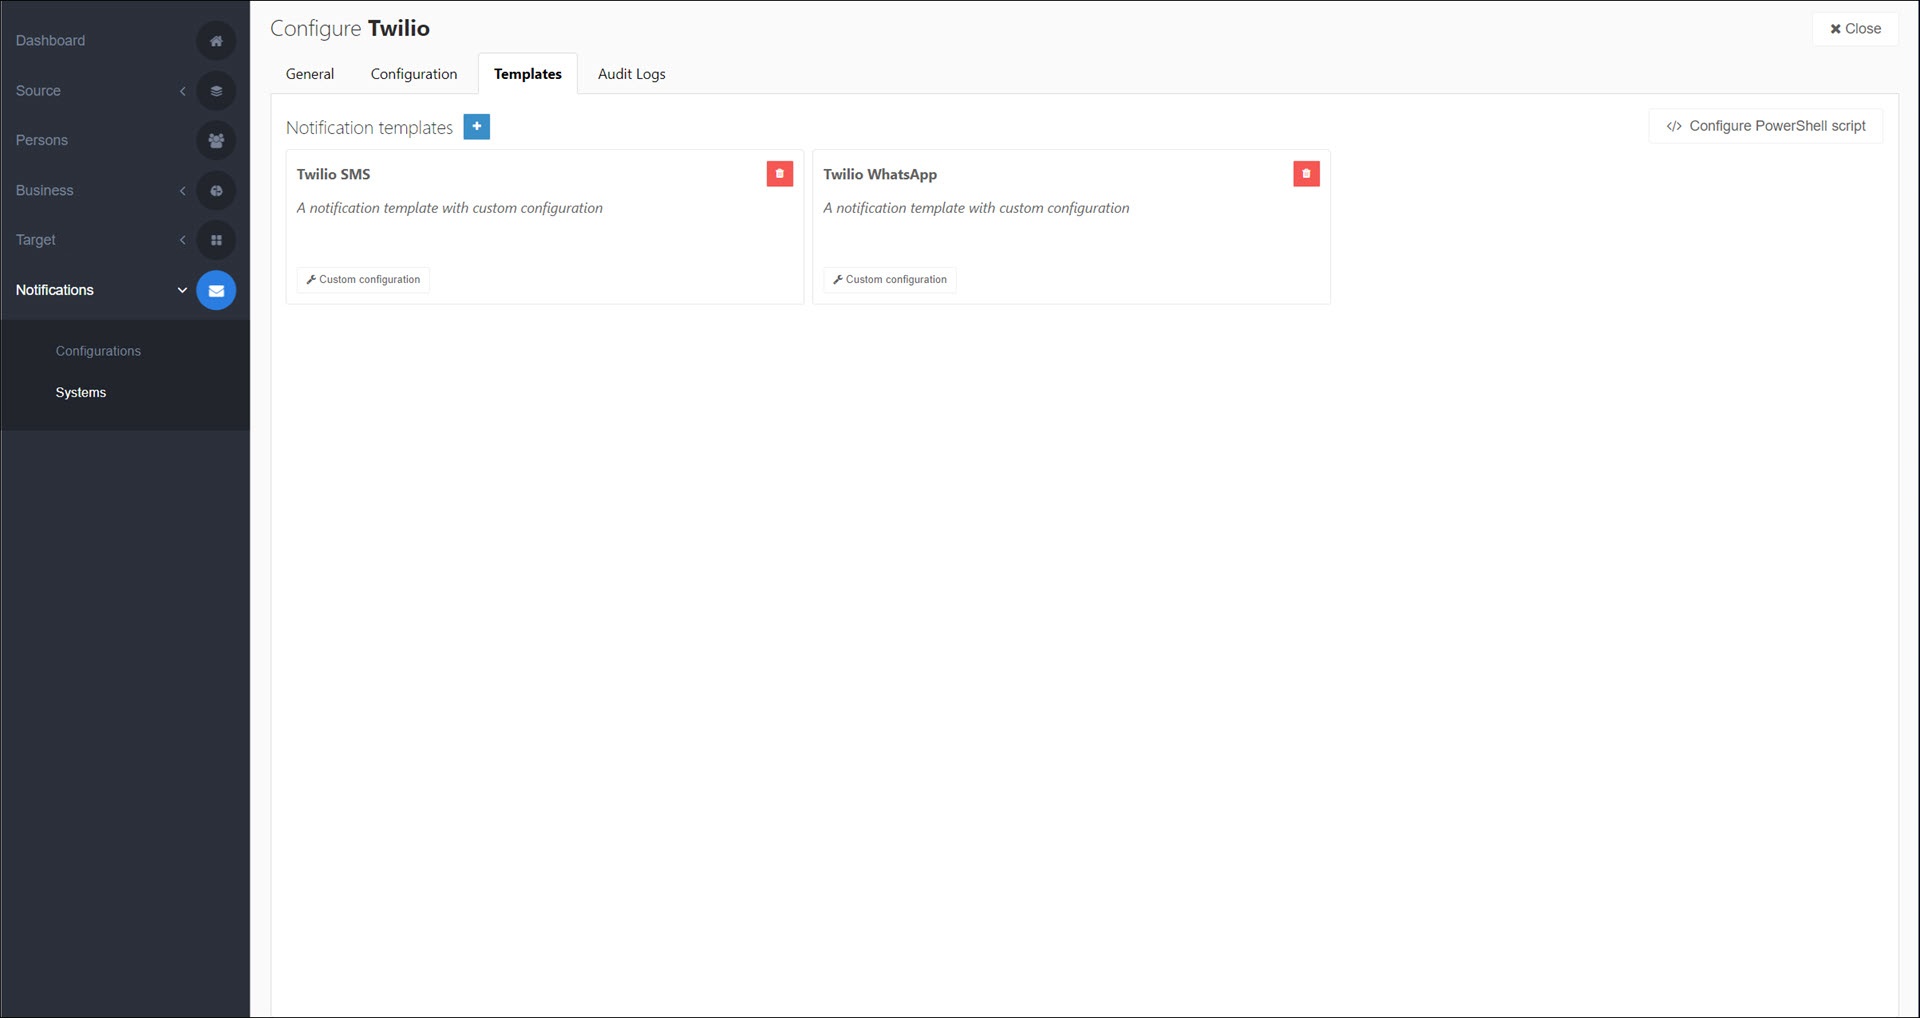
Click a template's Custom Configuration button to customize it. The template's input form should collect any variables that the script needs specifically for this scenario (as opposed to this system's input form, which, to say it again, is for general system-level variables). These values will be available in the template script via $actionContext.TemplateConfiguration..
Important
Each template should have a hidden and disabled field that identifies the template. This can be accomplished using the default scriptFlow variable. It should be set to
"disabled": trueand"hide": true.For this example, we'll use the following form for our Twilio SMS template:
[
  {
    "key": "scriptFlow",
    "type": "input",
    "defaultValue": "one",
    "templateOptions": {
      "label": "Script flow",
      "disabled": true
    },
    "hide": true
  },
  {
    "key": "userName",
    "type": "input",
    "defaultValue": "{{person.UserName||\"person username\"}}",
    "templateOptions": {
      "label": "Person username",
      "disabled": true
    },
    "hide": true
  },
  {
    "key": "phoneNumber",
    "type": "input",
    "defaultValue": "{{Person.Contact.Personal.Phone.Mobile||\"person phone number\"}}",
    "templateOptions": {
      "label": "Number to send SMS to",
      "placeholder": "Please enter a phone number",
      "required": true
    }
  }
]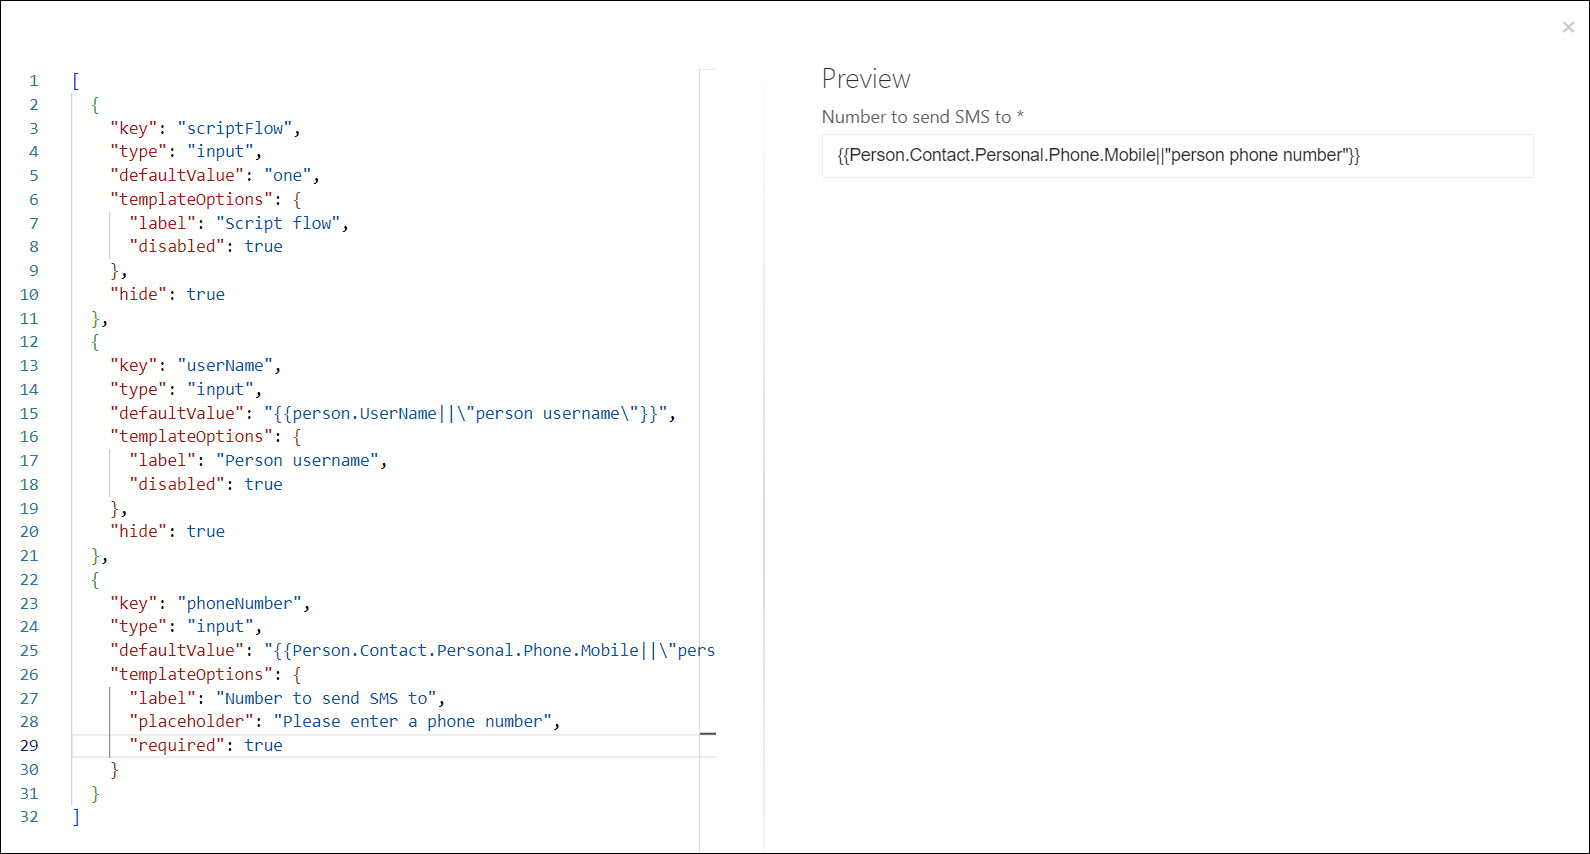
And the following form for our Twilio WhatsApp template:
[
  {
    "key": "scriptFlow",
    "type": "input",
    "defaultValue": "two",
    "templateOptions": {
      "label": "Script flow",
      "disabled": true
    },
    "hide": true
  },
  {
    "key": "userName",
    "type": "input",
    "defaultValue": "{{person.UserName||\"person username\"}}",
    "templateOptions": {
      "label": "Person username",
      "disabled": true
    },
    "hide": true
  },
  {
    "key": "whatsAppUsername",
    "type": "input",
    "defaultValue": "{{person.Custom.WhatsApp||\"person WhatsApp username\"}}",
    "templateOptions": {
      "label": "WhatsApp Username",
      "placeholder": "Please enter a WhatsApp username",
      "required": true
    }
  }
]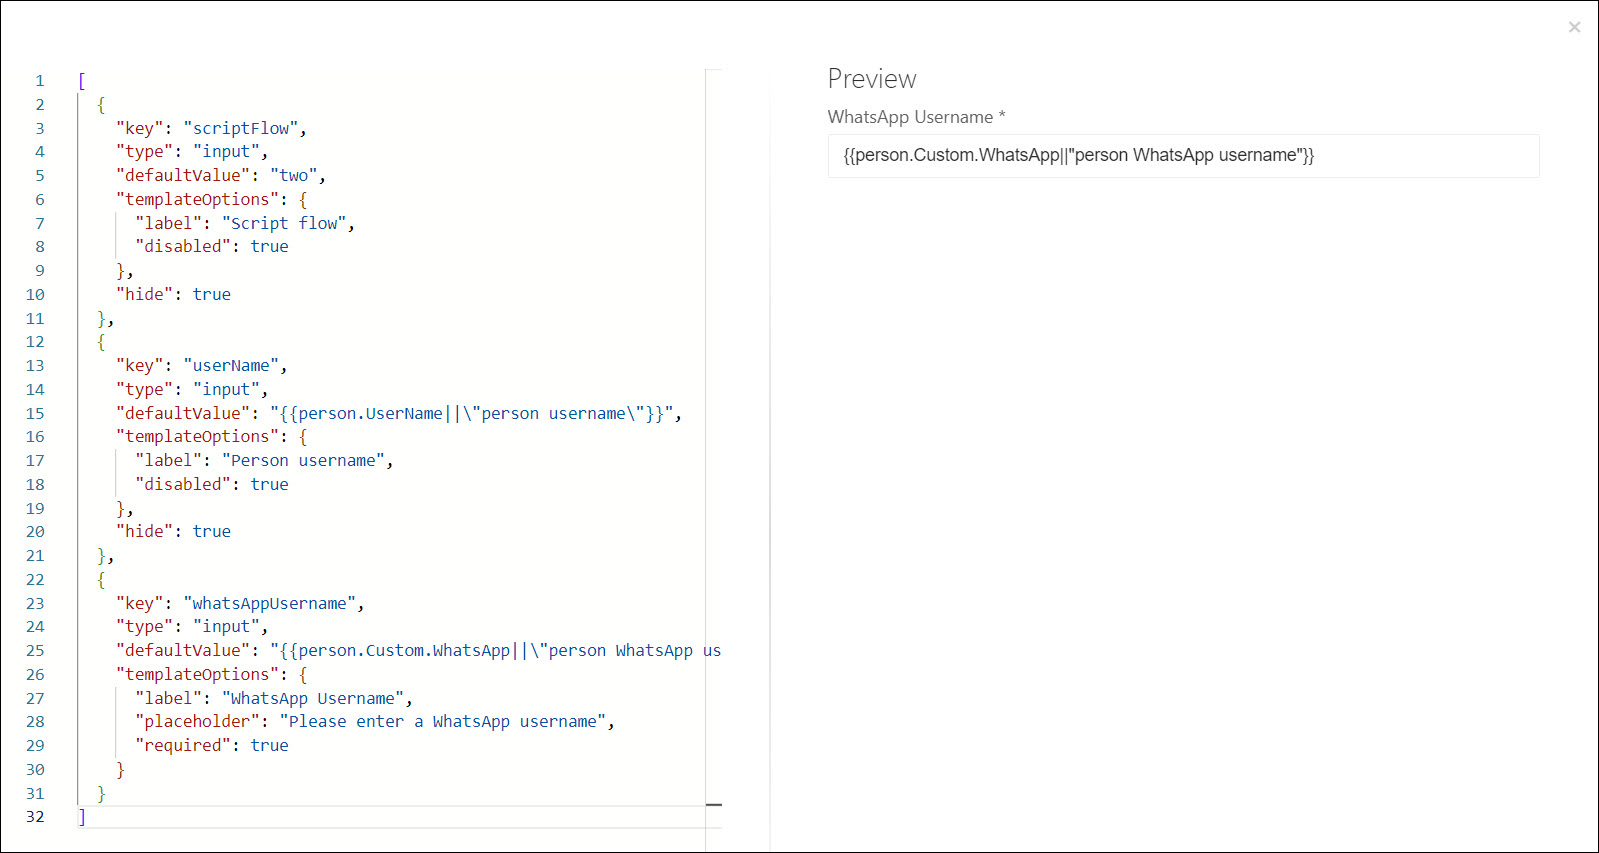
Click Apply to save your changes.
Click Configure PowerShell Script.
Write the logic for your first template inside the
if ($actionContext.TemplateConfiguration.scriptFlow -eq "one")block. Add additional blocks and customize the conditional logic to handle any other templates you've created, using their scriptFlow values to identify them.For this example, we'll use the following script. (We'll only include working code for the SMS template.)
if (-Not($actionContext.DryRun -eq $true)) {
    $sid = $actionContext.Configuration.accountSid
    $token = $actionContext.Configuration.authToken

    if ($actionContext.TemplateConfiguration.scriptFlow -eq "one") {
        # Execute script flow one
        $number = $actionContext.TemplateConfiguration.phoneNumber

        $url = "https://api.twilio.com/2010-04-01/Accounts/$sid/Messages.json"
        $params = @{ To = "+1$number"; From = "+18669522556"; Body = "Hello from Template 1" }

        $p = $token | ConvertTo-SecureString -asPlainText -Force
        $credential = [System.Management.Automation.PSCredential]::new($sid, $p)

        $response = Invoke-WebRequest $url -Method Post -Credential $credential -Body $params -UseBasicParsing | ConvertFrom-Json | Select sid, body
        Write-Information "Response: $response"
    } else {
        # Execute script flow two
        # Twilio WhatsApp call would go here
    }
}

$outputContext.AuditLogs.Add([PSCustomObject]@{
    Message = "Successfully sent a notification for person '$($actionContext.TemplateConfiguration.userName)'"
    IsError = $false
})

$outputContext.Success = $true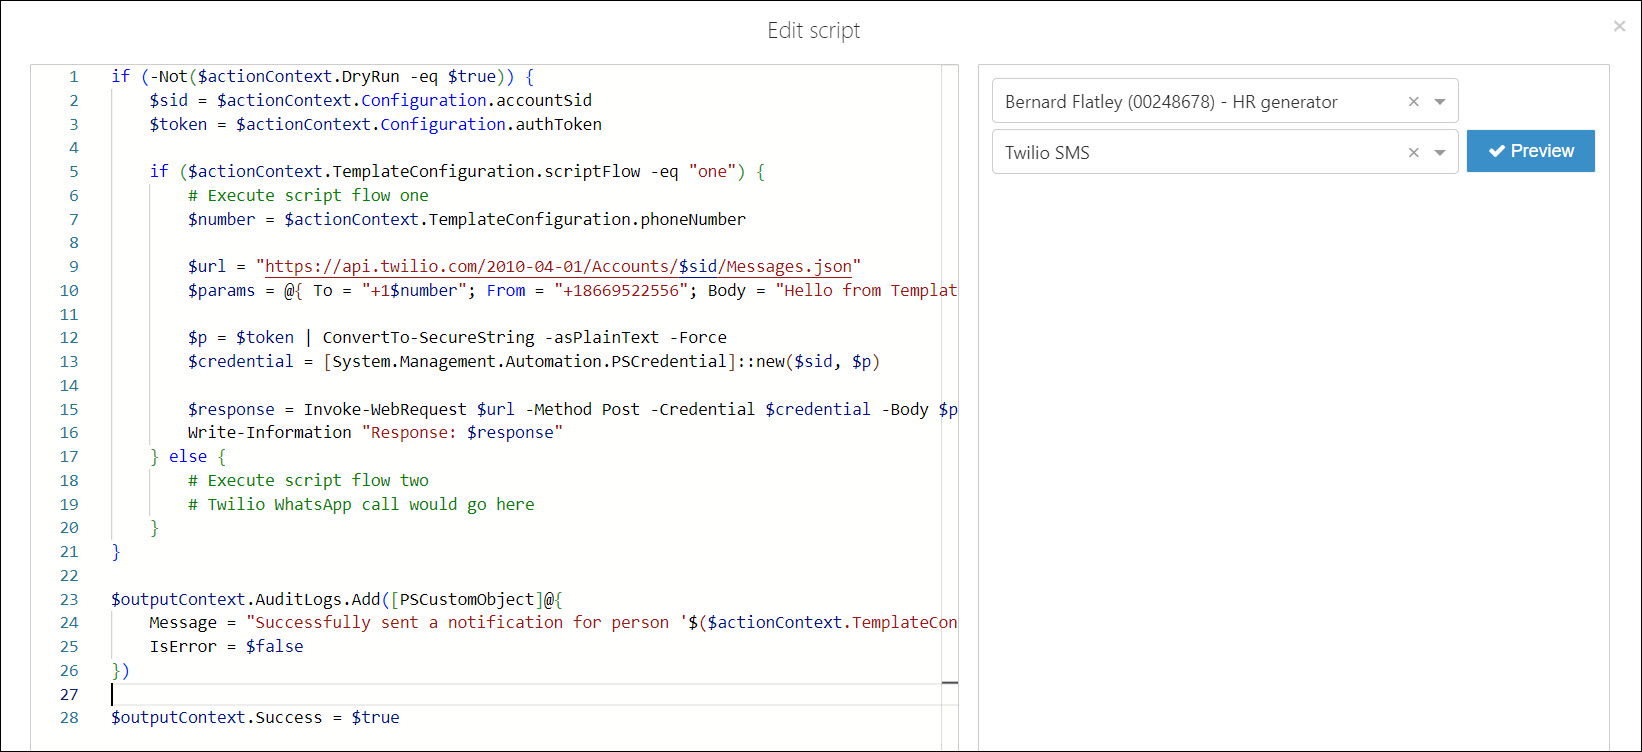
Click Apply to save your changes.
Your PowerShell notification system has been added. The next step is typically to Add a notification (PowerShell) that uses this system.
Go to Notifications > Systems.
For the relevant PowerShell notification system, click
 Edit.
Edit.Continue by following the instructions in Add a PowerShell notification system.
Go to Notifications > Systems.
For the relevant PowerShell notification system, click
Edit.Click Delete.
To confirm, click Delete.