Add, edit, or remove a dynamic form
For more information, see Dynamic forms.
Add a dynamic form
Go to Self Service > Forms.
Click Add Form.
Enter a Form Name.
For this example, we'll name our form
Weather report.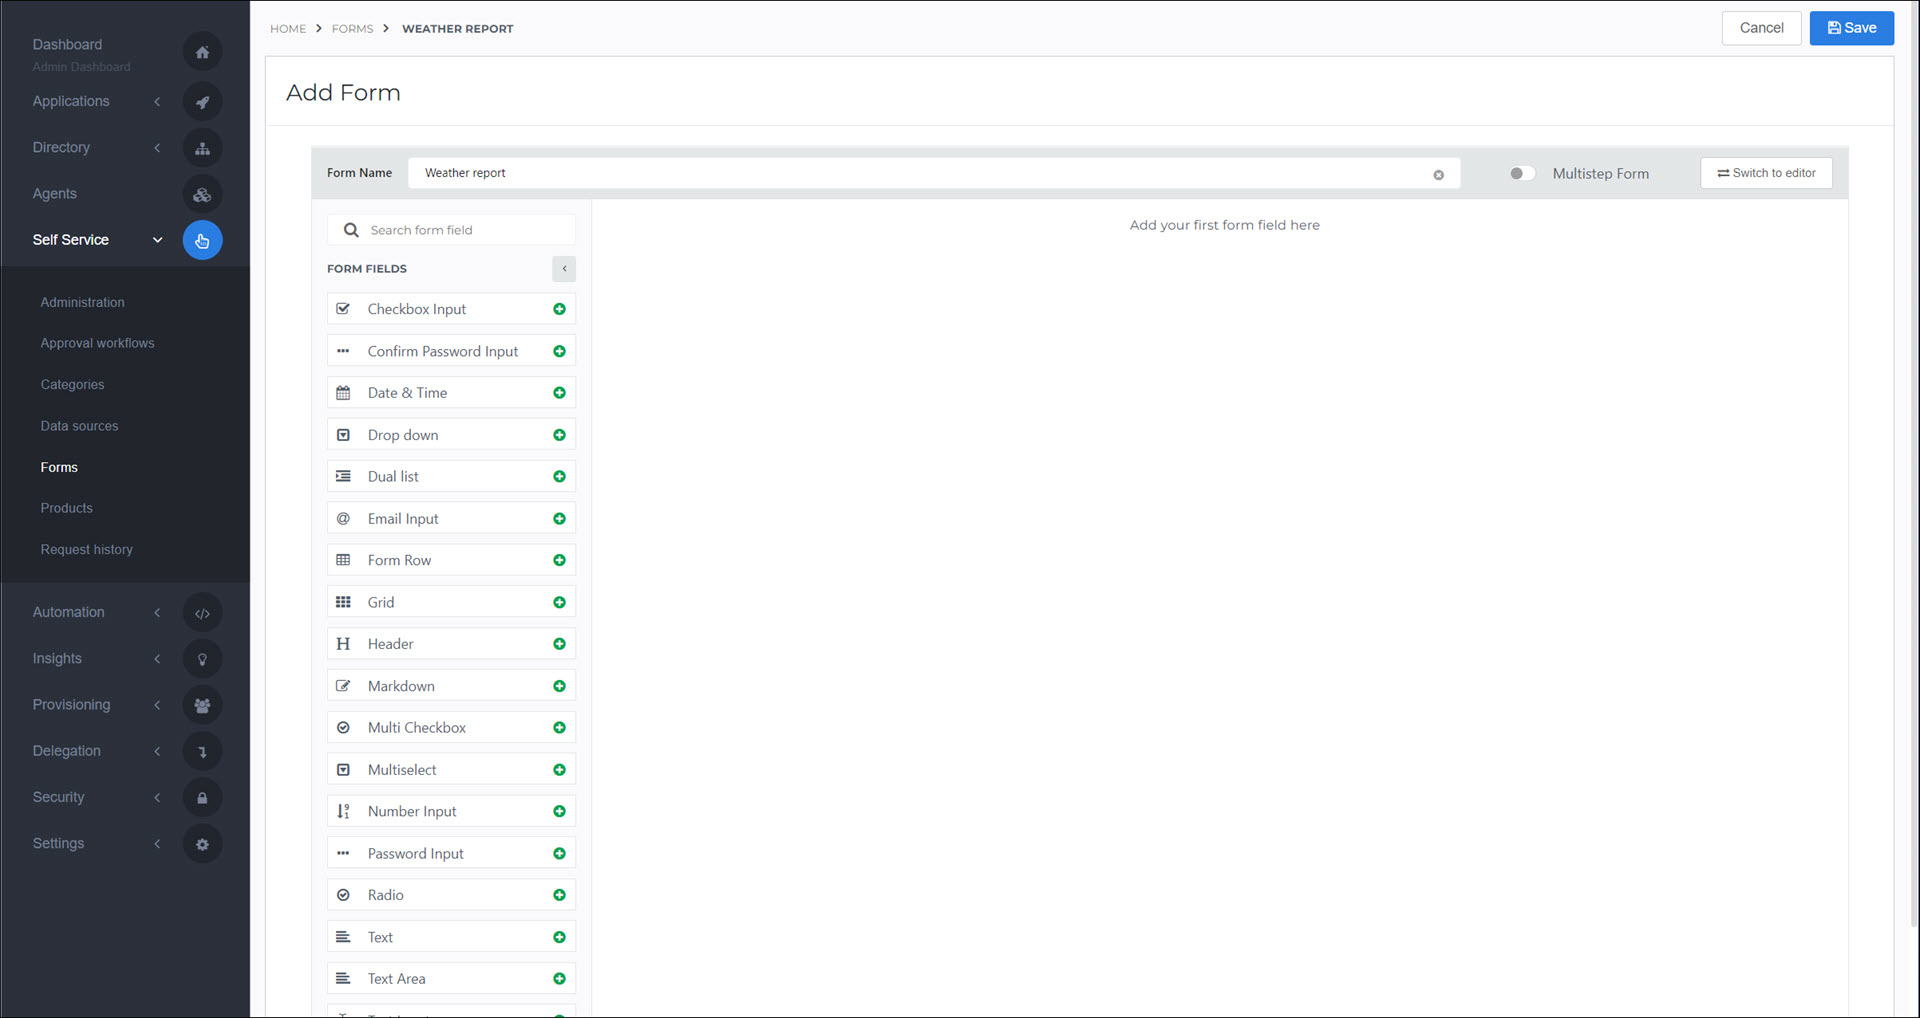
Click
 Add form element for the various form elements to add them to your form.
For this example, we'll add a Dropdown element.
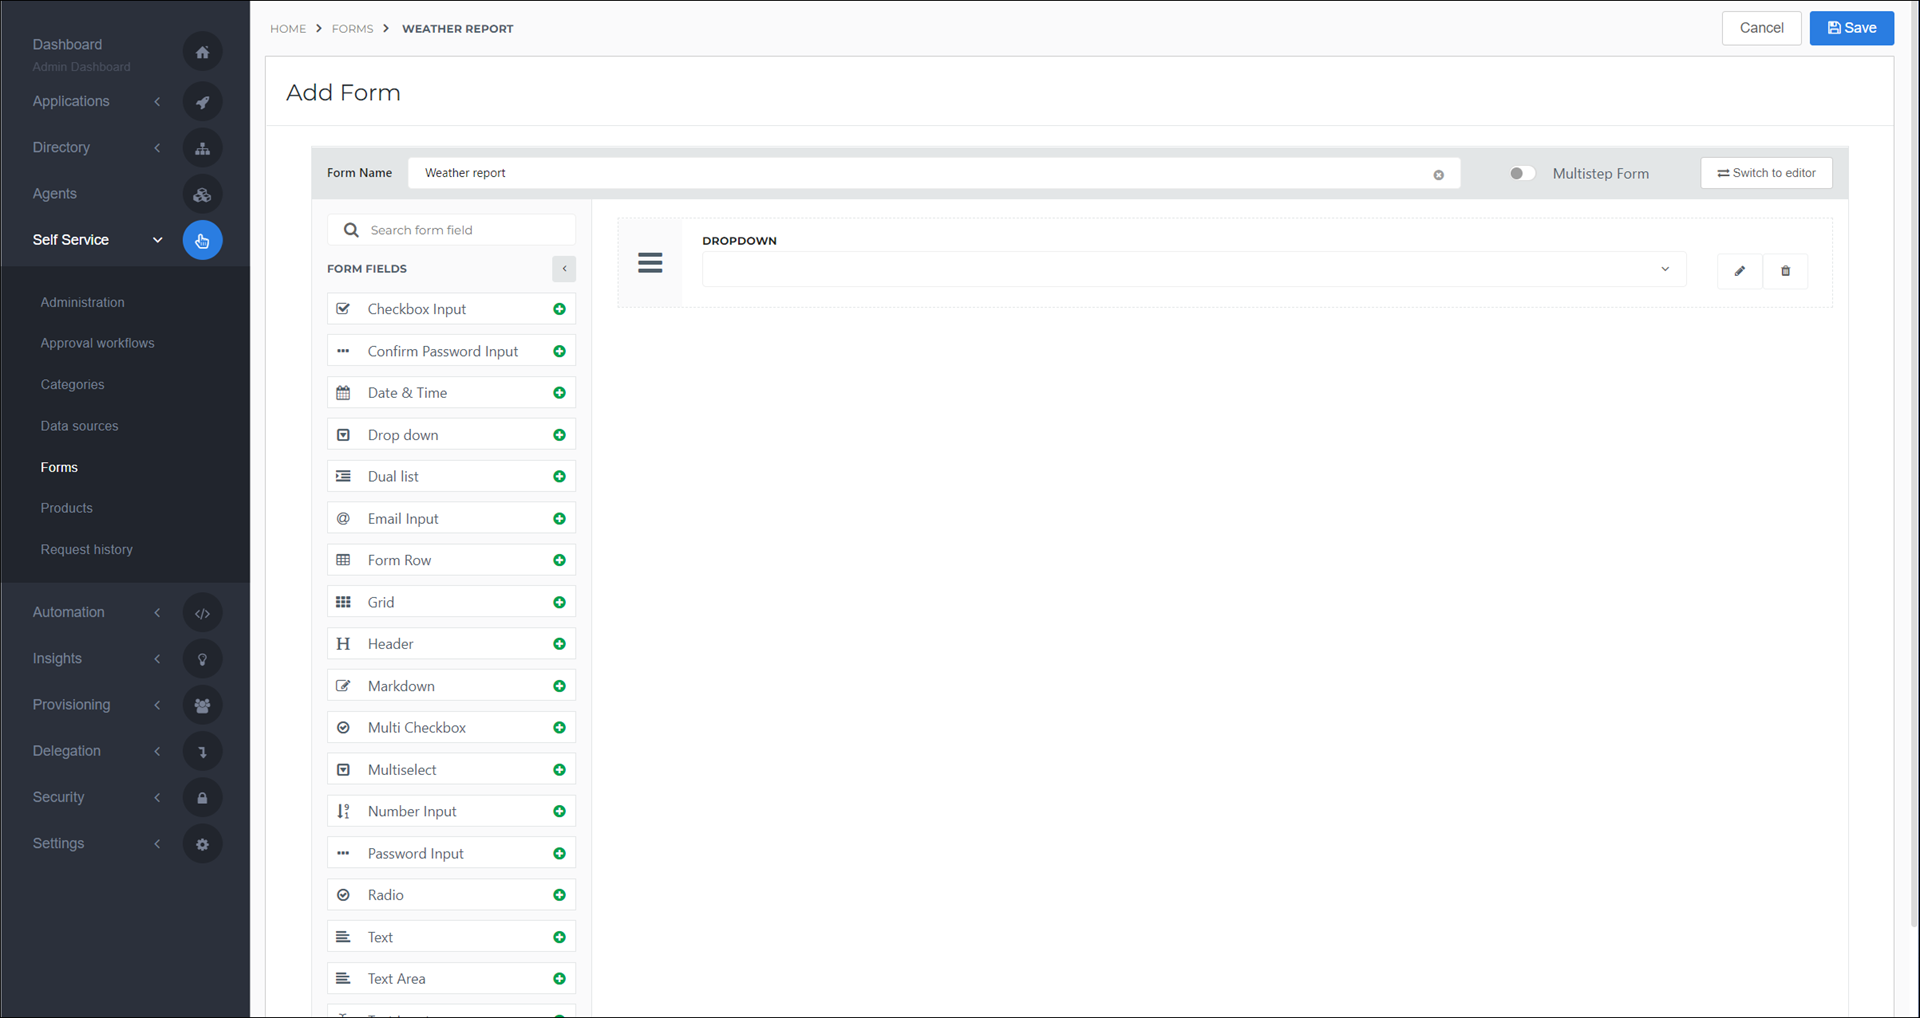
Click
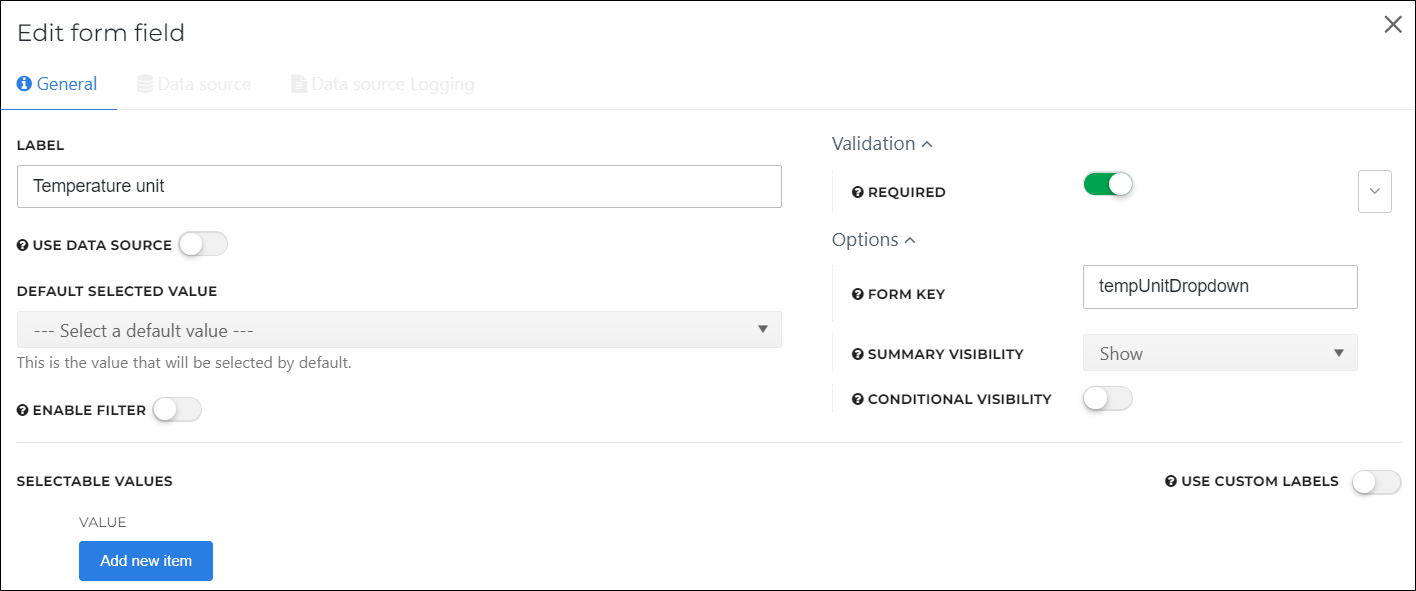
 Edit form element to configure an element that you've added to your form. See the Form element settings reference for a list of element settings.
For this example, we'll configure our dropdown element as follows:
Label:
Temperature unitRequired: Yes
Form Key:
tempUnitDropdown
Additionally, we'll remove its default Values, because we'll be programmatically populating its values using a static data source in the Add a static data source article.
Click Update Field to save your changes.
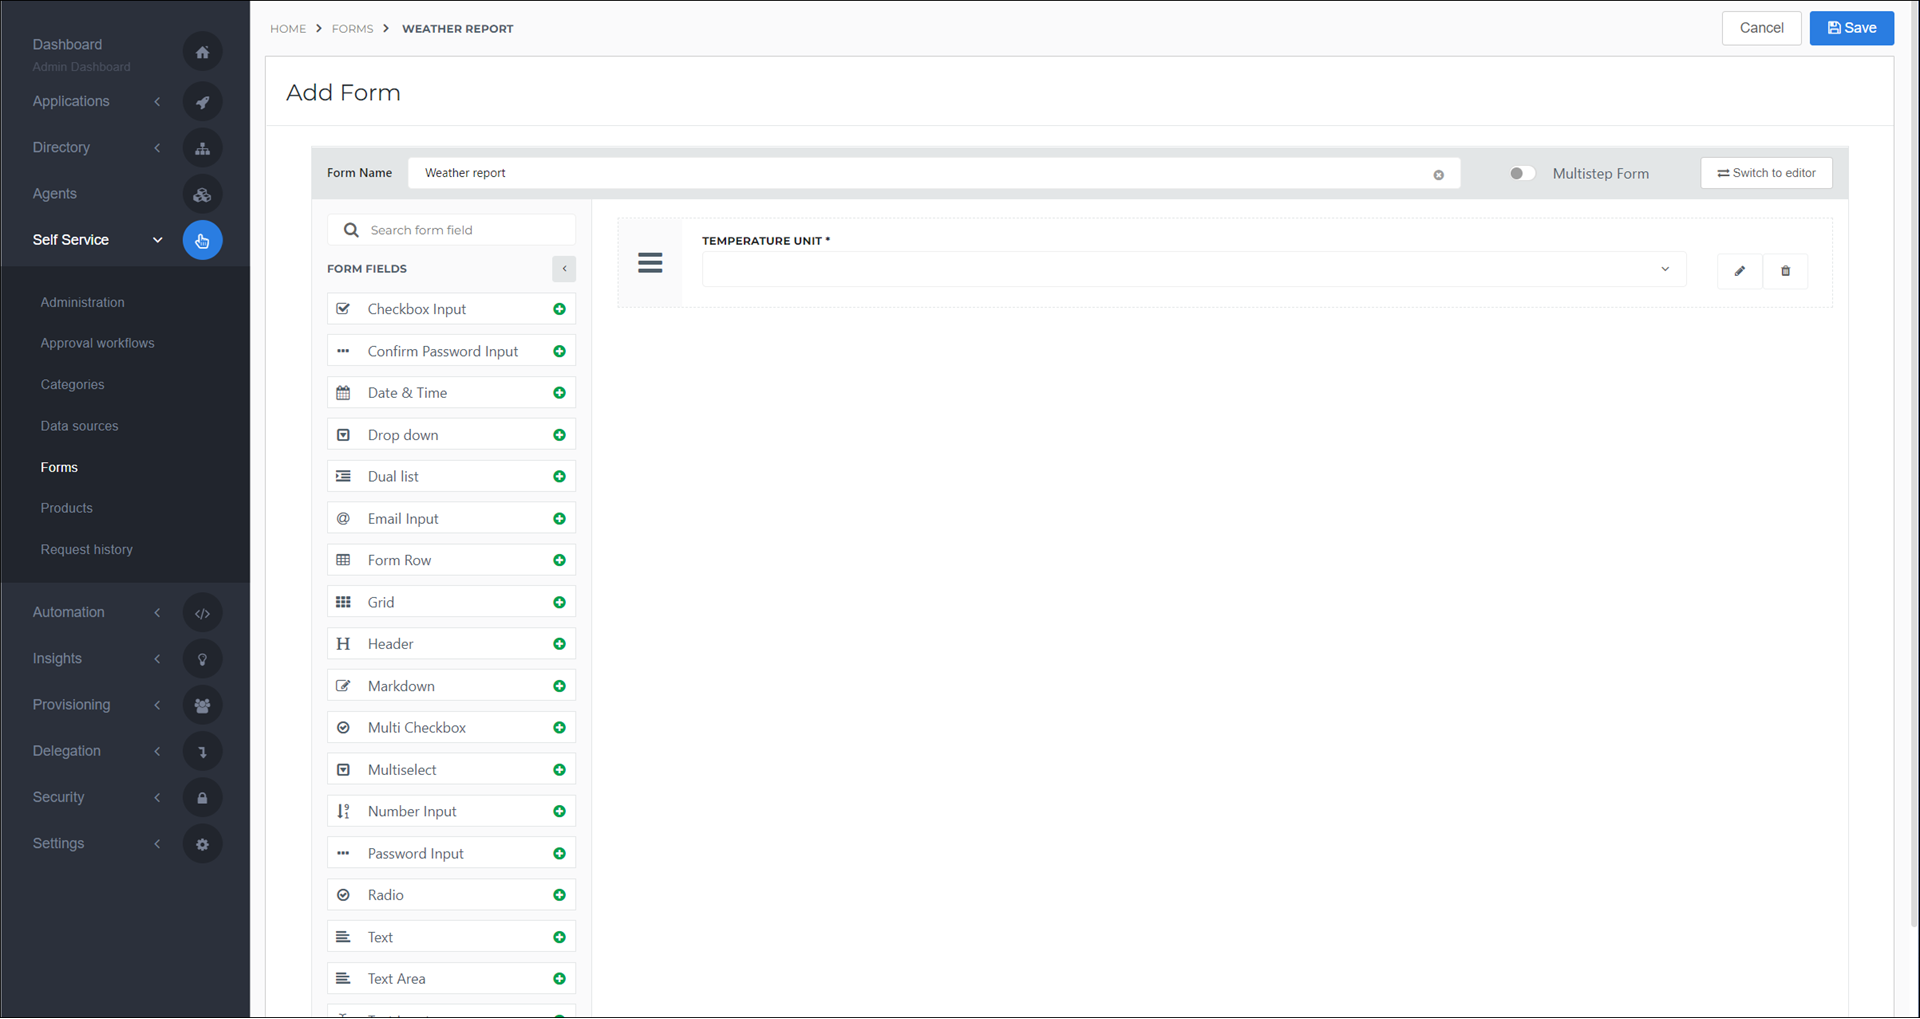
To allow additional steps (pages) in your form, enable the Multistep Form toggle.
For this example, we'll do so.
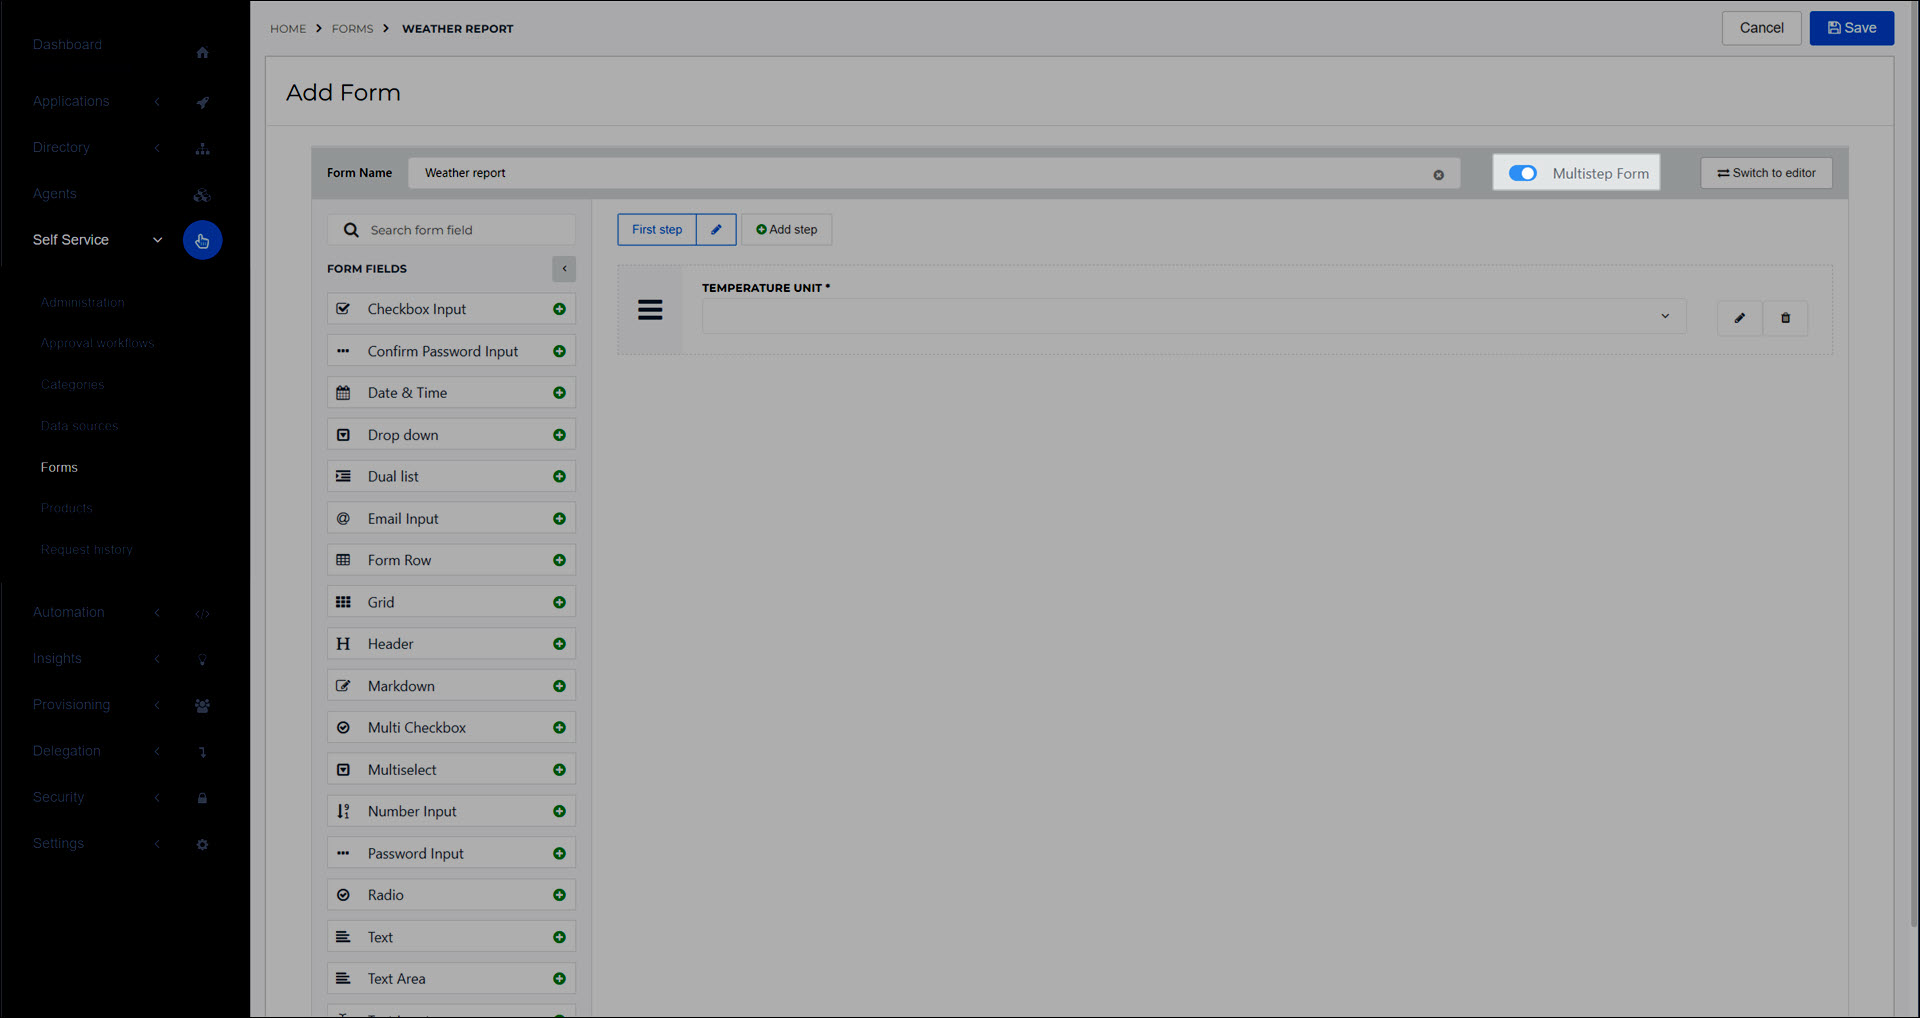
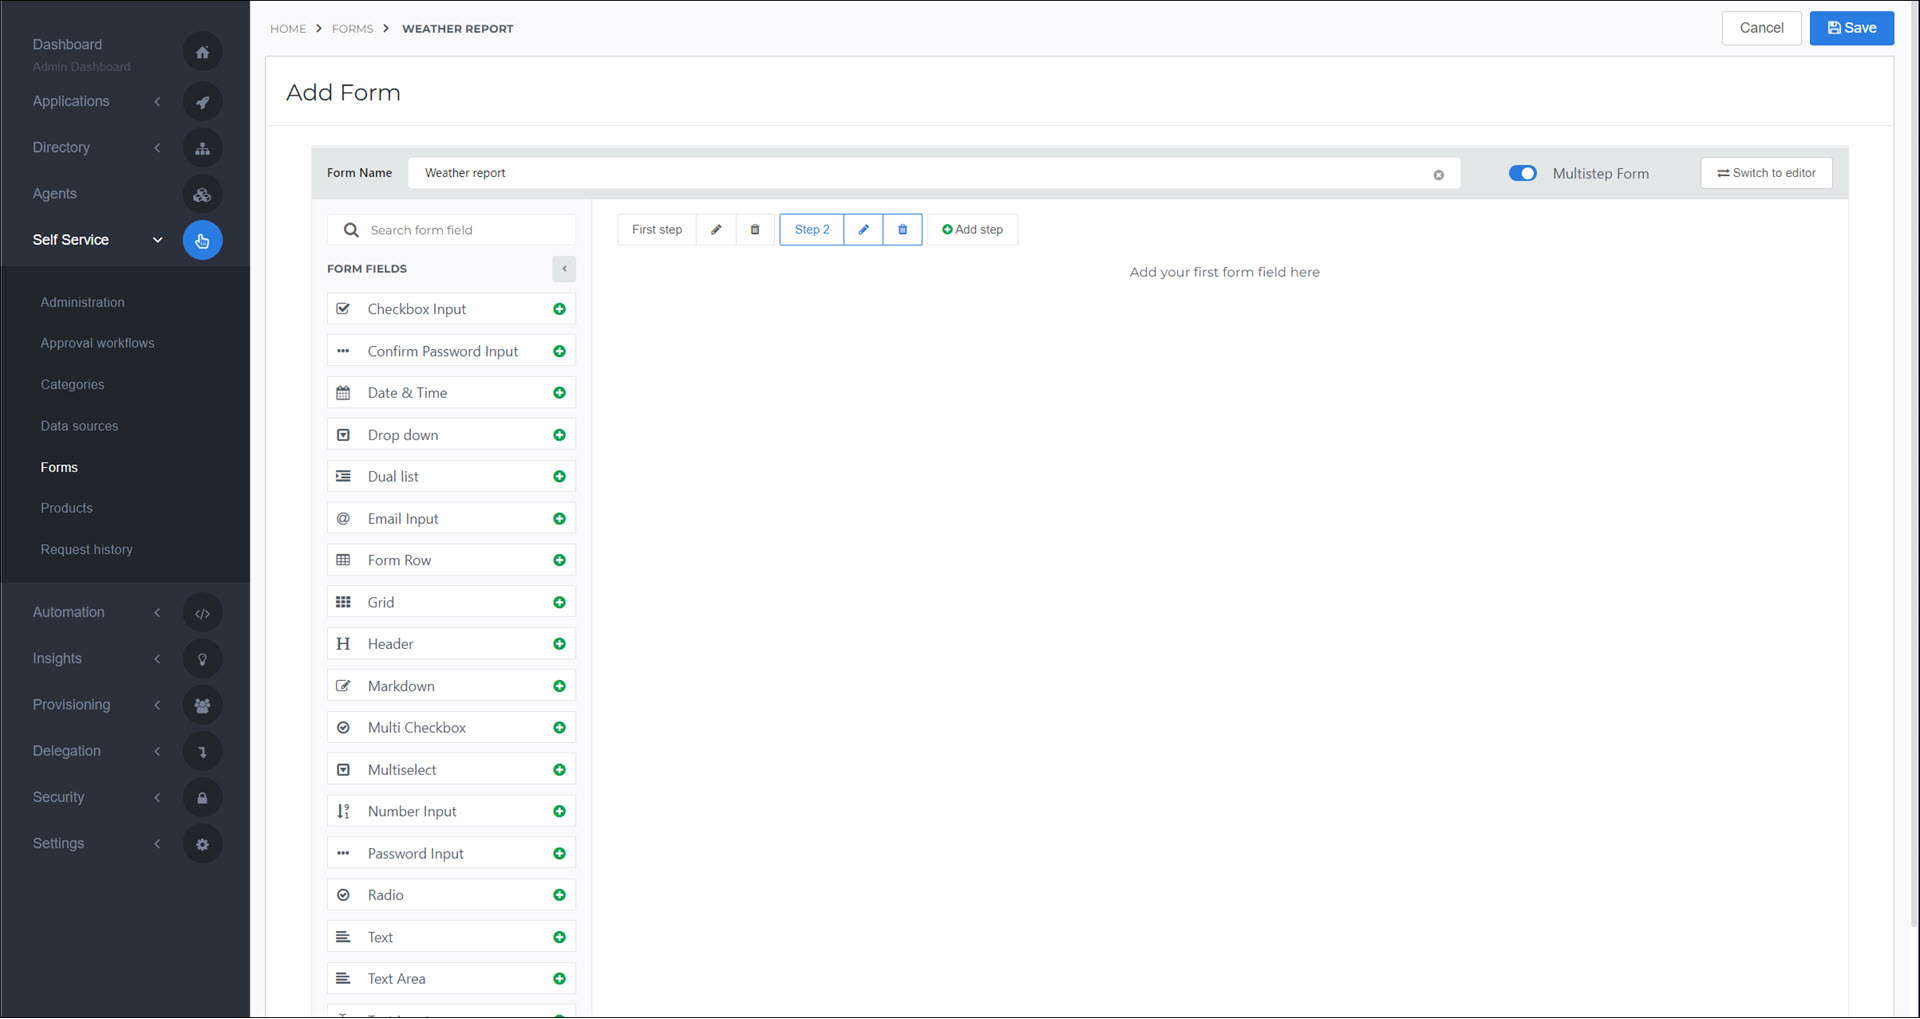
Click Add Step to add an additional step to your form.
We'll do so, then click Step 2 to view & edit the newly added step.
For this example, we'll add a Multi Checkbox element to Step 2, and leave its default configuration.
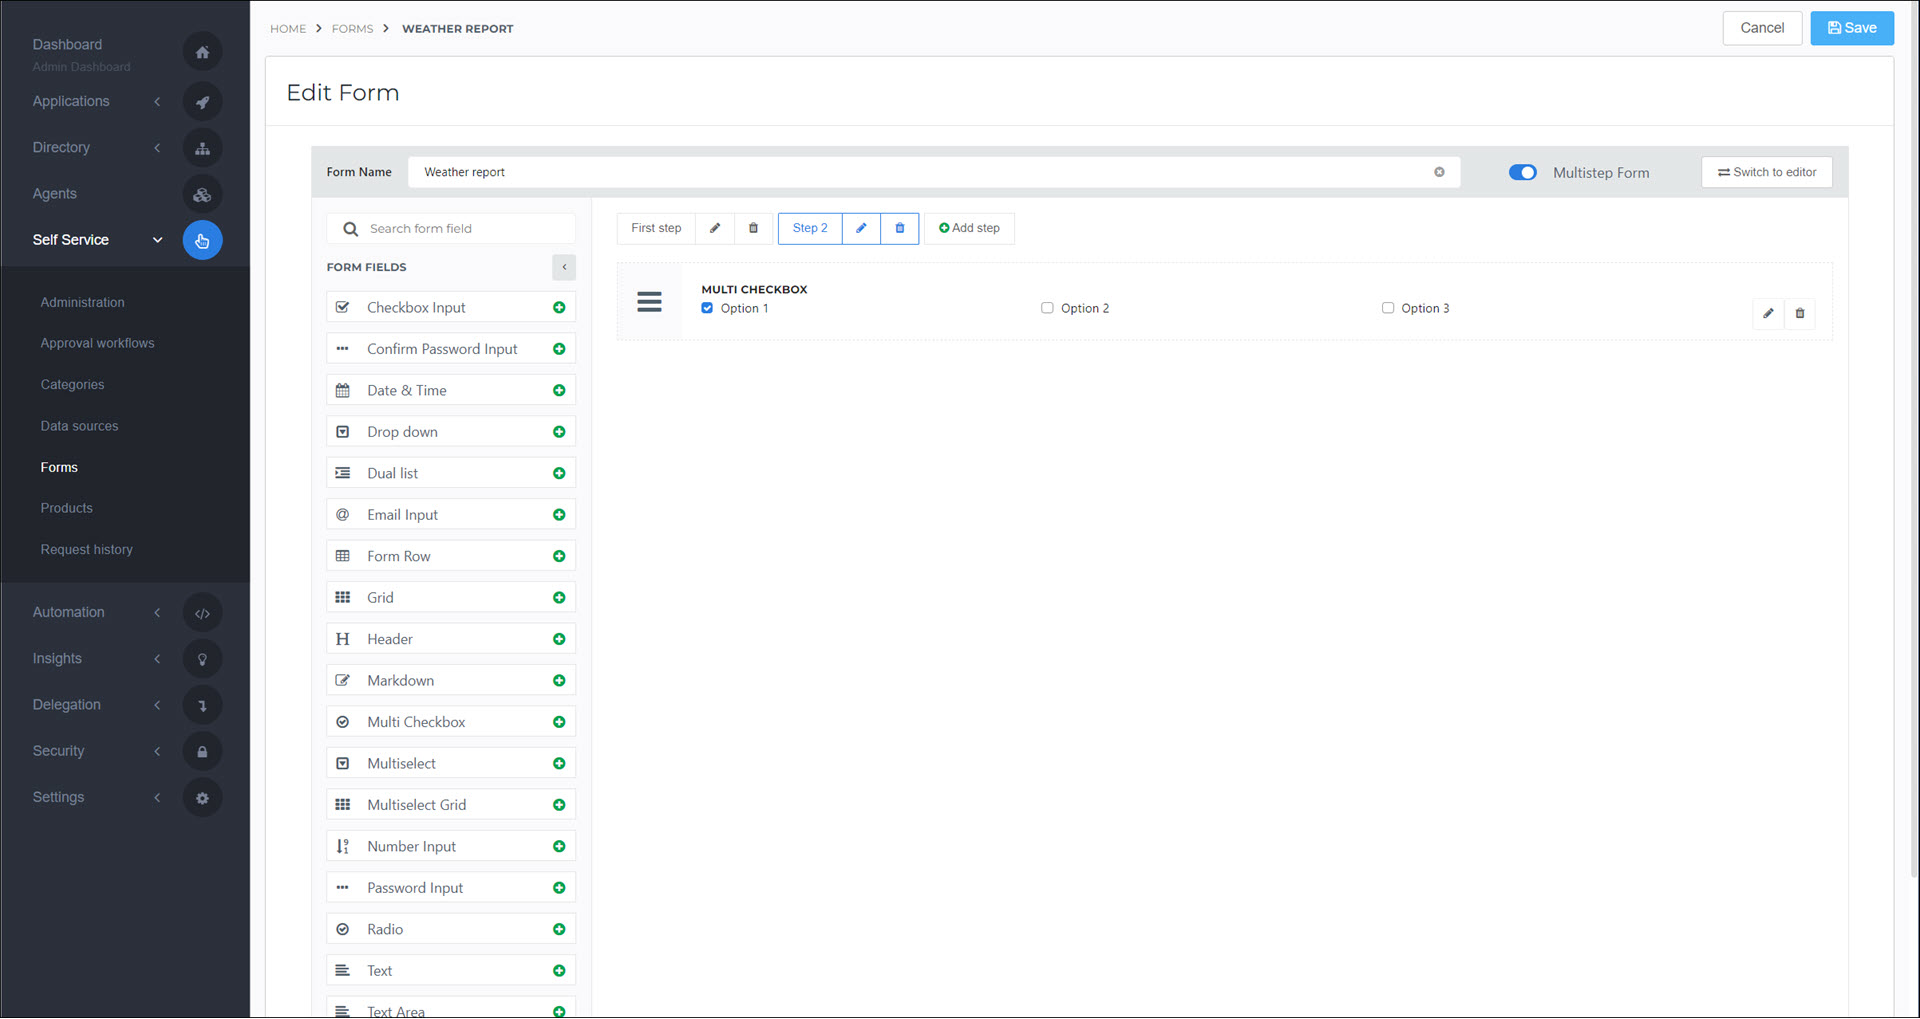
Click Save.
Recommended: Continue with the following tutorials, to learn how to populate form elements using data sources:
After you've completed those tutorials, also see the Add a PowerShell script to a delegated form tutorial, in which we'll use our form to gather input for a weather API query.
Go to Self Service > Forms.
For the relevant dynamic form, click Edit.
Continue by following the instructions in Add a dynamic form.
Go to Self Service > Forms.
For the relevant dynamic form, click Delete.
To confirm, click Delete.