Add, edit, or remove a static data source
For more information, see Static data sources.
Add a static data source
Note
Prerequisite: The Weather report form shown in the Add a dynamic form article.
Go to Self Service > Forms and click Edit for the relevant form.
For this example, we'll edit our
Weather reportform.Click
 Edit form element to edit the form element that you want to populate via a static data source.
For this example, we'll edit the Dropdown element on step 1 of our form.
Enable the Use Data Source toggle.
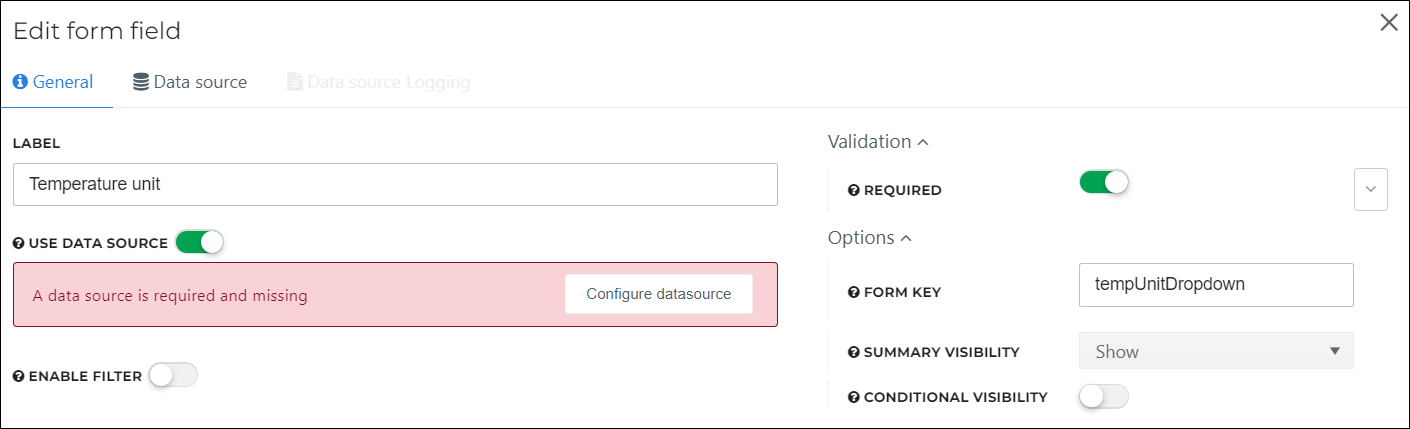
Click Configure Datasource.
Enter a Name and select a Type.
For this example, we'll name it
Weather report static datasourceand select Static as the Type.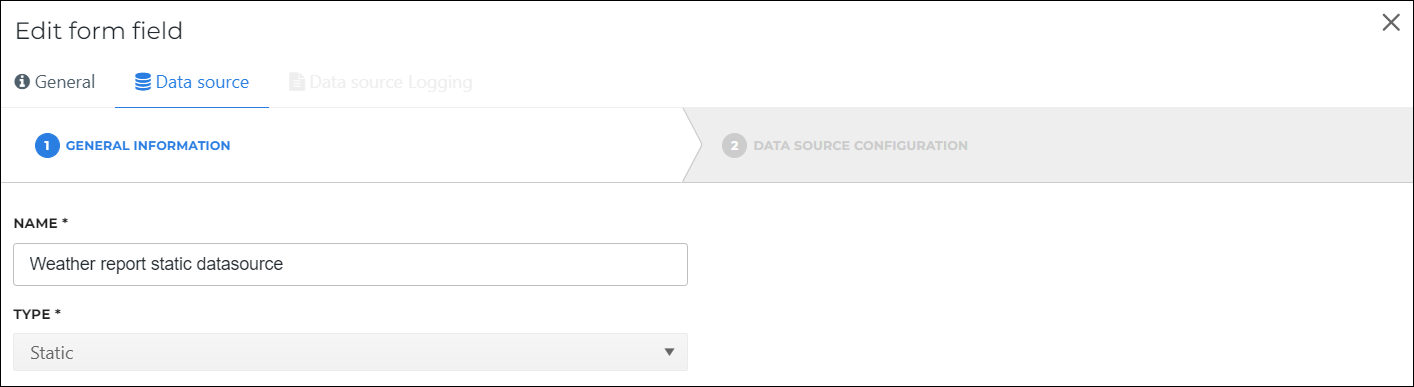
Click Next.
In the editor, replace the example data with the JSON with which you want to populate the form element, and then click Suggest A Model.
For this example, we'll enter the following JSON:
[
	{
		"tempUnitLabel": "Fahrenheit",
		"tempUnitValue": "fahrenheit"
	},
	{
		"tempUnitLabel": "Celsius",
		"tempUnitValue": "celsius"
	}
]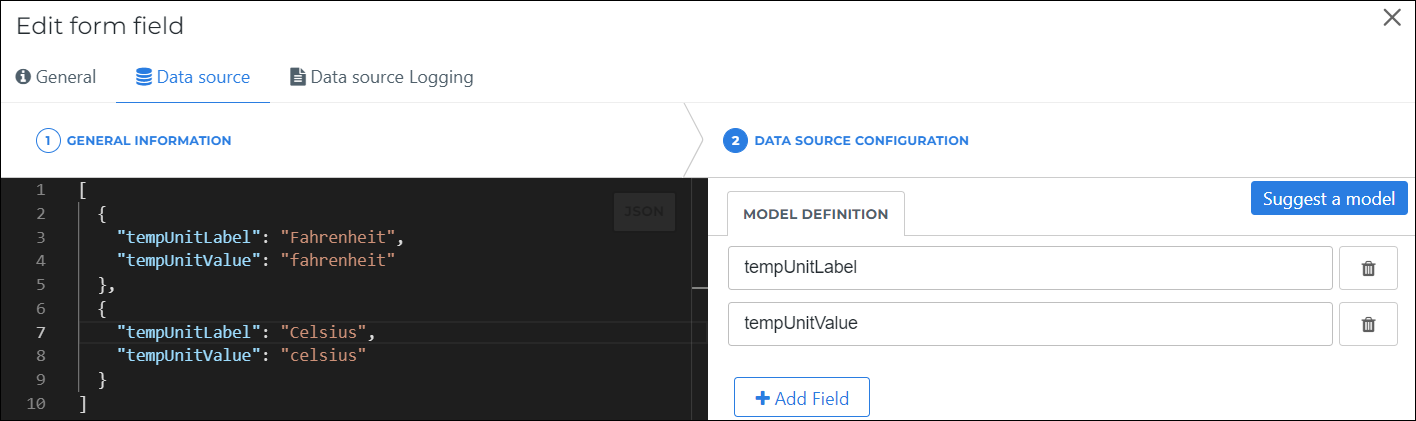
Tip
See Static data source JSON examples for JSON examples for various form elements.
Click Save.
HelloID takes us back to the Edit Form Field dialog.
The Value Field dropdown represents the actual data value which will be submitted, whereas the Text Field dropdown represents the label that will be shown to the end user.
For this example, we'll set the Value Field to
tempUnitValue, and the Text Field totempUnitLabel.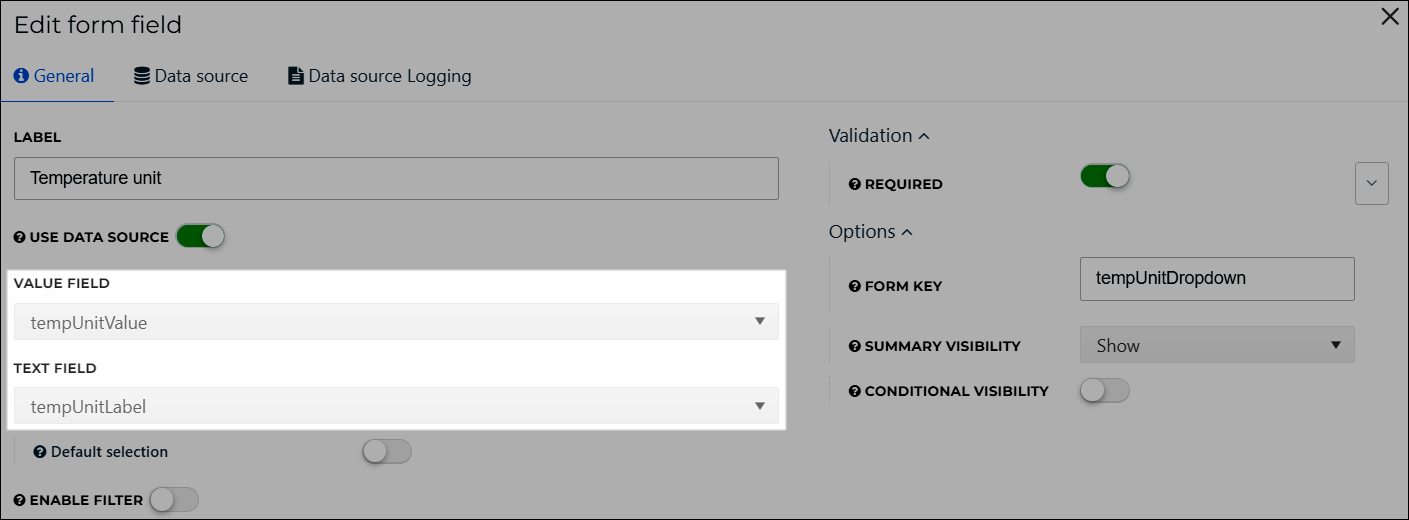
Click Update Field.
Click Save.
For the relevant dynamic form or delegated form, Edit a dynamic form or Edit a delegated form.
For the form element that contains the data source, click
Edit form element.Go to the Data Source tab.
Continue by following the instructions in Add a static data source.
Go to Self Service > Data Sources.
For the relevant data source, click Delete.
To confirm, click Delete.