Add, edit, or remove a custom notification event
Add a custom notification event
Prerequisite
A PowerShell v2 or Active Directory target system.
Go to Business > Custom Events.
Click
 Add.
Add.A new custom event is created.
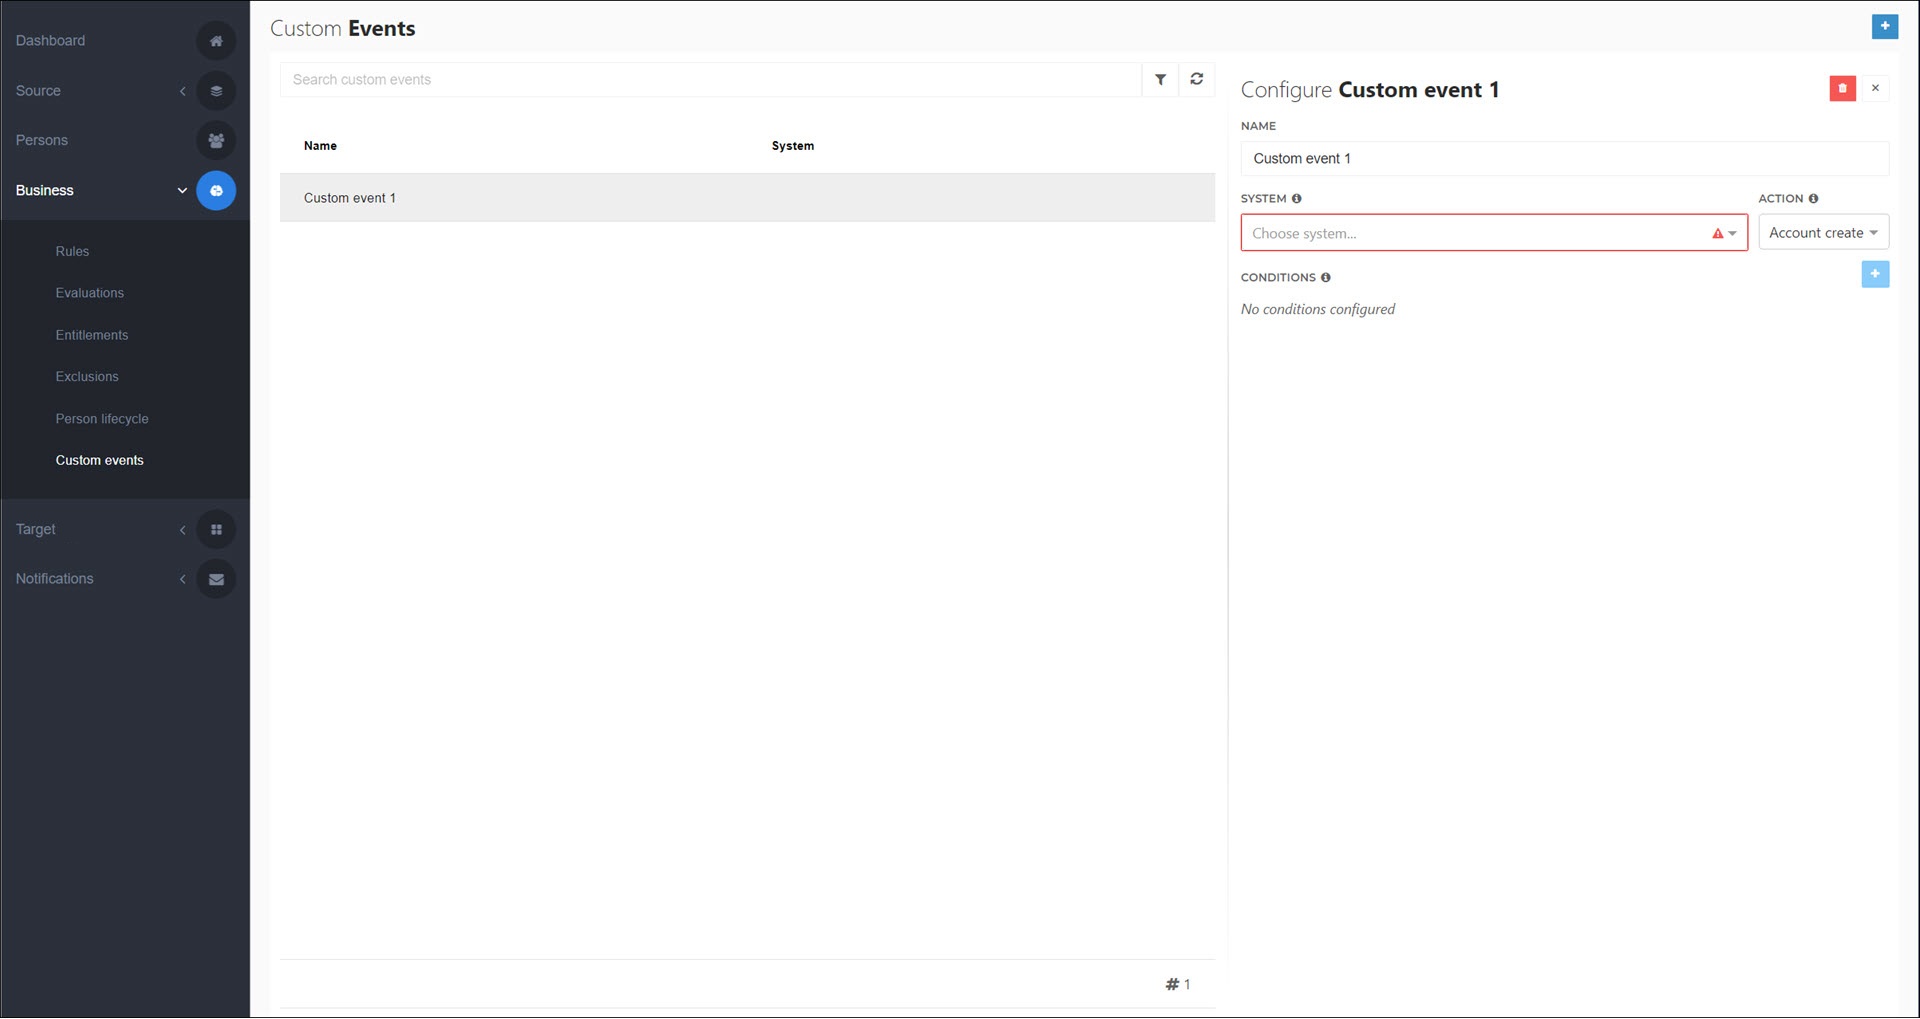
Enter values for the following settings:
- Name
A name for the custom event.
- System
The target system that the custom event is for.
Caution
Custom events are only supported for PowerShell v2 target systems and Active Directory target systems.
- Action
The entitlement action that the custom event will fire for. Currently, only Account-related actions are supported.
- Mode
The condition that the chosen Field will be tested against, to determine whether this event fires.
Has Value: Fire if the field is non-empty.
Is Updated: Fire if a new value for this field is being written to the target system during this enforcement.
Contains: Fire if the field contains any of the values you specify.
Equals: Fire if the field equals any of the values you specify.
- Field
The mapped field that will be evaluated according to the chosen Mode. Only fields whose Use In Notifications toggle is enabled on the target system's Fields tab are available. See Target mappings (PowerShell v2) or (Active Directory).
- Invert Condition
Logically negate the Mode.
Tip
If a custom event has multiple conditions, they are evaluated using AND logic. If a condition that takes multiple values (Contains, Equals) has more than one value, those values are evaluated using OR logic.
For this example, we'll enter the following values:
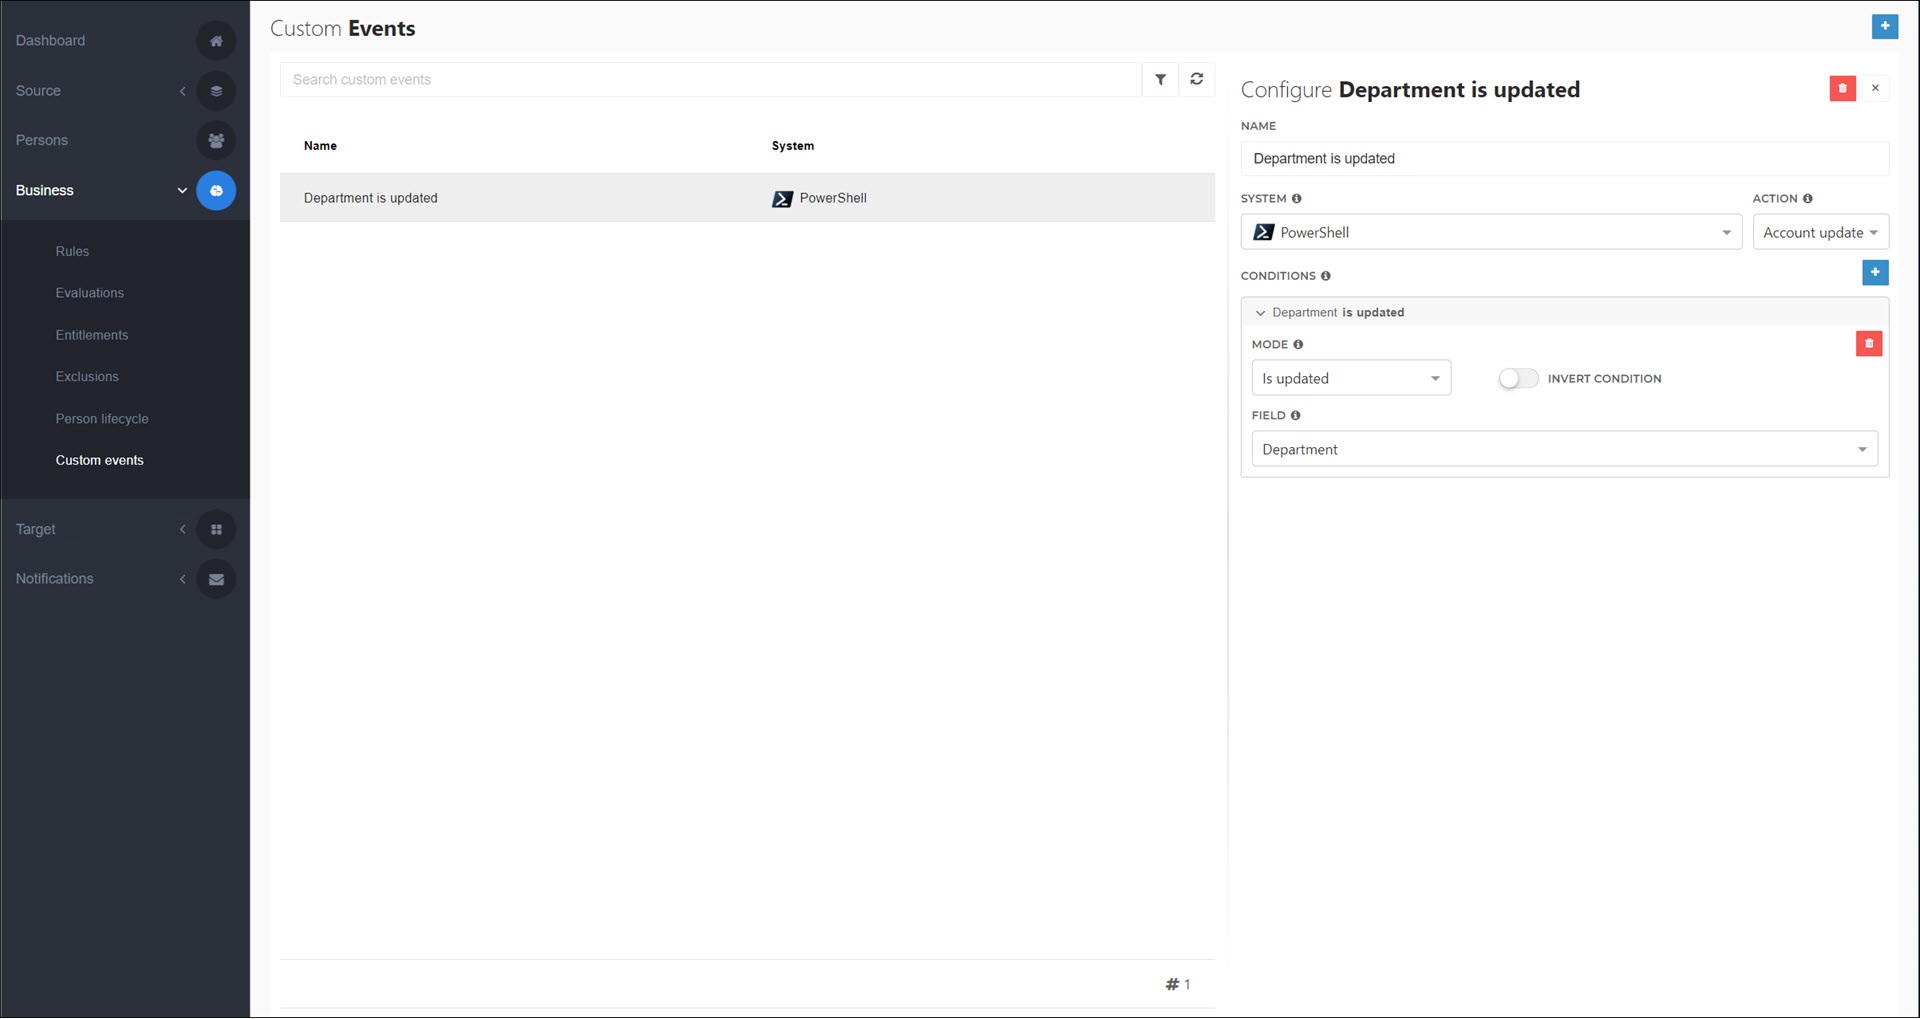
Name: Department is updated
System: PowerShell
Action: Account Update
Mode: Is Updated
Field: Department
Invert Condition: Disabled
Optional: Click
Add in the Conditions pane to add an additional condition.
Your changes are automatically saved. Typically, the next step is to Add a notification (email) or Add a notification (PowerShell) that uses this custom event.
Go to Business > Custom Events.
For the custom event you want to edit, click
 Edit.
Edit.Continue by following the instructions in Add a custom notification event.
Go to Business > Custom Events.
For the custom event you want to remove, click
Edit.Click
 Delete.
To confirm, click Yes.